

Today, I have a super cute, casual and easy hack of my Lou Box Dress 2 pattern. As a bonus, it's also a great stash busting project. I made this long-sleeved boxy top out of a fabric remnant that was just under 1 yard long! I'll share cutting layouts, pattern adjustments and tips for how I hacked the layout to make it work. This DIY boxy top is a great cozy, oversized top and I've been loving wearing it. Use a lighter weight knit fabric for a boxy top or a medium-weight loop-back fabric for a true sweatshirt style.

ON FABRIC
Let's start with the fabric. I bought a remnant of this light purple, tie-dyed sweatshirt fabric at Joann Fabrics back in the Fall of 2023. It was definitely an impulse purchase. I didn't know have a pattern in mind but thought that I could probably squeeze a top out of it. I did not save the piece of paper with the fabric information but I think it's a polyester. I found a similar fabric in pink from Joann's here.
The fabric is a medium weight, with nice drape (probably that poly fiber) and it feels very soft to the touch. The weight and drape make this top feel more like a long sleeved shirt than a sweatshirt layer, but a thicker sweatshirt fabric could also be used. In person, the color is a lavender type of purple and white tie dye pattern. I pre-washed the fabric prior to cutting it out and if there was any shrinkage it was minimal.
Check out my tips for pre-washing fabric.
I didn't save any notes on the fabric dimensions but I believe it was 58" wide and just under 1 yard long. With that amount of fabric in mind, sewing a long sleeved top was ambitious to say the least. Read on for all the details for how I made it work!


The Lou Box Dress 2 is a loose-fitting gathered waist dress with a ballet neckline, scoop pockets, a knee length skirt and dolman sleeves. View A features three-quarter length sleeves. View B features full-length tapered sleeves and a low scoop back. Instructions are included for sewing the dress in both woven and knit fabrics.
This digital pattern includes an illustrated, step-by-step instruction booklet, a print-at-home layered pattern for letter or A4 size paper, a US copy shop pattern and an A0 size pattern.
Model is 5’11” and is wearing a size 12.
THIS IS NOT A PHYSICAL PRODUCT. After checkout, you will receive a link to the pattern that will be active for 24 hours after you click it. Prices are in USD.
ON THE PATTERN
Because the fabric is a medium weight, loop back sweatshirt fabric, I wanted to try to make a long sleeve top or sweatshirt. Making a short sleeve top is pretty doable with one yard of fabric but it's hard to get full length sleeves. I could have made a color blocked top or maybe this short-sleeve Ali Sweatshirt hack. But, with some rule breaking and added seams, I was able to squeeze long sleeves out of 1 yard using my Lou Box Dress 2 pattern.
The Lou Box Dress 2 is a ballet neck variation of my Lou Box Top pattern with long tapered sleeves, an A-line skirt, scoop pockets and an elasticized waist.

By leaving off the skirt (and pocket) pieces, it's really easy to make this dress into a long-sleeved top. But to cut out everything I needed from one yard, I had to get a little tricky with my pattern layout. If my pattern is digital, I will often use Adobe Illustrator to test a layout before cutting. This helps prevent mid-cutting surprises and ensures that I can get everything cut out and maximize my fabric. I measure my fabric and then make an artboard the size of the fabric. Next, I play around with the pattern pieces to see how they will best fit on the fabric.
See MY blog post for more tips on How to Maximize Fabric Yardage.
For this project, I was lucky that the fabric is pretty stretchy in BOTH horizontal and vertical directions and the print is not directional. Plus, the Lou Box Dress 2 is fairly boxy and the only place I really need it to stretch is at the neckline (when taking the top on and off). So, I decided that it would be ok to cut the pattern pieces on the cross grain. I know! Breaking rules! I always recommend caution when cutting on the cross grain, especially if you are sewing something fitted. But, for the reasons mentioned, I felt pretty confident that it would work in this case. (Please triple check the stretch of your fabric, especially if you are making a garment with negative ease. See this blog post for how to measure fabric stretch percentage.)
Additionally, I cut my sleeves in two pieces (which is similar to my Ali Sweatshirt pattern). This way, I was able to fit the sleeves into a perfect rectangle shape. Woohoo!! To make sure that the sleeves would still fit the armhole, I added a 3/8" seam allowance to the new seam line.
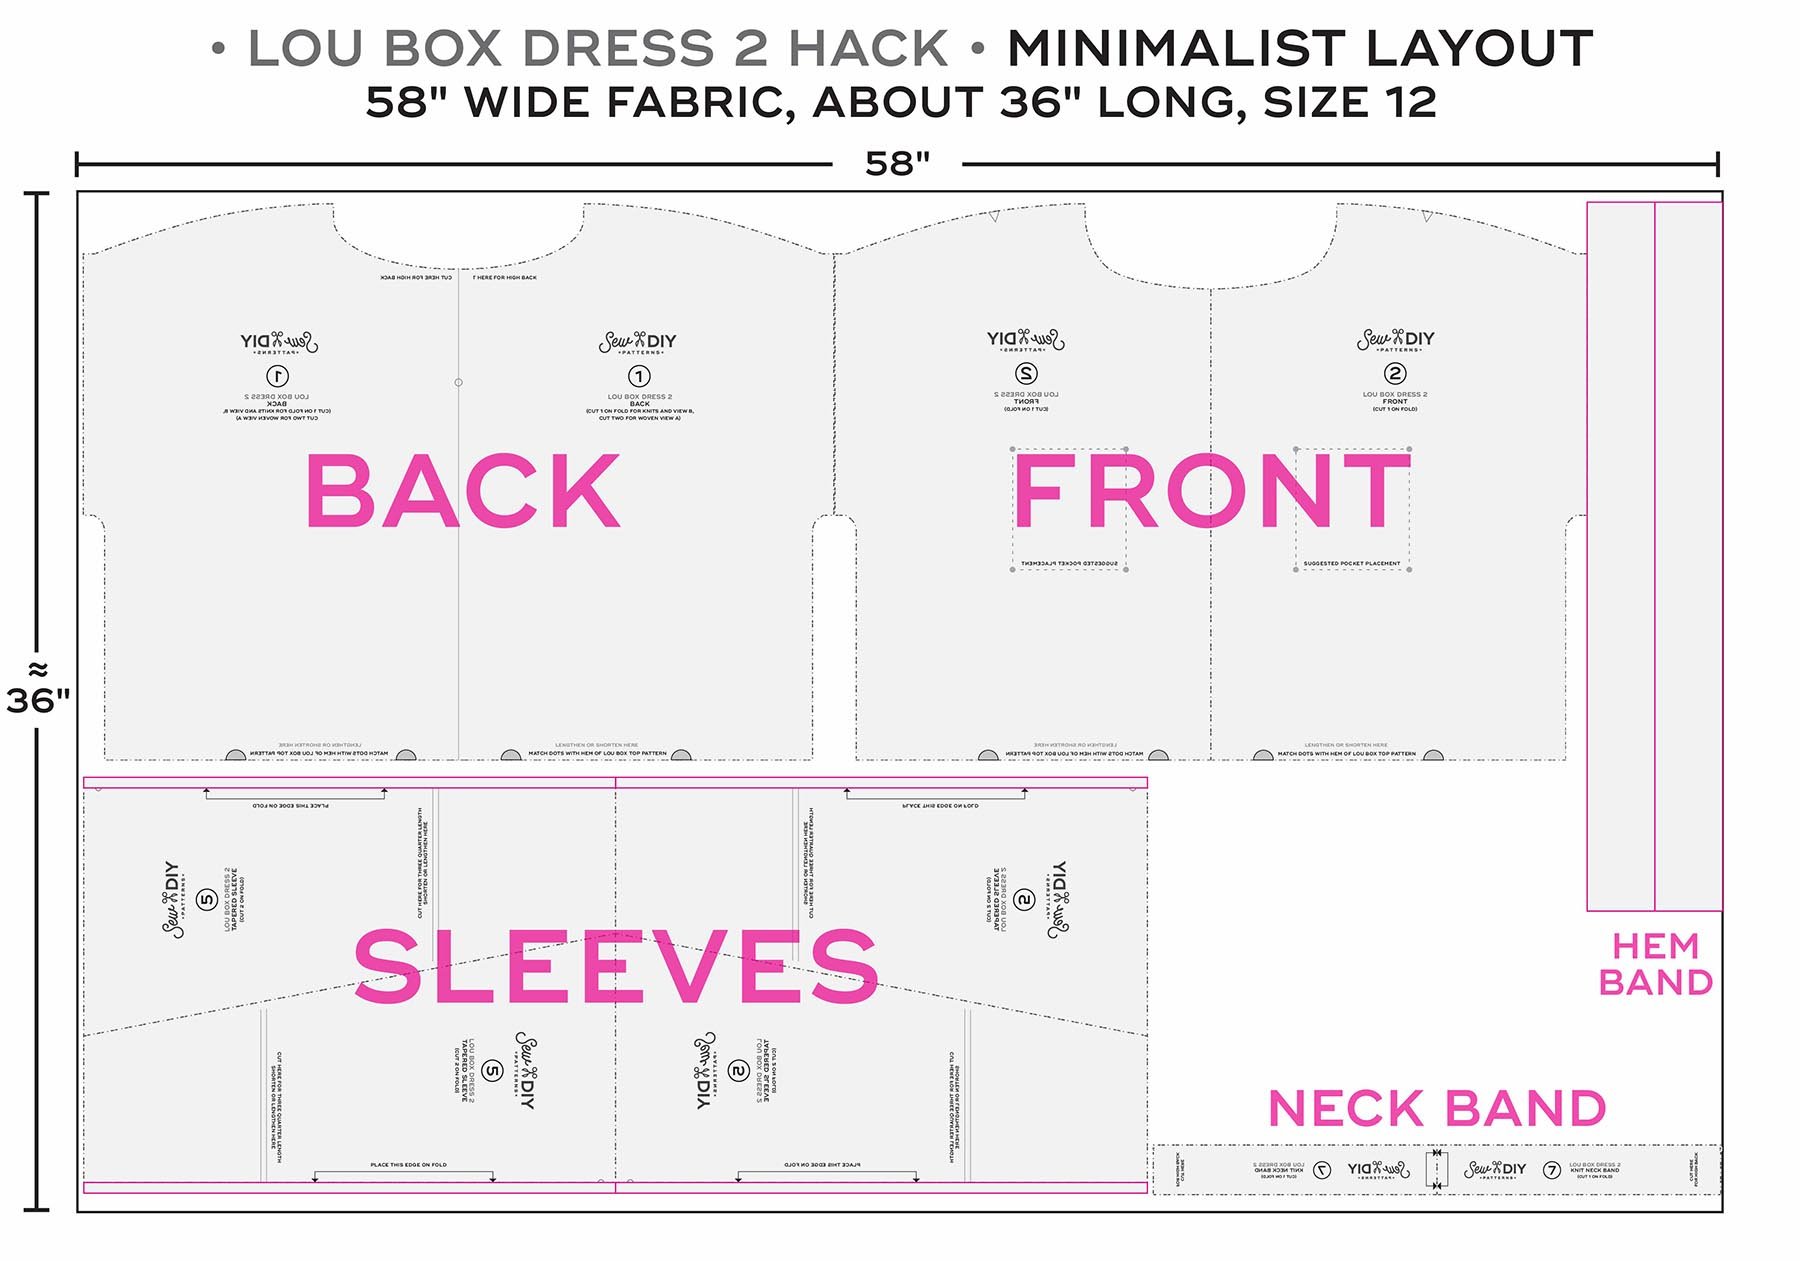
Above is a diagram of how I cut out this top. (Note, this pattern is designed to work with both knit and woven fabric but for this hack, I'm using knit fabric.) The pink lines show adjustments to the pattern pieces or new pattern pieces. I started by cutting out the sleeves on the cross grain, in the bottom left corner. (Be careful to flip the pattern piece over for two of the sleeves.) Then, I was able to cut my front and back pattern pieces as normal. I put them right next to each other, at the edge of the fabric. I cut the length to what was leftover after cutting the sleeves. Then I cut out the neck band using the original pattern piece.
After stitching the top together, I wanted it to be a little longer so I cut out to pieces of fabric to make a hem band. I had to cut these on the cross grain so I cut them exactly the same length as the hem. For most sweatshirts the hem band is cut slightly smaller than the sweatshirt but I didn't want the fabric to have to stretch. And, I liked that the hem was straight at the bottom. I cut the bands about 3" wide and stitched them on using a 1/4" seam allowance.


ON SIZING
I sewed a size 12 of this pattern. My measurements are 35.5 upper bust, 39" full bust. The size 12 of this pattern has a finished bust measurement of 48". Additionally, I'm about 5'11" (at my last doctor's appointment they said I was 5'11.5" !!!!) and this pattern is designed for a height of 5'10".
By my calculations, the cutting layout that I used will work for up to a size 16, if you do not cut the hem bands. That said, a lot of people size down in this pattern due to the generous 10" of ease. You can also save fabric by decreasing the armhole opening and making a more narrow sleeve.

That said, for sizes 18-32 you can use the layout above and you still only need 45” of fabric, just a little over one yard. For this layout, stack the front and back on one side and cut the sleeves in two pieces on the straight of grain. I’m so pleased with how this layout works. Stacking the sleeves in this minimalist way really saves a lot of fabric! This layout could also work on smaller sizes with a more narrow fabric.


ON SEWING
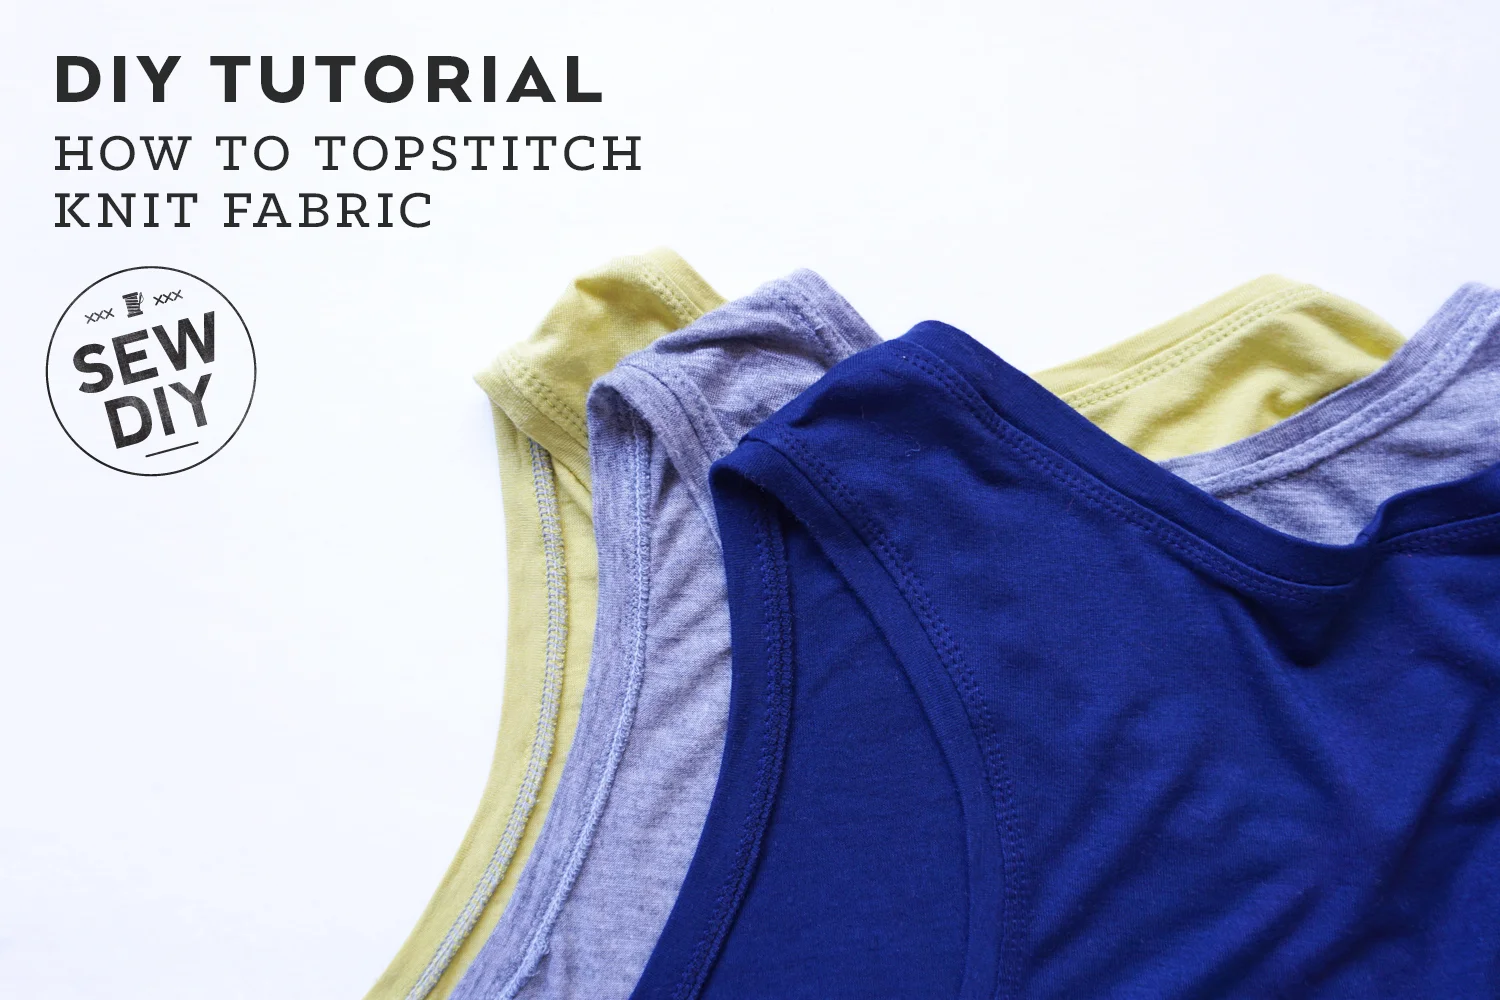
Sewing this top was really pretty easy. I've made the Lou Box Top dozens of times and the fabric was easy to work with. I took my usual approach to all of the steps. For the neckline, I prefer to baste the neckband on and then serge it. (See my tutorial here.) To finish the top, I used a twin needle to topstitch the sleeve hem, body hem and neckline. Check out my twin needle tutorial here. For more help with the Lou Box Dress patterns, check out the sewalong. I even have a full video for how to sew the Lou Box Top in knit fabric right here.
If you are new to sewing knits, I have a bunch of tips and tutorials on the blog. Click through below to check out the posts.


Unfortunately, I cut a little far on one of my sleeves and cut into the fabric reserved for the front. I repaired this cut in the fabric by applying knit interfacing to the back and then topstitching with a very narrow zig zag over the cut. Fortunately, I think it’s barely noticeable and my thread matches really well.

Overall, I'm really happy with how this top turned out. I scored a deal on the fabric and was able to make a long sleeved top that's super cozy and has been helping keep me warm this winter. This is my first winter back in Seattle and it has been an adjustment to figure out how to dress here. I've been restocking my sweater supply at Goodwill and I've learned that if it's under 50 degrees, I should probably where long johns to stay warm.
I hope that you enjoy this post and are inspired to get creative with your fabric and patterns. You can purchase the Lou Box Dress 2 in the shop or check out the whole family of Lou Box patterns below. Happy sewing!


Pin the image below to save this post for later. The inspiration image below is from Lulu’s.


