
Hello sew-friends! The New Year is almost upon us and I’m happy to announce that I have a new 2026 Monthly calendar for you! A new calendar is such a nice way to create a visual fresh start. If you’re anything like me, you have a list of things to do in the new year and now that the new year is here, it’s time to figure out when all those things can be done. :P
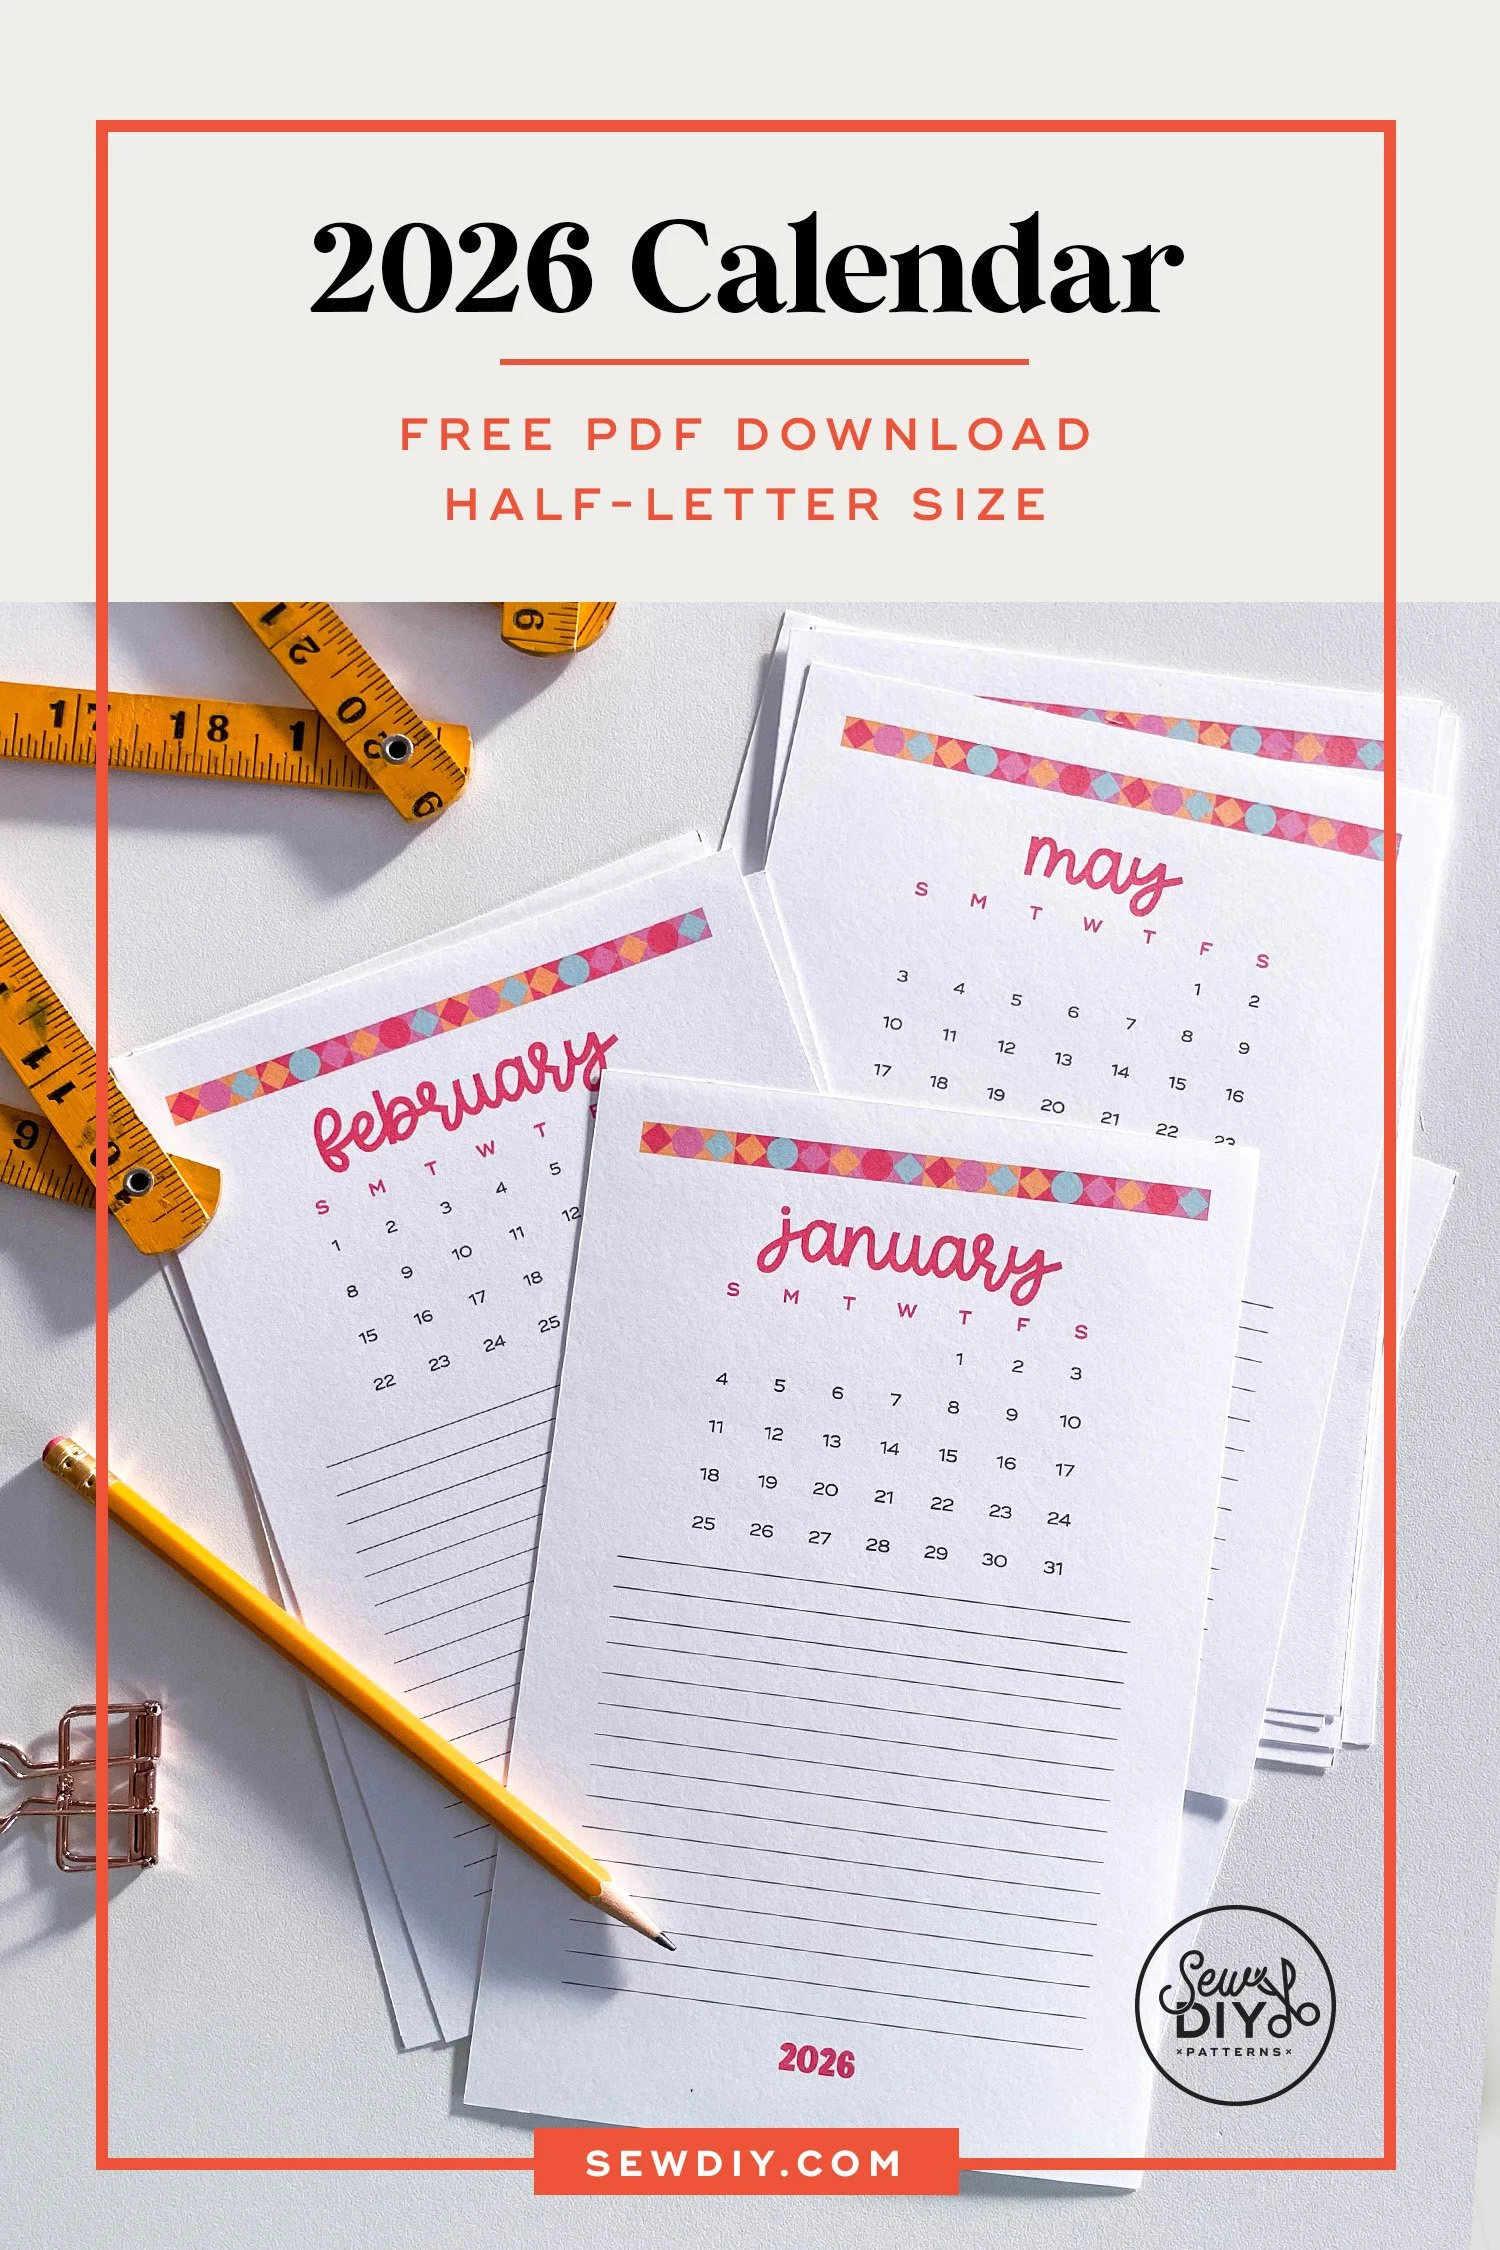
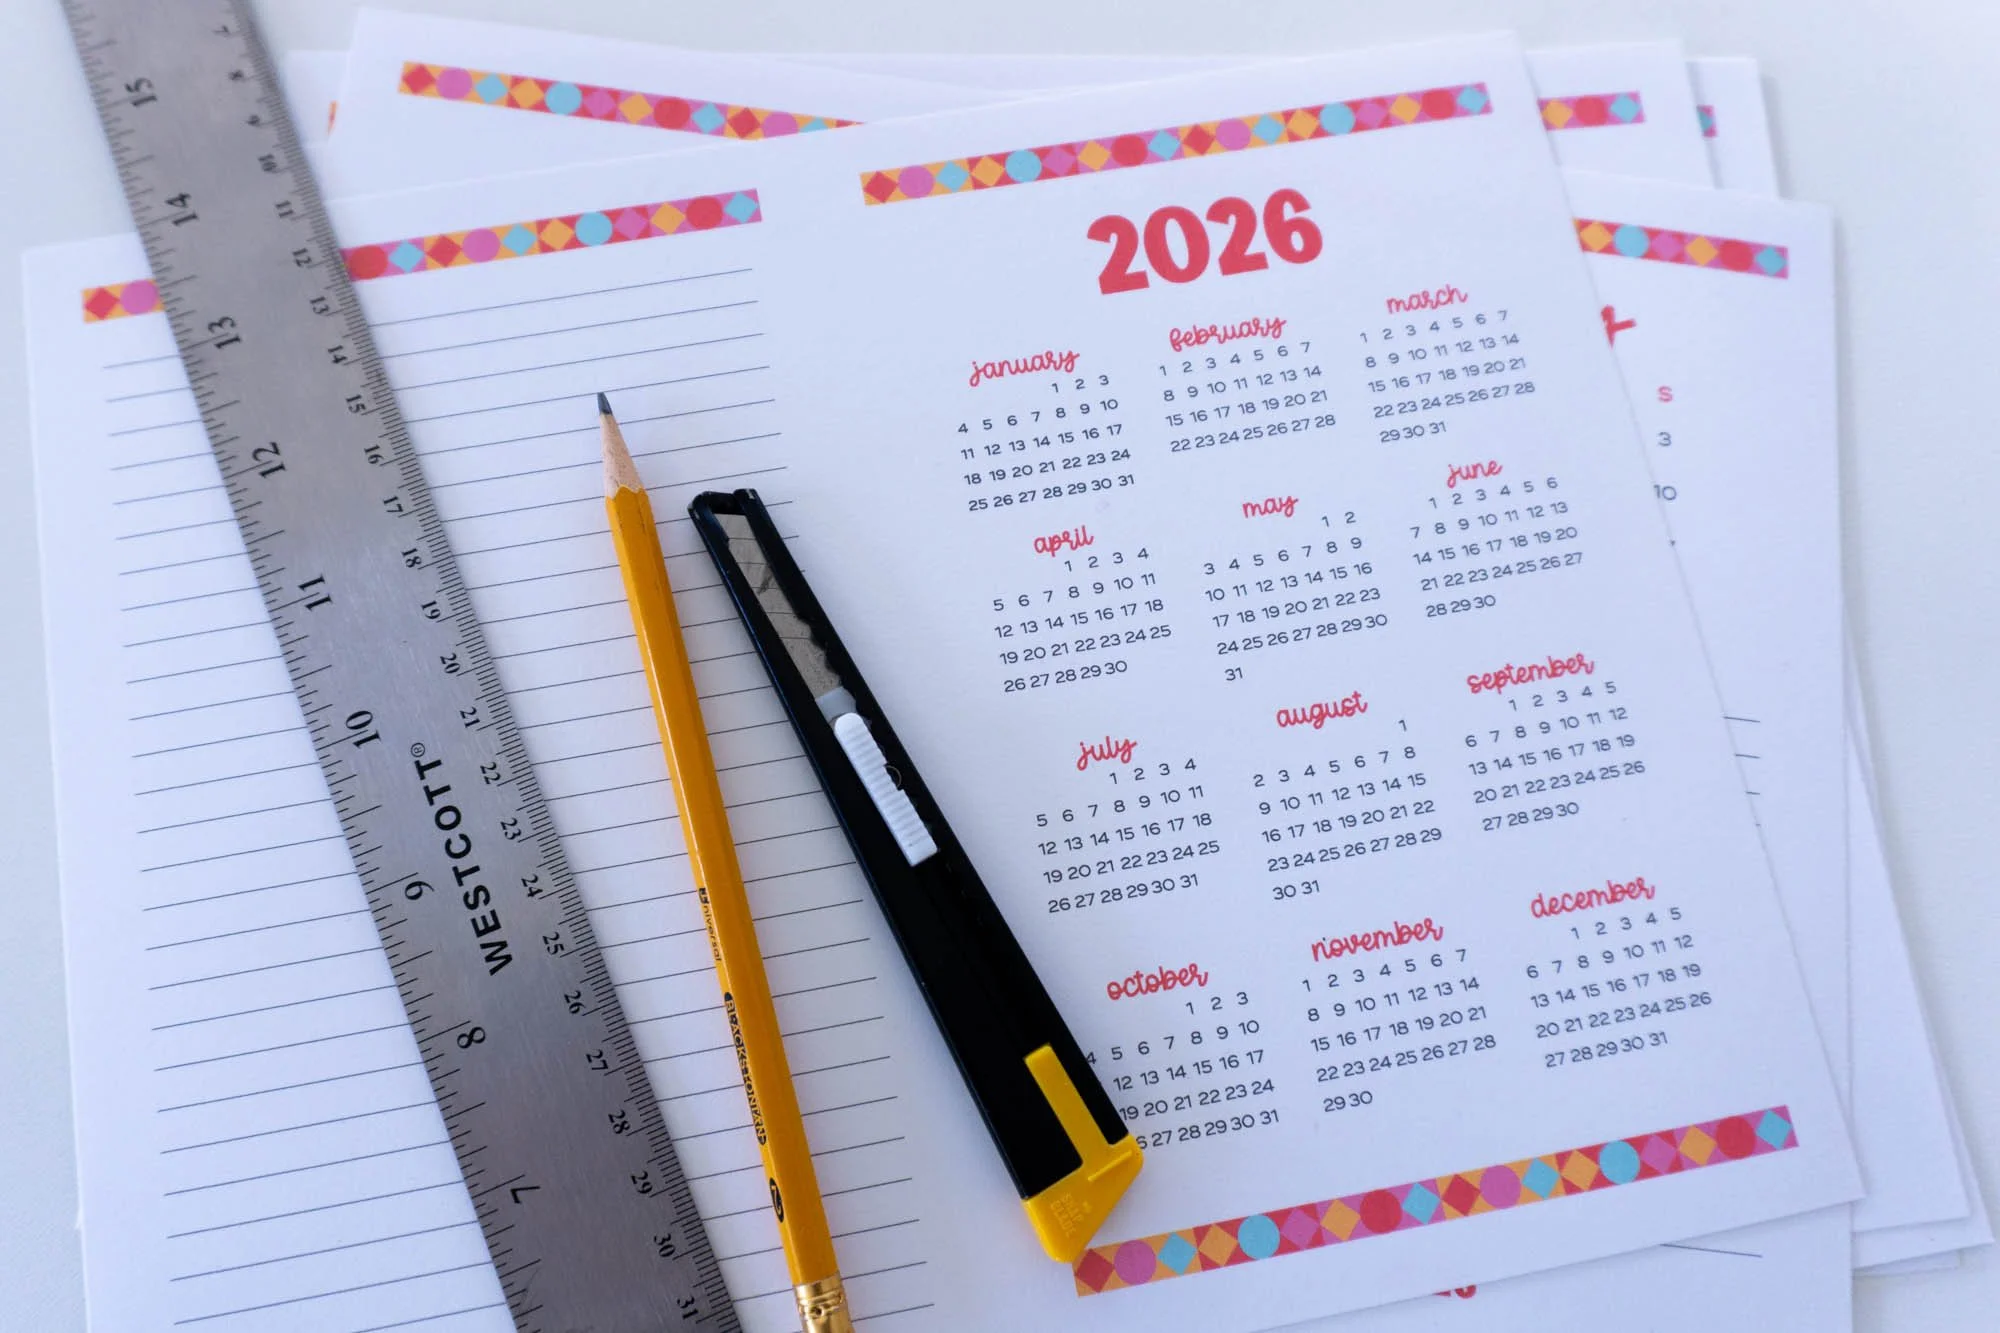
I’ve been doing a monthly calendar for many years now (with a few years off). The calendar is designed to be Sunday to Saturday with the dates at the top and plenty of room for making notes at the bottom. This is a great format for documenting your sewing projects, books read or just special events and goals for the month. This year, I’ve added a Year At A Glance design. These pdfs don’t have dates so they can be used for any year and again lots of room for planning your makes.
As usual, the pdfs are free to download when you sign up for the Sew DIY Weekly Newsletter. If you’re already signed up, check your email for a direct download. Or, login to the Resource Library to download (link and password at the bottom of every email).
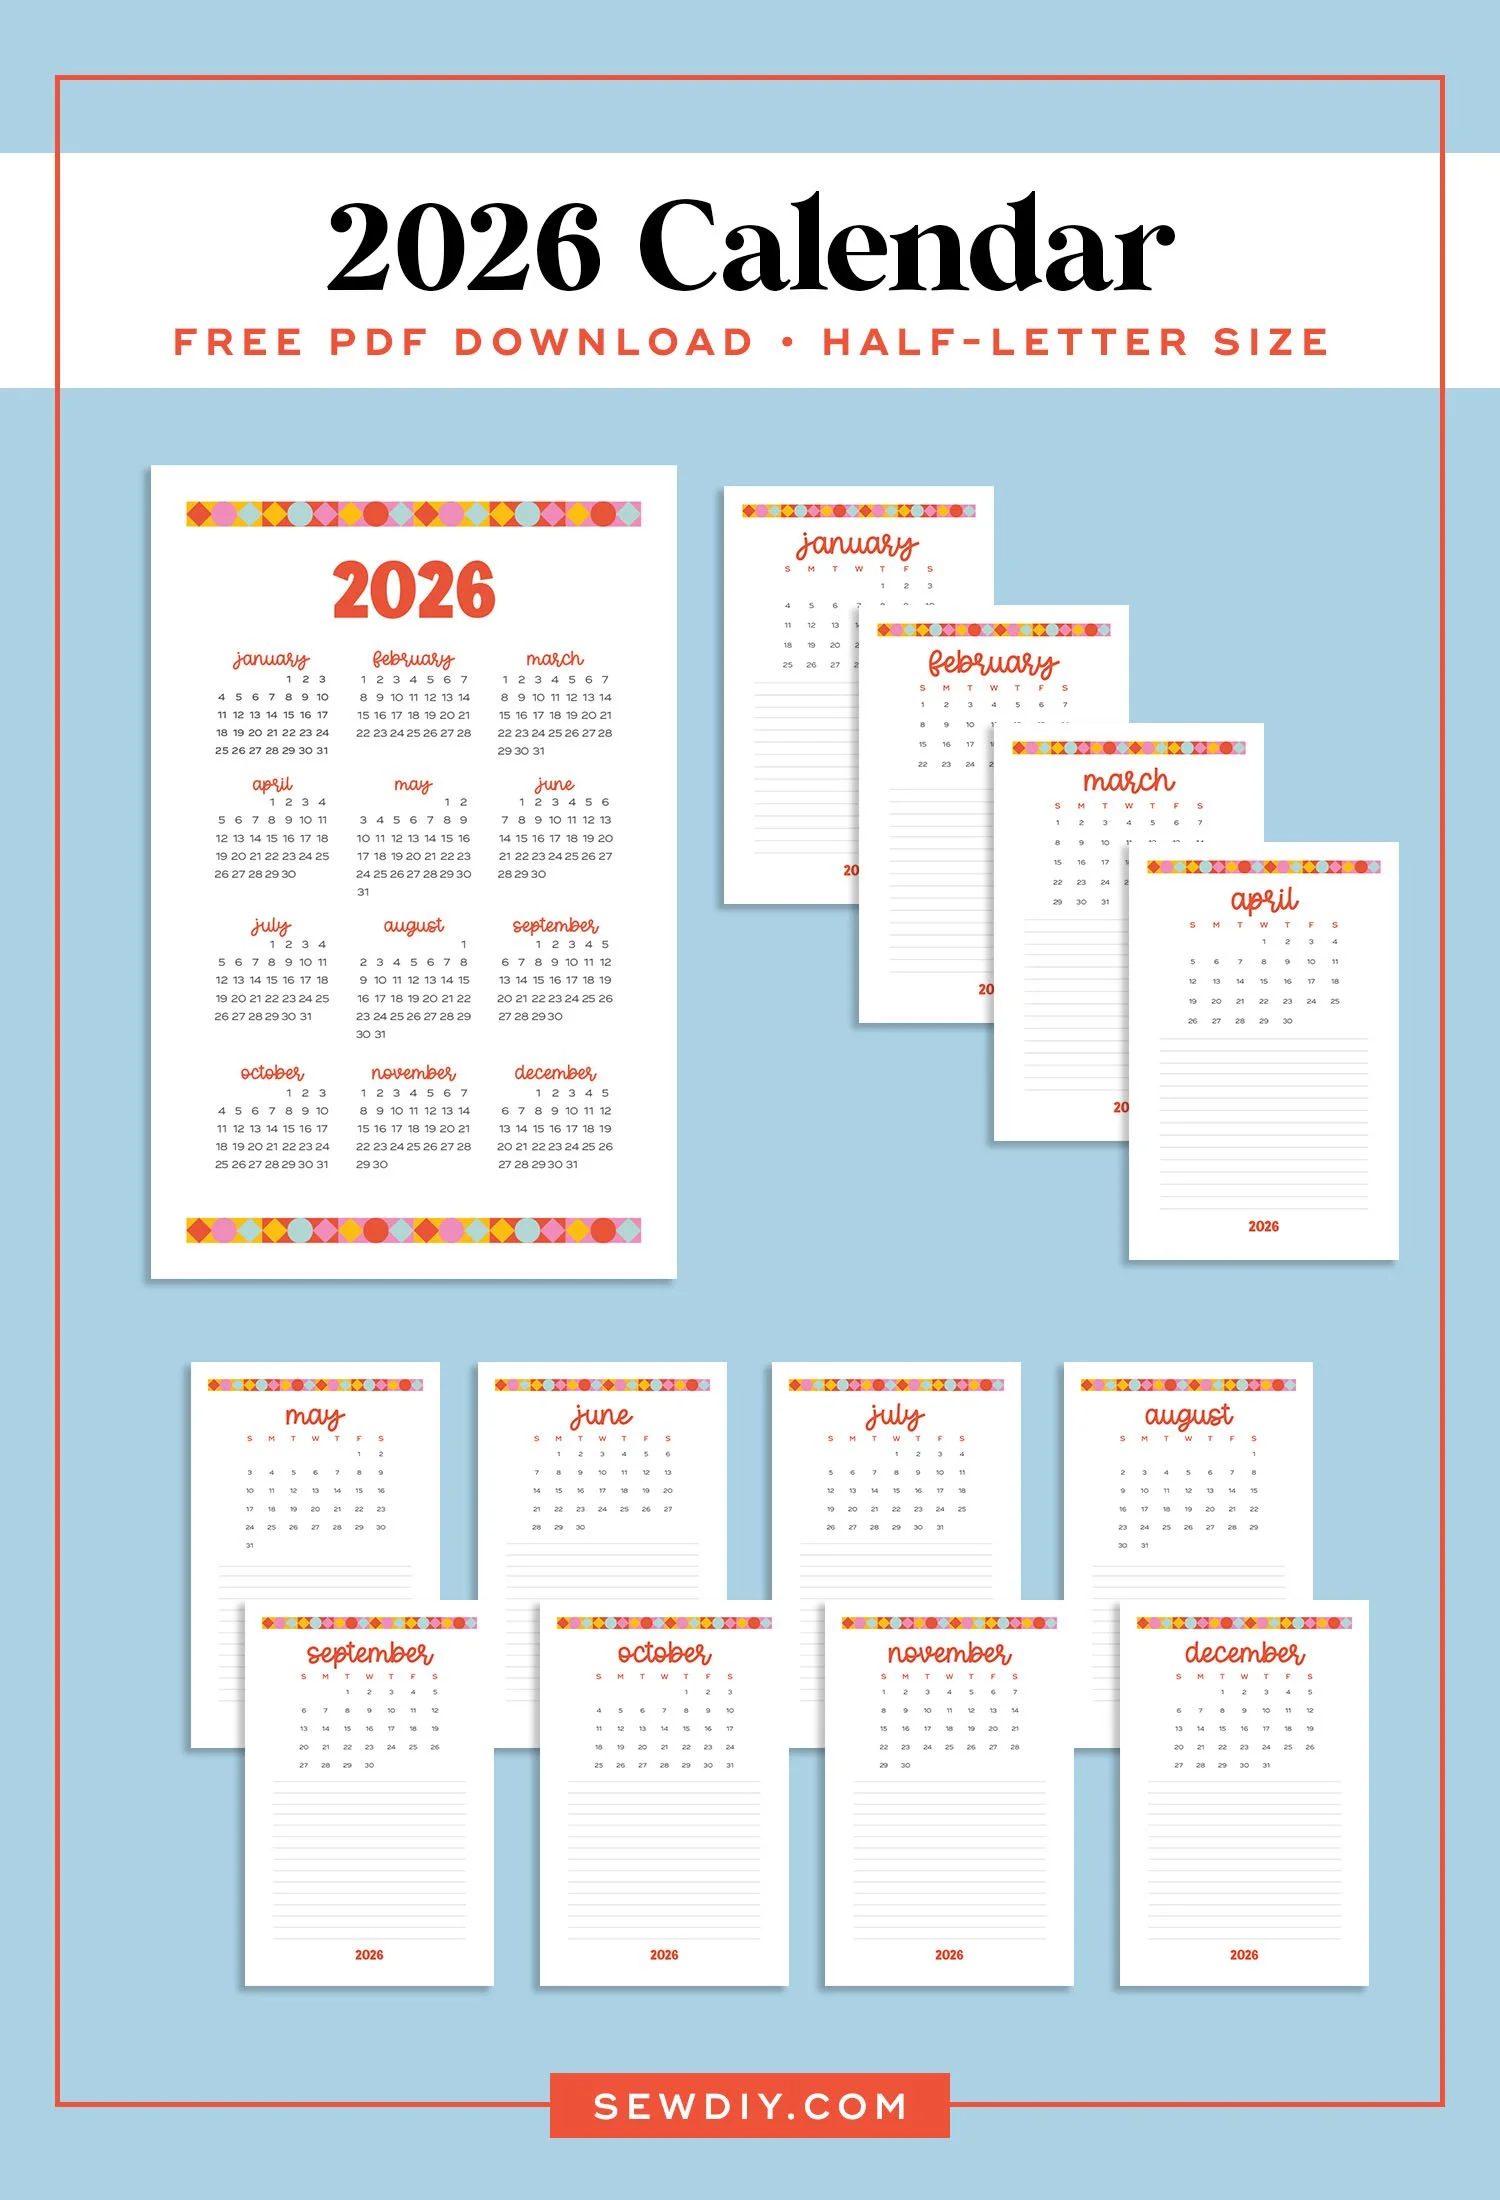
(If you’re interested in the nitty-gritty details on the design, read this paragraph.) This years design features new fonts and colors and a geometric border at the top. I’m started to get more into quilt design and I’ve been playing around a lot with geometric shapes.
This year, I used white for the background so that it’s more forgiving when printing and cutting out. You can also use a cream color paper if desired. I’m using three different fonts in this design. For the month, I’m using Harlie by KA Designs and for the numbers I’m using Ridley Grotesk by Radomir Tinkov. The “2026” is in Very Tired by KA Designs.
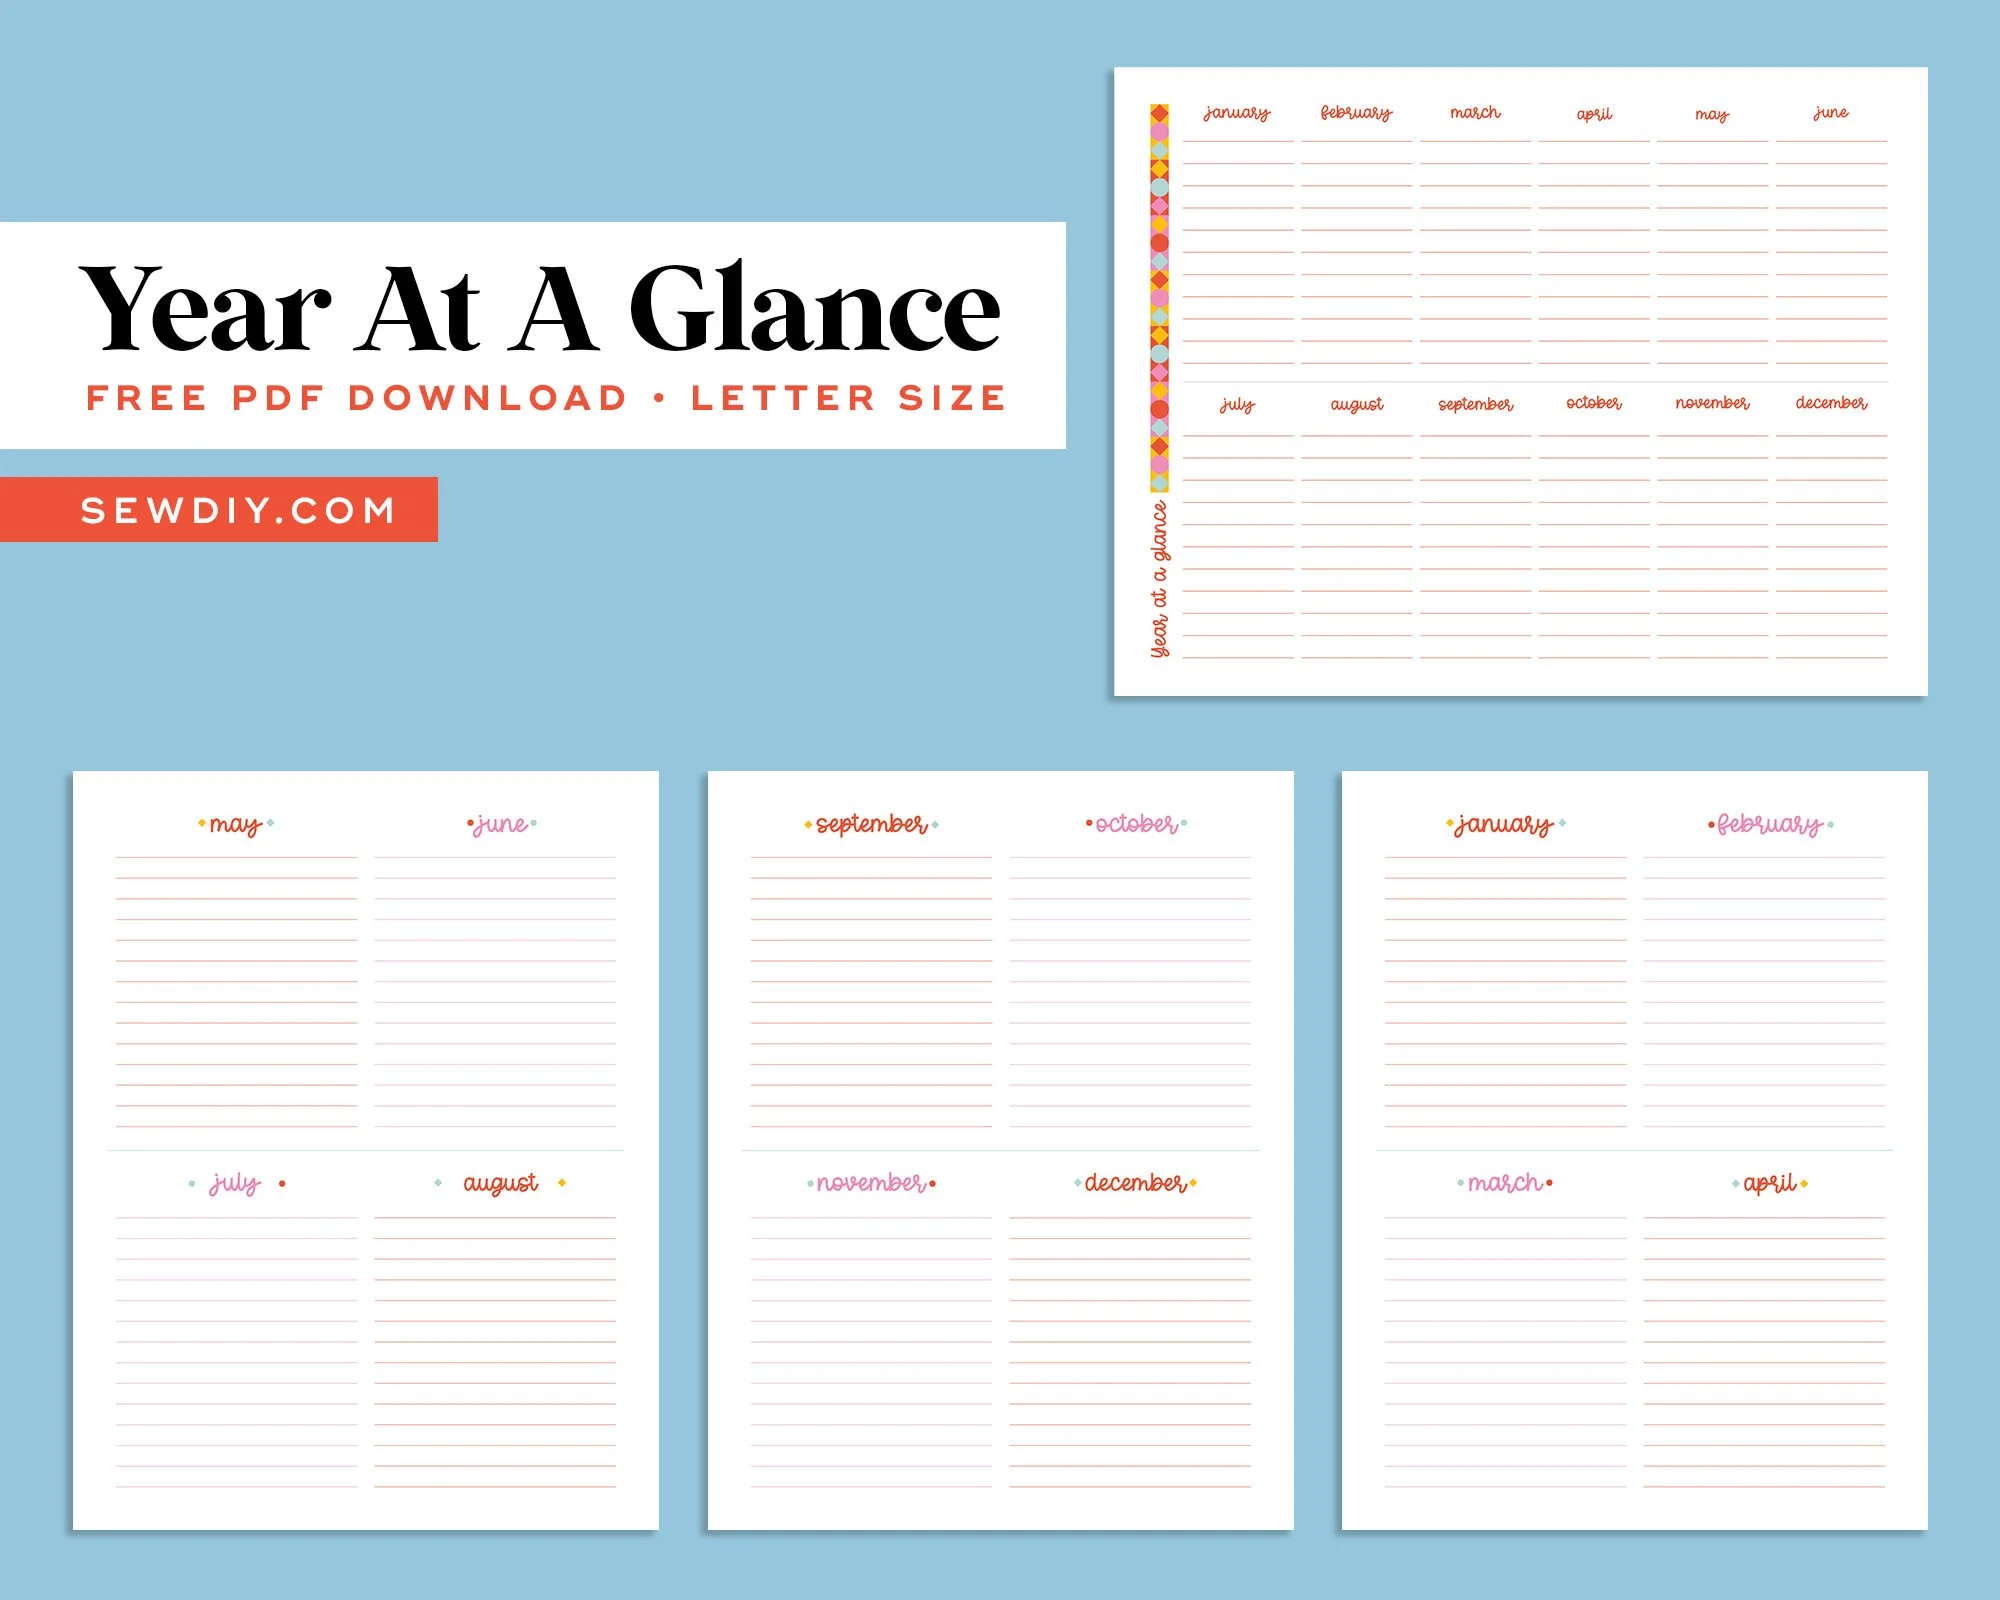
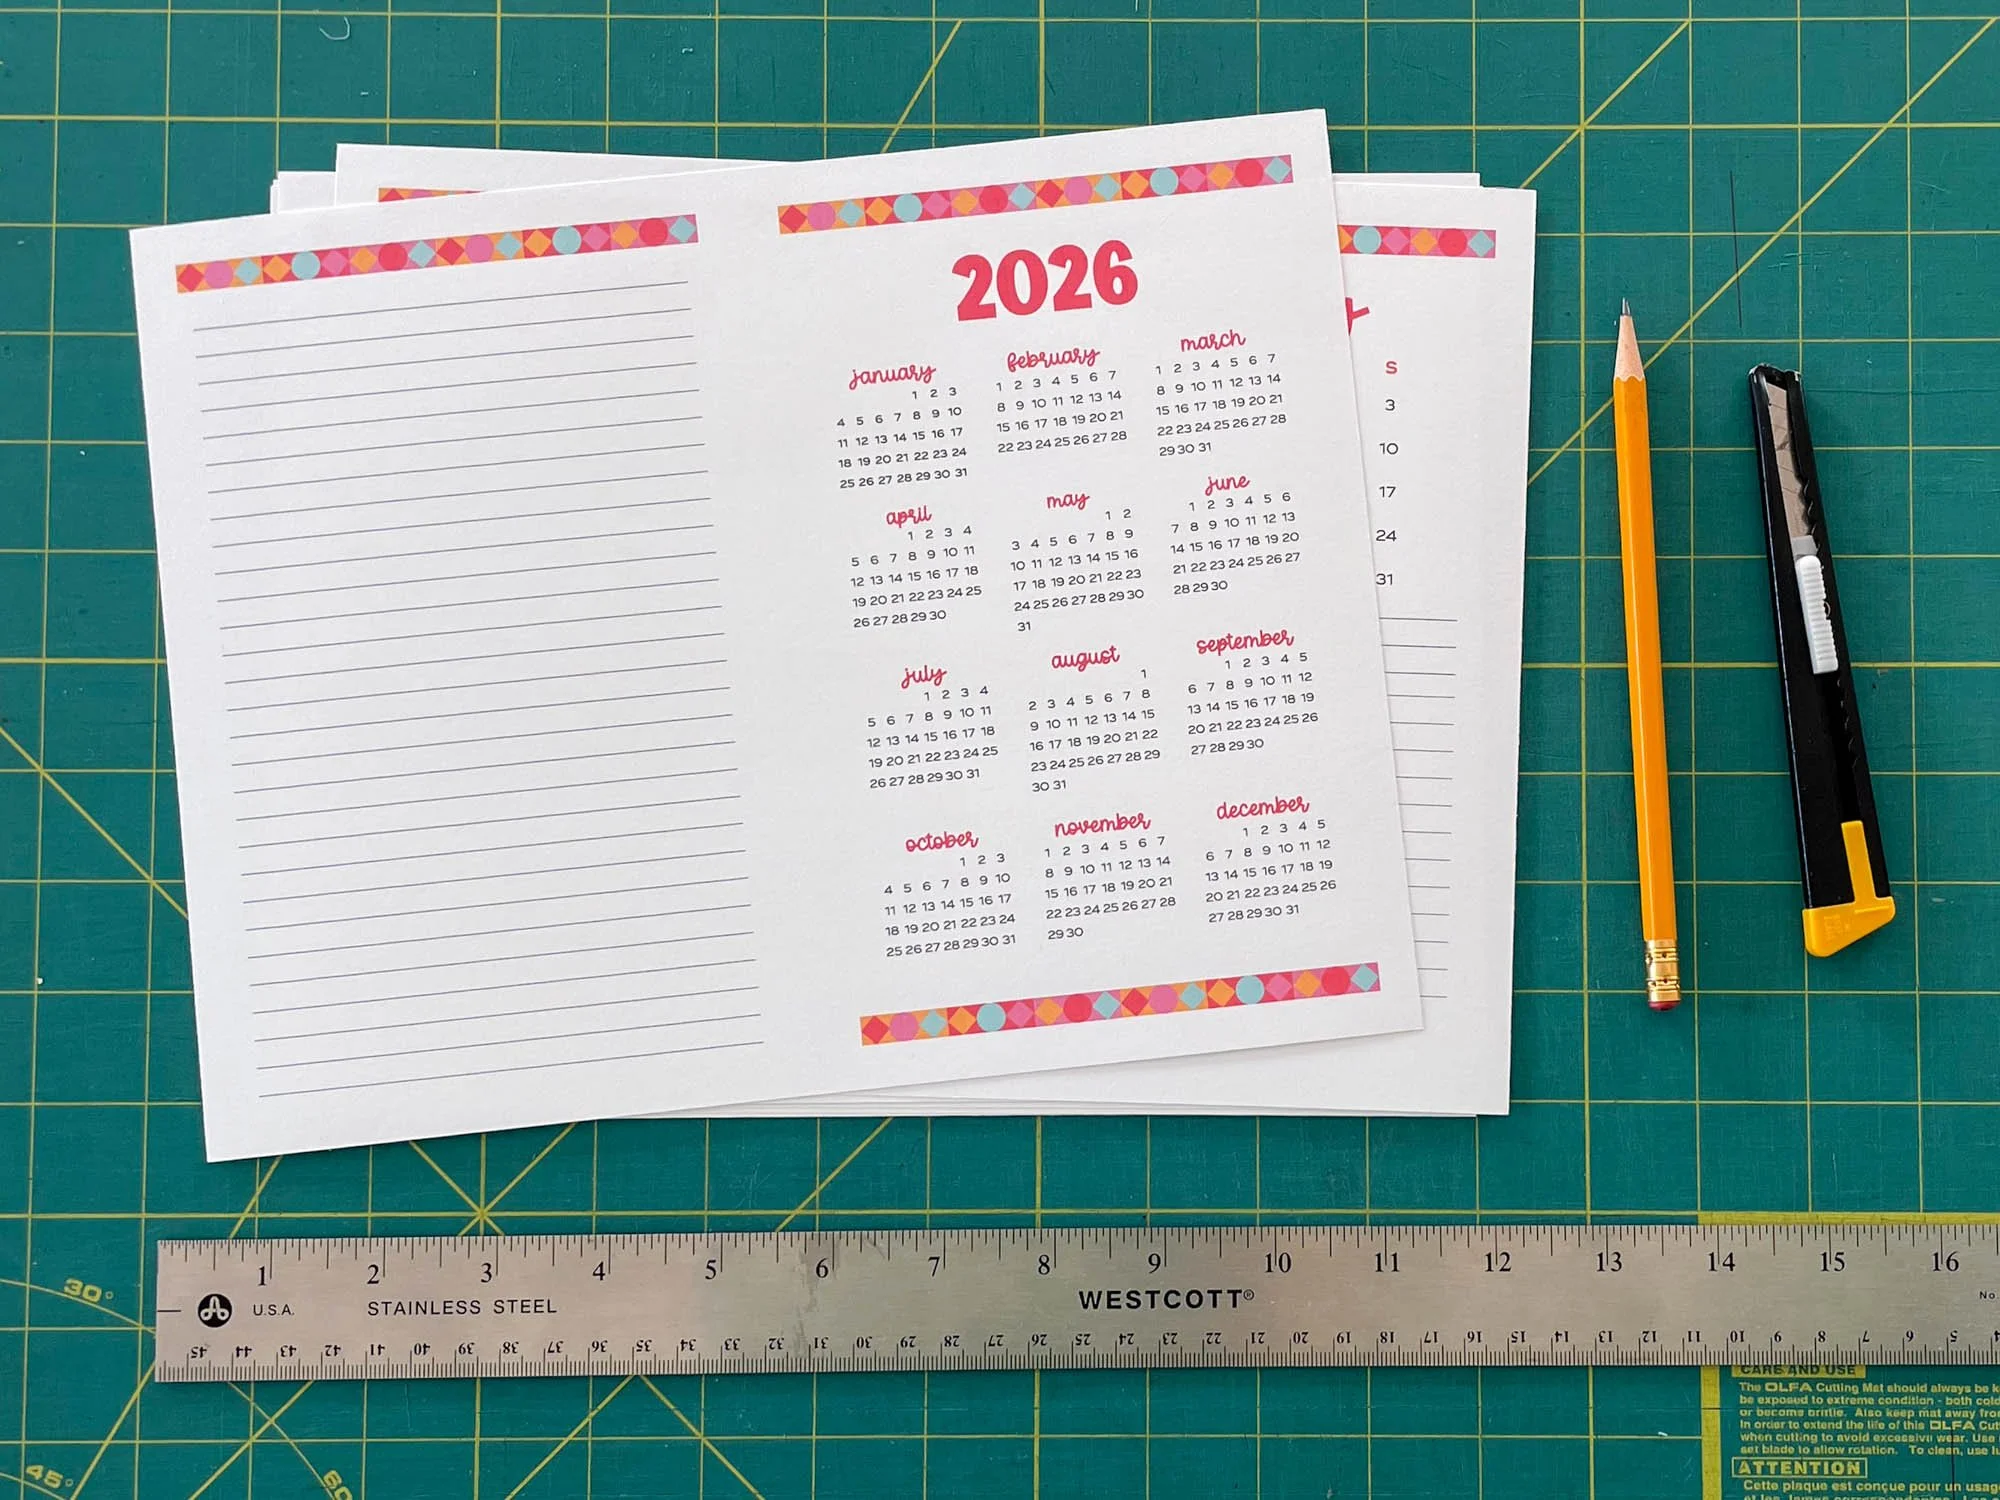
A new addition this year are the “Year at a Glance” pages. I designed these because I wanted somewhere that I could write down my big projects and space them out over the year. There are two options that you can print. The first is a one page horizontal calendar that fits every month onto a single Letter Size piece of pager. The second option is to print 3 letter size pages. These are designed vertically and each page has four months. You could stack these into a three ring binder, or tape them together for a longer calendar.
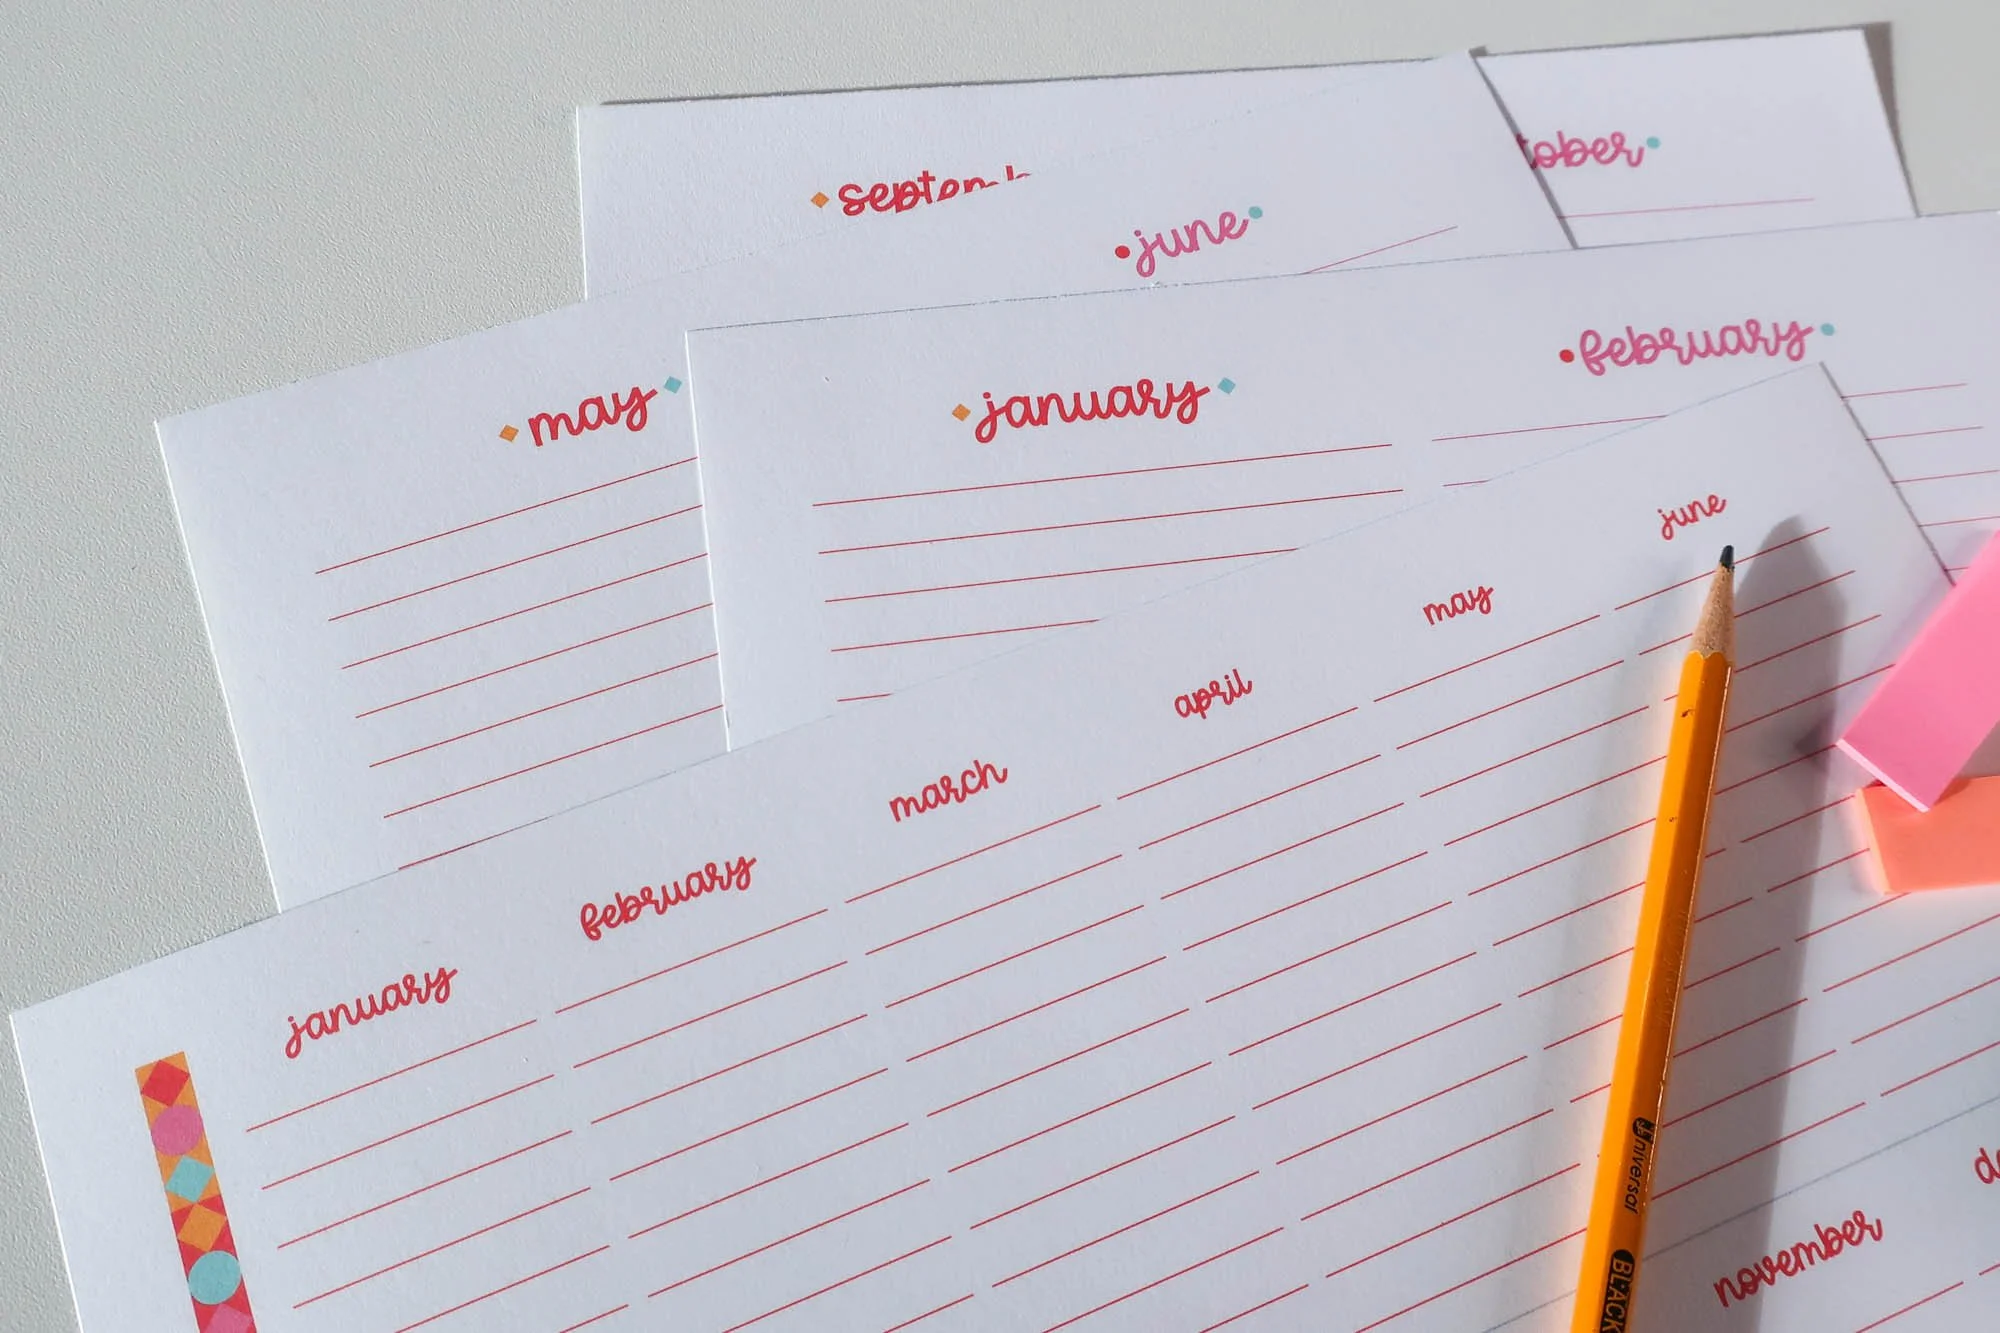
In my calendars, I like to use tools that can be erased or moved. I really love using erasable Frixion pens (they also work on fabric). But pencils are great options too. When planning my year of makes, I also like to include drawings or small print outs of a pattern’s line drawing. These can be taped on the calendar with washi tape. To highlight certain ideas, I like to use colorful post-it type flags or washi tape.
One of the great things about a printable calendar is that you can re-print pages as needed. You can even keep one calendar for tracking sewing, for example and another for birthdays, events or tracking other hobbies. A great way to use a calendar for sewing is to record the projects you started, worked on or finished during the month. Read on for all the details, including how to download the calendar for free.
How to download the calendar
The printable calendar is free to download when you sign up for the weekly newsletter. When you sign up, you'll get a download right in your inbox, plus the link and password to the Sew DIY resource library.
Note, the download is a zip file with three pdfs. I generally recommend downloading zip files to a desktop or laptop.
If you’re not on the newsletter yet, you can sign up below. It may take up to 15 minutes for the email to arrive in your inbox. If you don’t see it, try checking the spam box. (If it does end up there, you can add help@sewdiy.com to your contacts list to prevent it going there in the future.) If you are already signed up for the newsletter, you don't need to sign up again. Just check your email for the latest newsletter to find the link and password to the Resource Library. The calendar is in the “Printables” section at the bottom.
(Please note the calendar is for personal use only and not for profit or resale.)
Select the pdf you want to print
The calendar is sized for Half-Letter (5.5x8.5 inches) and includes two layouts. Here's a rundown on the different printing options:
If you are printing on Letter/A4 size paper:
Option 1: Use SewDIY-2026-Calendar-HalfLetter-2up.pdf to print two calendar pages per piece of paper. After printing, cut each page through the center to have half-letter size pages. You can also use this file to print double-sided so the pages can be used in a planner.
Option 2: To print a single calendar page per piece of paper, use SewDIY-2026-Calendar-HalfLetter.pdf. Select “Scale to Fit” to enlarge the artwork. (The art is all vector so it should scale up without an quality issues.)
If you are printing Half-Letter size paper:
Use SewDIY-2026-Calendar-HalfLetter.pdf to print a calendar that fits a half-letter page with no trimming required. This file can also be used to print a double-sided calendar.
The Year at a Glance file is named SewDIY-2026-Calendar-YearAtAGlance-Letter.pdf. This is designed to printed on Letter/A4 paper. The first page is horizontal and the last three pages are vertical so be careful that you have the orientation selected correctly. You can also print this file on Half-Letter by scaling down.
I recommend using the preview in the print dialog box and testing a single page before you print the whole calendar. For more tips on printing, check out this post.
Next I’ll show my preferred way of trimming the 2-up calendar. I like to use a metal ruler and utility knife. But, if you don’t have a utility knife, you can also use scissors or a paper trimmer if you prefer.
HOW TO cut THE FREE 2026 2-up calendar
SUPPLIES
2026 PDF Printable Calendar (See details above on how to download.)
Card stock in preferred size (4-14 pieces of Letter or Half-letter)
Cutting implement of choice: Metal Ruler & Utility Knife or Paper Trimmer
INSTRUCTIONS
STEP 1: Open the PDF “SewDIY-2026-Calendar-HalfLetter-2up.pdf” in Adobe Reader and load your printer with card stock. (See above for more info on paper sizes.)
STEP 2: Print out the calendar at Actual Size or 100% scale, either single sided or double sided. For tips on printing, check out this post.
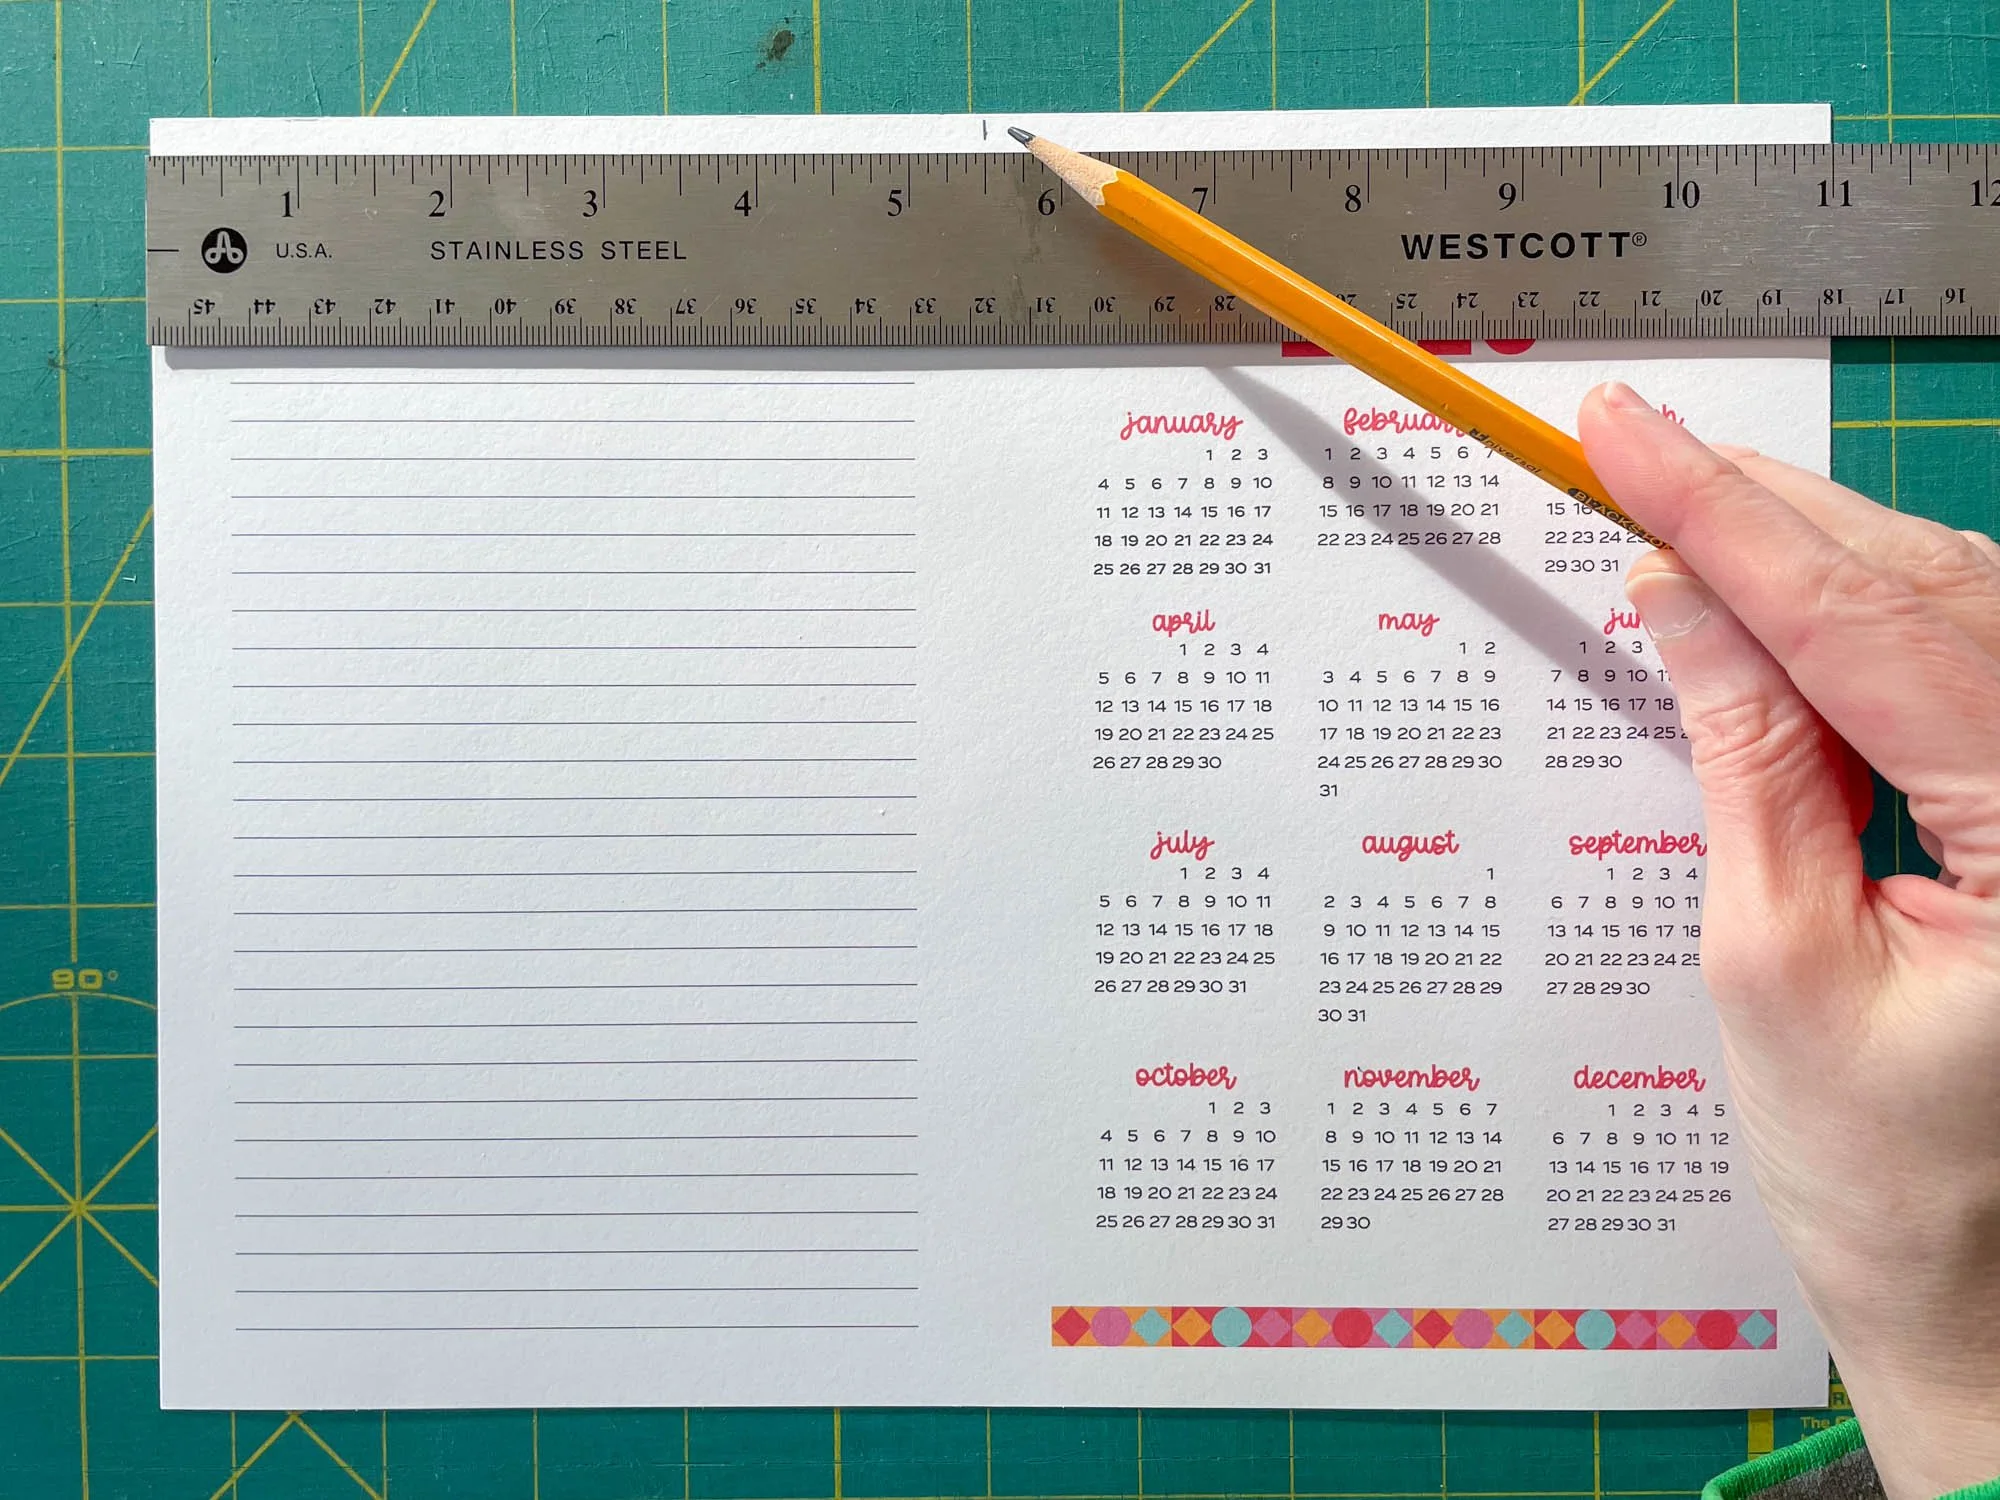
STEP 3: Use a ruler and pencil to mark the center of the page. For Letter size paper, this is 5.5 inches from each edge. Mark a small dash at the top and bottom of the page.

STEP 4: Align the right side of the ruler with the pencil markings. Start by placing the utility knife in one marking and set the ruler against the knife. Hold this edge in place. Stick the knife in the second marking and shift the opposite end of the ruler to meet that marking. Double check that the ruler is aligned correctly at the top and bottom.
STEP 5: Hold the ruler firmly with your left hand and use a blade or utility knife to cut the paper along the right side of the ruler. Be careful to keep the blade next to the ruler. You can use two short strokes with the knife to cut the paper. If desired, remove pencil markings with an eraser.

The Sew DIY Printable Sewing Planner is a set of pdfs that you can print at home to build your own project planner and sewing journal. The planner includes all the pages you’ll need to track, organize and document your sewing projects. As a bonus, I’ve also included undated monthly and weekly calendars so that you can continue to use this planner system for years to come.
The planner can be printed in the following sizes/formats:
Letter
A4
Half-Letter (plus 2-up or crop marks)
A5 (plus 2-up or crop marks)
This is a digital pdf product that includes 12 planner page designs, undated weekly and monthly calendars in four page sizes. THIS IS NOT A PHYSICAL PRODUCT. This product is for personal use only. Prices are in USD.
Above are links to our printable sewing planners. There are two design options. They each have the same pages, but different fonts and colors. Design option 1 uses blue as a highlight color and sans-serif fonts. Design option 2 uses yellow and a script font along with the sans-serif. You can check them out above or in the shop here.
I hope you enjoy your calendar! I’m excited to start planning out my year of patterns, blog posts and personal makes. Don't forget, if you share it on Instagram, use the hashtag #SewDIYCalendar. Happy sewing!


Pin this image to save this post for later.


