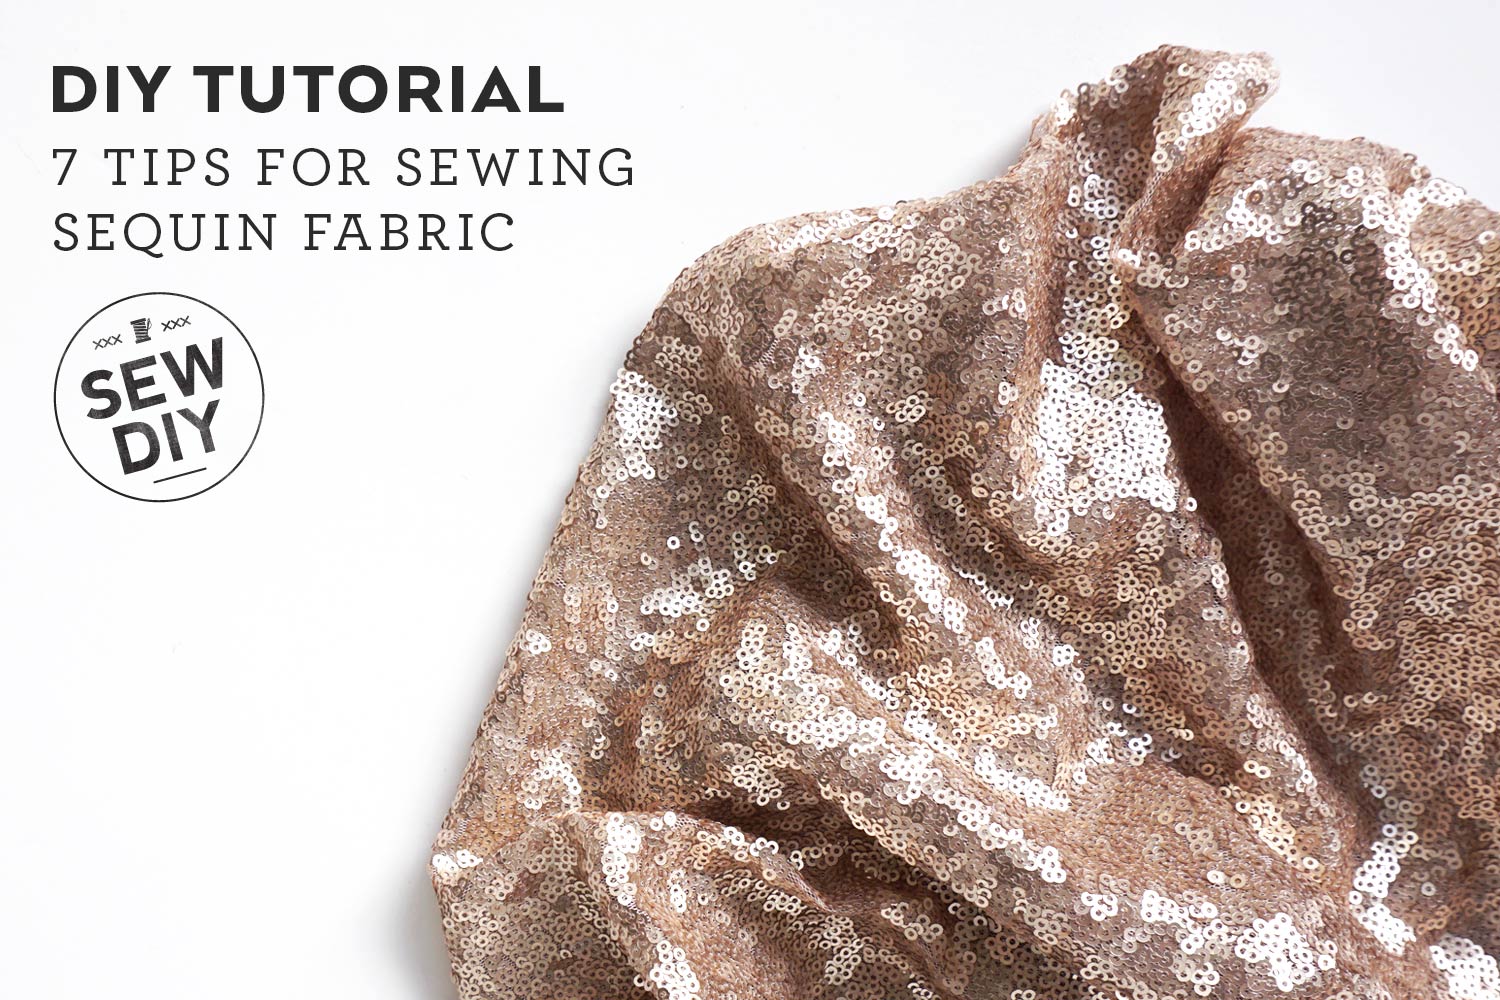
Sequin fabric is the peacock of the fabric world. So pretty, so flashy and so hard to resist. I’ve sewn with it a few times and it is not without its challenges. There are already a lot of great tips out there for sewing with sequins that have helped me on my journey but I thought it would be worthwhile to add my two cents on what’s worked for me and where I’ve run into frustration.
7 TIPS FOR SEWING SEQUIN FABRIC
1) Choose a simple pattern
First off, determine if your fabric has stretch in it. Sequin fabric can be stretchy (hello, ice dancing costume!) or not and you’ll want to choose a pattern accordingly. Sequins are significantly bulkier than regular fabric so you’ll also want to choose a simple shape, i.e. not very many pattern pieces. (This will also help you in tip two.)
For example, instead of a dress pattern with princess seams, choose one like the Mesa Dress with a simple front and back and no darts (check out my sequin Mesa Dress here). For separates, you might try one of my patterns – a Lou Box Top or Nita Wrap Skirt. Both have endured the sequin test with success. Last month on Instagram, Victoria shared a sequin Lou Box Top that is just to-die-for. It’s a very simple shape with just two pattern pieces plus I have instructions for how to line it here. I made a Nita Wrap Skirt from sequin fabric last month and shared specific tips here.
2) Include a lining
As someone who has not worn many sequin fabrics, I never realized before that sequins are really scratchy and uncomfortable. When sewing your own garment, you’ll want to choose a pattern that includes a lining or add one to the pattern.
3) Take care of your equipment
Sequins are nasty little buggers that will dull any blade. So, use an old pair of scissors to cut the fabric and definitely don’t use your serger. On the advice of By Hand London, I used a leather needle and stitched right through the sequins. A leather needle is made to pierce the fabric and I didn’t have any problems.
BONUS TIP: If your sequin fabric has stretch, remember to use a stitch that also has stretch. (But again, do NOT use the serger.) I used a narrow zig-zag stitch and it worked just fine.
4) There will be sequins. Everywhere.
Place a drop cloth underneath the area where you are cutting the sequin fabric. I especially had this problem when I made this sequin dress and removed the sequins from the hem allowance. A year later, I’m still finding sequins (which may say more about my housekeeping ;).
5) Don't sweat it
If you’re lazy or just crunched for time AND your sequins are small, it’s ok to NOT remove the sequins from the seam allowance. I know, that’s maybe a little controversial. It's a personal choice but I found the sequin removal to be really tedious and just not worth the trouble.
I was working with small sequins in a serpentine pattern so there was no easy way to remove a bunch at once. It took hours and my hand cramped from gripping the seam ripper for so long. If I were going to wear the sequin garment often or if it was for a very important event, I might take the extra time to remove the sequins. But, in reality, I’ve worn my sequin garments once (or never!) so spending hours removing sequins and making a big mess just wasn’t worth it to me.
By the way, Sara does a great job of explaining both methods (removing and not removing the sequins) in this post on the We All Sew blog.
6) Don’t iron but do press
The heat from an iron can damage the sequins but you will want to get those seams as flat as possible. If you’re not removing the sequins from the seam allowance, you’ll need a bit of pressure to flatten them. Sometimes finger pressing will work but if you need more force, you can use a rolling pin or something similar.
7) Don’t topstitch
A topstitch just doesn’t work with sequin fabric but since you’ve included a lining, you can slip stitch the hem to the lining. If your fabric is stretchy, remember to use a hand stitch that has stretch in it. Lucky for you, I have a tutorial on how to do that right here.
Additional resources:
By Hand London
Craftsy
We All Sew