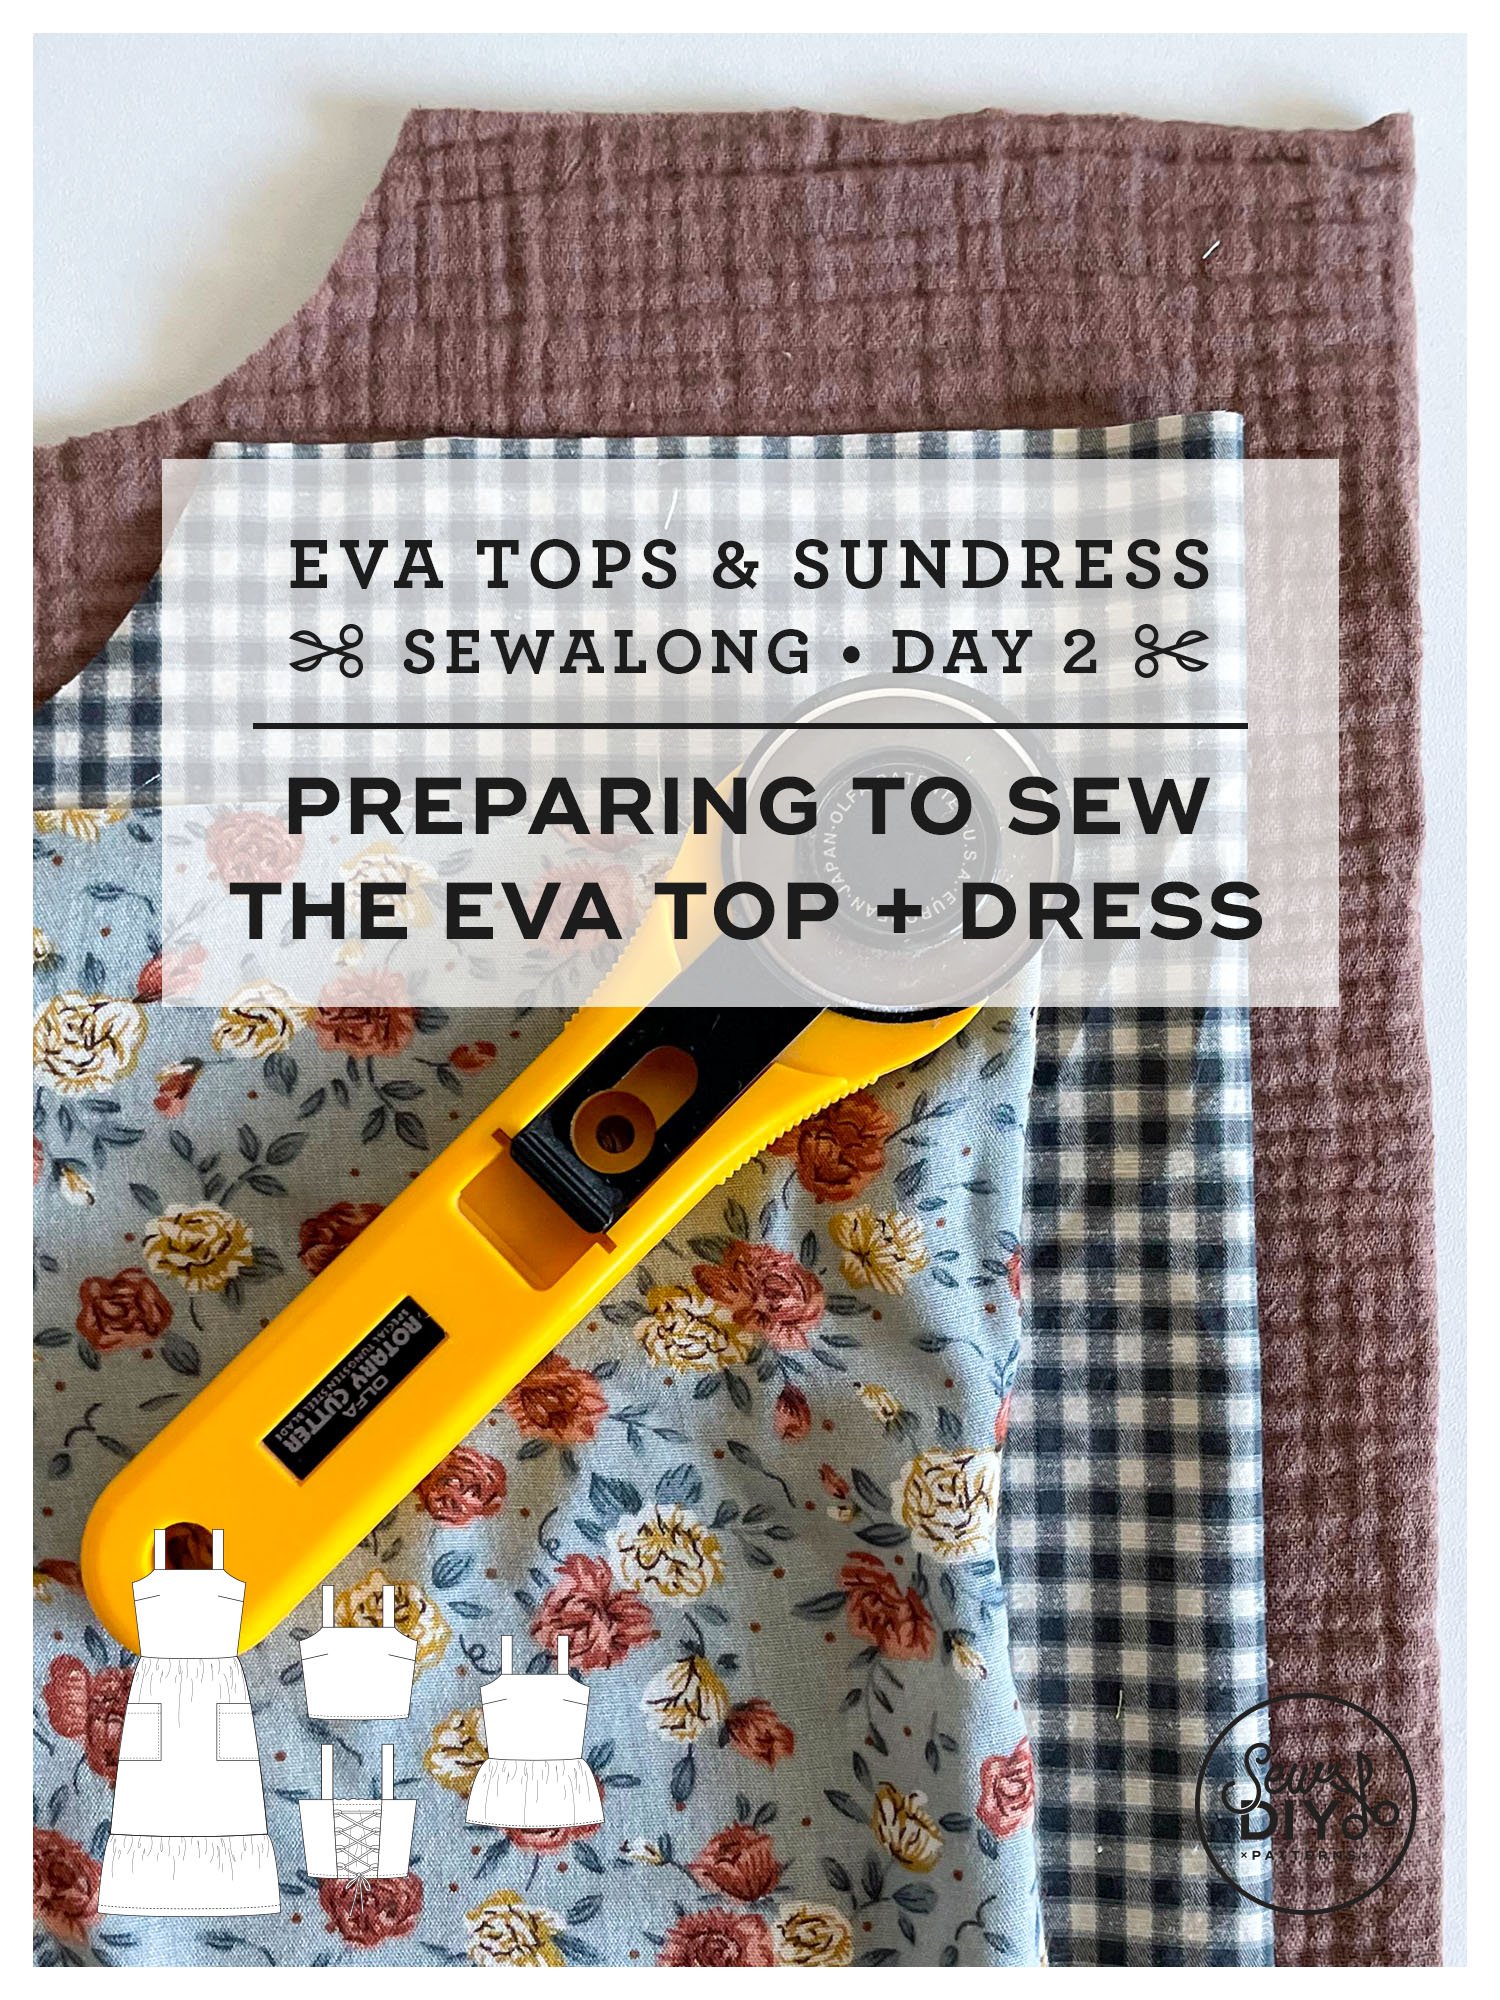
Welcome to the second installment of the Sew DIY Eva sewalong. In today's post, we'll talk about measuring yourself and selecting a size. Then we'll print out the pattern and I'll show you two different methods for cutting out the rectangular pieces of your sewing pattern. And finally you'll cut out all the pattern pieces and interfacing. Let's get started.

Watch the video above (or on YouTube) for all the details on preparing to sew the Eva Tops and Sundress. See the time stamps below if you want to skip ahead to different sections.
TIMESTAMPS
How to measure and select size 00:39
How to print the pattern 3:38
Cutting the rectangular pattern pieces
Cutting list worksheets 7:08
Method 1—Make pattern pieces out of paper 8:09
Method 2—Tear the fabric 9:55
Cut the bodice and interfacing 14:30
How to measure and select your size
The Eva pattern is drafted for sizes 0-32 and includes three cup size options for all sizes, just like our Miri Tank Top pattern. You can choose from an A/B cup, C/D cup or E/F cup for a customized fit through the bust.
To take your measurements, you'll want to use a flexible measuring tape. The two most important measurements for this pattern are the full bust and the upper bust. The upper bust is circumference of your body under the armpits, at the top of the chest. This measurement helps us find the right size to start with. The full bust is measured around the fullest part of the breasts and will be used to select the cup size.
TIPS FOR TAKING MEASUREMENTS
Wear the undergarments that you’ll wear with the top or dress. So let's start with the upper bust.
Try to have kind of a neutral breathing position
Try to have that measuring tape be level to the ground.
Don't pull it too tight or let it fall down. Just have it in a really comfortable position.

The pattern booklet will take you through the steps of selecting your size, sewing a quick muslin and evaluating the fit.
When selecting your size, you'll start by finding the size closest to your high bust measurement (it's ok to round up or down). Then go down that column to find the measurement that most closely matches your full bust (again, it's ok to round up or down). The pattern instructions have additional information on how to select your size. For this pattern, sometimes you will want to round up, sometimes you'll want to round down. Choose the size that is closest to your measurements.
If you're interested in the technical bit of what exactly an A/B cup is, let me tell you. So, in the world of pattern drafting, the bust cup is determined by the difference between the high bust measurement and the full bust measurement. A 1" difference is an A cup, 2" difference is a B cup, 3" is a C cup, etc. The A/B cup is drafted to be right in between a sewing A-cup and a sewing B-cup–a 1.5" difference between the high bust and full bust. Likewise the C/D cup is drafted for a 3.5” difference and the E/F cup is for a 5.5” inch difference.
If you want, you can also measure your waist and your hips. The pattern is very loose fitting in the waist and the hips. So it's good to be aware of those measurements, but they are not as essential as the bust and upper bust.
How to print the pattern
For this pattern, the only pattern pieces that need to be printed are the front bodice and front bodice facing pieces. The pattern includes multiple types of printing files: a tiled print-at-home file, A0, US copy shop and projector files.
The pattern files are organized with the cup size in the name.
When you're ready to cut out your pattern, you'll first want to go to the cutting list worksheets. And there is a different worksheet for each view of the pattern. On page seven, we have the crop top. Page eight is the peplum and page nine is the sun dress.
Additionally, there is a Cutting List Worksheet for each view of the pattern. I recommend printing out this page and using it to record and track the rectangular pattern pieces. The instruction booklet has charts for the rectangular pattern pieces, one in inches and one in centimeters.
How to cut out the rectangular pattern pieces
There are a few ways you can cut out the rectangular pieces. For the first method, you can draw the rectangles directly on your fabric and cut them out. Similarly, you can draw the rectangles on paper and make your own pattern pieces. This is a great option if you plan on using the pattern more than once. Or, if you like working with paper patterns. If you use translucent paper to make the pattern pieces, you can use the grid on a large self-healing cutting mat to create the shapes.
The second approach is to tear the fabric. There are some benefits and some drawbacks to tearing your fabric. First off, tearing fabric is really easy to do and most fabrics will tear.
One benefit of tearing, is that the fabric will tear along the grain line. And it will tear both widthwise and lengthwise.
A drawback to tearing is that sometimes the process of tearing will warp the fabric a little bit. So just watch out for that and you might need to kind of pull the fabric back into a rectangle shape. Or press it back into shape. One thing to be careful of is that as you're tearing it, it's going to be easiest to just tear all the way through and tear a whole strip off of the length.
HOW TO TEAR FABRIC
Step 1: Get a list of the rectangles you need. For this pattern, I will generally use a rotary cutter to cut the smaller pieces (such as the back bodice pieces, back facing and pockets). Then I will tear strips for the skirt, peplum and ruffle.
Step 2: Measure the width of the fabric and decide if you want to adjust the width of any pattern pieces to maximize fabric usage. For example, if I have 60” wide fabric and I need two gathered peplum pieces that are each 33” wide, I will adjust that width to 30” so that I save fabric. Alternately, you may want to increase the width of a gathered piece to use more fabric and create less waste.
Step 3: Tear a clean edge on one side of the fabric. Fabric is usually not cut on grain so tearing a new edge will make sure it’s on grain. Cut into the selvage, close to the cut edge. Tear to the other side of the fabric. You usually won’t be able to tear through the selvage. So, cut the selvage on the other side.
Step 4: Measure the height of the pattern piece you need to tear and snip into the selvage. Tear to the other side and cut through the selvage with scissors. Cut down this strip as needed using scissors or tearing.
Step 5: If the fabric is warped, pull it or iron it back into a rectangle shape. If desired, you can trim the frayed edges. Or, just finish them as usual during the construction process.
Want more tips for maximizing fabric usage? Check out this blog post.
Cut out front bodice and adhere interfacing
If you haven’t already, now is the time to cut out the front bodice and front facing using the printed pattern pieces. Additionally, you’ll need to cut interfacing for the front and back facing pieces and fuse it to the fabric. Check out this blog post for tips on interfacing.
In the upcoming blog posts, we will be diving into the construction and sewing of the Eva Tops and Dress. Head over to the Eva Sewalong page for all of the blog post and tutorials that will help you sew this pattern.

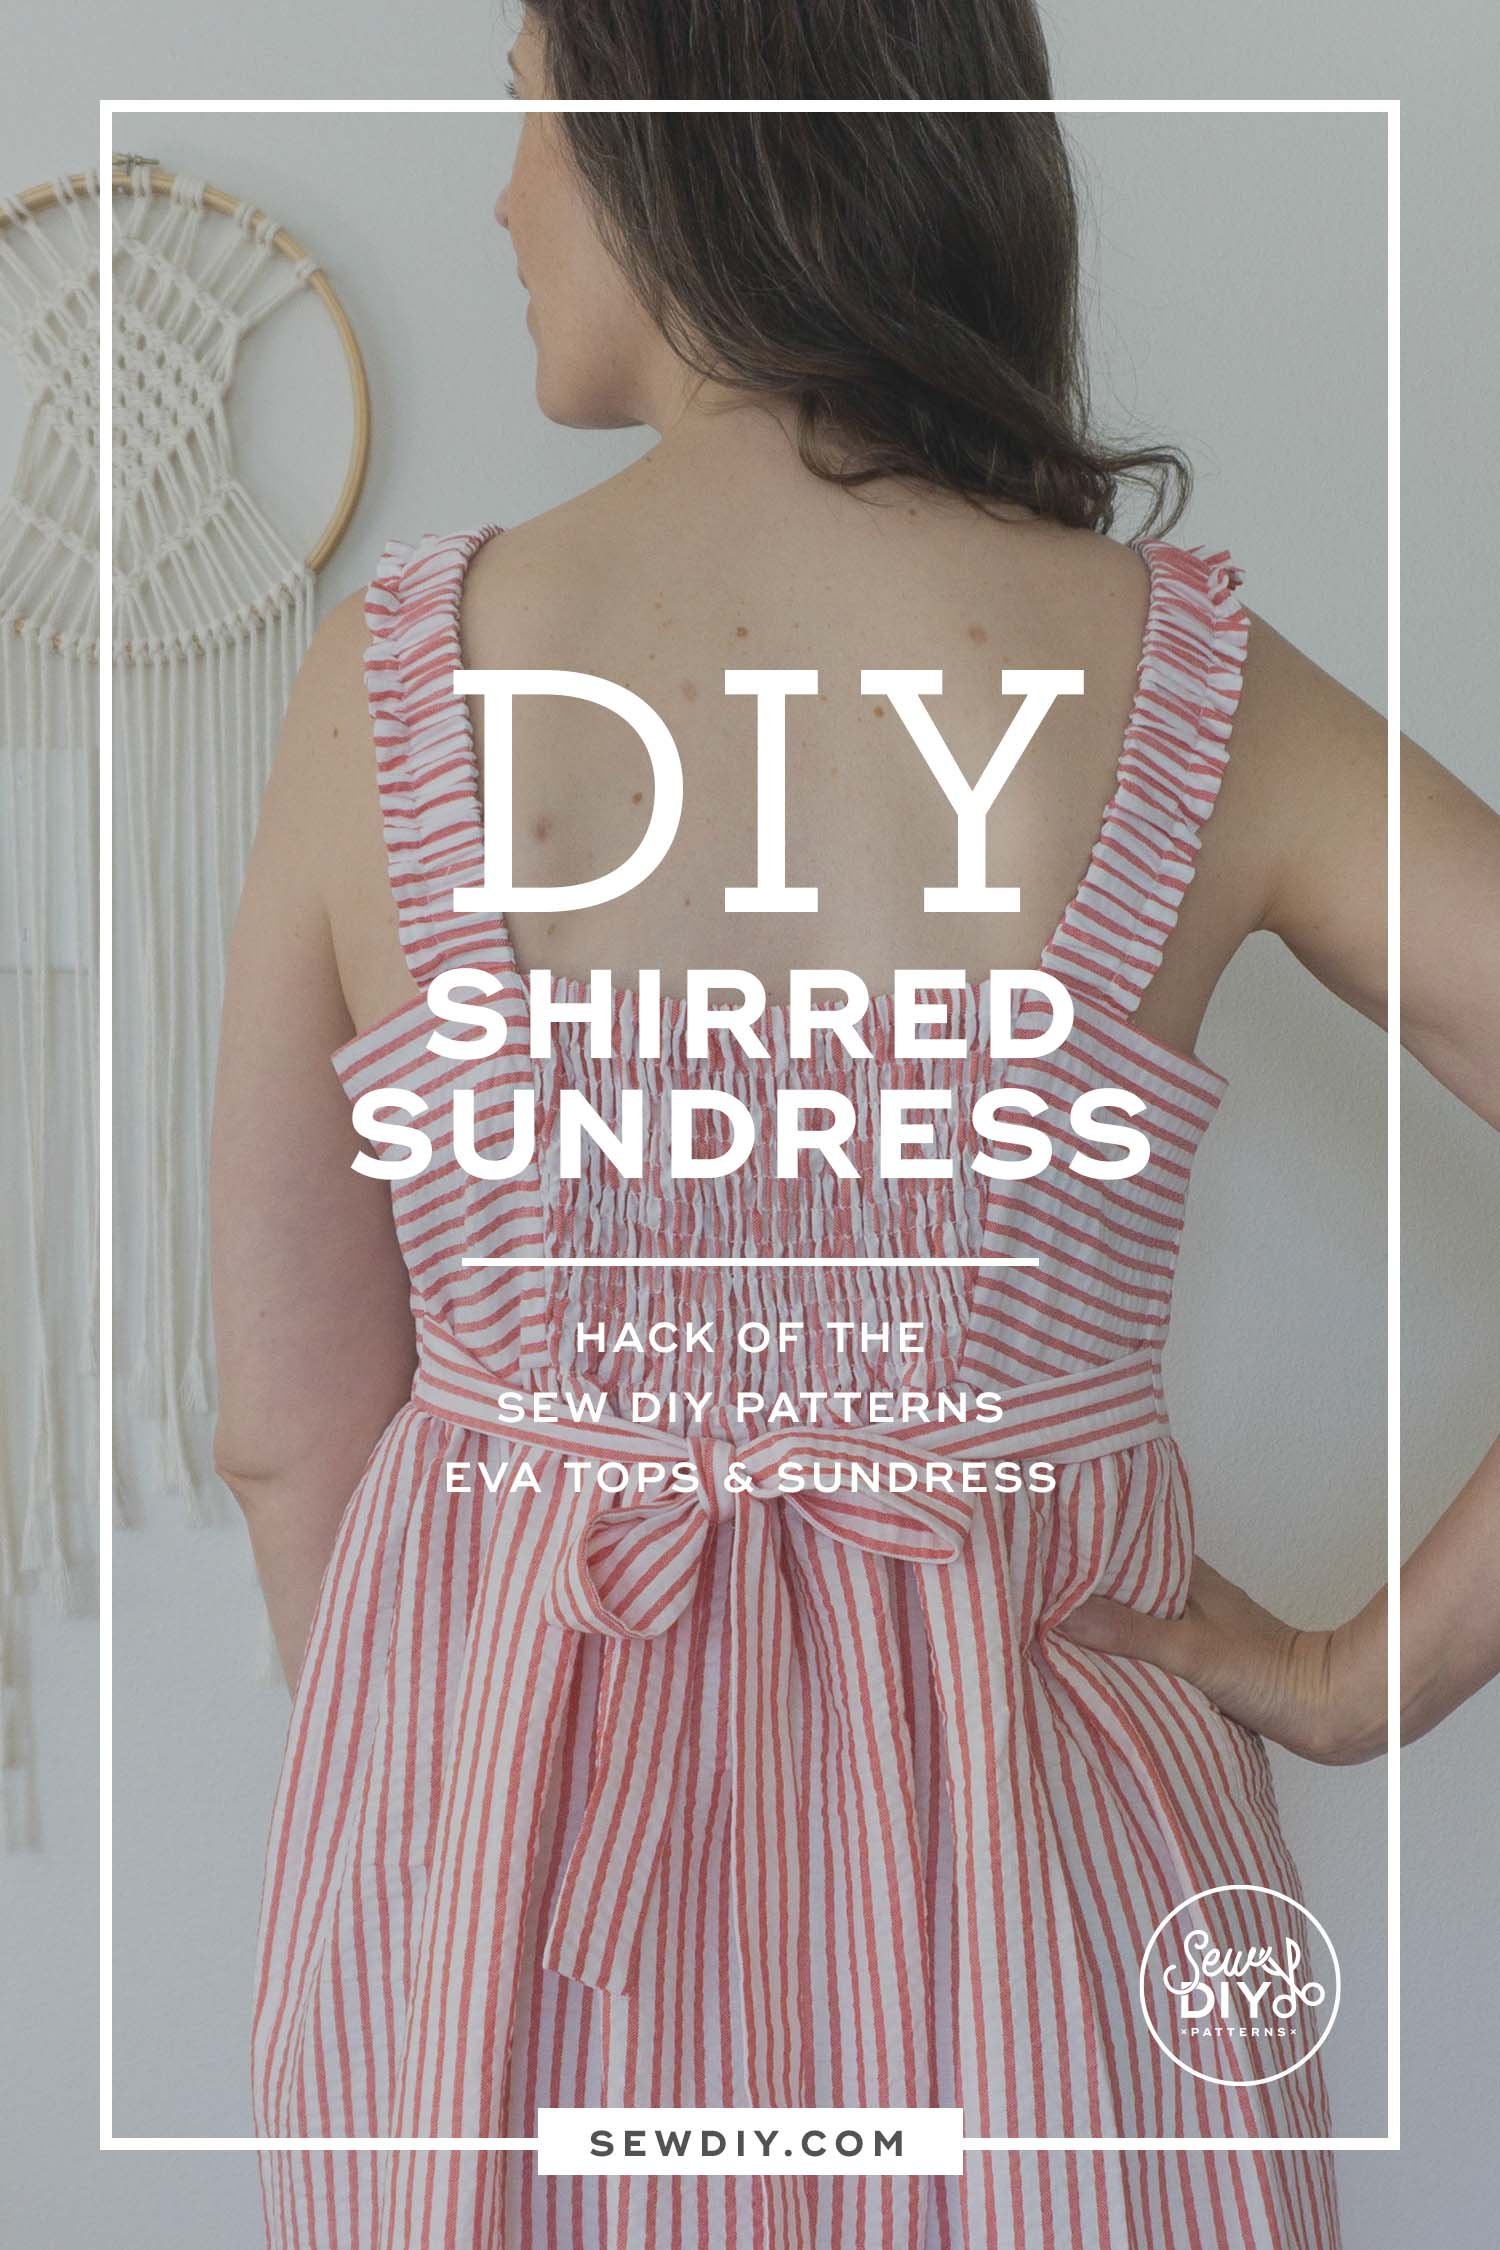
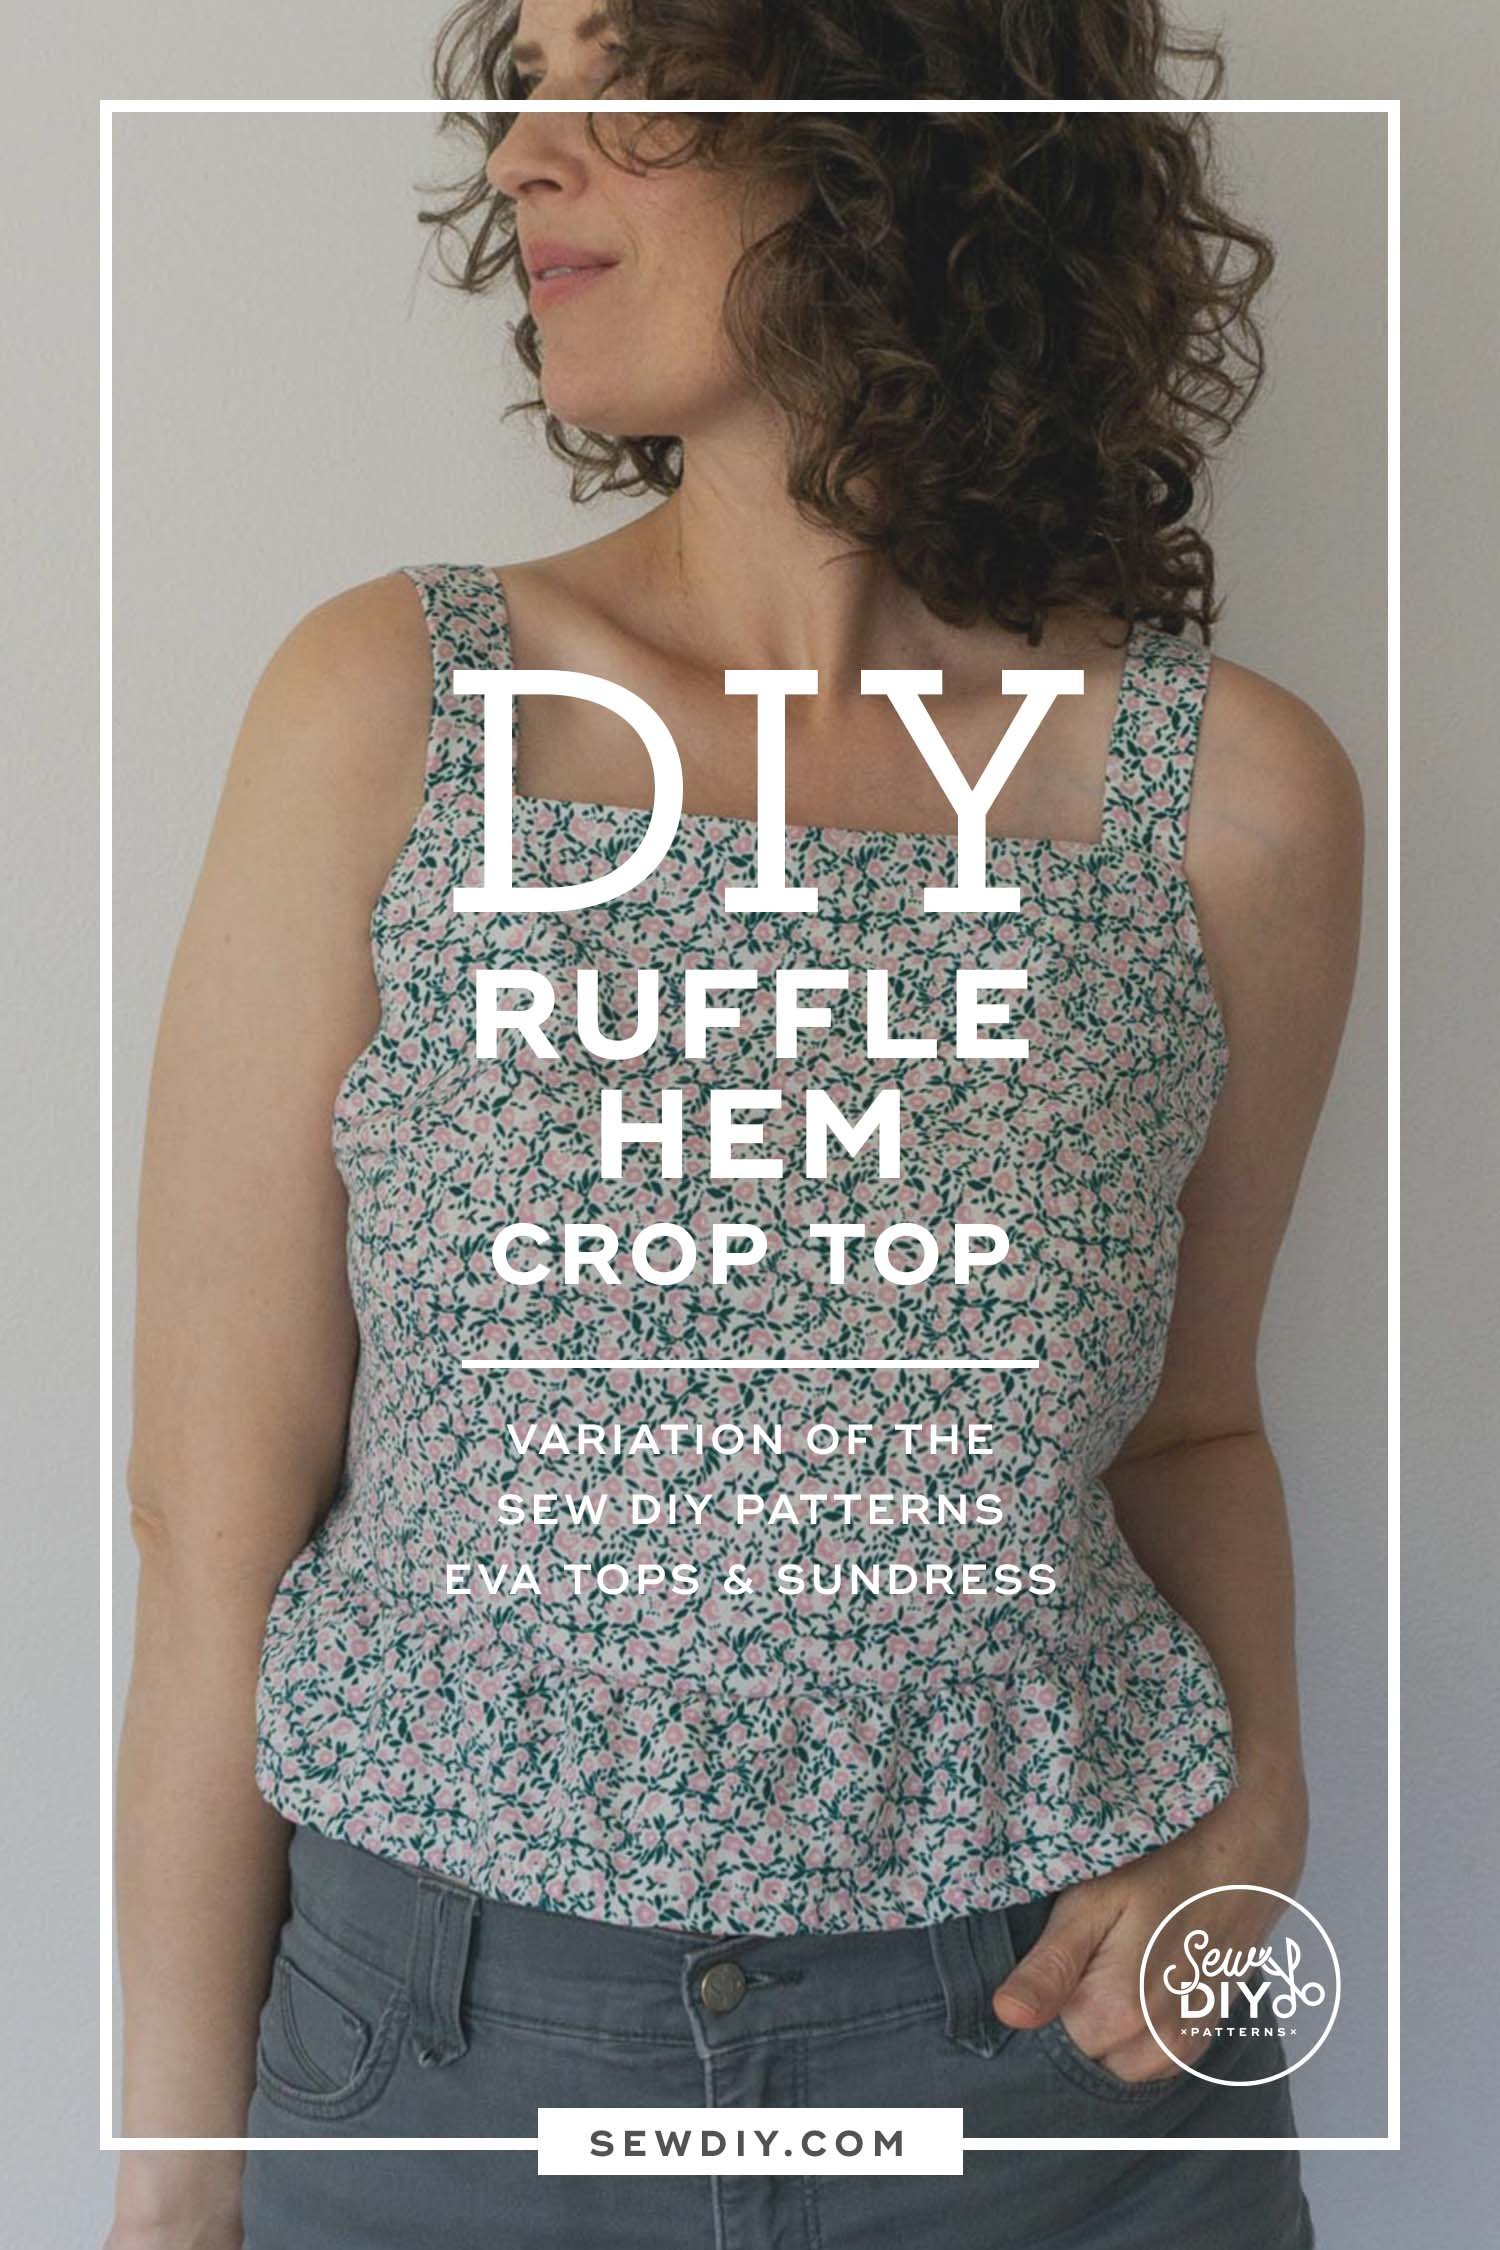
These semi-fitted tops and sundress feature a square neckline, side bust darts and are fitted at the back with a combination of narrow elastic and criss-crossed lacing. View A is a crop top that ends at the waistline. View B has a ruffled peplum and ends at the high hip. View C is a dress with a calf-length skirt and ruffle at the hem.
The pattern is a hybrid of a traditional pattern that you need to print and a zero-waste style pattern. You will need to print (or project) the front bodice and front facing pattern pieces. The remaining pattern pieces are rectangles that you can draw directly on your fabric (or paper) and then cut out, saving you paper and fabric.
This digital pattern includes an illustrated, step-by-step instruction booklet, a print-at-home layered pattern for letter or A4 size paper, a US copy shop pattern, an A0 size pattern and a projector pattern. All pattern files have layers. Pattern files are separated by cup size so that you can easily print only the pattern pieces that you need.
Visit the sewalong for more information, tips and tutorials.
Model is 5’11” and is wearing a size 12 C/D cup.
THIS IS NOT A PHYSICAL PRODUCT. After checkout, you will receive a link to the pattern that will be active for 24 hours after you click it. Prices are in USD.
About the Sew DIY Eva pattern:
These semi-fitted tops and sundress feature a square neckline, side bust darts and are fitted at the back with a combination of narrow elastic and criss-crossed lacing. View A is a crop top that ends at the waistline. View B has a ruffled peplum and ends at the high hip. View C is a dress with a calf-length skirt and ruffle at the hem.
The pattern is a hybrid of a traditional pattern that you need to print and a zero-waste style pattern. You will need to print (or project) the front bodice and front facing pattern pieces. The remaining pattern pieces are rectangles that you can draw directly on your fabric (or paper) and then cut out, saving you paper and fabric.