How to Sew a Slip Stitch by Hand - VIDEO TUTORIAL

How to Sew a Slip Stitch by Hand - VIDEO TUTORIAL

I love using my sewing machine but there are times that I prefer to sew by hand. And most of the time, I use a slip stitch. The slip stitch is very useful in place of topstitching on hems and bias facings when sewing with delicate fabric. The magic of this stitch is that it is nearly invisible from the right side of the garment. And because it’s invisible, even if you have a difficult fabric, no one will know that your stitches aren’t perfect.

If you are looking for ways to slow down your sewing practice, hand sewing is a great practice. Not only will you have a beautiful garment, but you’ll get to relax a little bit into the process and really take your time and take care of your fabric.

Tips for How to Use a Twin Needle - VIDEO TUTORIAL

One of the best ways to finish off your knit projects is to use a twin needle to stitch the hem. The great thing about a twin needle is that it can be used on any conventional sewing machine (as long as the needle plate can accommodate the width of the two needles) but sometimes it can be challenging to use.

In today’s video, I’ll give you some tips that you can use to trouble shoot your twin needle stitching.

1) Use wooly nylon thread

2) Use wash away adhesive sewing tape

3) Adjust the bobbin tension (I’m a little reluctant to recommend this and have never actually done it so PROCEED WITH CAUTION. I suspect it could work because a lot of the issues around twin needles is that the bobbin thread is too tight. But, it could be challenging to change the tension back. So, research it. On my Brother CS6000i, the only way to get it to work with elastic thread in the bobbin is to adjust the bobbin tension and it was recommended to buy a second bobbin case expressly for that purpose.)

4) If your machine has it, use the twin needle setting. (I’m using a Janome Memory Craft in this example and it makes a noticeable difference when I use the twin needle setting.)

5) Thread the machine according to your machine’s manual. (And thread each thread separately, not both at the same time.)

6) If you’re still having problems, do a google search for your specific machine. Other people might have posted about it.

I hope that you’ve enjoyed this video. I have a whole series of YouTube videos planned focused on tips and tutorials for sewing with knits. In case you missed it, make sure to check out last week’s video “How to Adjust Serger Tension". And if you haven’t done so already, I’d be so grateful if you subscribe to my channel on YouTube.

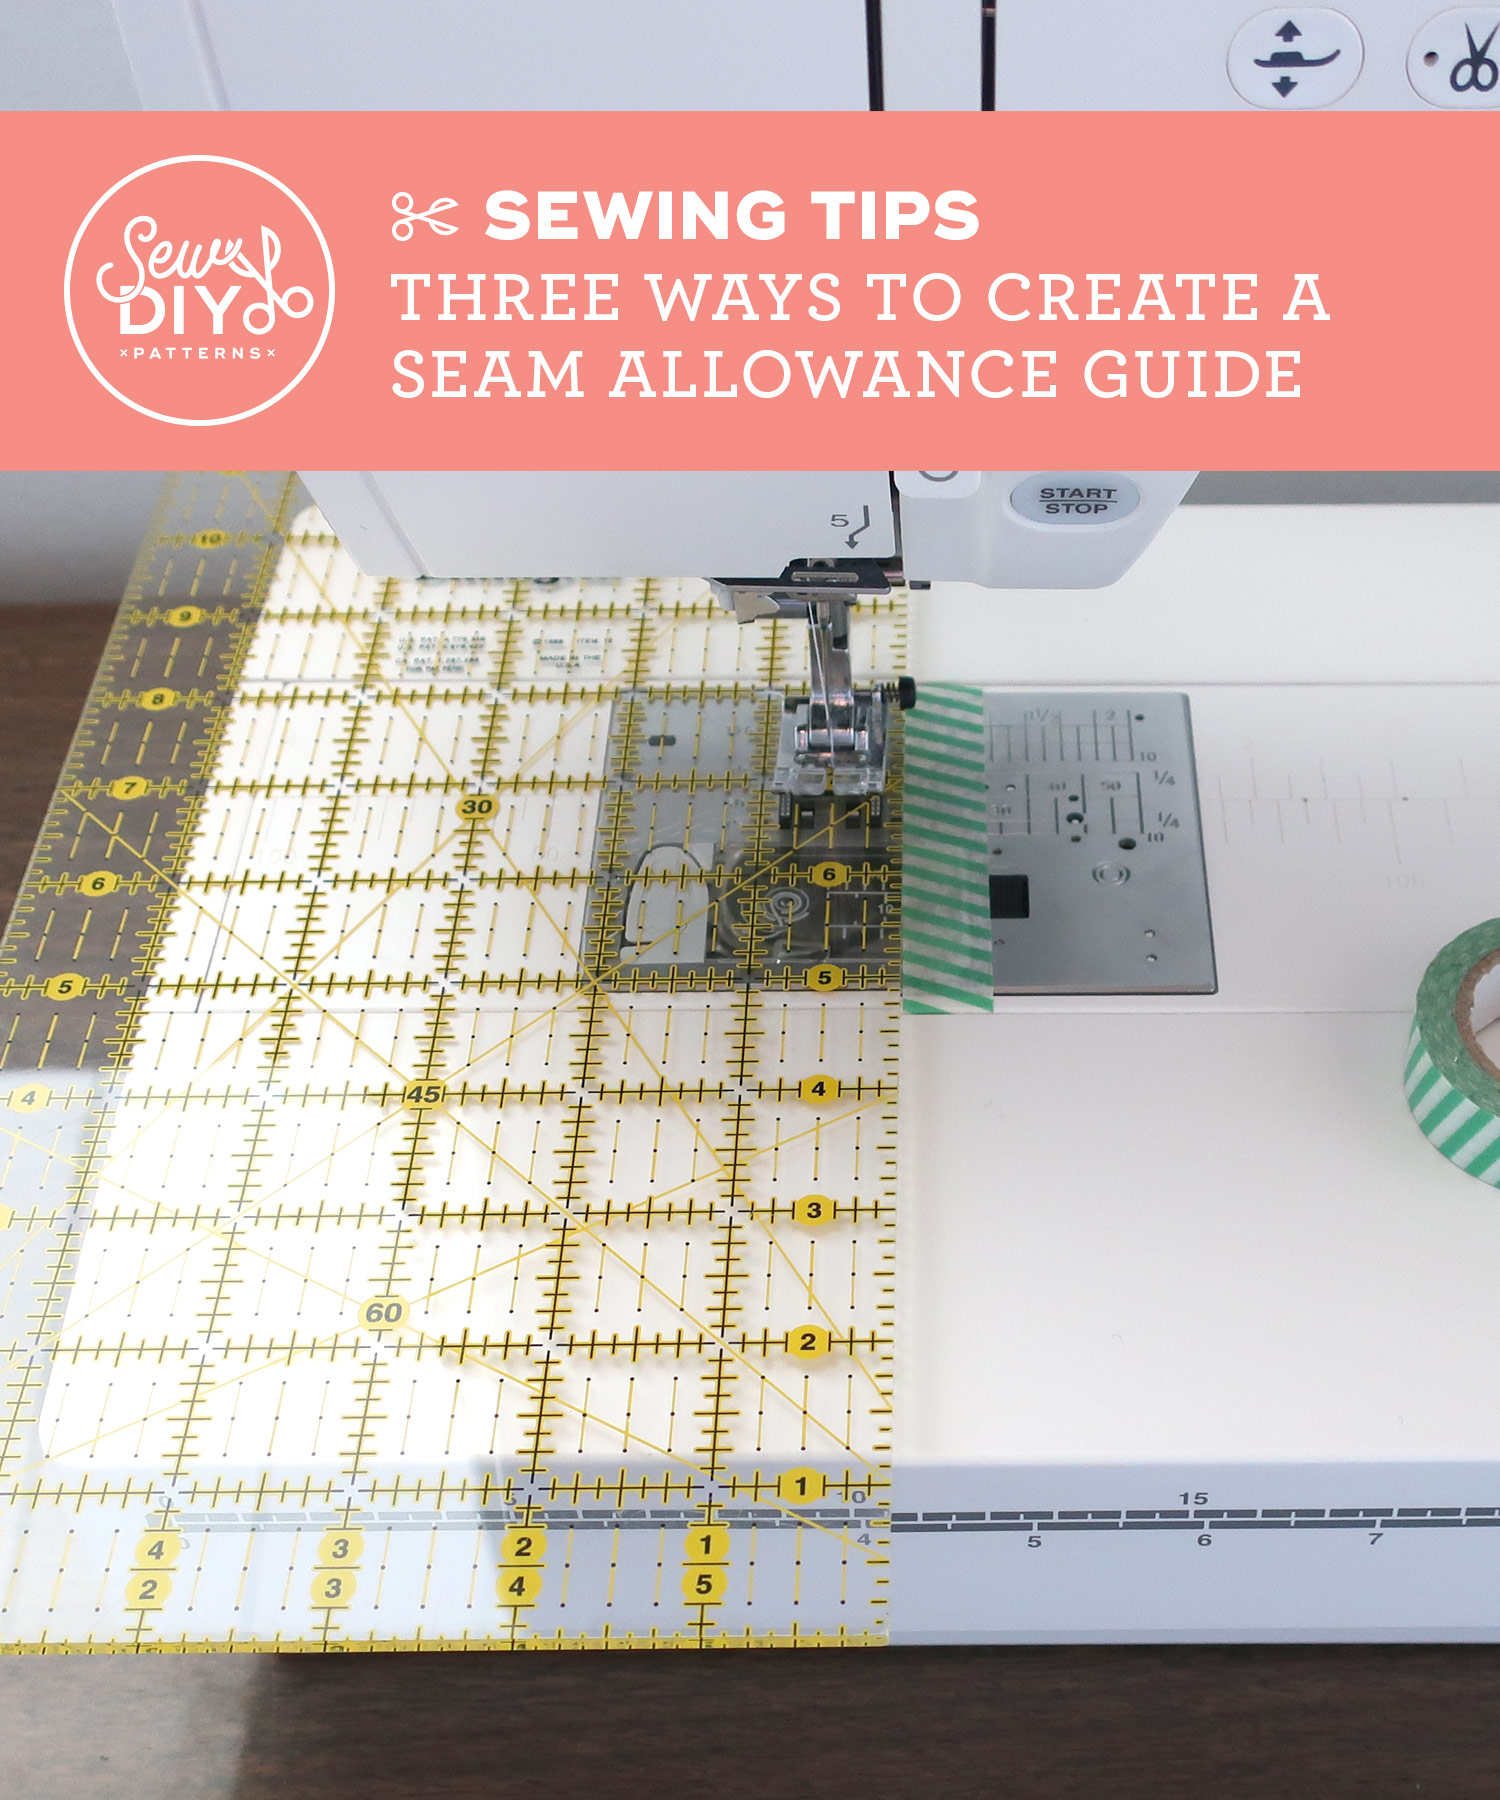
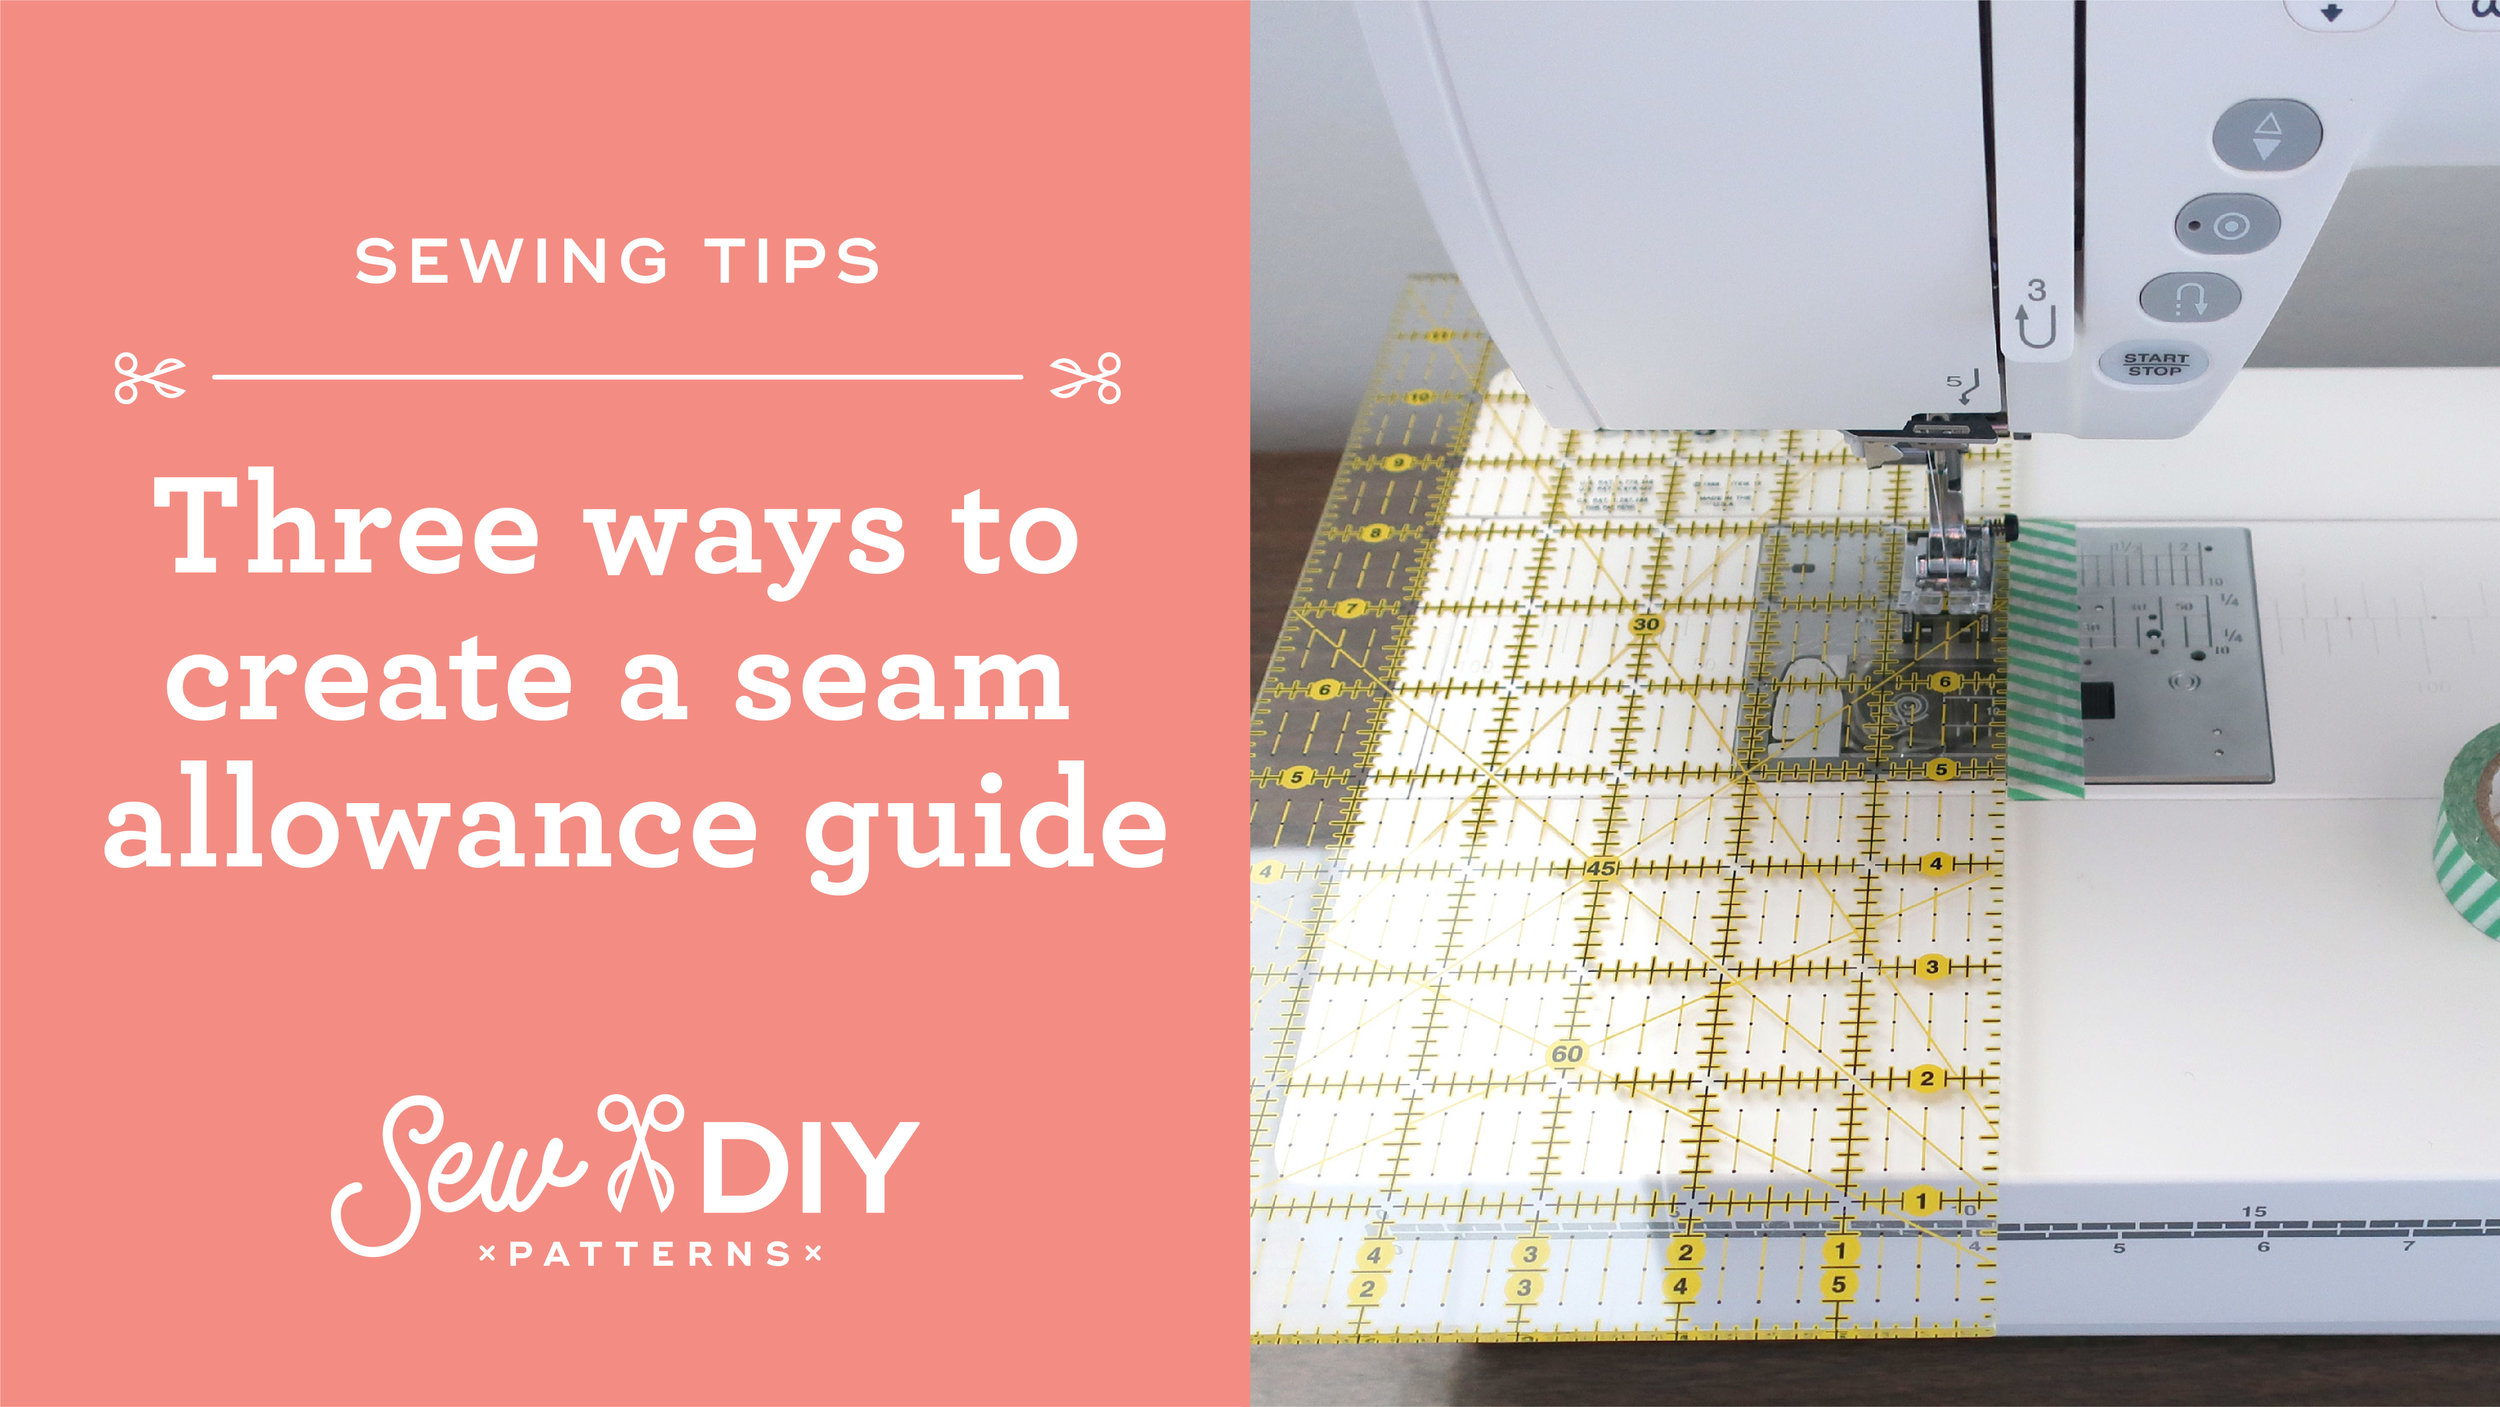
Three Ways to Create a Seam Allowance Guide

Three Ways to Create a Seam Allowance Guide, a Video tutorial from Sew DIY

Today I have a new sewing video for you! The video shows three ways to create a seam allowance guide for your sewing machine. Using the correct seam allowance is very important for ensuring a successful finished garment and a guide that is easy to see and stays in place is the best way to make sure you are using a consistent and correct seam allowance.

Making videos is new for me and I’ve really been enjoying it. I’ve started a YouTube channel and for the time being, I’m going to try to post a new video once a week. I’d be ever so grateful if you follow my channel and let me know if there are any topics that you’d like me to cover. And in case you missed it, make sure to watch last week’s video tutorial How to Sew On Snaps with a Sewing Machine. Happy sewing!