

Welcome to the first installment of the Tasi Robe and Jacket sewalong. Today, I’m sharing some images of ready-to-wear garments as inspiration for how you can style your Tasi Robe or Jacket. I often find it helpful to see how other people style a certain design and what fabric they select. Looking at RTW is also great inspiration for making variations or hacks to a pattern.
CHECK OUT THE TASI PATTERN IN THE SHOP
I love how easy it is to adapt the Tasi pattern. Just by changing the proportions of the sleeves, body and pockets, you will have a whole range of garments that you can wear in your everyday life.
Image sources, clockwise from top left:
1) Pinterest, 2) Pinterest 3) Sleeper 4) Jenni Kayne 5) Etsy 6) Elizabeth Suzann
More about the Tasi Draft-it-Yourself Robe and Jacket:
This draft-it-yourself pattern will walk you through each step of designing and drafting your own custom fit pattern. You choose the proportions you’d like and we give you the formulas to draft all the pattern pieces. Because you’re starting from scratch, you can make this garment in any size you like for any human body. If you’re not up for doing the calculations yourself, or just want to double check the math, we’ve created a spreadsheet calculator that does the work for you.
View A is a classic robe with patch pockets, a tie belt and carriers. View B is a casual jacket with turned back cuffs, oversized pockets and a hem band. It’s easy to adjust the design of this pattern to suit your personal preferences and we even give you a few ideas for ways you can customize and adapt this pattern.
For more help sewing the Tasi, check out the links below, or click here to go to the main Sewalong page. Some of the posts linked are from older sewalongs that use the same or similar techniques to this pattern. If you haven’t purchased the pattern yet, you can get your own copy in the shop. Happy sewing!

Hello sew-friends! In today’s YouTube video, I’m showing the step by step process of sewing a cardigan (mostly) using a serger. This is a really quick project and the perfect garment to add to your Fall wardrobe. I love wearing cardigans as a lightweight layer throughout the year and I’ve been wearing this one practically non-stop since I finished sewing it. I haven’t even trimmed some of the threads yet! You might recognize this cardigan as part of my nine piece Work-From-Home mini capsule wardrobe. I like that it’s just as comfortable as a robe but feels like I’m actually getting dressed. Read on to watch the video tutorial and learn more about this cardigan.
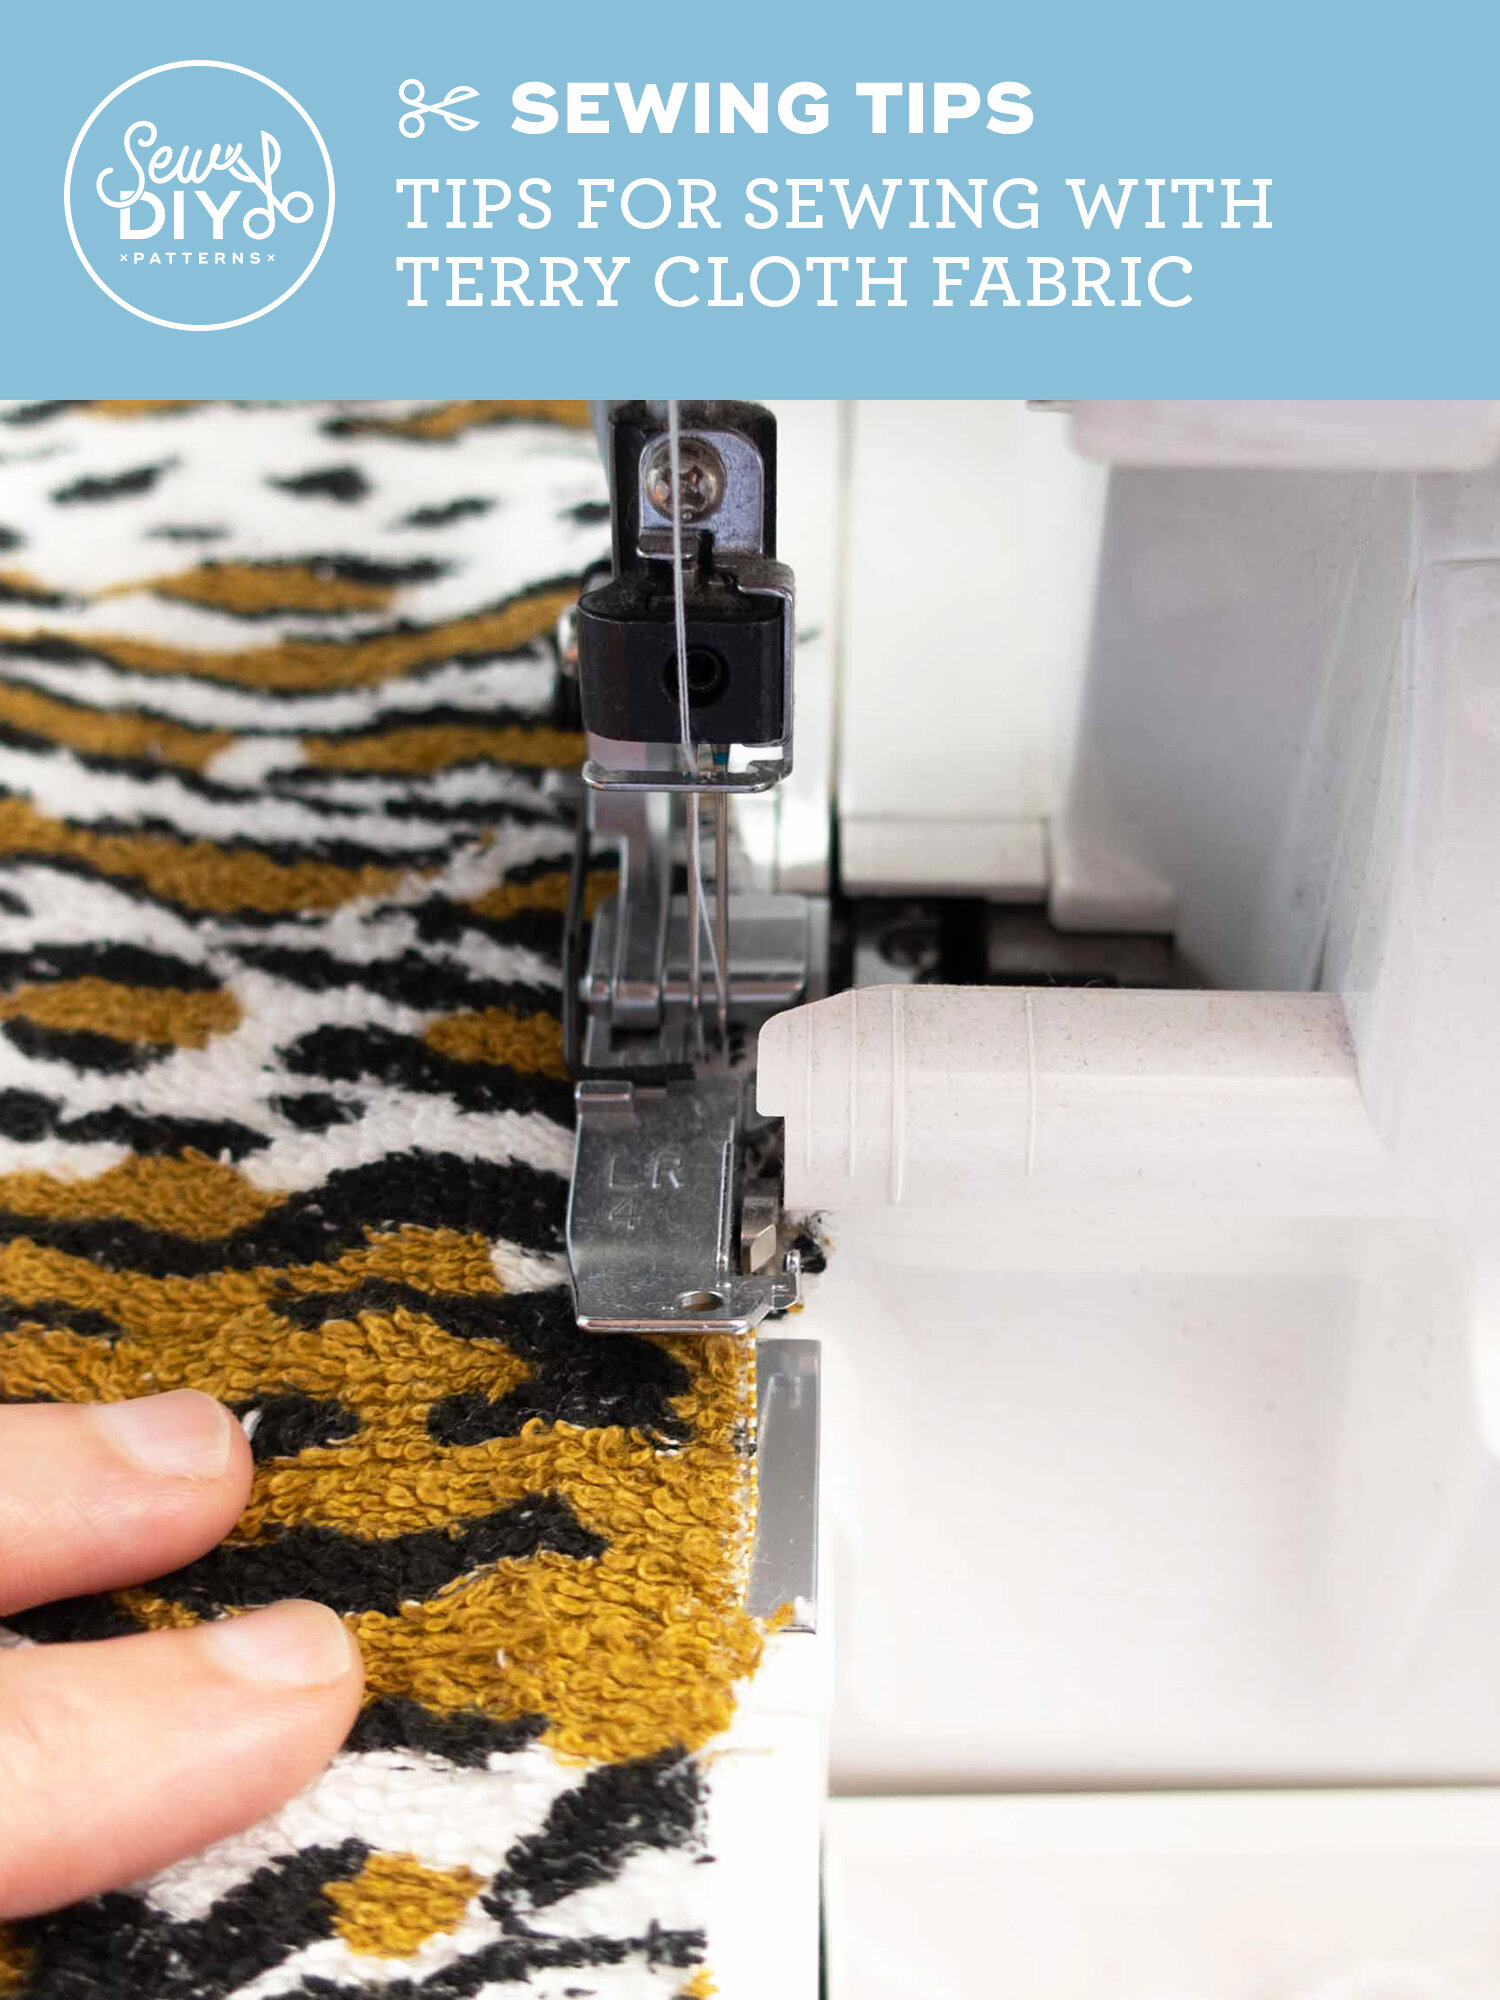
Terry cloth is one of those fabrics that’s in every household but not in every fabric stash. Last week, I shared my terry cloth pool robe and I thought it would be useful to share a few tips for sewing with this unique fabric. You’re probably most familiar with terry cloth from your bathroom towels. It’s a dense fabric made up of thread loops on both sides. It’s a thick and absorbent fabric making it great for robes or swim coverups.
Terry cloth is honestly not very hard to work with but there are a few things to be aware of before you jump in. Read on for more information.

Today, I’m sharing one of my latest makes and probably the most fun thing I’ve sewn in a long time. It’s a very short robe with cropped sleeves made in VINTAGE. ANIMAL PRINT! fabric. I can fully imagine myself at a 1960s backyard barbecue drinking a mai tai and eating a hot dog. Either that, or I’m hanging out in Bedrock with the Flinstones. I’ve been calling this a pool robe but I don’t really know if that’s a thing. I imagine a pool robe to be cropped and fun and this definitely fits the bill.

Today’s post is exclusive for people who have purchased the Tasi Draft-It-Yourself pattern. If you own the pattern, the password to watch the videos can be found at the bottom of page 4 of the instruction booklet. If you have problems or questions, please email us at help@sewdiy.com.

I used to be a bit of a speed sewer. I loved a quick make and would churn things out like nobody’s business. The last few years though, I’ve managed to take things a bit more slowly. Don’t get me wrong, I love the feeling of a quick and satisfying sew. It’s the best! Sometimes it’s exactly what you need. I tend to be impatient and want everything to happen right now, especially if it’s something that I’m excited about. If you’re familiar with the Enneagram, I’m a type 7, the Enthusiast, which probably explains a lot. So, I don’t think I’ll ever become a couture sewist or spend months on a single project. It would be very challenging for me to stay focused and enthusiastic on one thing for that long. Even sewing a pair of jeans is a bit of stretch for me and I have no desire to sew a tailored coat.

Hello friends! This post is for all of you with the Draft-it-Yourself Tasi Robe and Jacket pattern. I’ve been making a variation of this pattern for years and this month, I decided I wanted to make a really classic robe for my Dad for Father’s Day. I haven’t been to a fabric store since February so I shopped my stash and found a navy gingham cotton. I also had some braided navy piping which I decided to use to create classic piped edge robe.
To get that really classic robe with a piped edge look, you’ll want to add piping to the center front opening, the seam between the cuffs and sleeves and to the pockets. Adding piping to the cuffs is pretty straightforward but you’ll need to do some adjustments to the drafting for the front band and the pockets. If you’ve never sewn with piping, make sure to check out this blog post to learn how.
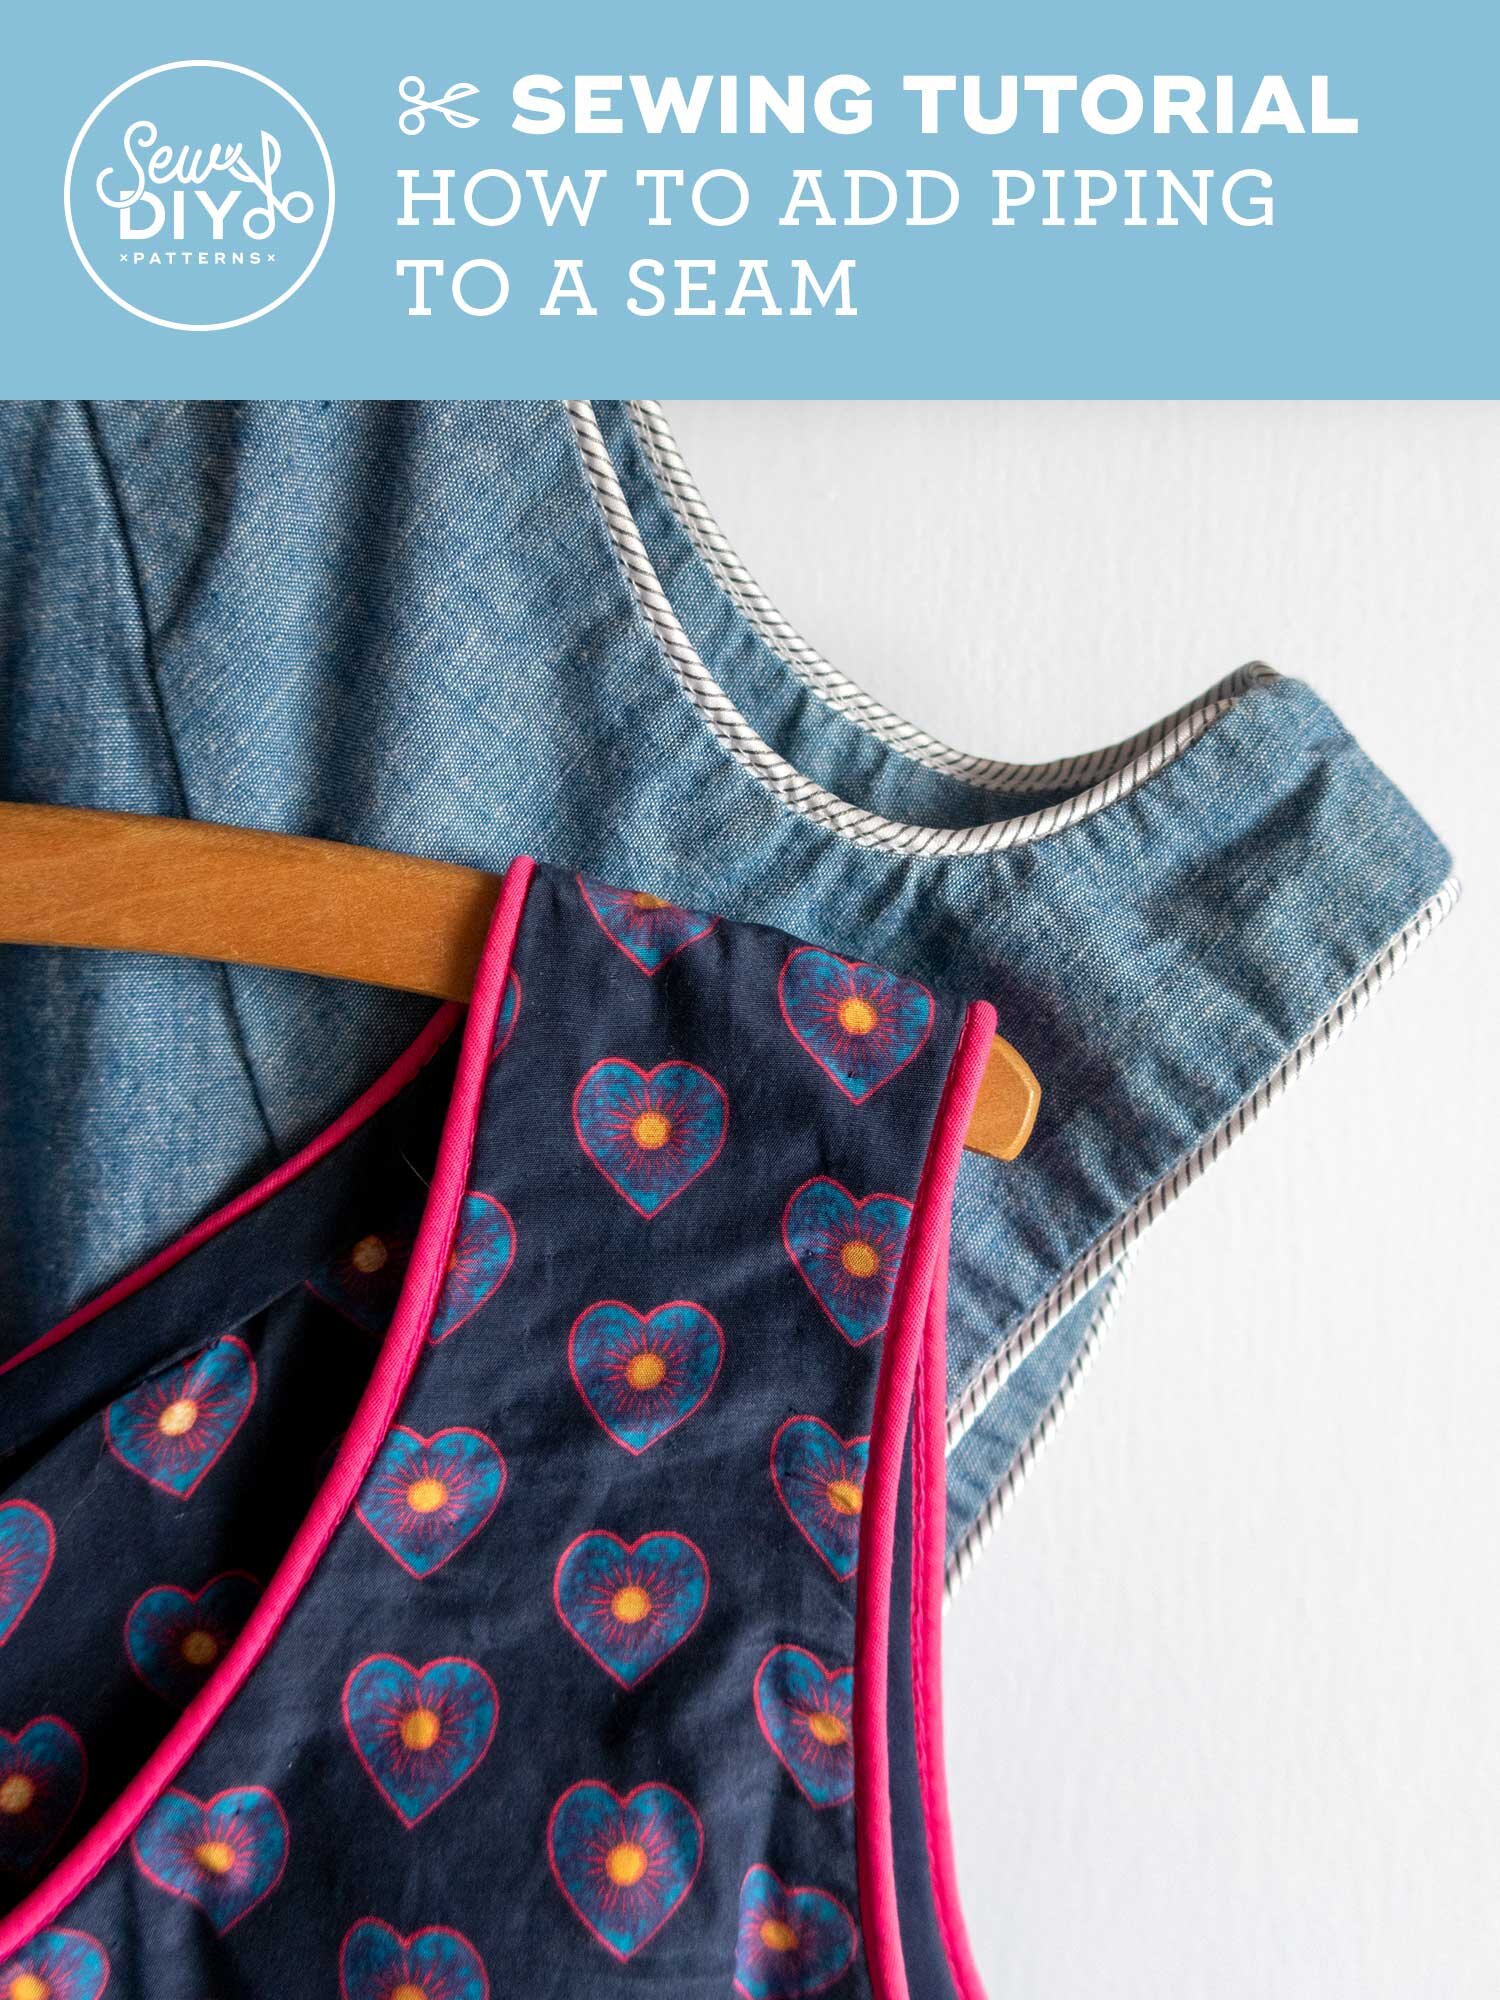
In today’s video, I’ll be showing you how to sew piping into a seam. Piping is a great way to add an extra bit of detail to your garments or home decor items. Plus, it’s fairly easy to do. In this video, I’ll be showing you how to sew piping using a zipper foot to a flat piece of fabric and one that is in the round. Alternately, you may be able to buy a special piping foot to use when stitching piping.

My new Tasi Robe/Jacket draft-it-yourself pattern is (I hope) the first in a series of draft-it-yourself patterns. I love that the style of pattern is accessible to all people, teaches about pattern drafting and gives the maker (that’s you!) the power to customize the design.
This draft-it-yourself pattern will walk you through each step of designing and drafting your own custom fit pattern. You choose the proportions you’d like and we give you the formulas to draft all the pattern pieces. If you’re new to designing things, it can be a little tricky deciding how much ease you like and the proportions that work best for you. So, for today’s blog post, I’m going to share a few tips for how to design the Tasi for you preferences.

One of my intentions with my new Tasi Robe or Jacket pattern was to create a garment that embraces the ethos of slow sewing. When appropriate I recommend doing hand finishes and today, I’ll be sharing tips for finishing your Tasi with French seams or a Hong Kong finish. Both methods take more time but they create a really beautiful finish. The one big-ish challenge with using these finishes on the Tasi is the right angle of the underarm seam. But, I've figured out some modifications to make these techniques work for this pattern and minimize any bulk at the underarm.
These methods are not appropriate for all fabric. I recommend using French seams when sewing lightweight fabrics like rayon, cotton or silk. Generally, these would be used for the robe, view A. The jacket (view B) works well when sewn in medium to heavy weight fabrics which makes it a great opportunity for using the Hong Kong finish. To learn more about my fabric recommendations for these patterns, check out this blog post. Let’s get started!

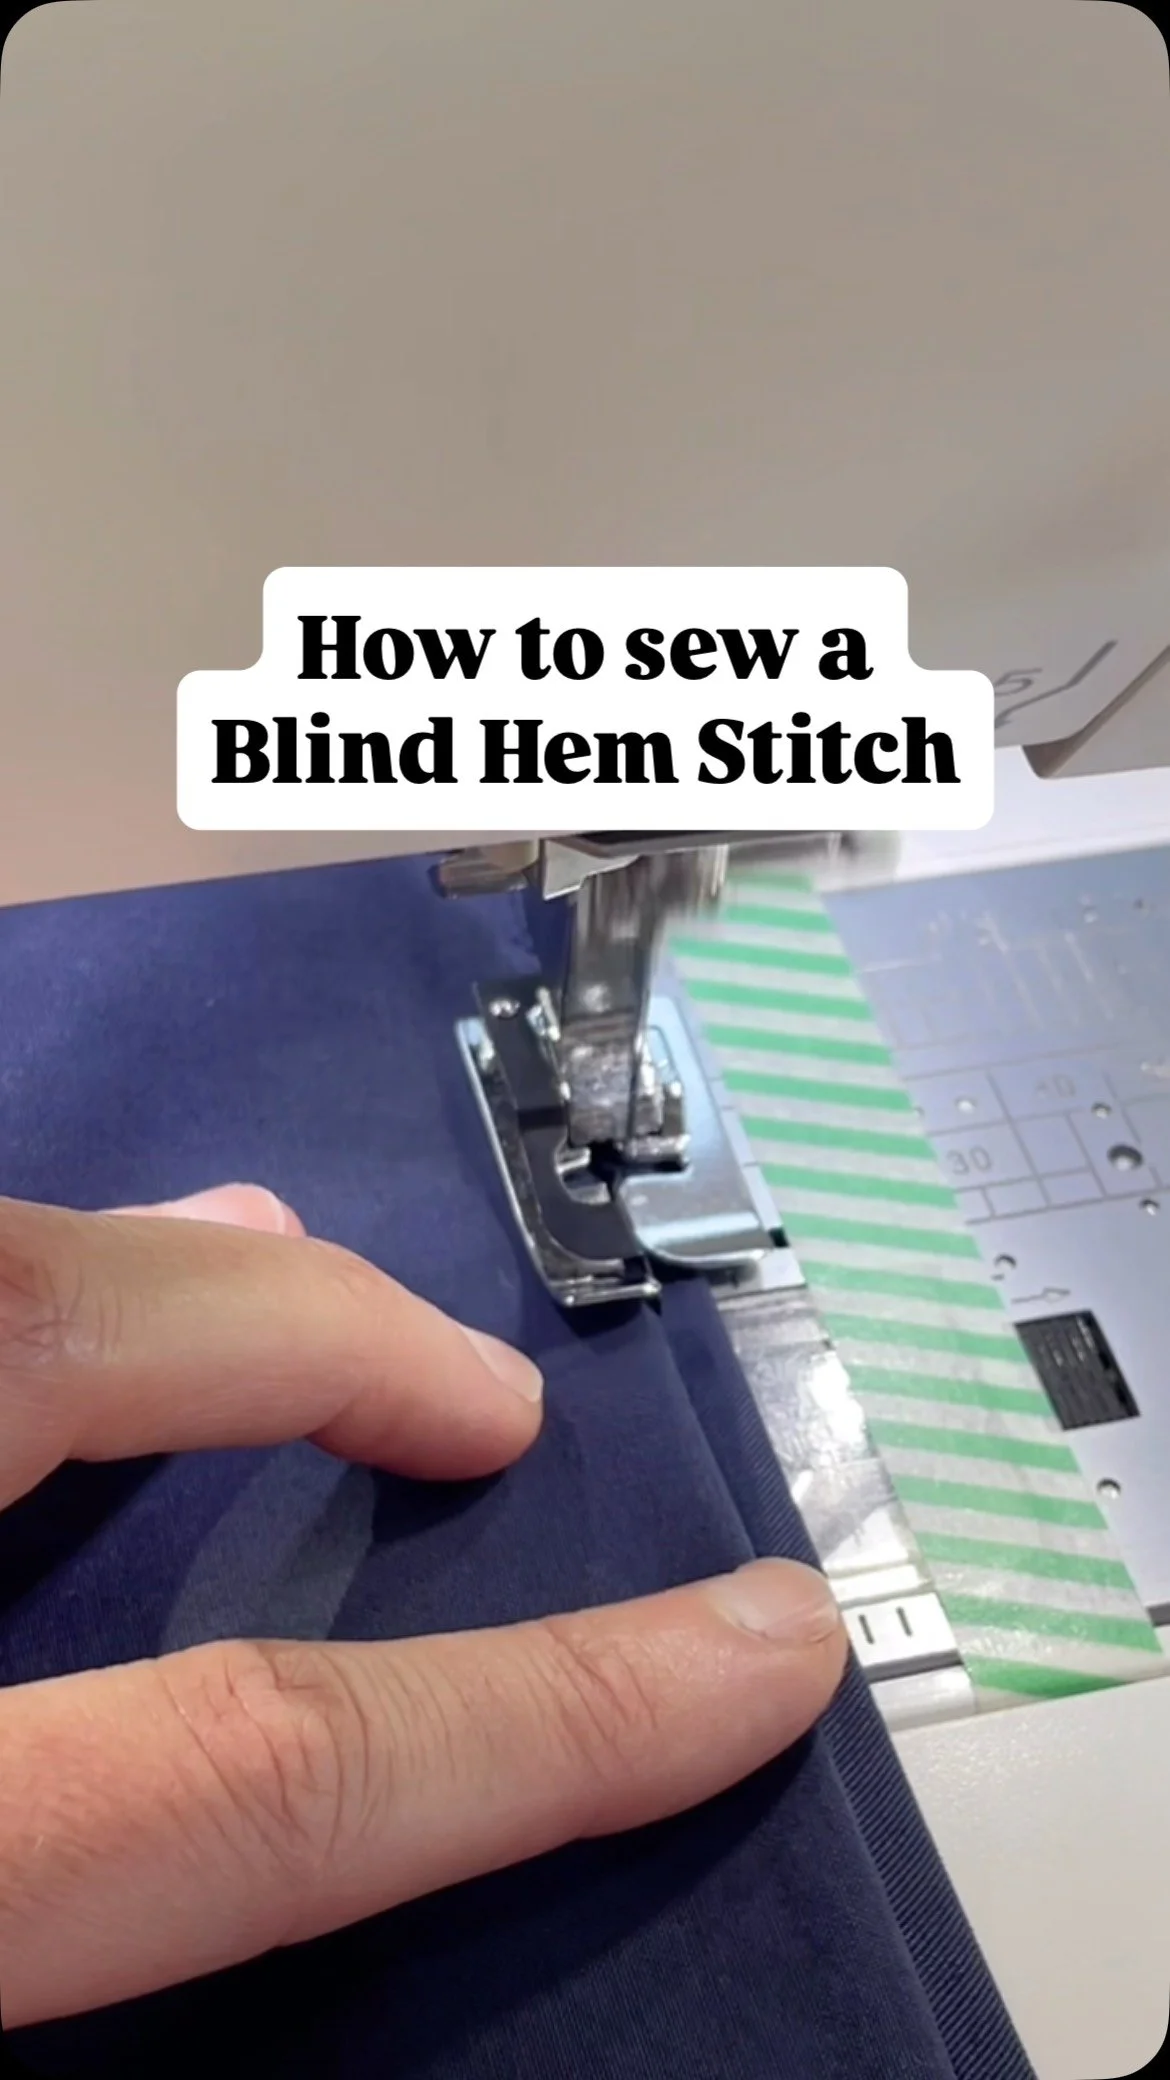
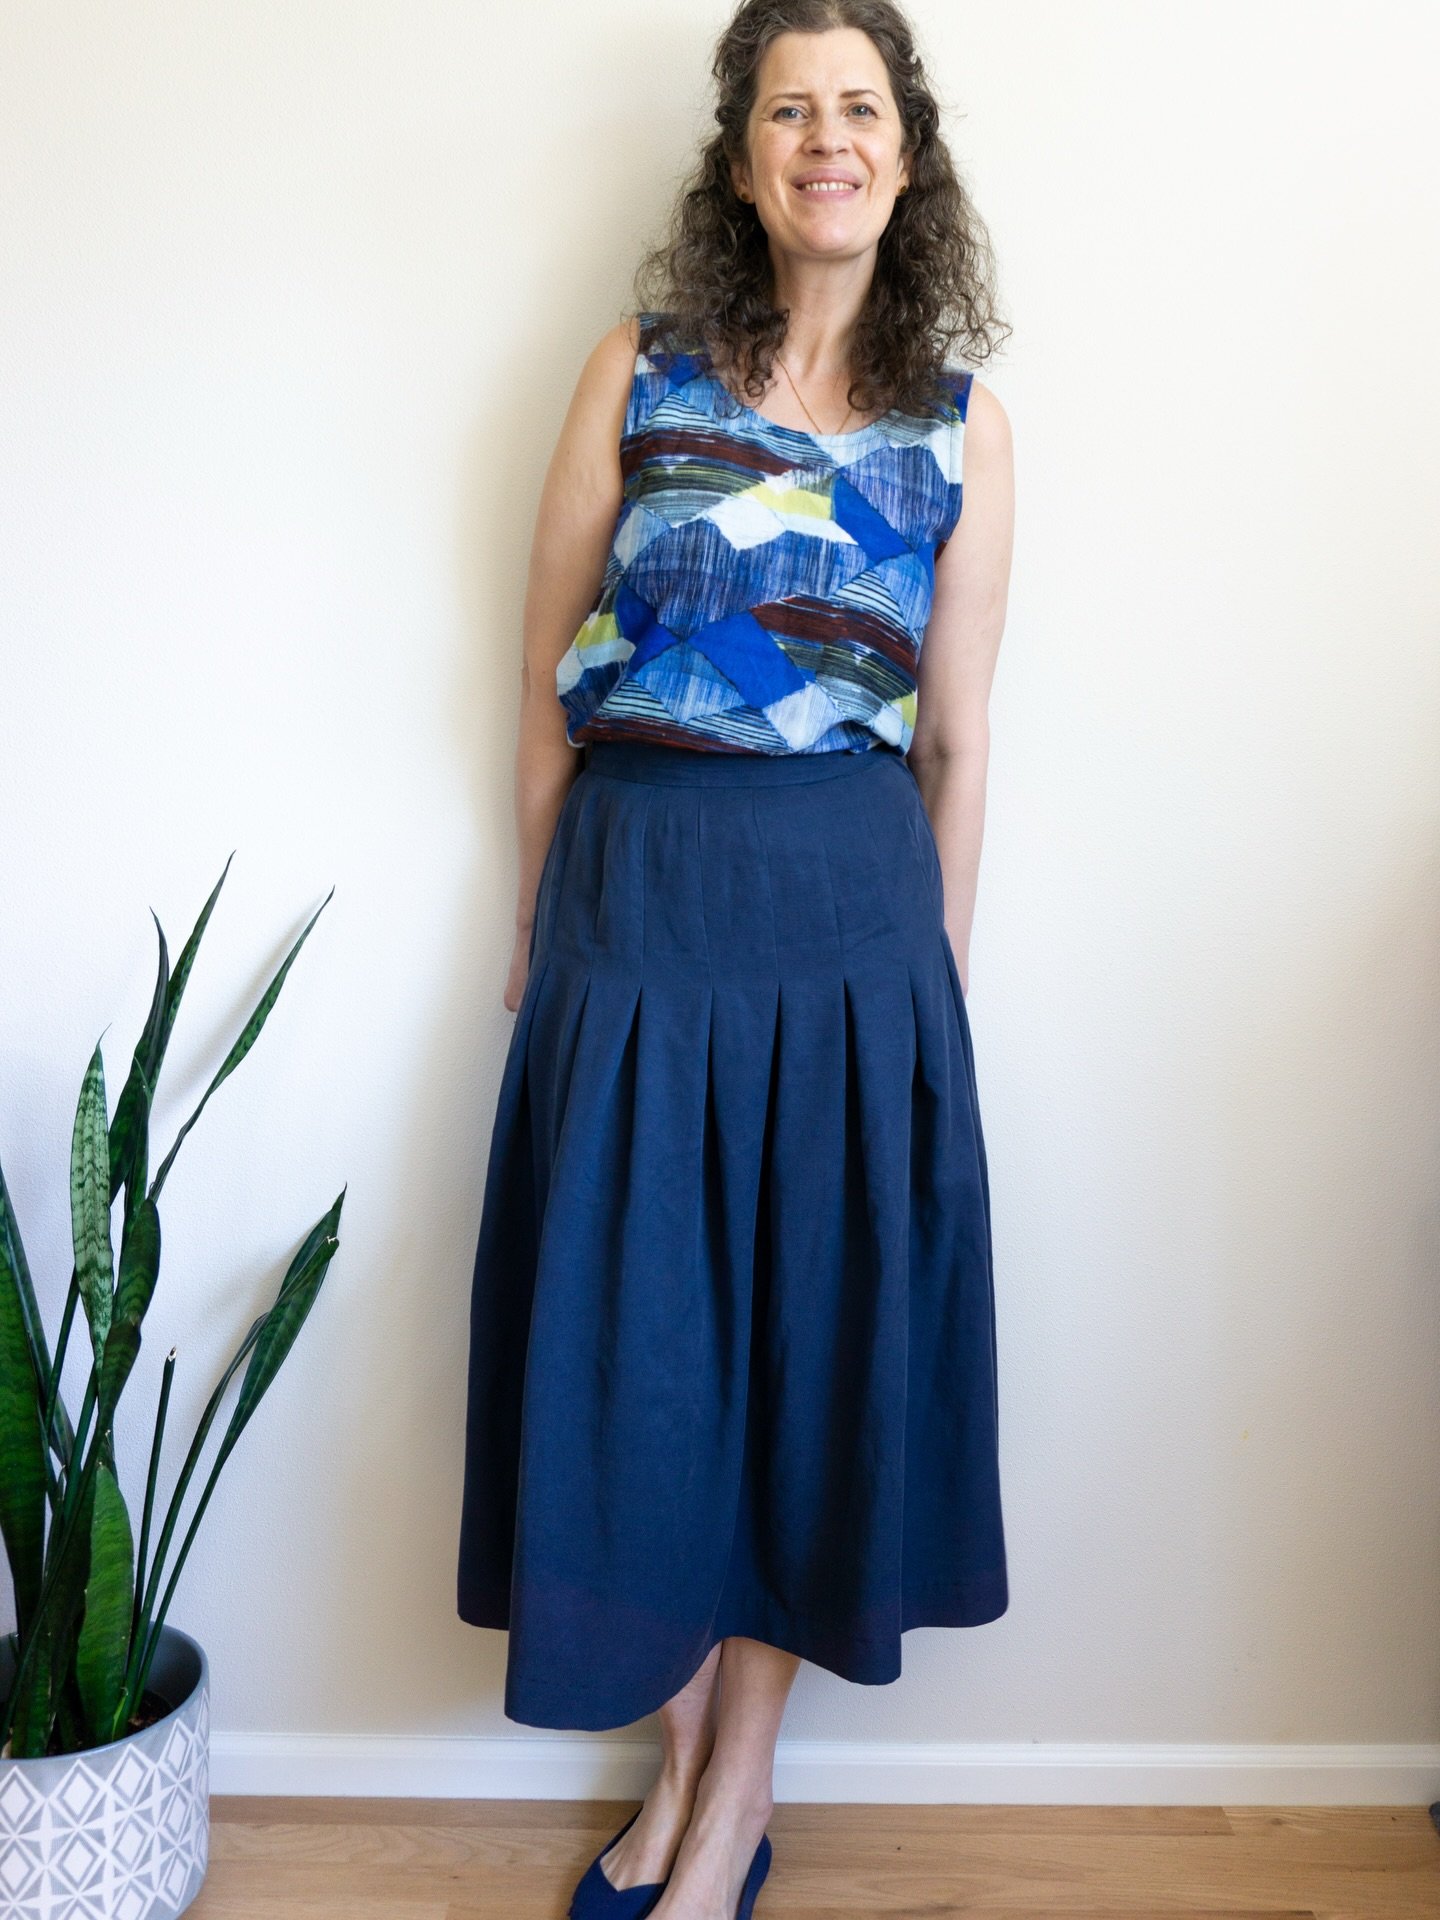
If you've sewn a garment before, you may have encountered a basting stitch. And, if you keep sewing, you'll be sure to use it with most projects. Basting is a fundamental sewing technique because it's so useful. Even better, it's a very easy stitch to sew. In this post and video, I'll talk about what a basting stitch is, when to use it and demonstrate sewing a basting stitch by hand and by machine.