Three Ways to Create a Seam Allowance Guide

Three Ways to Create a Seam Allowance Guide, a Video tutorial from Sew DIY

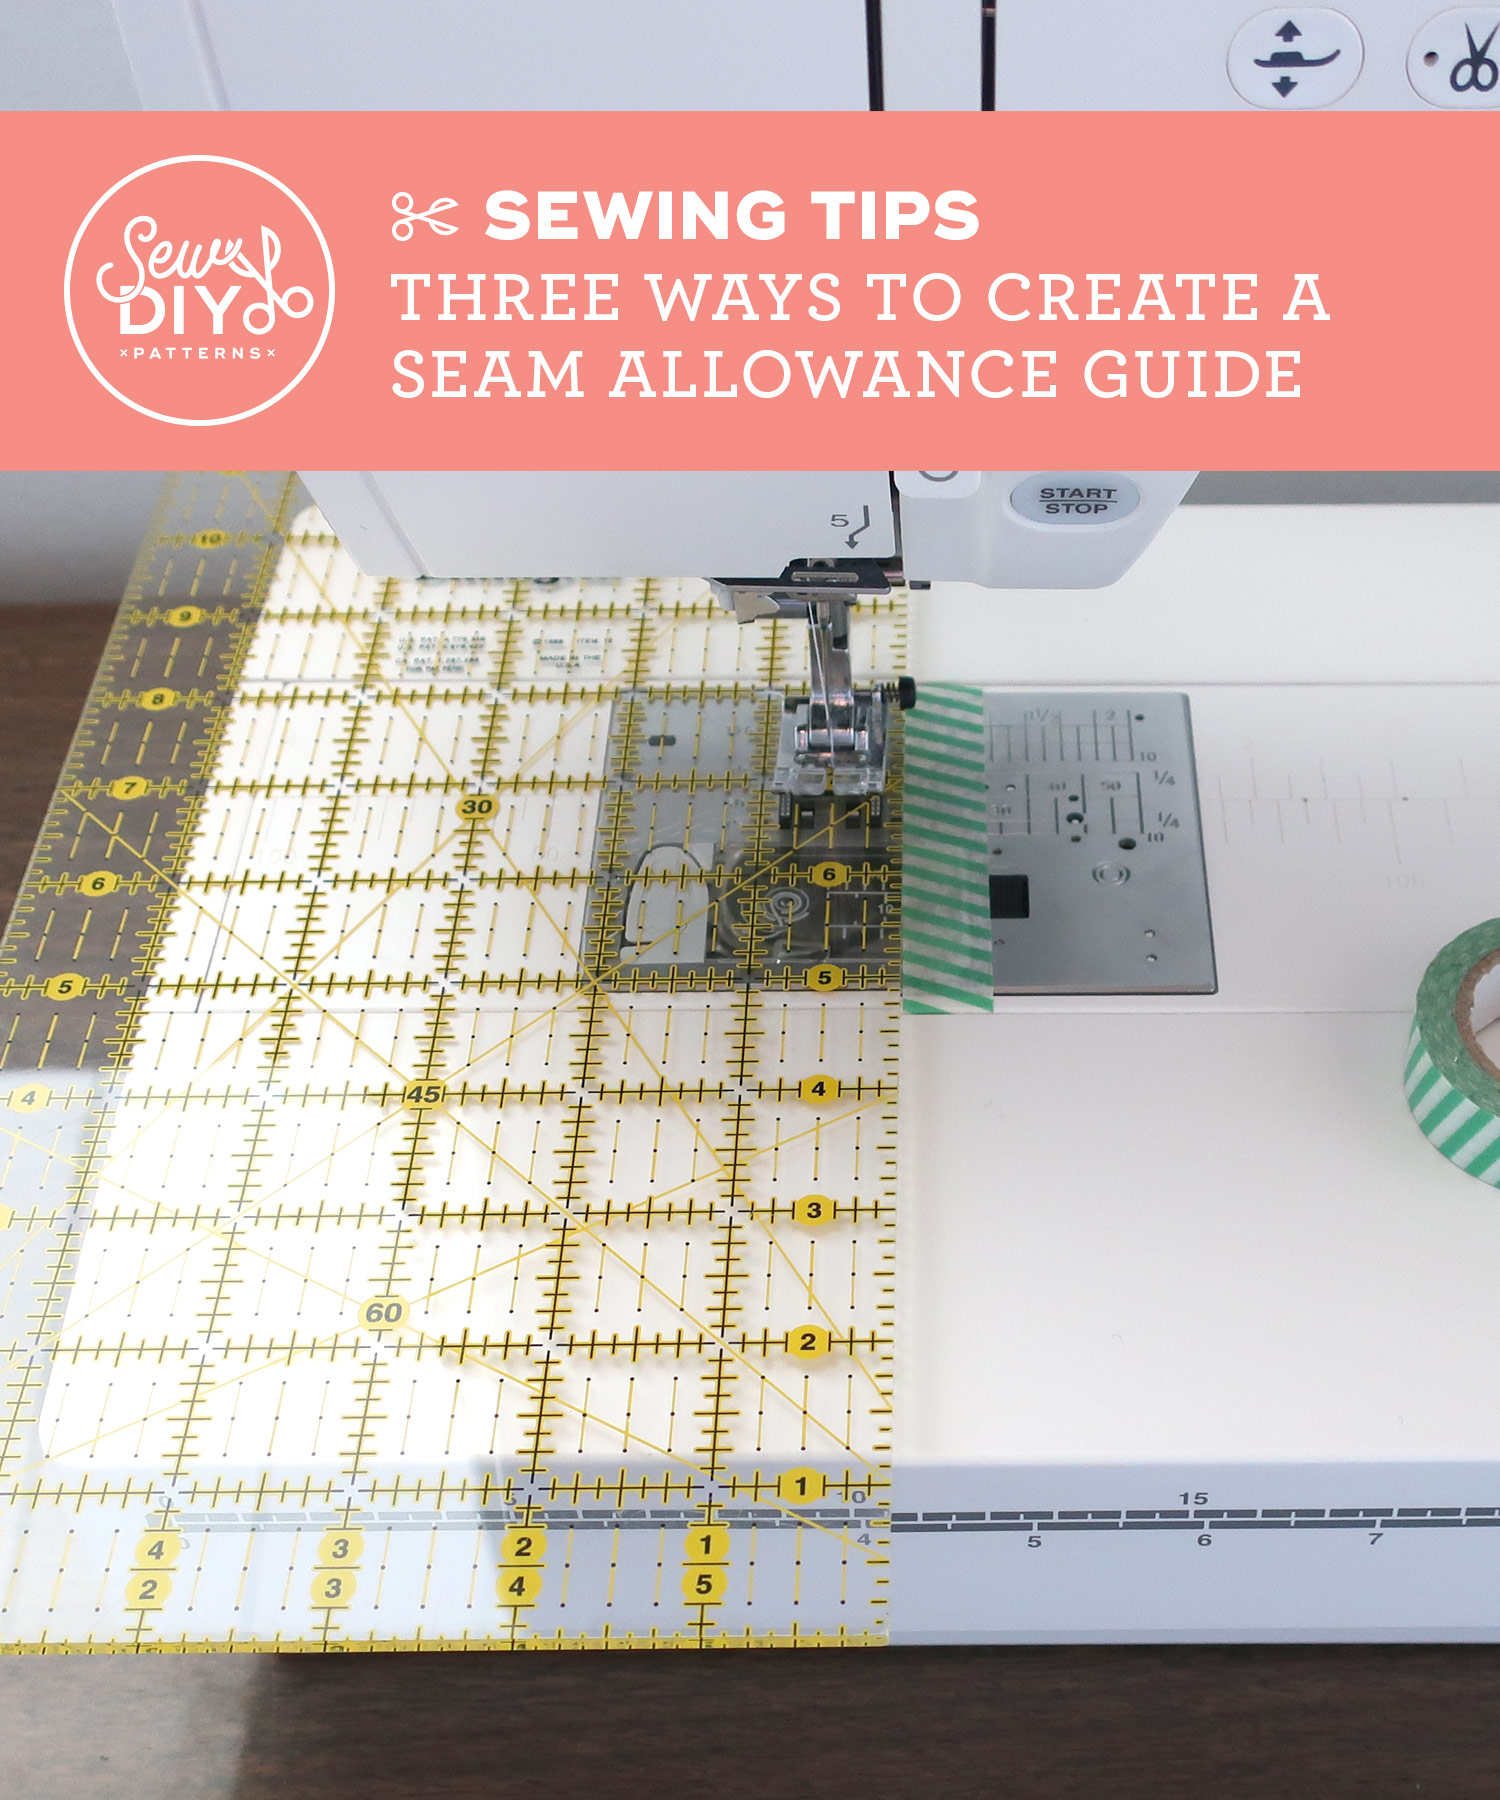
Today I have a new sewing video for you! The video shows three ways to create a seam allowance guide for your sewing machine. Using the correct seam allowance is very important for ensuring a successful finished garment and a guide that is easy to see and stays in place is the best way to make sure you are using a consistent and correct seam allowance.

Making videos is new for me and I’ve really been enjoying it. I’ve started a YouTube channel and for the time being, I’m going to try to post a new video once a week. I’d be ever so grateful if you follow my channel and let me know if there are any topics that you’d like me to cover. And in case you missed it, make sure to watch last week’s video tutorial How to Sew On Snaps with a Sewing Machine. Happy sewing!

Sewing Tips for Fusing Iron-On Interfacing

Sewing Tips for Fusing Iron-On Interfacing

If you are brand new to sewing, interfacing might seem a little mysterious. You might even be wondering if you really need it to use it. For a lot of garments you don’t need it but for many it is essential for adding structure to the garment. It is often used on facings, collars, cuffs and button bands to stiffen and reinforce the fabric. Think about ready-to-wear clothing and the areas of the garment that are stiffer than others. These are parts that need to stand up (like a collar), be tough enough to take a buttonhole or simply lie flat along the neckline. Today I’m going to share some basic tips for adhering the interfacing to your fabric. It’s not a hard process but can be a little scary when you first start out.