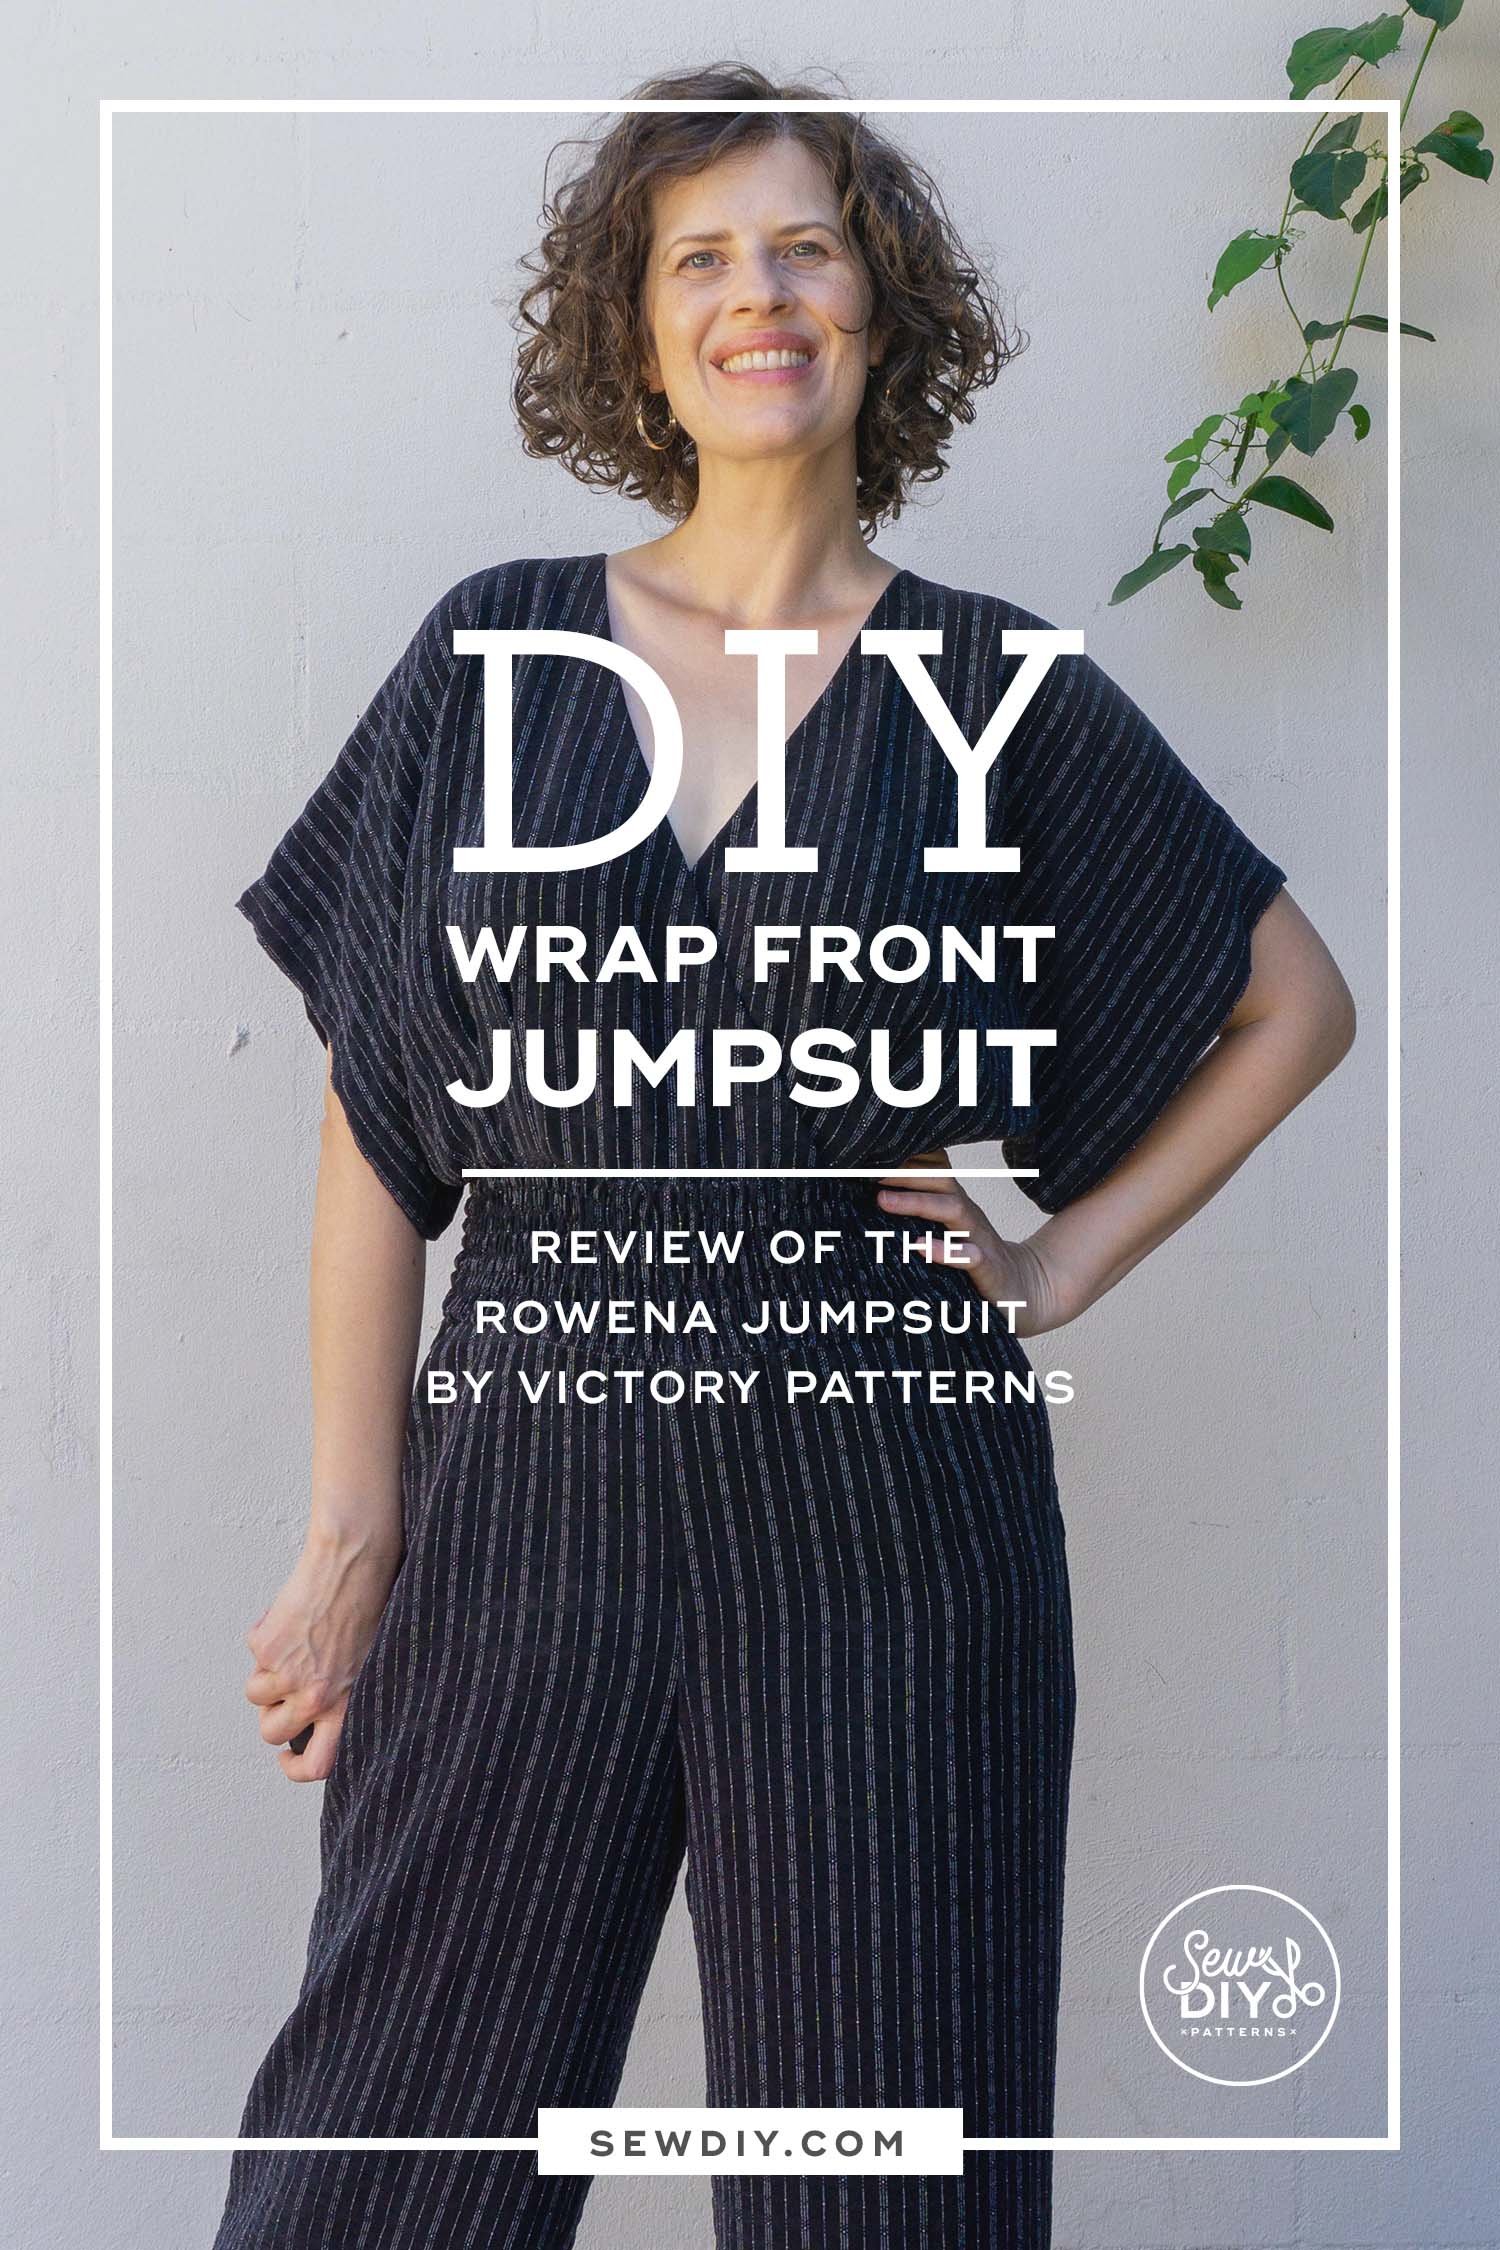
Hello sew-friends! Today, I'm sharing a new make and not to exaggerate but I think this is my favorite thing that I've made all year. I absolutely LOVE this jumpsuit. It was fun to sew and the fit is really good. In fact, the fit is a hundred times better than I ever expected for a wrap style. Let's dive into the details.

The pattern is the Rowena Jumpsuit by Victory Patterns. This pattern was released just in the last month or so and it is the first pattern that I've made from Victory. The pattern comes in two size ranges, 0-18 and 14-30 and goes up to a 58" bust/60" hip. I spotted the pattern on Instagram and I loved the design. In this post, the designer, Kristiann, said that she designed it to be nursing friendly after having a baby. I do not need a nursing friendly garment but I was intrigued and thought that it was a good sign that the design would be accommodating for a larger bust and I'm really thrilled with how well it fits.

This jumpsuit features overlapping front and back pieces that create a V at the front and back. To keep it all in place, there are ties at the back neck opening. The pants are a wide leg style and the waistband has shirring for a comfy yet fitted look.
I did make a hand full of changes and there are a few minor things that I'd do differently next time. First off, my measurements. I'm 5'11" with a long torso. My measurements are currently upper bust 35.5", full bust 38.5", waist 29" and hips 40.25". I started with a size 10, based on my waist and hip measurement. The bodice has a grown-on sleeve and pleats under the bust for shaping. I wanted to do a full bust adjustment but it was a little tricky to figure out the best method. Eventually, I found this blog post from Closet Core patterns for doing an FBA on their Elodie Wrap Dress. Following that advice, I added 1" in width and 3/4" in length. For my height, I added an additional 1" in length.

I cut the pant legs extra long but forgot to add length to the rise. Eeek! I ended up sewing the waistband seams at a 3/8" seam allowance and letting out the crotch seam by 1/8". The fit is comfortable but I don't have the blouson effect that you see in the photos with the pattern. If I sew this again, I'll add a little more length to the bodice and the rise of the pants.
If you need help with lengthening or shortening your pattern pieces, I have a series of video tutorials to help:

Hello sew-friends! Today we're talking about how to make a shoulder slope adjustment to your sewing pattern. This is a simple adjustment that makes a BIG difference in the fit of tops, blouses and dresses with a shoulder seam. I didn't discover this fitting adjustment until many years into my sewing journey and now I'm kind of obsessed with it.
I have rather square shoulders, meaning my shoulders extend from the neck at almost a 90 degree angle. Most patterns are built with some downward slope to the shoulder seam so on my shoulders, tops would jut up at the neck. There was one shirt in particular that would stand up away from my body when I sat down that made me realize how ill fitting it was at the shoulder.
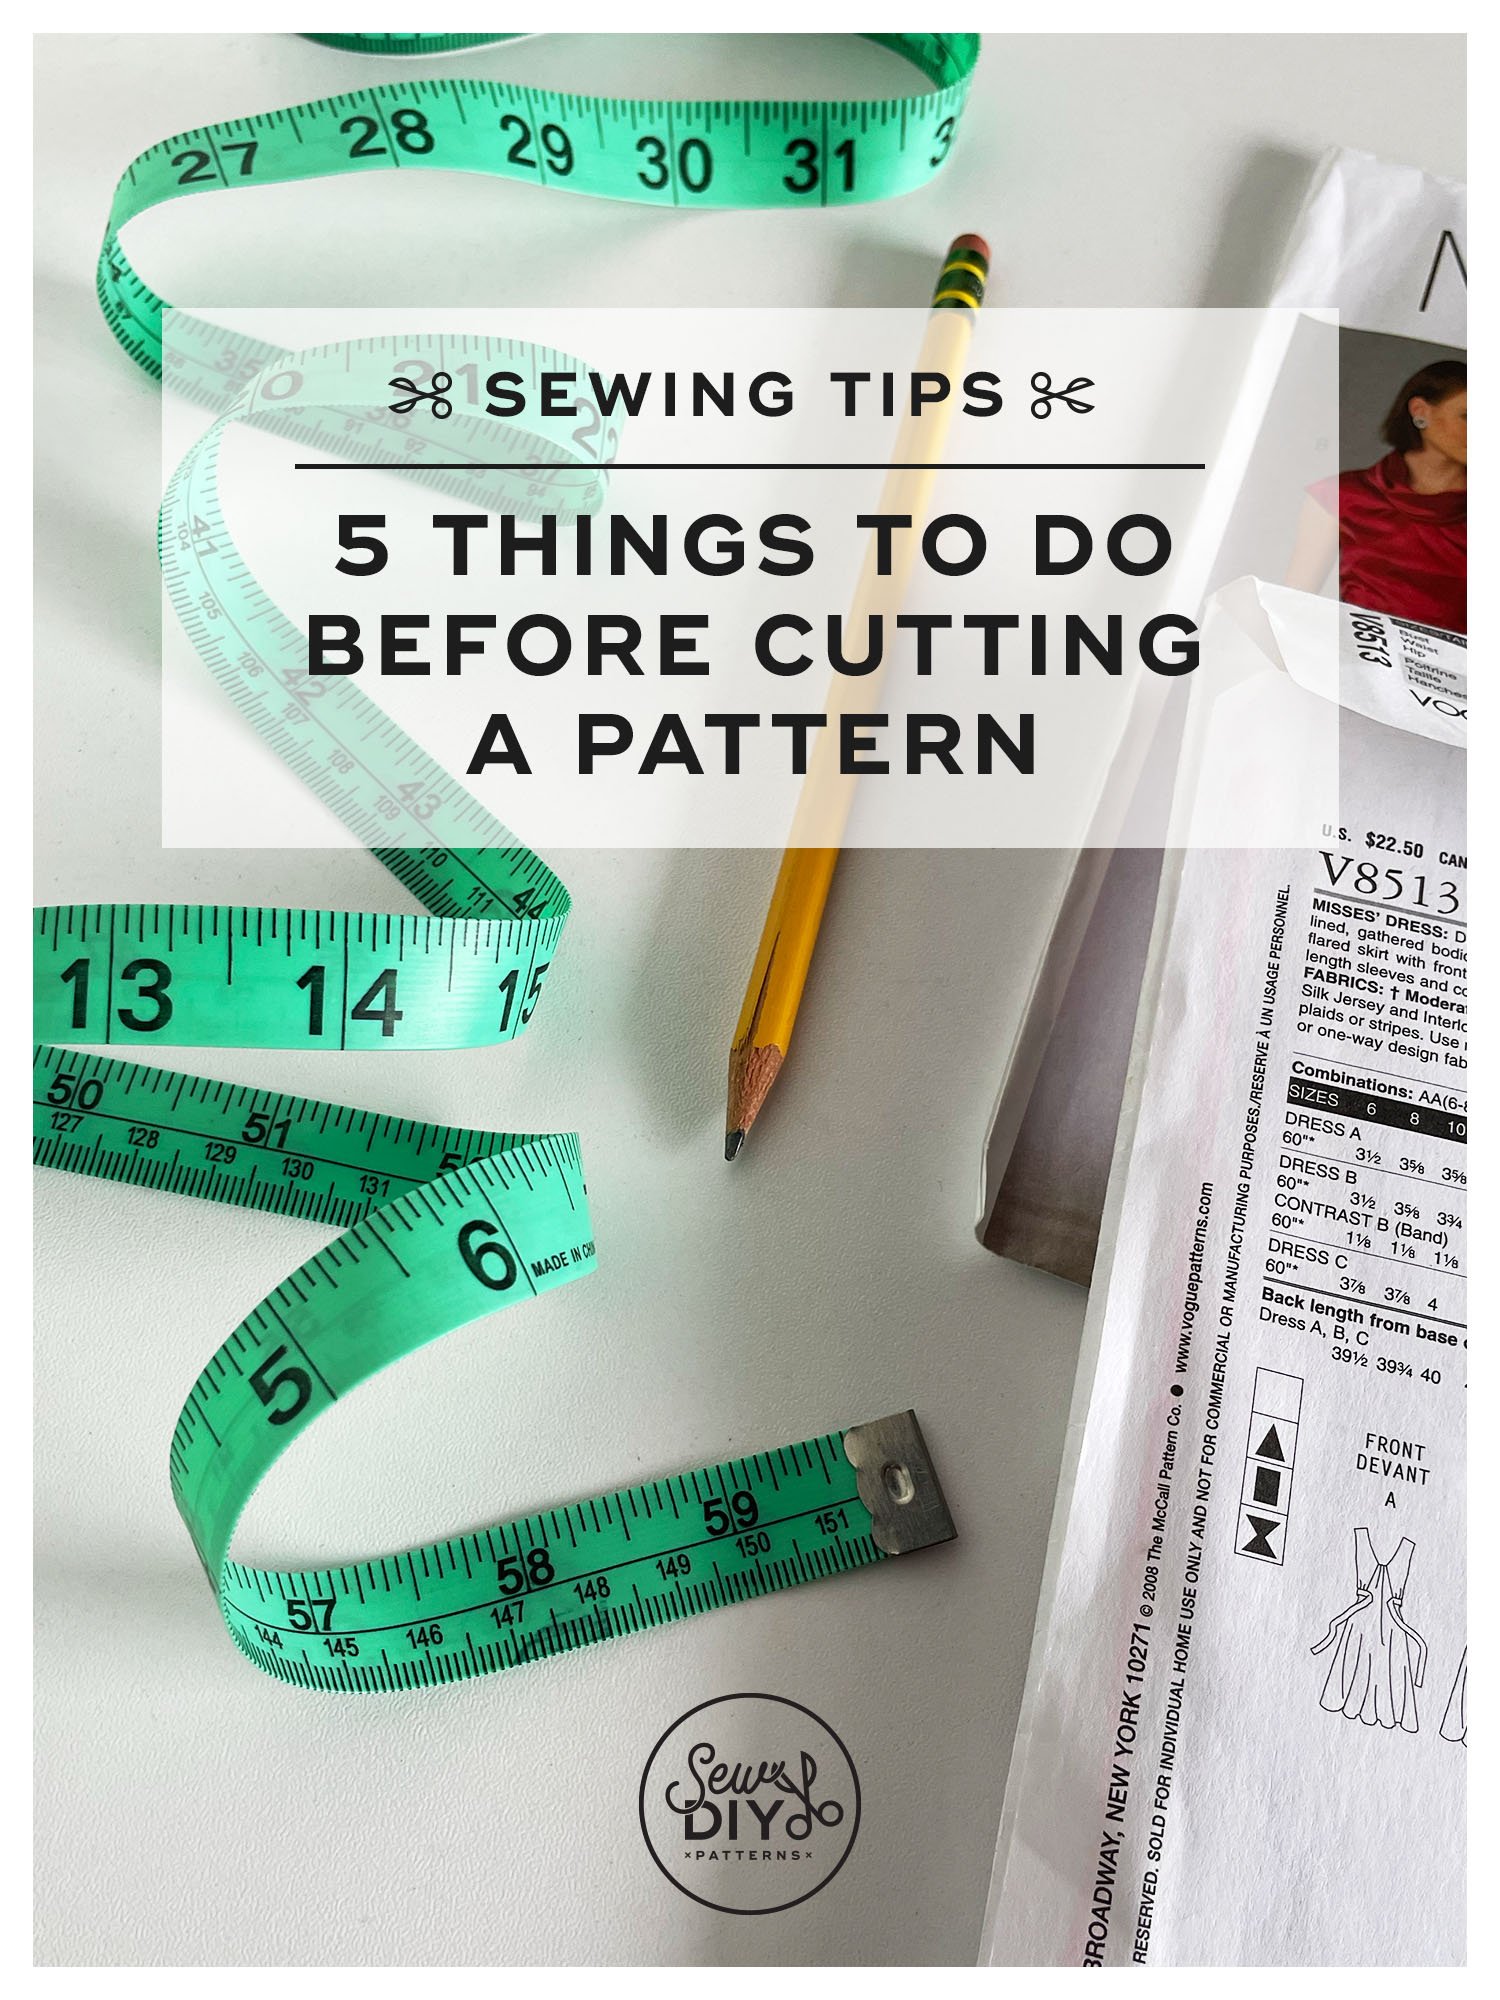
Hello sew-friends! We're going back to basics today to talk about patterns. There's nothing more frustrating than making a garment and finding that it doesn't fit. The most common answer is to make a muslin first, but today I'm going to share the five things that you should do before you make a muslin and even before you cut or trace out your pattern. These are my tried and true tips that will help you get closer to making a first muslin that is the right size for your body as well as for your style and fit preferences.

Today, is the final video in my series of how to adjust the length of different parts of a pattern. I hope that this will be a useful series for you as you move through your sewing journey. Today’s video tutorial will teach you how adjust the length of a skirt or dress. In the video, I’ll be using my Lou Box Dress 1 and an example A-line skirt to demonstrate both how to lengthen and how to shorten a skirt. If diagrams and written text are a better way for you to learn, I have those below the video. Happy sewing!
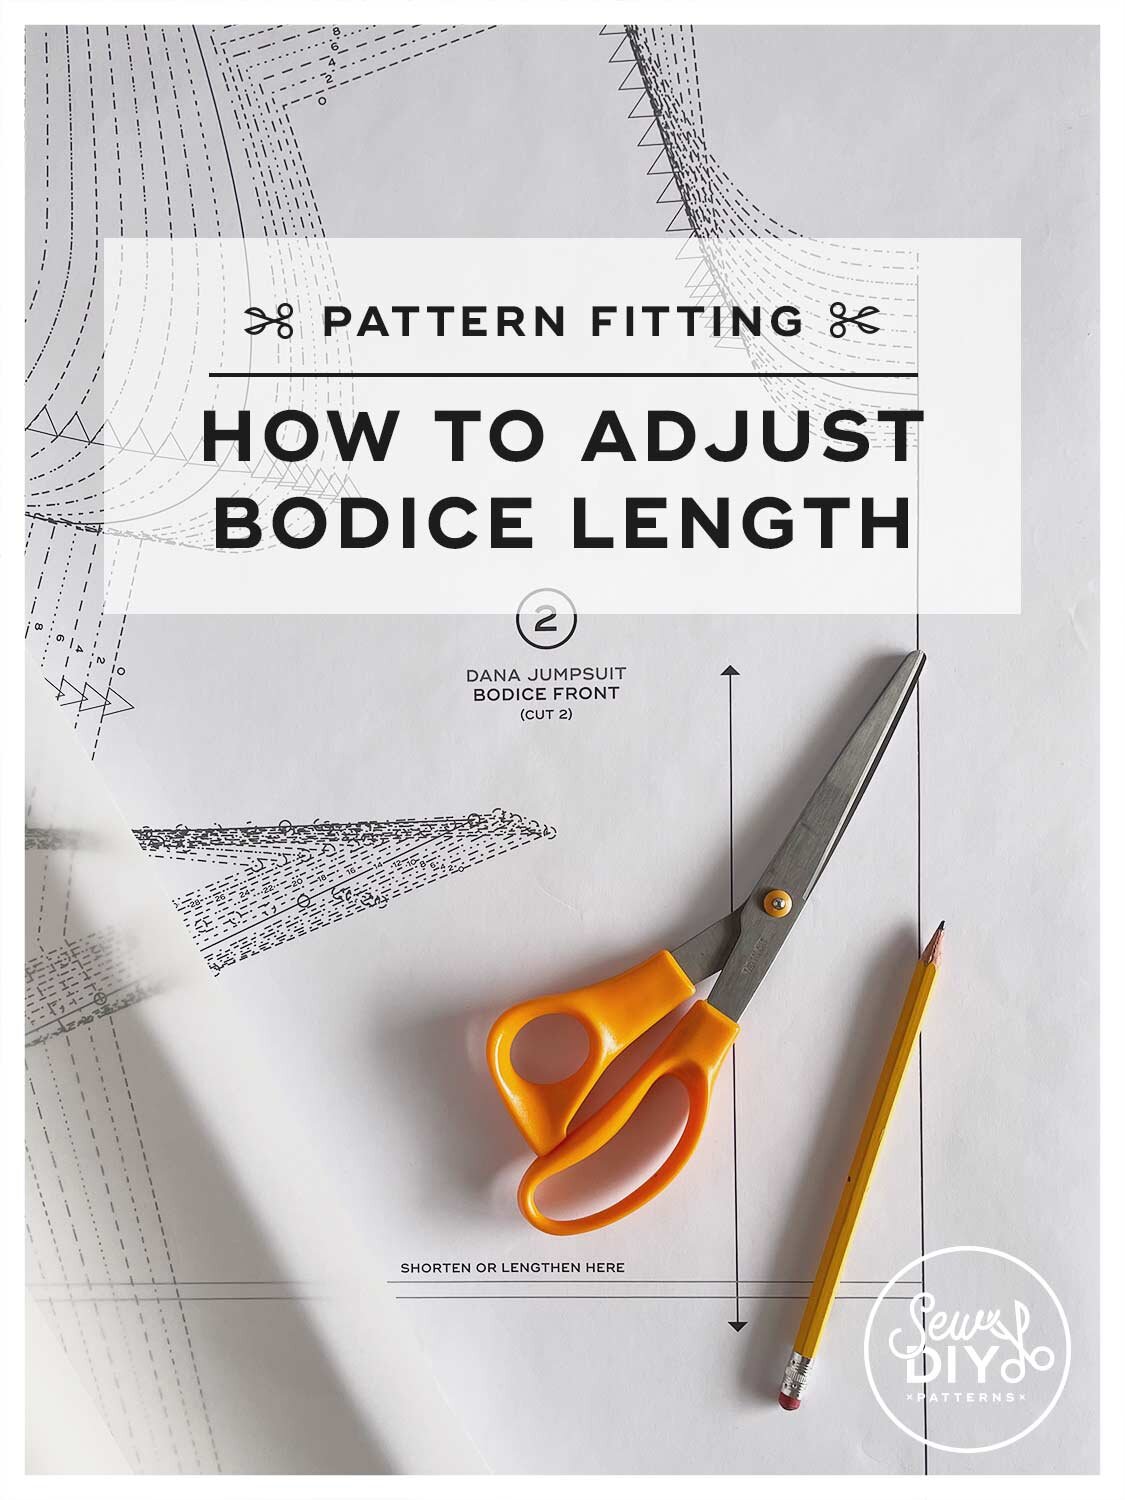
Today, I'm continuing my series of pattern fitting videos with how to lengthen or shorten the bodice of a sewing pattern. The same techniques can be used when altering the length of a blouse or shirt. In the video, I use my new Miri Tank pattern to show how to make the pattern adjustment. Plus, I share some tips for when you're lengthening a top into a dress.

Hello sew-friends! Today, I’m continuing my mini series of videos on pattern adjustments. It is very common to need or want to make a few pattern adjustments when sewing your own clothing. Today, I’ll be showing you how to lengthen or shorten the sleeves of a pattern. This is a simple but very common pattern adjustment. I'll demonstrate how make the pattern adjustment to tapered and bell shaped sleeves and explain why you don't want to just adjust at the end of the sleeve.

Hello sew-friends! Today, I’m kicking off a mini series of videos on pattern adjustments. It is very common to need or want to make a few pattern adjustments when sewing your own clothing. One of the most common adjustments (especially if you’re a tall sewist like I am) is to alter the length. Today, we’ll be starting with pants patterns.

In today's video, I'll be showing you a simple pattern adjustment that you can do to move along a side or waist seam. Darts are most often used to shape the bust or waist and are usually found in side or waist seams. Because we all have different bodies, you’ll sometimes get a better fit if you move the dart just slightly. In the video and diagrams, I'll show you how to move a bust dart up or down along a side seam and how to move a waist seam dart to the left or right. (Note, there are more complicated pattern adjustments where you can pivot a dart to move it to a different seam. I’m not covering how to do that in this post.)

One reason people often recommend starting off sewing a skirt rather than pants is that skirts are usually much easier to fit than pants. That crotch curve can create all sorts of fitting dilemmas and one of the easiest to solve is the rise, also called the crotch depth or crotch length. In today’s video tutorial, I’ll show you how to shorten and lengthen the crotch depth evenly across the front and back. And as a bonus, I’ll show you how to adjust only the back rise. This is a really simple pattern adjustment to make and very useful if you are petite or tall (like me!)

In today’s blog post and video, we will be showing you how to make a full bust adjustment to the Lou Box Top pattern. If you haven’t already read it, we recommend reading our post and watching the video about selecting your size and measuring yourself. To recap that post, we recommend making a full bust adjustment to this pattern if your bust/full bust is 4 or more inches larger than your upper bust. This pattern has plenty of ease but during the testing phase, we discovered that if you have a full bust, the hem of the top may lift up and look uneven. A full bust adjustment will help solve that issue.
Because the Lou Box Top is designed for both woven and knit fabrics, we have two methods for how to do the full bust adjustment (FBA for short). The first method will create a dart at the side seam. The second will have no dart. If you are using woven fabric you can use either method. If you are using knit fabric, we recommend the method without a dart.

Every person has a unique body with hundreds of different measurements and proportions, so every garment and sewing pattern will fit every body differently. The great about sewing your own clothing is that you can adapt your sewing patterns to fit your unique body.
Today I’m sharing a few tips and basic instructions for making an extended calf adjustment (aka a full or large calf adjustment) to a pants sewing pattern. When I made a pair of tapered leg trousers recently, I was surprised that I could not find a very detailed tutorial on this pattern adjustment. There are a few blog posts with the basics but they left me with questions. Today I’m going to answer some of those questions and show you step by step illustrations for how to make this adjustment. (I’m by no way an expert on this adjustment or on pattern making and pants. So consider this a compilation of all the information I found in my research.)


I made a couple of small changes to the pattern. First, I sewed the ties with a larger seam allowance so that they would be a little more narrow (just for looks, not function). Second, I applied interfacing to the neck edges of the bodice front and back. These edges are finished with bias facing and I was really nervous about these edges stretching out, even with stay stitching. Alternately, I considered making a facing with interfacing instead of using the bias strip facings, like I did for the Seamwork Reggie dress. I used a black knit interfacing from my stash and I'm really pleased that there was no stretching along the neck openings.


I was really nervous about sewing the shirring for the waistband because in my experience, it can be tricky. And, I've never used elastic thread with this sewing machine. So, I read some tips online and sewed some practice stitches on a scrap of fabric. I ended up using a stitch length of 4 and did not adjust the tension. My machine handled the elastic thread like a champ and I'd be excited to sew with shirring again. (If you're interested, here's a video that I made about my sewing machine.) Instead of marking the shirring lines on my fabric, I just used a washi tape seam allowance guide and moved it 1/2 inch for every row of stitching. It worked great for me.

Finally, let's chat fabric. I think this is a rayon fabric. I got it from the FIDM Scholarship store in downtown LA, so it was not labeled and is a bit of a mystery. But, it was only $3 per yard. Because this fabric was so cheap, I took the risk and did not make a muslin. Fortunately, it fits! I was really worried once I realized that I had not added length to the rise of the pants. By the time I remembered, my best solution would have been to cut a new, taller waistband and restitch the shirring, which I did not want to do.
I wanted the stripes to go up and down so I actually cut this on the crossgrain. I love that the fabric is really soft because it makes it extra comfy to wear. I did try to match stripes a bit and was fairly successful with it, if I do say so myself. If you want some tips for matching plaids and stripes, check out this post.


But, all is well. I wore this jumpsuit to a concert last weekend and felt perfectly comfortable the entire time. The fit over the bust is perfect and as long as the back ties stay tied, the bodice stays in place, which is seriously amazing for a wrap front. One thing to note, the waist piece feels a little tight when I pull it over my hips. I'm able to pull it on fine but there's not a lot of wiggle room. If you're between sizes, you might want to round up to make sure there's enough ease to pull over your hips. (That said, I usually prefer extra ease to a tight fit, so you do what works for you. And, definitely make a muslin.)

I love this jumpsuit and will be wearing it as much as possible. And, I will be keeping my eyes peeled for a fabric that would be suitable for a second one. Something soft with drape, like tencel would be amazing. I'm super pleased with my first experience sewing a Victory pattern. I also have their Sloane Overalls and Ulysses trench. I'm extra motivated now to find fabric to sew those too.

These semi-fitted tops and sundress feature a square neckline, side bust darts and are fitted at the back with a combination of narrow elastic and criss-crossed lacing. View A is a crop top that ends at the waistline. View B has a ruffled peplum and ends at the high hip. View C is a dress with a calf-length skirt and ruffle at the hem.
The pattern is a hybrid of a traditional pattern that you need to print and a zero-waste style pattern. You will need to print (or project) the front bodice and front facing pattern pieces. The remaining pattern pieces are rectangles that you can draw directly on your fabric (or paper) and then cut out, saving you paper and fabric.
This digital pattern includes an illustrated, step-by-step instruction booklet, a print-at-home layered pattern for letter or A4 size paper, a US copy shop pattern, an A0 size pattern and a projector pattern. All pattern files have layers. Pattern files are separated by cup size so that you can easily print only the pattern pieces that you need.
Visit the sewalong for more information, tips and tutorials.
Model is 5’11” and is wearing a size 12 C/D cup.
THIS IS NOT A PHYSICAL PRODUCT. After checkout, you will receive a link to the pattern that will be active for 24 hours after you click it. Prices are in USD.

The vintage-inspired Summer Sweatsuit is equally suited to warm weather play or lounge activities. The sweatsuit consists of a racerback tank with a curved hem and mid-rise short shorts. The Summer tank top has a full coverage racerback style with a medium-scoop neck and curved hem. It's designed to be fitted at the bust and skim over the waist and hips in a swing style.
The Summer shorts feature an elastic waistband and a high cut curved leg opening. There are no side seams in the shorts, making them extra comfortable on sensitive skin. If short-shorts aren’t your thing, the pattern shows you how to lengthen the legs of the shorts.
These garments are quick-to-sew so that you can get back to summer activities in no time. This pattern has a close fit and requires knit fabric with stretch.
This digital pattern includes an illustrated, step-by-step instruction booklet, a print-at-home layered pattern for letter or A4 size paper, a US copy shop pattern and an A0 size pattern.
Model is 5’11” and is wearing a size D tank top and size E shorts.
THIS IS NOT A PHYSICAL PRODUCT. After checkout, you will receive a link to the pattern that will be active for 24 hours after you click it. Prices are in USD.

The Miri Tank is a wardrobe building basic that will quickly become the shirt you reach for most often. This simple-to-sew top can be worn with skirts, pants or shorts for a variety of everyday outfits, throughout the year.
This A-line shaped tank top is fitted with a bust dart and cropped to end at the high hip. View A features a classic rounded neckline and armholes, while View B sports a V-neck in the front and gently angled armholes and back neck shaping. Both views are finished with an all-in-one facing. When made in a linen or cotton, the tank will maintain its A-line shape while worn. When made in a drapey rayon or Tencel, the shape will hang closer to the body.
This beginner-friendly pattern is drafted for sizes 0-32 and includes three cup size options for all sizes. Choose from A/B cup, C/D cup or E/F cup for a customized fit through the bust.
This digital pattern includes an illustrated, step-by-step instruction booklet, a print-at-home layered pattern for letter or A4 size paper, a US copy shop pattern and an A0 size pattern. Pattern files are separated by cup size and view to reduce so that you can easily print only the pattern pieces that you need.
Model is 5’11” and is wearing a size 12 C/D cup.
THIS IS NOT A PHYSICAL PRODUCT. After checkout, you will receive a link to the pattern that will be active for 24 hours after you click it. Prices are in USD.
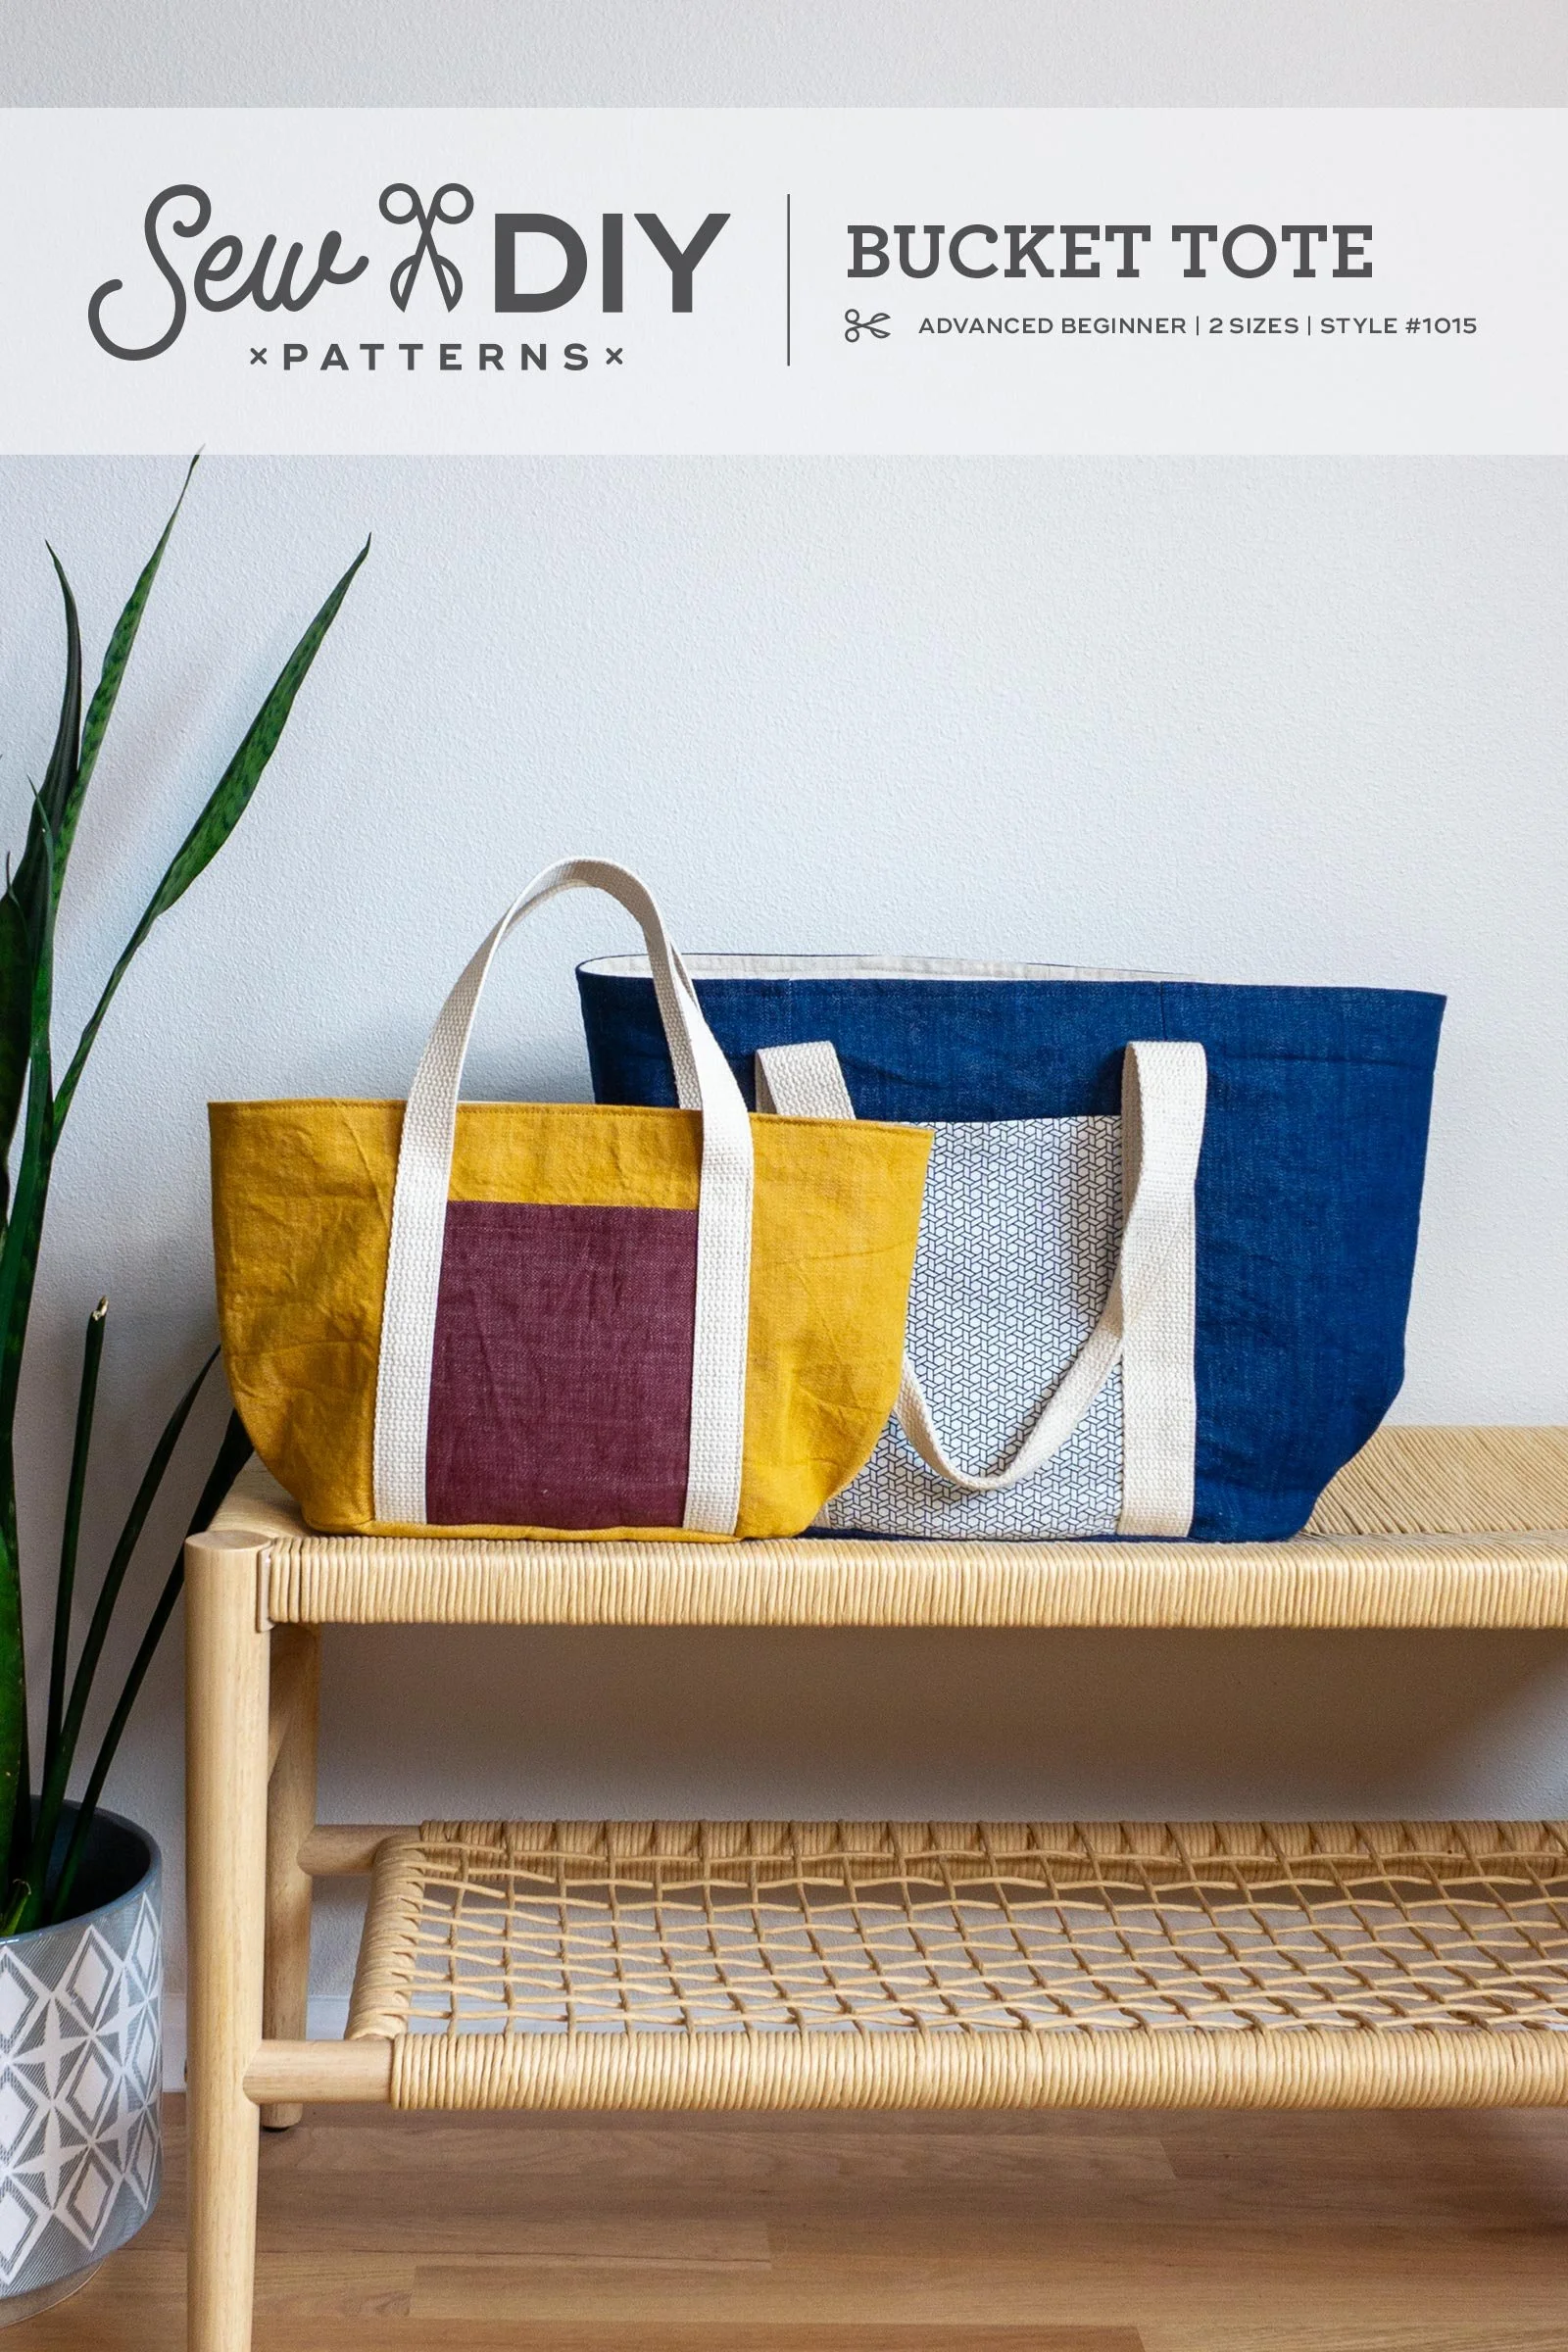
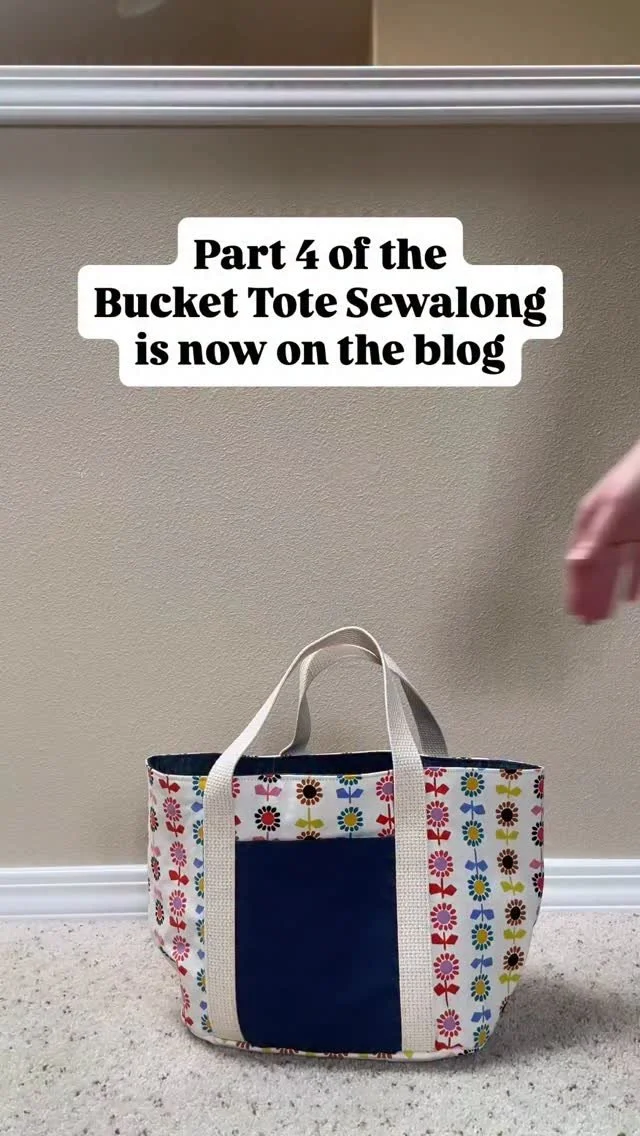
The Sew DIY Bucket Tote is the perfect "throw & go" bag with a wide top opening so you can easily see and access everything inside. This fully-lined tote is thoughtfully designed with an oval base, pleats at each end and exterior and interior pockets.
The pattern includes both regular and small sizes, giving you options for wherever life takes you. The regular size is perfect for a day at the pool or a short road trip while the small size can be used to carry your lunch or a small craft project.
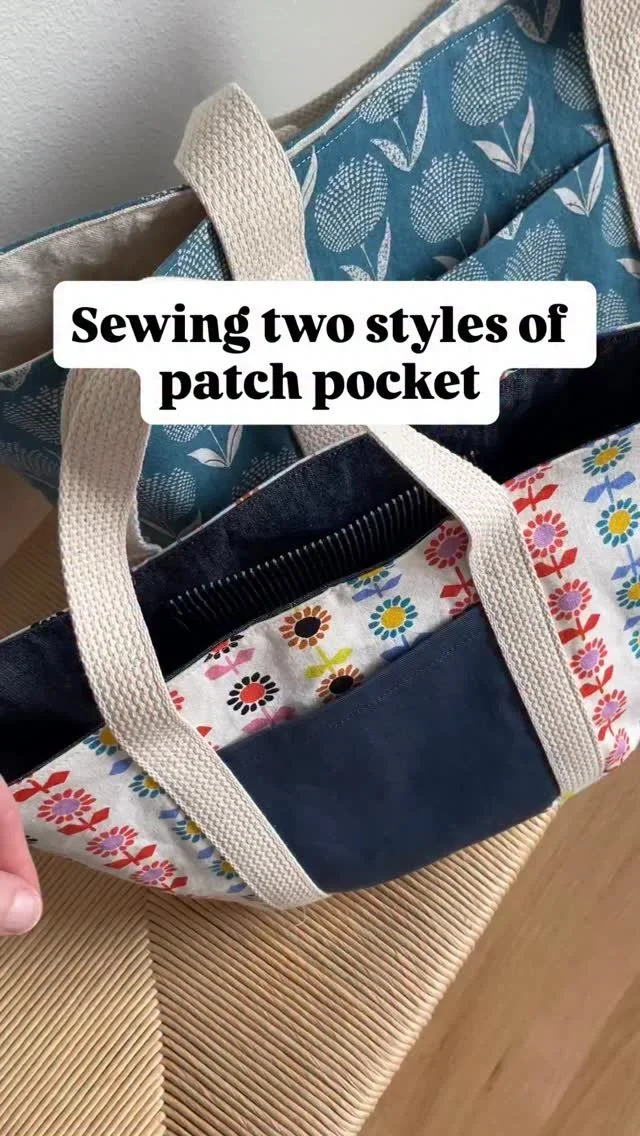
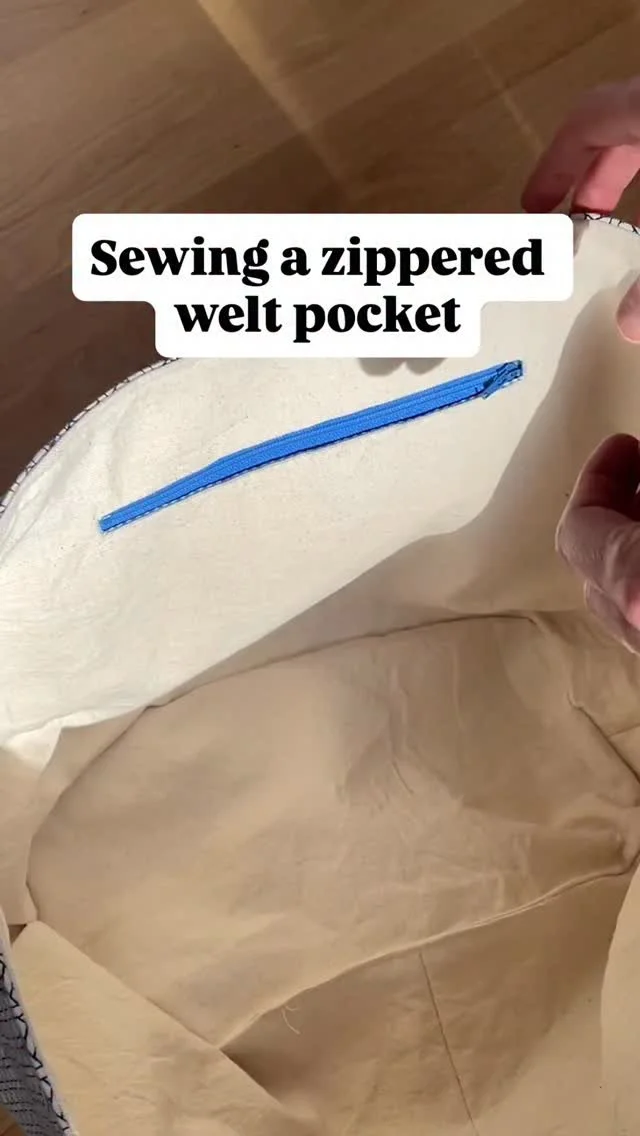
Both sizes have two exterior patch pockets and one interior pocket. The regular size has a welt zippered pocket inside and the small size has an interior patch pocket. The handles are made from cotton webbing that are topstitched to the sides of the bag and secured in the bottom seam.
This digital pattern includes:
• Illustrated instruction booklet
• Print-at-home layered pattern (Letter/A4)
• US copy shop and A0 patterns
• Projector pattern
Scroll down for more details.
THIS IS NOT A PHYSICAL PRODUCT. After checkout, you will receive a link to the pattern that will be active for 24 hours after you click it. Prices are in USD.

The Lela Skirt is a casual skirt featuring an elastic waist, straight silhouette and a split hem in either knee or mid-calf length. This is a beginner friendly pattern that is equally easy-to-sew as it is to wear. This pattern is designed to be mix-and-match for a total of 18 different designs. Select from a gently curved hem, an exaggerated curved hem or a straight hem. You can also choose between in-seam pockets, angled pockets or scoop pockets.
This digital pattern includes an illustrated, step-by-step instruction booklet, a print-at-home layered pattern for letter or A4 size paper, a US copy shop pattern and an A0 size pattern.
Model is 5’11” and is wearing a size 12.
THIS IS NOT A PHYSICAL PRODUCT. After checkout, you will receive a link to the pattern that will be active for 24 hours after you click it. Prices are in USD.
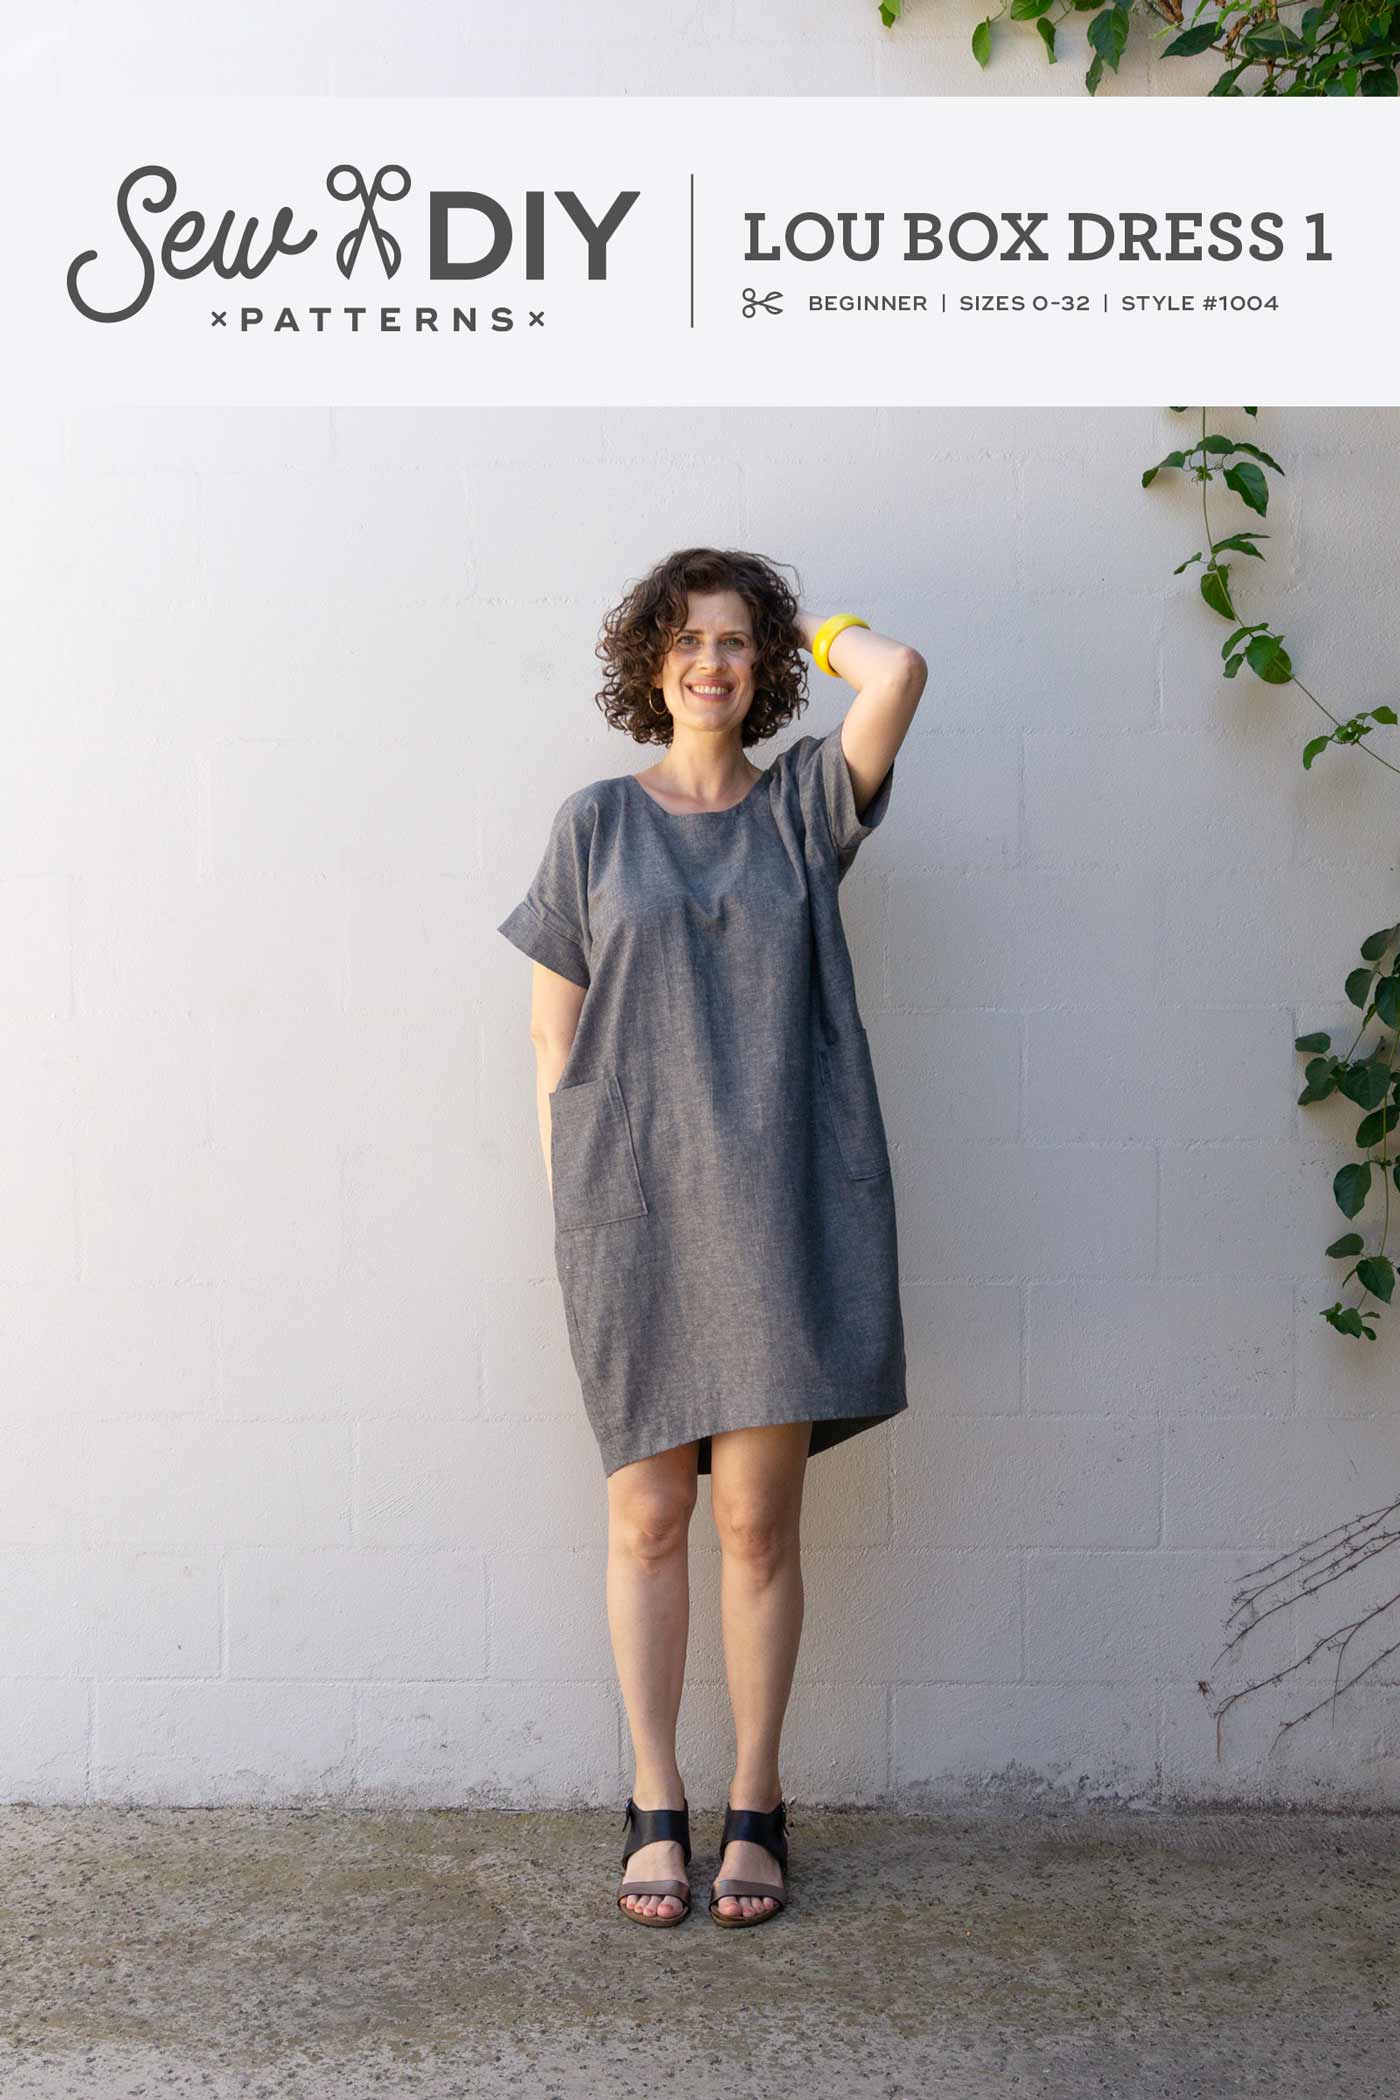
The Lou Box Dress 1 is a loose-fitting cocoon style dress. Worn alone, it’s perfect for warm summer days. Paired with a sweater, tights and boots, it will take you through the colder months. Make it in linen for a casual look or printed silk for a luxurious night out. View A features a medium scoop neck, 3/4 length sleeves with cuffs, in-seam pockets and a knee-length skirt. View B features short cuff sleeves and patch pockets. Instructions are included for sewing the dress in both woven and knit fabrics.
This digital pattern includes an illustrated, step-by-step instruction booklet, a print-at-home layered pattern for letter or A4 size paper, a US copy shop pattern and an A0 size pattern.
Model is 5’11” and is wearing a size 12.
THIS IS NOT A PHYSICAL PRODUCT. After checkout, you will receive a link to the pattern that will be active for 24 hours after you click it. Prices are in USD.

The Jodi Wide Leg Knit pants are the perfect mix of style and comfort. These ankle length pants feature angled side seam pockets, a medium rise and a lightly gathered elastic waistband. These pants are easy to sew, comfortable to wear and have a stylish wide leg.
This pattern is rated as Advanced Beginner. It’s helpful to have experience sewing with knit fabric but this is easy enough to sew as your first knit fabric sewing project. There are blog posts in the sewalong to help you.
Theses pants are designed to have a “skim” fit with just a little bit of negative ease. You’ll have all the comfort of stretch knit fabric but none of the tightness of a garment like leggings. See the size chart for more details.
This digital pattern includes an illustrated, step-by-step instruction booklet, a print-at-home layered pattern for letter or A4 size paper, a US copy shop pattern, an A0 size pattern and a projector pattern. All pattern files have layers.
Model is 5’11” and is wearing a size E.
THIS IS NOT A PHYSICAL PRODUCT. After checkout, you will receive a link to the pattern that will be active for 24 hours after you click it. Prices are in USD.

The Lou Box Top is a versatile, loose fitting top with two neckline options and three hem options, for a total of six different silhouettes. Designed with beginners in mind, the steps are very easy to follow, using the most basic techniques and the loose fit of the design requires minimal fitting. It's a great project for beginners looking to get their feet wet and for more experienced sewists who want to add some quick-to-make basics to their wardrobe.
This is a digital pdf pattern that includes a print-at-home pattern, copy shop pattern and illustrated instructions for both woven and knit fabrics. THIS IS NOT A PHYSICAL PRODUCT.
After checkout, you will receive a link to the pattern that will be active for 24 hours after you click it. Prices are in USD.
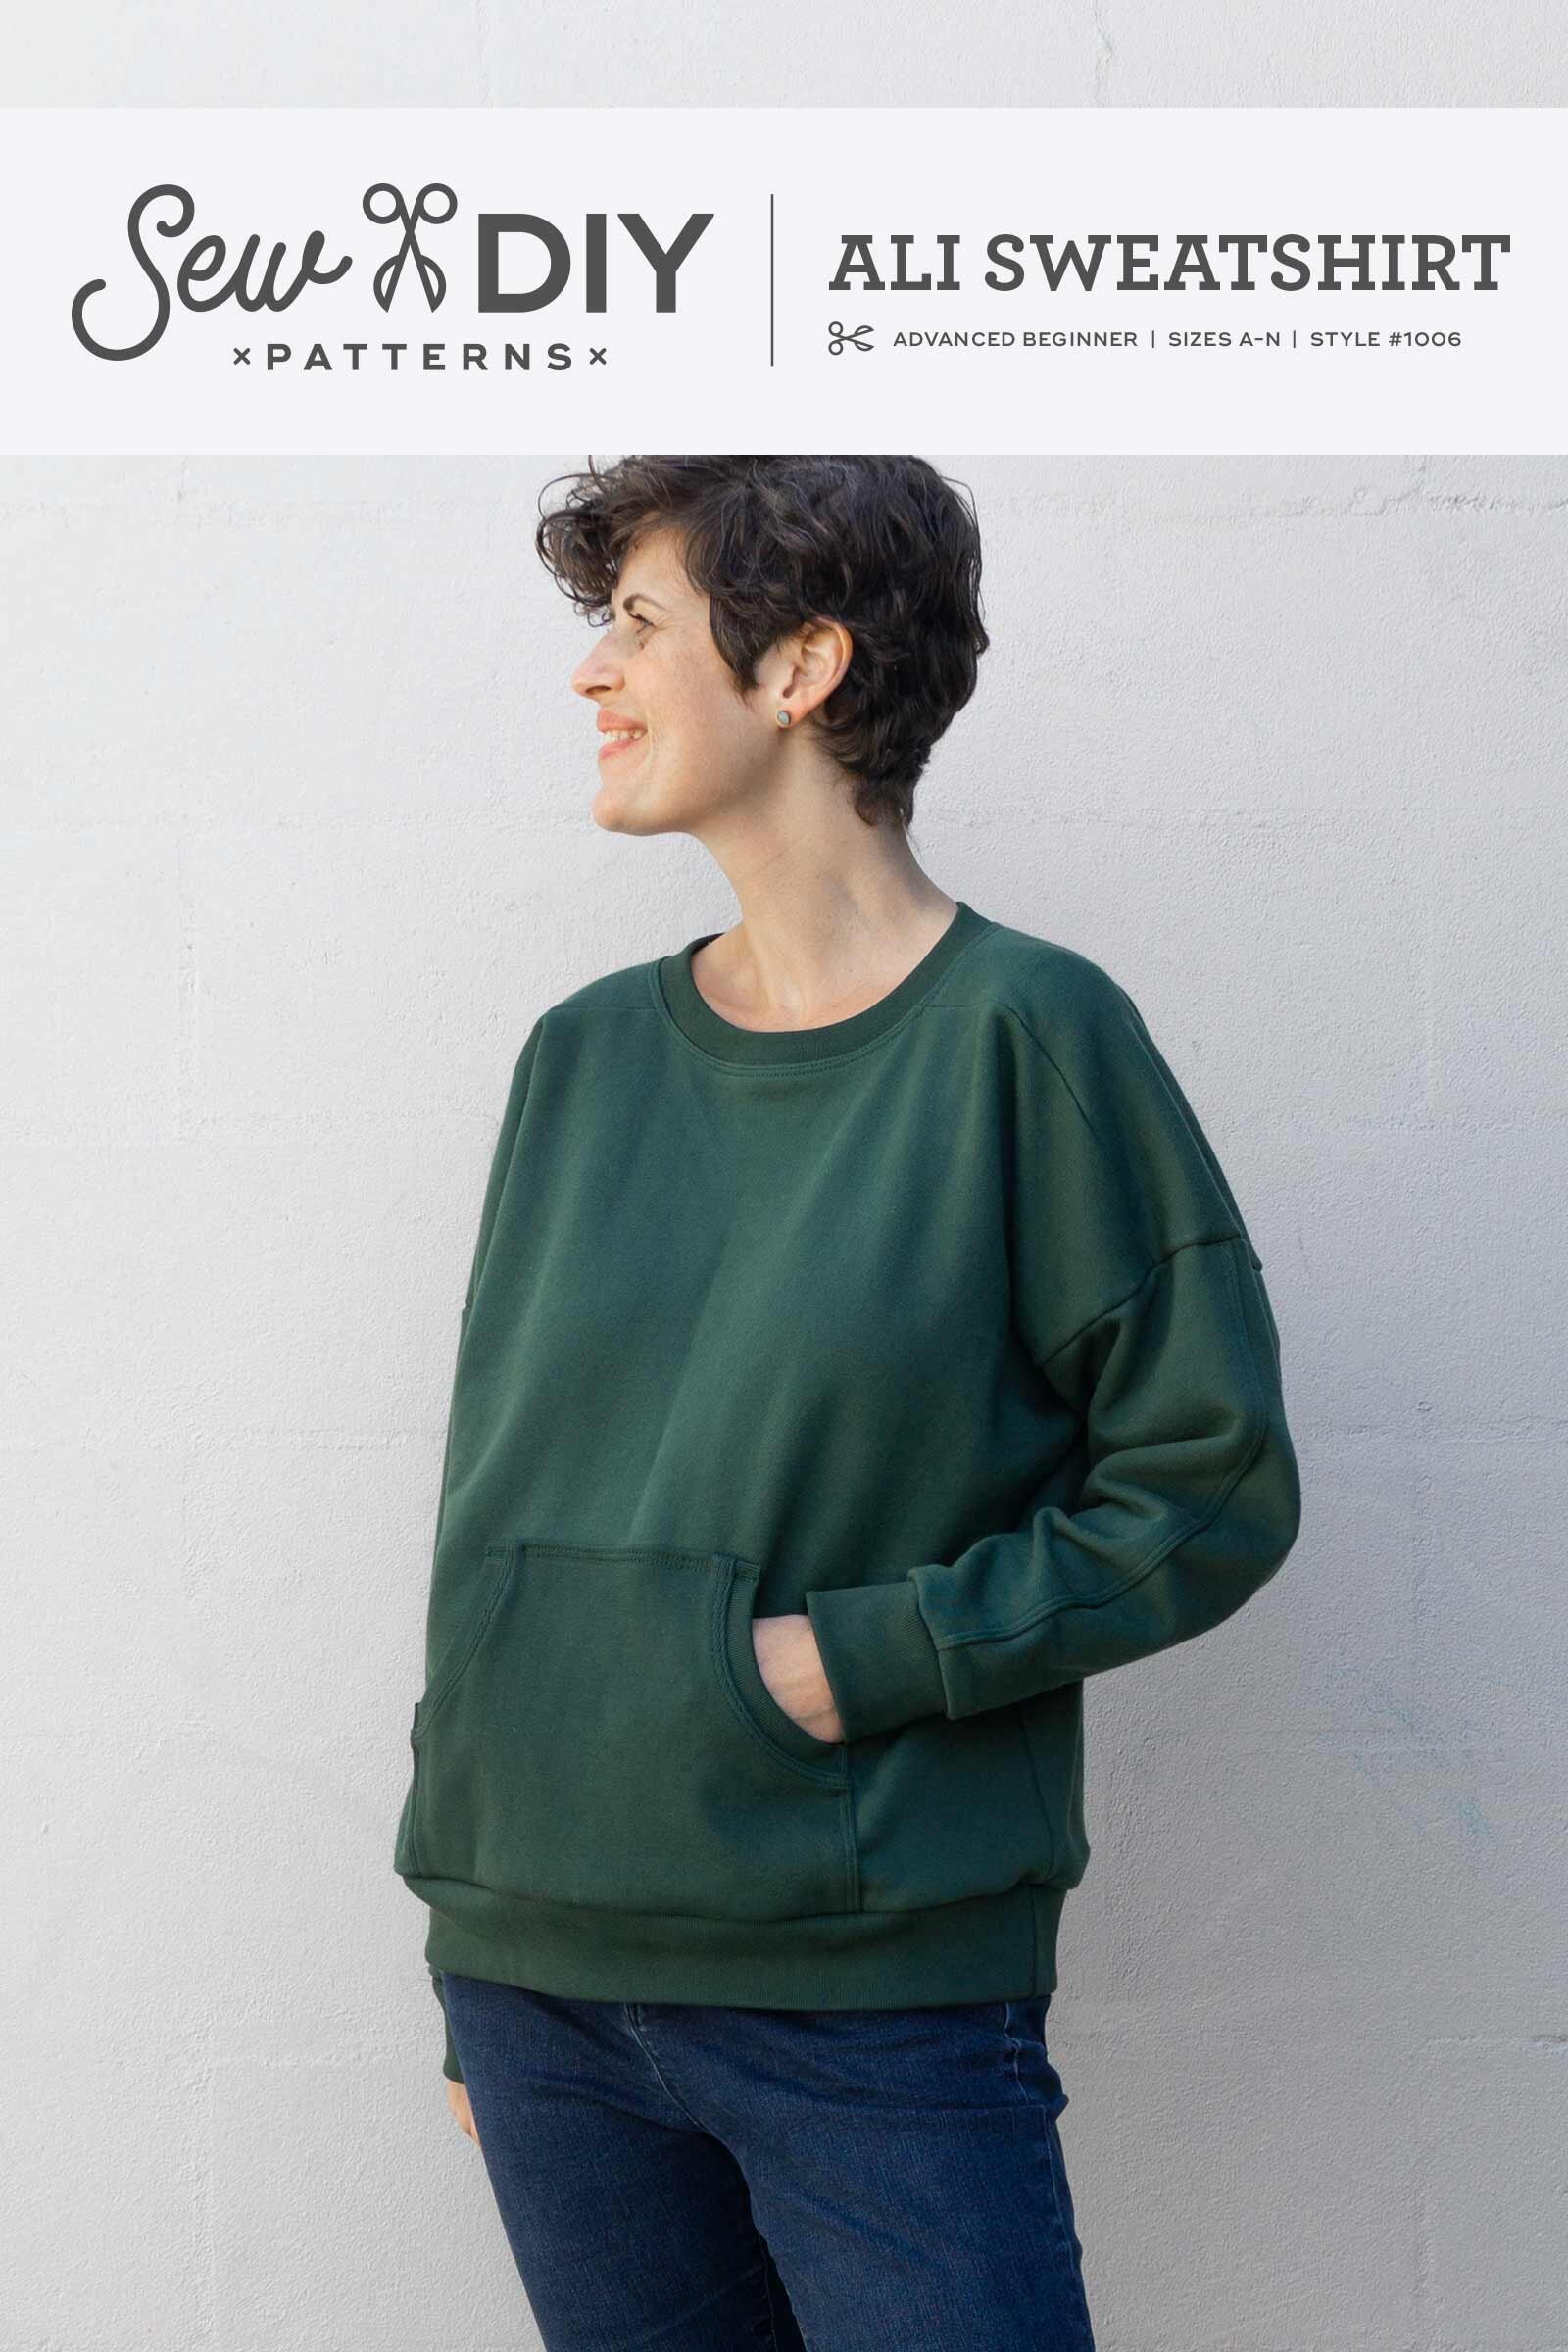
An oversized sweatshirt with drop-shoulders, dolman sleeves, a shoulder yoke and two-piece sleeves with optional topstitching. View A features a crew neck, a straight body for a gender neutral silhouette and an optional kangaroo pocket. View B is cropped with a scoop neck that narrows to the high hip for a more feminine style. The kangaroo pocket can also be used with View B.
This casual and sporty style is easy to sew and fun to wear. Wear it to the gym, to the beach or anywhere you need an extra layer of warmth. The roomy fit pairs well with jeans and leggings for everyday stylish comfort.
This digital pattern includes an illustrated, step-by-step instruction booklet, a print-at-home layered pattern for letter or A4 size paper, a US copy shop pattern and an A0 size pattern. Additionally, there is a printable color blocking worksheet to test out color arrangements before cutting your fabric.
Model is 5’11” and is wearing a size D.
THIS IS NOT A PHYSICAL PRODUCT. After checkout, you will receive a link to the pattern that will be active for 24 hours after you click it. Prices are in USD.
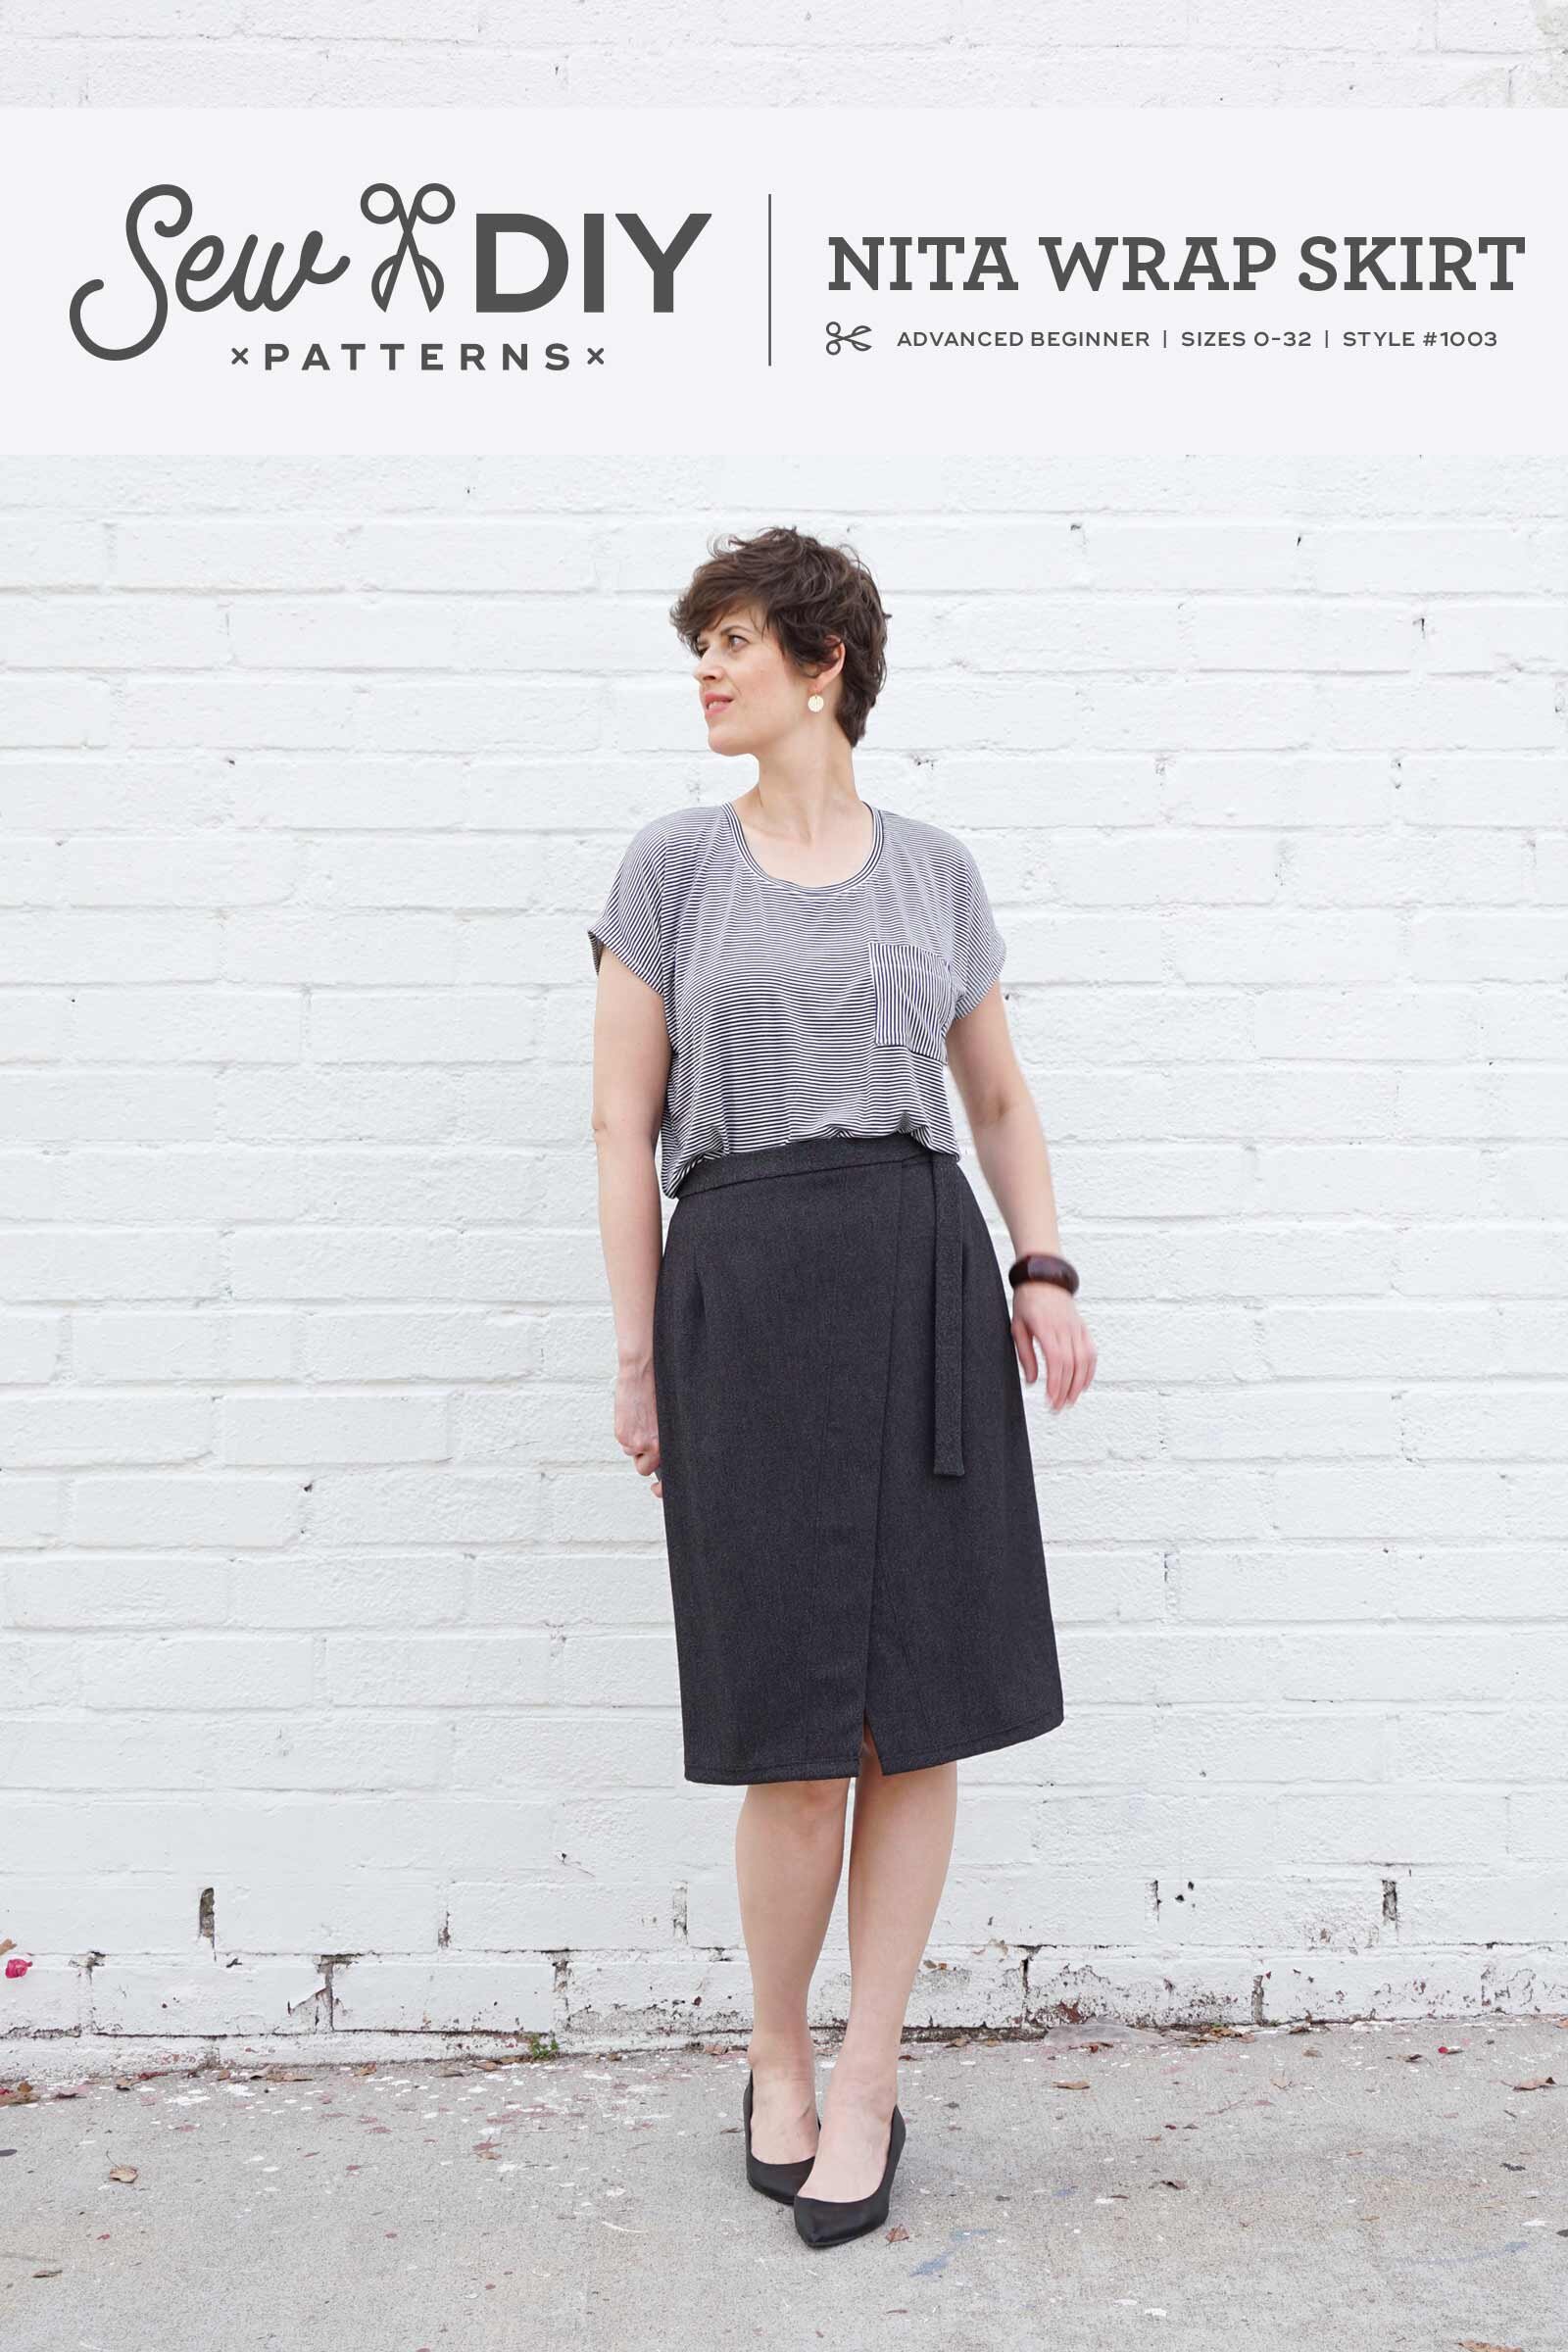
The Nita Wrap Skirt is a stylish wrap skirt with a fitted silhouette and dramatic angled front. There are three length options and three waistband closure options that can easily be mixed and matched. The pattern features waist darts, a built in front facing and an optional lining.
Make the mini length in denim or corduroy for a fun, casual look. Or, pair a neutral twill fabric with the midi-length for a sophisticated look that will take you from the office to happy hour in style.
This skirt can be a bit revealing so there is also a full coverage option. The skirt also works well when worn with tights or leggings.
This digital pattern includes an illustrated, step-by-step instruction booklet, a print-at-home layered pattern for letter or A4 size paper, a US copy shop pattern and an A0 size pattern. The instruction booklet also includes tips for common pattern adjustments.
For additional help, there is a photo sewalong here.
Model is 5’11” and is wearing a size 12 skirt.
THIS IS NOT A PHYSICAL PRODUCT. After checkout, you will receive a link to the pattern that will be active for 24 hours after you click it. Prices are in USD.

The Lou Box series of patterns is designed to be mixed and matched easily for a treasure trove of options and hacking opportunities. This expansion pack includes the four sleeve options from the Lou Box Dress patterns and can be used with the Lou Box Top or Lou Box Dress patterns. Adding sleeves to the Lou Box Top opens up a wealth of possibilities for your everyday wardrobe. Playing around with these design options is a great way to have fun and explore your creativity and personal style.
Sleeve styles included:
Short sleeves with cuffs
Short cuff sleeves
Three quarter tapered sleeves
Full length tapered sleeves
Please note: The Lou Box Top or one of the Lou Box Dress patterns is needed to complete this pattern. (If you already own both Lou Box Dress patterns, you do not need this expansion pack.)
This is a digital pdf pattern that includes a print-at-home pattern, copy shop pattern, A0 pattern and illustrated instructions. THIS IS NOT A PHYSICAL PRODUCT.
After checkout, you will receive a link to the pattern that will be active for 24 hours after you click it. Prices are in USD.

The Dana Jumpsuit is the perfect mix of sophistication and sport. Make the pants version in velvet or silk for sophisticated nighttime look or sew up the shorts length in a rayon crepe or cotton chambray for a carefree, summer romper. The front waist tie creates subtle shaping while maintaining total comfort.
This all-season jumpsuit features a dramatic front waist tie, a scoop neck, set-in elbow-length sleeves, an invisible back zipper and optional center front top stitching. Choose between a high curved or a deeper V-shaped back neckline.
This digital pattern includes an illustrated, step-by-step instruction booklet, a print-at-home layered pattern for letter or A4 size paper, a US copy shop pattern and an A0 size pattern.
Model is 5’11” and is wearing a size 12.
THIS IS NOT A PHYSICAL PRODUCT. After checkout, you will receive a link to the pattern that will be active for 24 hours after you click it. Prices are in USD.

The Tasi Robe/Jacket is a Draft-It-Yourself pattern for any size human and perfect for dipping your toes into basic pattern making and design. You decide your finished measurements and the detailed instructions will take you step-by-step through creating your own pattern pieces.
This pattern is a fantastically flexible basic that can be used to make a robe, simple jacket or even a cardigan. It’s suitable for almost any fabric from rayon, silk or linen for warmer months to a fleece or sweater knit for cooler months. You can even use up leftover fabrics for a scrappy, color blocked garment.
View A is a classic robe style with patch pockets, a tie belt and carriers. View B is a casual jacket with turned back cuffs, oversized pockets and a hem band. It’s easy to adjust the design of this pattern to suit your personal preferences.
This is a digital pdf pattern that includes illustrated step-by-step instructions and a spreadsheet calculator to create your own custom pattern pieces. PATTERN PIECES ARE NOT INCLUDED.
THIS IS NOT A PHYSICAL PRODUCT. After checkout, you will receive a link to the pattern that will be active for 24 hours after you click it. Prices are in USD.
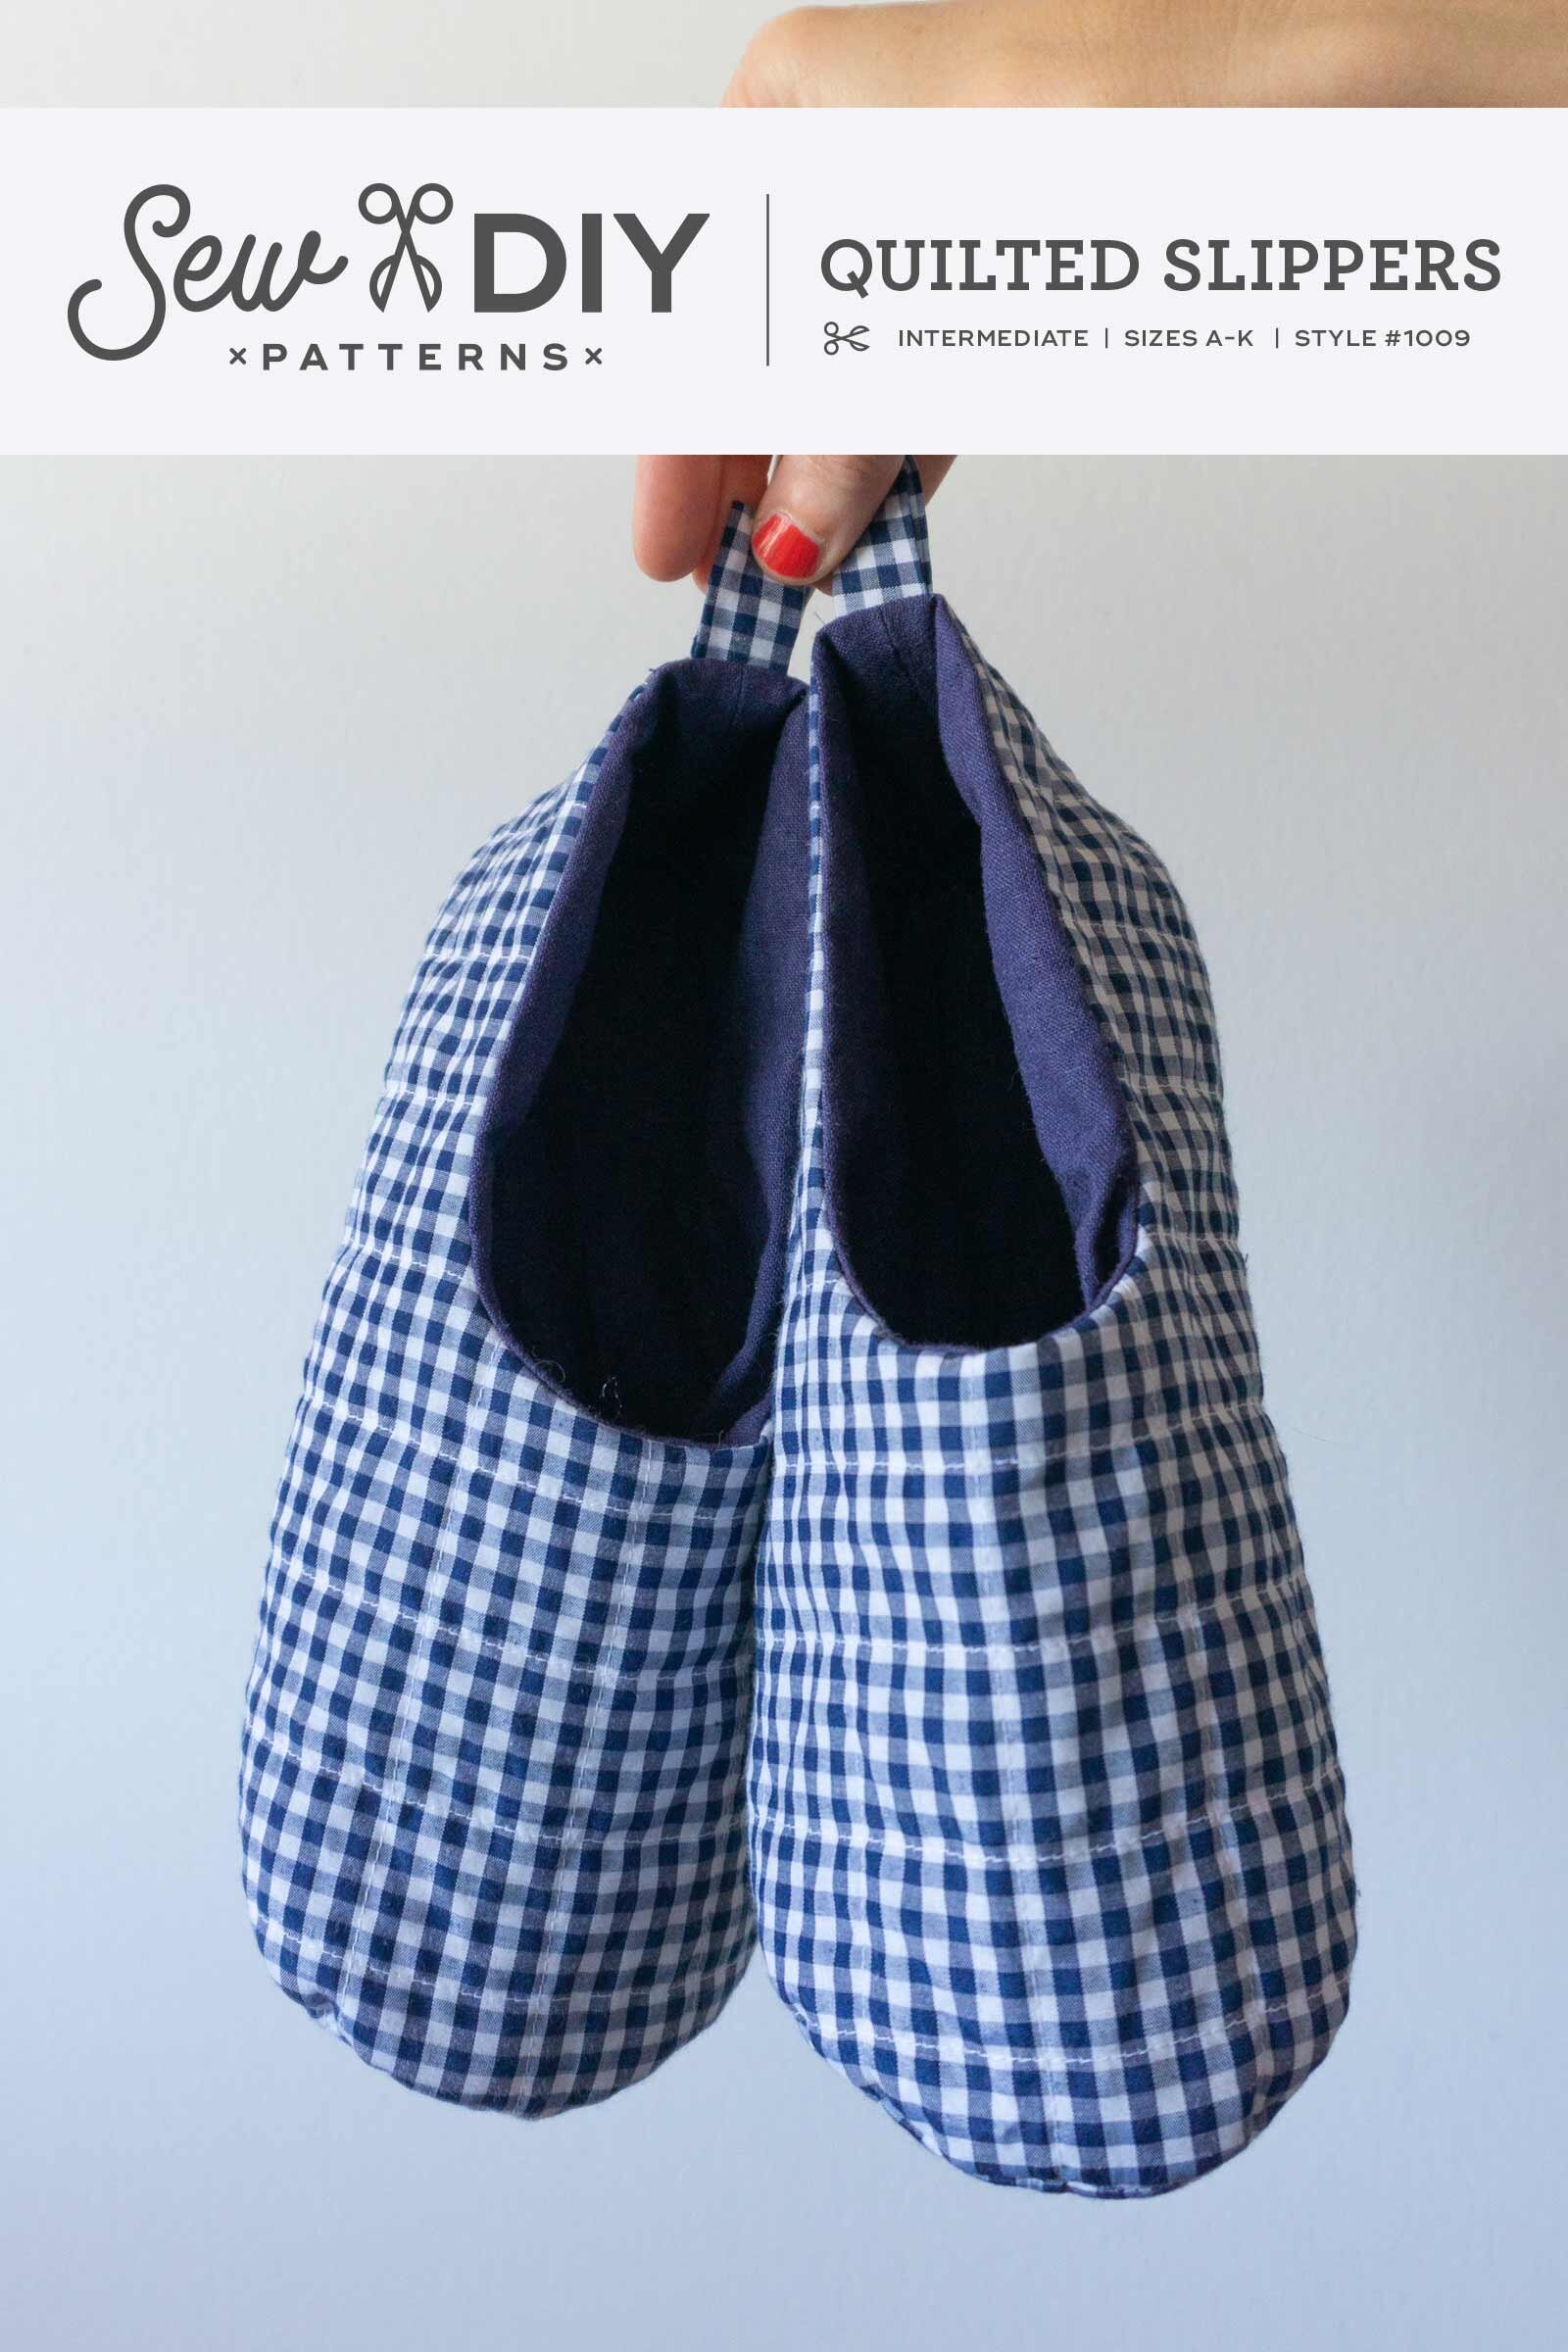
The Sew DIY Quilted Slippers are the perfect way to keep toes warm and use up small cuts of fabric. Plus, it’s a great way to introduce yourself to quilting. The quilted exterior is constructed by quilting a layer of fabric and batting together. You can also use pre-quilted fabric for a quicker project.
The slippers are sized for foot lengths 8.25-12 inches (21-30.5 cm) which approximately fits US women’s shoe sizes 4-14 and US men’s shoe sizes 6-14.5. The pattern is gender neutral making it a great gift for all your friends and family.
View A is a bootie style slipper that can be worn with the top turned down to reveal the lining or with the top up to keep the ankles warm. View B is an open top skimmer style, perfect for the summer months.
This is a digital pdf pattern that includes a print-at-home pattern, copy shop pattern, A0 pattern and illustrated instructions.
THIS IS NOT A PHYSICAL PRODUCT. After checkout, you will receive a link to the pattern that will be active for 24 hours after you click it. Prices are in USD.

The Sew DIY Stocking is a beginner-friendly holiday stocking, perfect for personalizing your holiday decor. The stocking is available in four sizes—mini, small, medium and large—that can be used in a variety of ways. The small, medium and large sizes work well for the classic stocking usage. Use a mix of sizes and fabrics on your mantel, or pick one for a more uniform look. The mini size can be used for Christmas tree ornaments, an advent calendar, a fun garland, in place of a bow on gifts or even as a gift card holder.
The stockings feature a classic design with a rounded toe and heel, a hanging loop and a fold-over cuff. The stockings are quick to sew and, if desired, the small, medium and large sizes can be sewn with a lining. Make it in velvet for a classic, luxurious feel or sew up a set in plaid cotton flannel for a cozy, homespun vibe.
This is a digital pdf pattern that includes a print-at-home pattern, copy shop pattern, A0 pattern, projector-ready file and illustrated instructions.
THIS IS NOT A PHYSICAL PRODUCT. After checkout, you will receive a link to the pattern that will be active for 24 hours after you click it. Prices are in USD.

The Beginner's Bundle includes the Lou Box Top and Lela Skirt pdf patterns bundled together for a discounted price. These two patterns are a great way to practice your sewing skills and build your handmade wardrobe. Both patterns are designed for beginners, with easy to follow steps. And as a bonus, they each use only about a yard of fabric.
The Lou Box Top is a loose fitting top with two necklines and three hem options. The Lela Skirt is a casual elastic waist with three pocket styles and three hem options.
The bundle includes two digital PDF patterns each with a print-at-home pattern, copy shop pattern and illustrated instructions. THIS IS NOT A PHYSICAL PRODUCT.
After checkout, you will receive a link to the pattern that will be active for 24 hours after you click it. Prices are in USD.

This course is priced in a “pay what you can afford” structure. While I believe this is a very high value course, I understand that we all have different economic situations. I also believe that sustainable living should be something that’s available to everyone and sustainability is at the heart of this course. For those reasons, I’m offering the course in a “pay what you can afford” structure. Click here to see all price options here.
Are your scraps taking over your sewing room and causing you stress? For those of us who sew and want to live a sustainable lifestyle, finding new ways to use our fabric scraps can become overwhelming.
After years of sewing and saving scraps, I created a method of improvisational quilting that uses my scraps to make something useful and is fun and relaxing. This process of sewing is a great way to take a break from the technical aspects of garment sewing, and get in the flow of making. With this course, you'll learn all the basics of making a quilt and gain a fresh perspective on your scrap bin.
How does it work?
This is a blog style course that uses a combination of video, image and text to teach you everything you need to know to sew your own improvisational quilt. While the course is detailed and comprehensive, the lessons are broken into bite sized chunks so that you can learn as quickly (or slowly) as you want.
You will receive lifetime access to the course. After you purchase the e-course, you’ll receive an email with a download link. The pdf download will then give you instructions for accessing the private site with the video lessons.
Learn more and read testimonials here.

The Work-From-Home Pattern Bundle has all the patterns you need to sew your won functional, versatile and comfortable mini capsule wardrobe. With these patterns, you can make a variety of tops, bottoms and layering pieces perfect customized to your everyday style.
The Work-From-Home Pattern Bundle includes 4 unique patterns plus the LBT sleeve expansion pack discussed above.
1. Lou Box Top PDF Pattern (value $14)
2. Lou Box Top Sleeve Expansion PDF Pattern (value $6)
3. Draft-It-Yourself Tasi Robe/Jacket PDF Pattern (value $14)
4. Summer Sweatsuit PDF Pattern (value $14)
5. (Bonus!) Quilted Slippers PDF Pattern (value $12)
6. Wardrobe planning workbook PDF Printable (value $4)
TOTAL VALUE = $64
(Scroll down for pattern details.)
THIS IS NOT A PHYSICAL PRODUCT. After checkout, you will receive a link to the pattern that will be active for 24 hours after you click it. Prices are in USD.

The Lou Box Dress 2 is a loose-fitting gathered waist dress with a ballet neckline, scoop pockets, a knee length skirt and dolman sleeves. View A features three-quarter length sleeves. View B features full-length tapered sleeves and a low scoop back. Instructions are included for sewing the dress in both woven and knit fabrics.
This digital pattern includes an illustrated, step-by-step instruction booklet, a print-at-home layered pattern for letter or A4 size paper, a US copy shop pattern and an A0 size pattern.
Model is 5’11” and is wearing a size 12.
THIS IS NOT A PHYSICAL PRODUCT. After checkout, you will receive a link to the pattern that will be active for 24 hours after you click it. Prices are in USD.
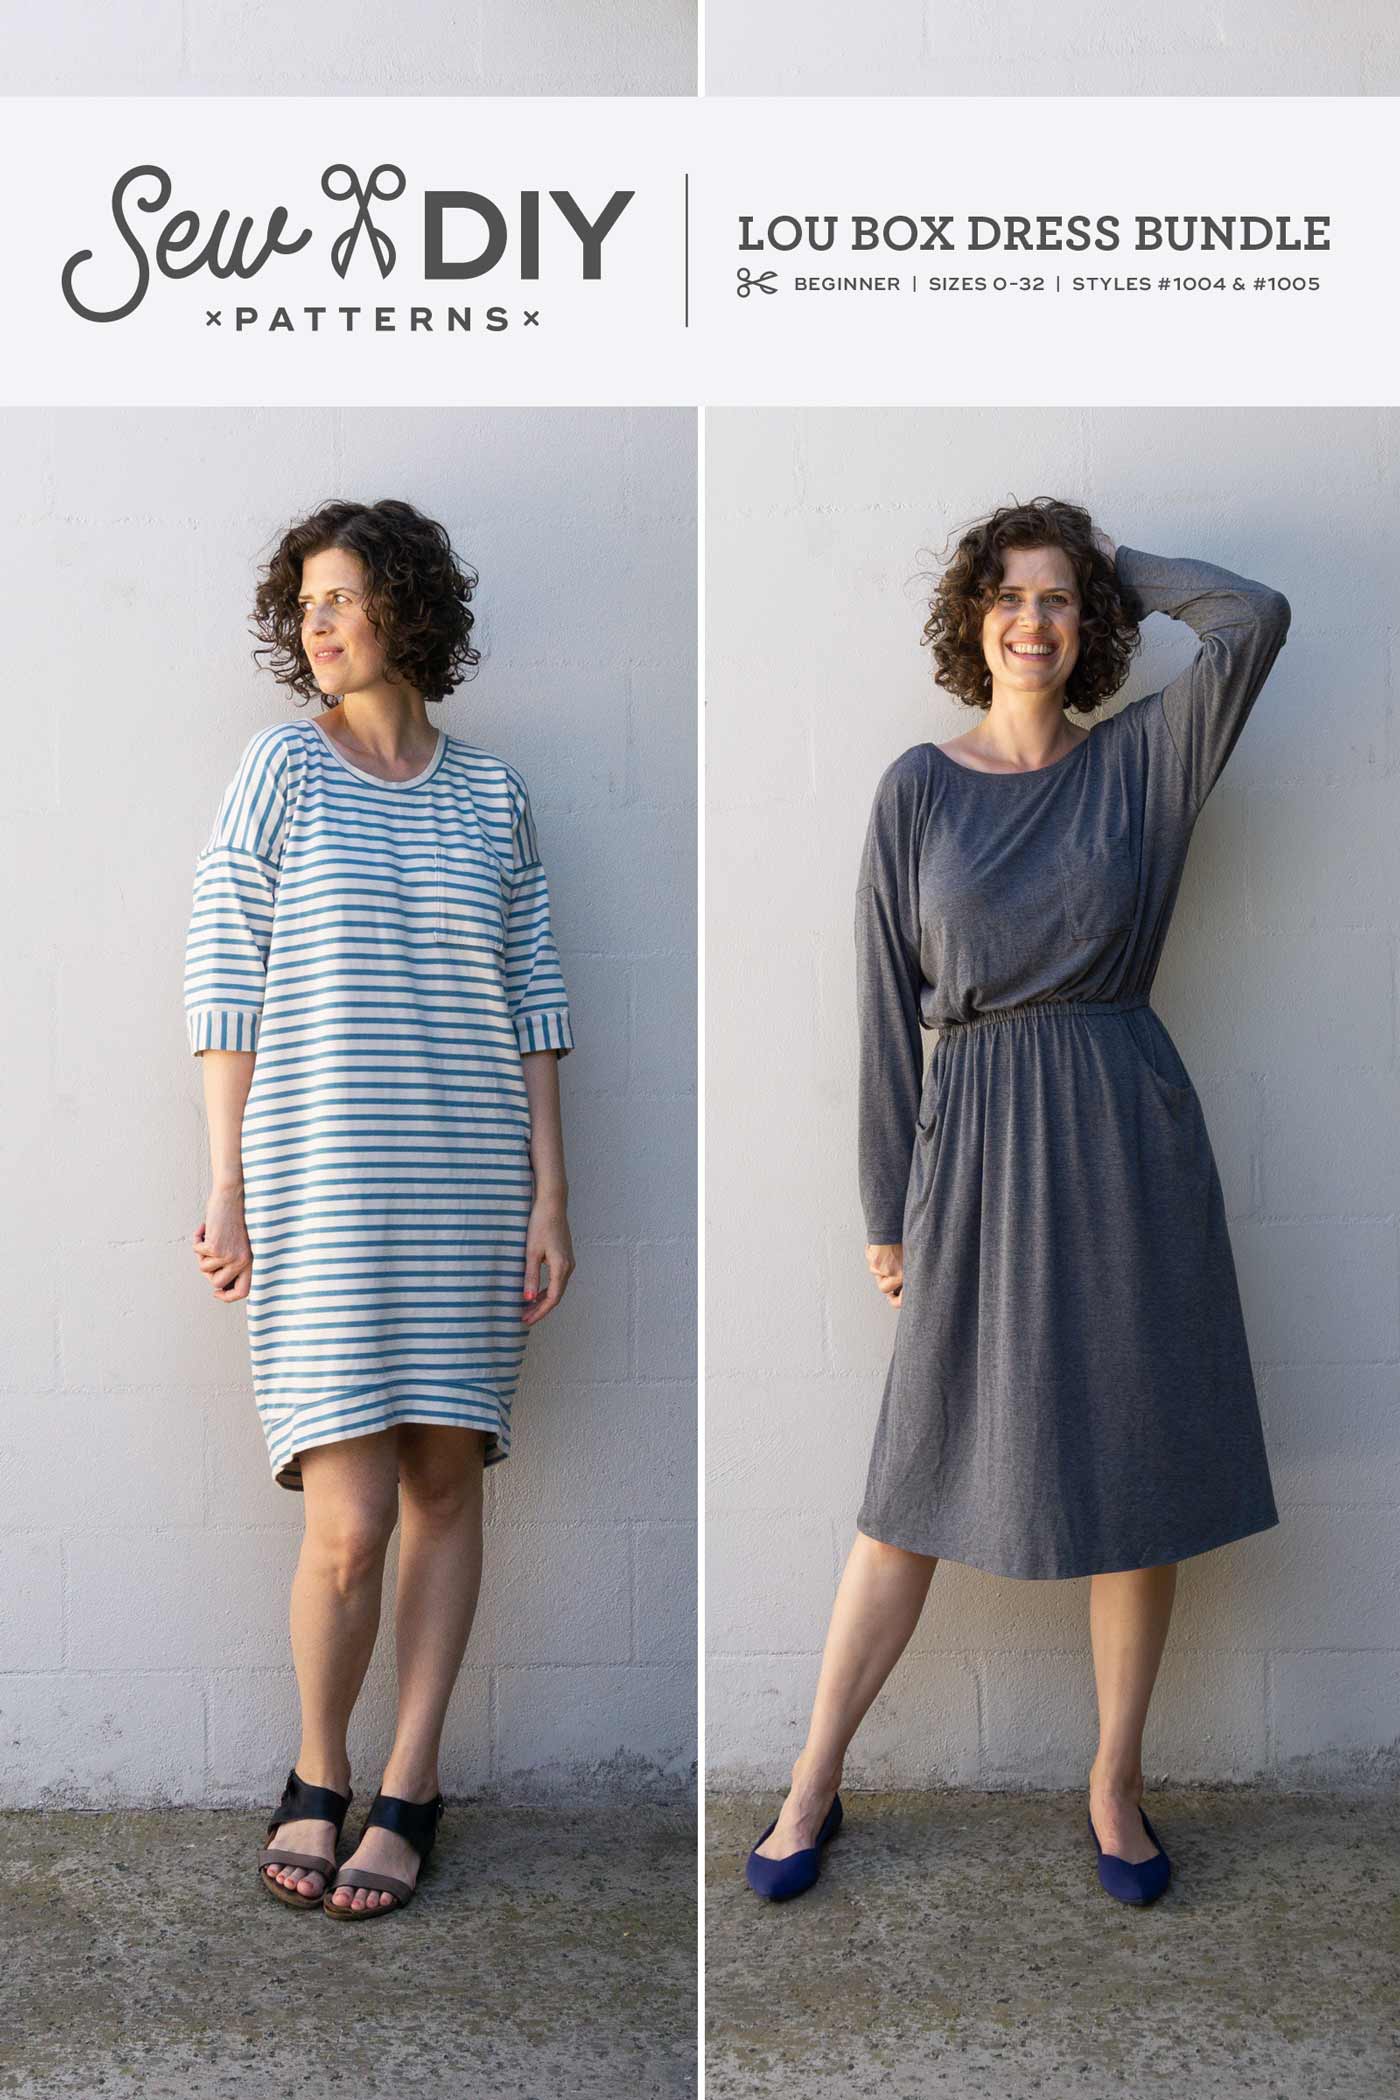
This item includes the Lou Box Dress 1 and the Lou Box Dress 2 pdf sewing patterns for a discounted price.
Lou Box Dress 1
The Lou Box Dress 1 is a loose-fitting cocoon style dress. Worn alone, it’s perfect for warm summer days. Paired with a sweater, tights and boots, it will take you through the colder months. Make it in linen for a casual look or printed silk for a luxurious night out. View A features a medium scoop neck, 3/4 length sleeves with cuffs, in-seam pockets and a knee-length skirt. View B features short cuff sleeves and patch pockets. Instructions are included for sewing the dress in both woven and knit fabrics.
Lou Box Dress 2
The Lou Box Dress 2 is a loose-fitting gathered waist dress with a ballet neckline, scoop pockets, a knee length skirt and dolman sleeves. View A features three-quarter length sleeves. View B features full-length tapered sleeves and a low scoop back. Instructions are included for sewing the dress in both woven and knit fabrics.
The bundle includes two digital PDF patterns each with a print-at-home pattern, copy shop pattern, A0 pattern and illustrated instructions. THIS IS NOT A PHYSICAL PRODUCT.
After checkout, you will receive a link to the pattern that will be active for 24 hours after you click it. Prices are in USD.

The Sew DIY Printable Sewing Planner is a set of pdfs that you can print at home to build your own project planner and sewing journal. The planner includes all the pages you’ll need to track, organize and document your sewing projects. As a bonus, I’ve also included undated monthly and weekly calendars so that you can continue to use this planner system for years to come.
The planner can be printed in the following sizes/formats:
Letter
A4
Half-Letter (plus 2-up or crop marks)
A5 (plus 2-up or crop marks)
This is a digital pdf product that includes 12 planner page designs, undated weekly and monthly calendars in four page sizes. THIS IS NOT A PHYSICAL PRODUCT. This product is for personal use only. Prices are in USD.

The Sew DIY Printable Sewing Planner is a set of pdfs that you can print at home to build your own project planner and sewing journal. The planner includes all the pages you’ll need to track, organize and document your sewing projects. As a bonus, I’ve also included undated monthly and weekly calendars so that you can continue to use this planner system for years to come.
The planner can be printed in the following sizes/formats:
Letter
A4
Half-Letter (plus 2-up or crop marks)
A5 (plus 2-up or crop marks)
This is a digital pdf product that includes 12 planner page designs, undated weekly and monthly calendars in four page sizes. THIS IS NOT A PHYSICAL PRODUCT. This product is for personal use only. Prices are in USD.

Decorate your sewing space with these light-hearted and inspirational sewing themed printable posters. This pdf download includes five designs in 3 color ways (solid color background, color type on white background and black type on white). The artwork can be scaled up or down without loss of quality. Plus, the download includes a variety of sizes so that you can print just the size you need for your frame.
Sizes
2x3 ratio file for printing 4"x6", 6"x9", 8"x12", 10"x15", 12"x18", 16"x24", 20"x30", 24"x36", 60x90cm
3x4 ratio file for printing 6"x8", 9"x12", 12"x16", 18”x24"
4x5 ratio file for printing 4"x5", 8"x10", 16"x20", 40x50cm
5x7 ratio file for printing 5"x7", A5, A4, A3, A2, A1, 50x70cm
file for printing 11"x14"
This is a digital pdf product that includes 15 poster designs in five sizes. THIS IS NOT A PHYSICAL PRODUCT. This product is for personal use only. Prices are in USD.

This course is priced in a “pay what you can afford” structure. While I believe this is a very high value course, I understand that we all have different economic situations. I also believe that sustainable living should be something that’s available to everyone and sustainability is at the heart of this course. For those reasons, I’m offering the course in a “pay what you can afford” structure. Click here to see all price options here.
Are your scraps taking over your sewing room and causing you stress? For those of us who sew and want to live a sustainable lifestyle, finding new ways to use our fabric scraps can become overwhelming.
After years of sewing and saving scraps, I created a method of improvisational quilting that uses my scraps to make something useful and is fun and relaxing. This process of sewing is a great way to take a break from the technical aspects of garment sewing, and get in the flow of making. With this course, you'll learn all the basics of making a quilt and gain a fresh perspective on your scrap bin.
How does it work?
This is a blog style course that uses a combination of video, image and text to teach you everything you need to know to sew your own improvisational quilt. While the course is detailed and comprehensive, the lessons are broken into bite sized chunks so that you can learn as quickly (or slowly) as you want.
You will receive lifetime access to the course. After you purchase the e-course, you’ll receive an email with a download link. The pdf download will then give you instructions for accessing the private site with the video lessons.
Learn more and read testimonials here.

This course is priced in a “pay what you can afford” structure. While I believe this is a very high value course, I understand that we all have different economic situations. I also believe that sustainable living should be something that’s available to everyone and sustainability is at the heart of this course. For those reasons, I’m offering the course in a “pay what you can afford” structure. Click here to see all price options here.
Are your scraps taking over your sewing room and causing you stress? For those of us who sew and want to live a sustainable lifestyle, finding new ways to use our fabric scraps can become overwhelming.
After years of sewing and saving scraps, I created a method of improvisational quilting that uses my scraps to make something useful and is fun and relaxing. This process of sewing is a great way to take a break from the technical aspects of garment sewing, and get in the flow of making. With this course, you'll learn all the basics of making a quilt and gain a fresh perspective on your scrap bin.
How does it work?
This is a blog style course that uses a combination of video, image and text to teach you everything you need to know to sew your own improvisational quilt. While the course is detailed and comprehensive, the lessons are broken into bite sized chunks so that you can learn as quickly (or slowly) as you want.
You will receive lifetime access to the course. After you purchase the e-course, you’ll receive an email with a download link. The pdf download will then give you instructions for accessing the private site with the video lessons.
Learn more and read testimonials here.

This course is priced in a “pay what you can afford” structure. While I believe this is a very high value course, I understand that we all have different economic situations. I also believe that sustainable living should be something that’s available to everyone and sustainability is at the heart of this course. For those reasons, I’m offering the course in a “pay what you can afford” structure. Click here to see all price options here.
Are your scraps taking over your sewing room and causing you stress? For those of us who sew and want to live a sustainable lifestyle, finding new ways to use our fabric scraps can become overwhelming.
After years of sewing and saving scraps, I created a method of improvisational quilting that uses my scraps to make something useful and is fun and relaxing. This process of sewing is a great way to take a break from the technical aspects of garment sewing, and get in the flow of making. With this course, you'll learn all the basics of making a quilt and gain a fresh perspective on your scrap bin.
How does it work?
This is a blog style course that uses a combination of video, image and text to teach you everything you need to know to sew your own improvisational quilt. While the course is detailed and comprehensive, the lessons are broken into bite sized chunks so that you can learn as quickly (or slowly) as you want.
You will receive lifetime access to the course. After you purchase the e-course, you’ll receive an email with a download link. The pdf download will then give you instructions for accessing the private site with the video lessons.
Learn more and read testimonials here.

This video sewalong will take you through all the steps of making the Dana Jumpsuit, from selecting your size and making fit adjustments to adhering interfacing, sewing an invisible zipper and attaching a neckline facing. Along the way, you’ll get all my tips and tricks for getting great sewing results, as well as additional insights into the design and how to make it work for you.
NOTE: The Dana Jumpsuit pattern must be purchased separately. You can find it here.
Who this is for?
This video sewalong is perfect for someone who wants to uplevel their sewing skills and learns well from a video format. This is an intermediate level pattern so it’s perfect for you if you’ve sewn a few beginner patterns before and would like someone to guide you through one that is a little more complicated.
How does it work?
You will receive lifetime access to 17 video sewing lessons, plus additional written and illustrated content to support the videos. This course is self-paced, so you can go as quickly or slowly as you’d like. After you purchase the e-course, you’ll receive an email with a download link. The pdf download will then give you instructions for accessing the private site with the video lessons.
LESSONS
1. Introduction to the pattern
2. How to select your size
3. How to print and assemble your pattern
4. Pattern piece review
5. Make a muslin + common pattern adjustments
6. How to adhere interfacing & assemble facings
7. How to sew the darts
8. Staystitch and finish seams
9. Stitch bodice front
10. Pockets and jumpsuit front
11. Sew the waist ties
12. Sew jumpsuit back
13. Stitch shoulder seams & attach sleeves
14. Sew the side seams
15. Attach the invisible zipper
16. Sew the neck facing
17. Sew the inseam and hems

If you use Illustrator to create sewing related illustrations, these brushes are a quick way to show different types of stitches. Just draw a line, apply the brush and you have a fancy stitch line that would normally take much, much longer to draw. Learn more here.
All proceeds from these brushes are donated to UNICEF.
Please note, these brushes are for personal and commercial use. Resale and/or distribution is prohibited. I hope you find these brushes useful and fun. Happy sewing and thank you in advance for supporting!
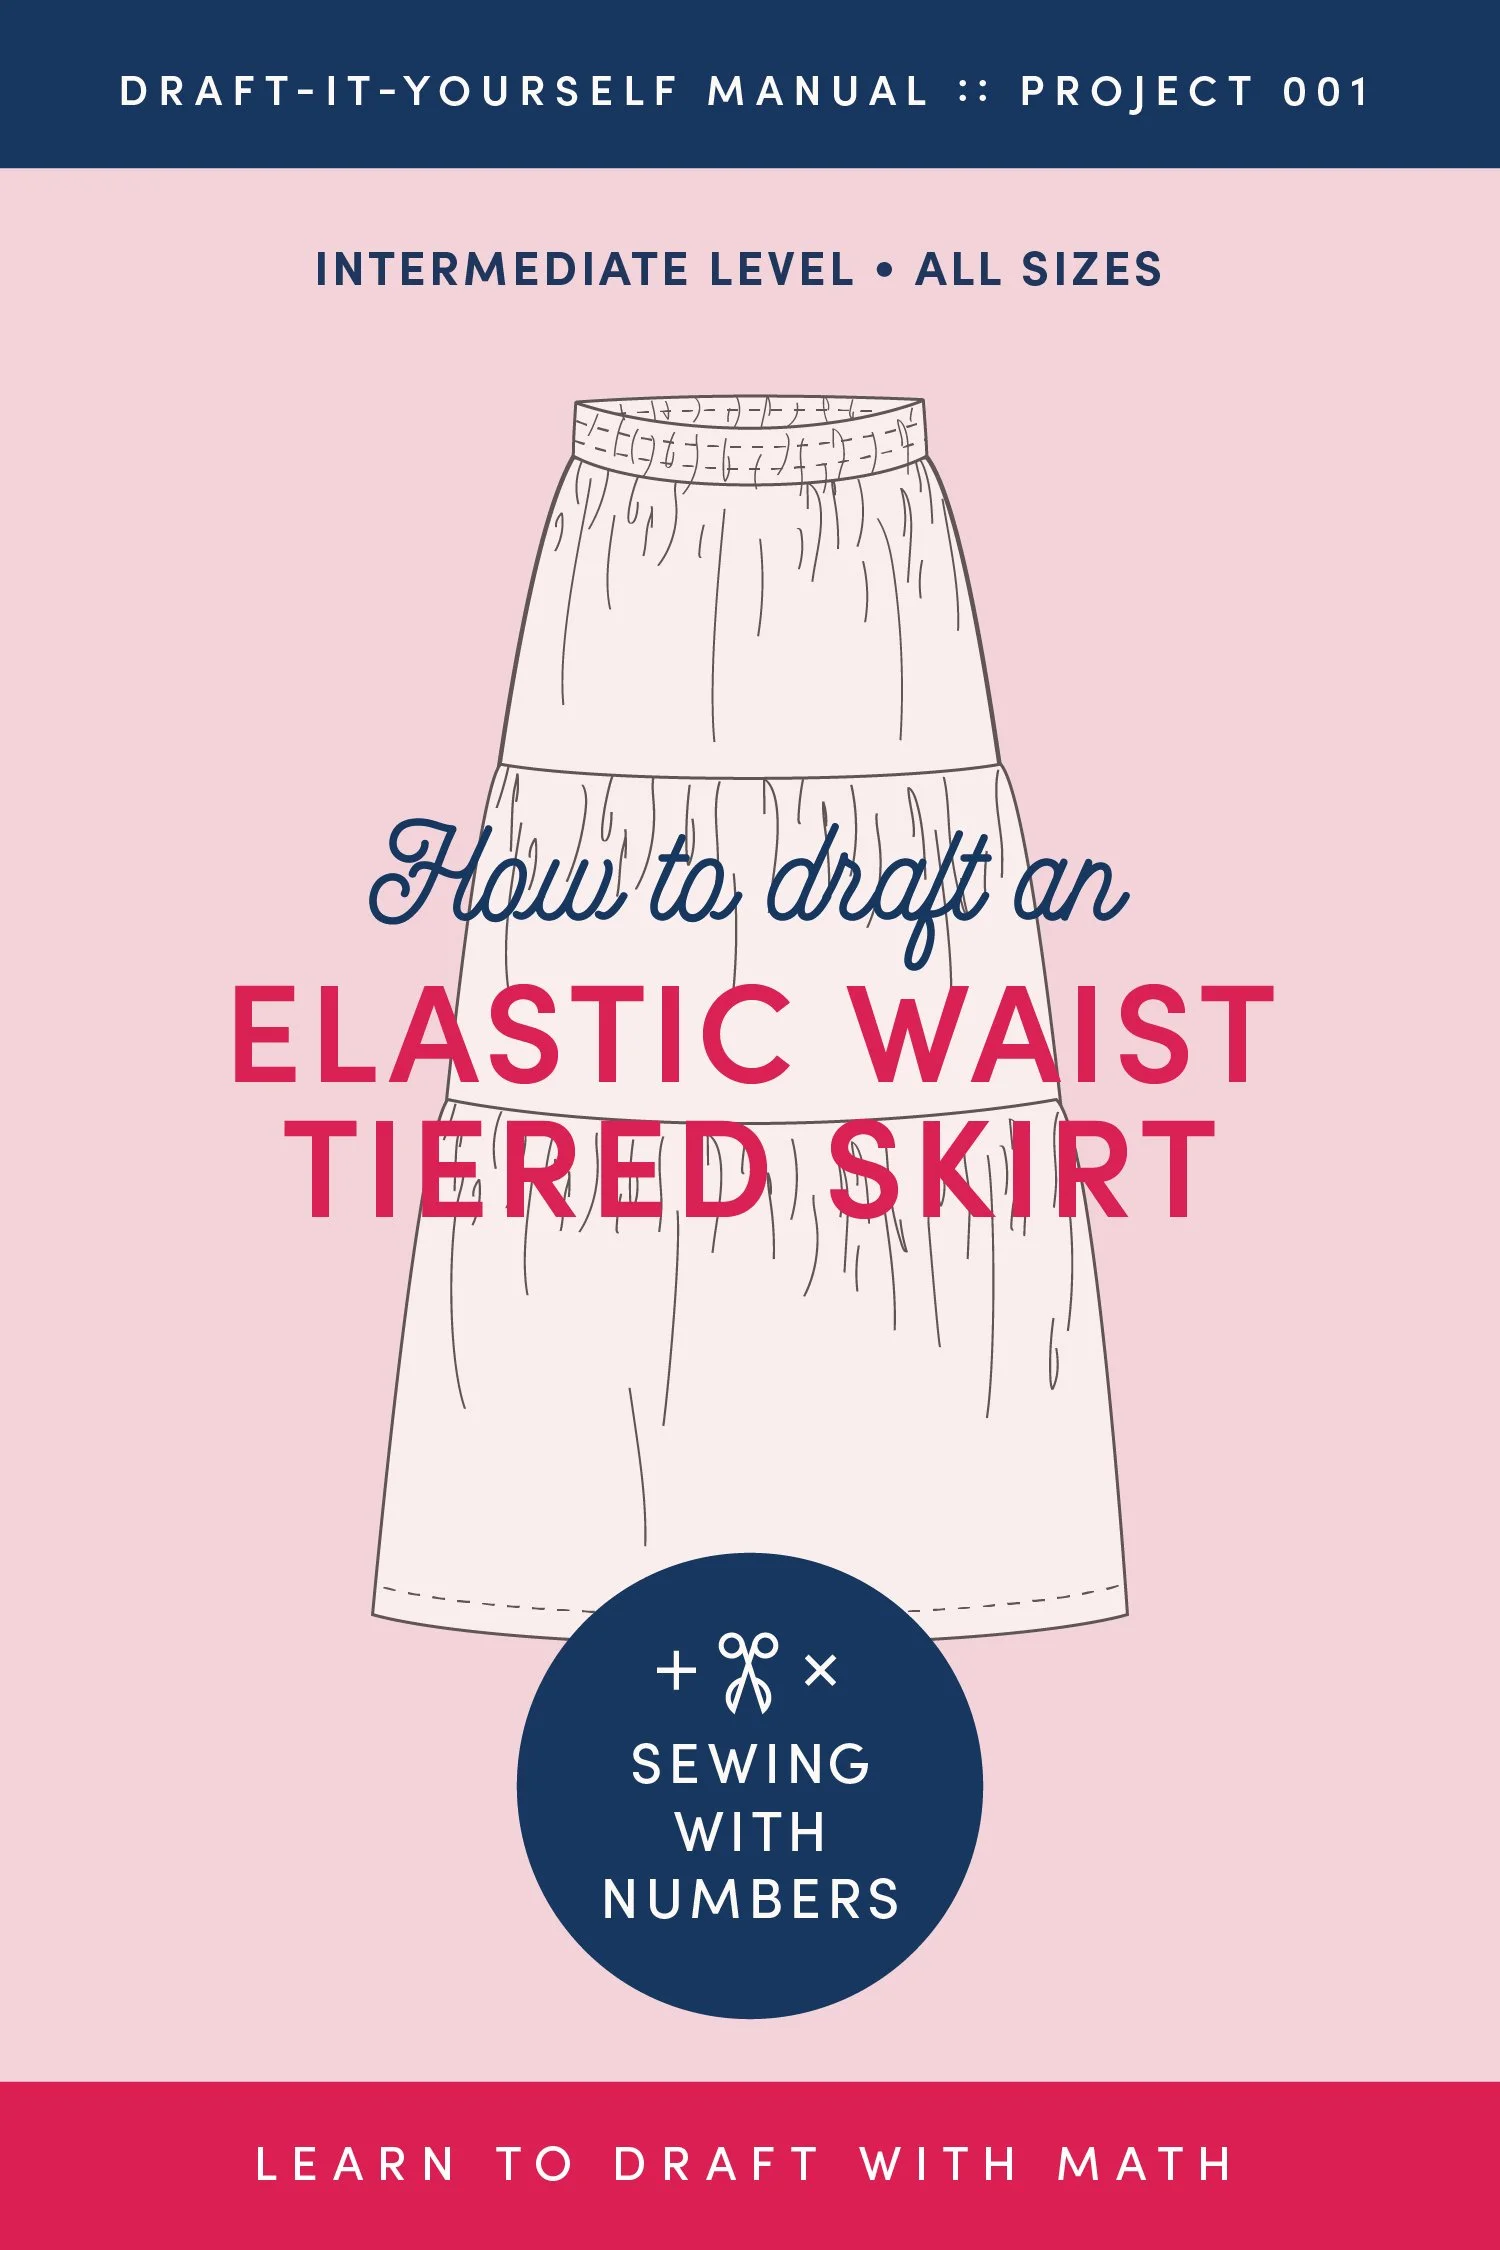
How to Draft an Elastic Waist Tiered Skirt — Sewing With Numbers Project 001 Draft-It-Yourself Manual
This manual is an adaptation of a newsletter series that I created for my Substack Sewing With Numbers. When you purchase this interactive pdf, you will receive all of the tutorials and information needed to draft your own custom fit elastic waist tiered skirt combined into one resource. (NOTE: This pdf does NOT include instructions for sewing the skirt.)
This pdf manual will teach you how to draft an elastic waist three-tiered skirt for any length or body size. This skirt has an elastic waistband and three tiers of gathered fabric that gradually increase in length from top to bottom. The pdf includes tutorials for how to draft an elastic waistband to your style preferences, how to calculate fabric width when designing gathers and how to draft a skirt that is proportional at any length. Additionally, there are instructions for drafting three variations on the tiers: a two tier skirt, a reverse two tier skirt and a five tier skirt.
LESSONS INCLUDED:
How To Draft An Elastic Waistband
How To Draft Gathers
How To Draft An Elastic Waist Tiered Skirt
Design Variations
Printable Worksheet & Calculator
SKILL LEVEL: I recommend this manual for people with an intermediate sewing skill level and beginner or intermediate pattern drafting. If you don't feel confident doing the sewing construction on your own, then this booklet is not for you.
IMPORTANT PLEASE READ: PATTERN PIECES ARE NOT INCLUDED. THIS IS NOT A PHYSICAL PRODUCT. This is an instruction booklet for how to draft a tiered skirt to your custom measurements. This booklet DOES NOT include instructions on how to sew and construct the garment. (See the project journal for some basic notes on construction.) Due to the nature of digital products, there are no refunds. Please read the description carefully. THIS IS NOT A PATTERN NOR IS IT A FINISHED GARMENT.
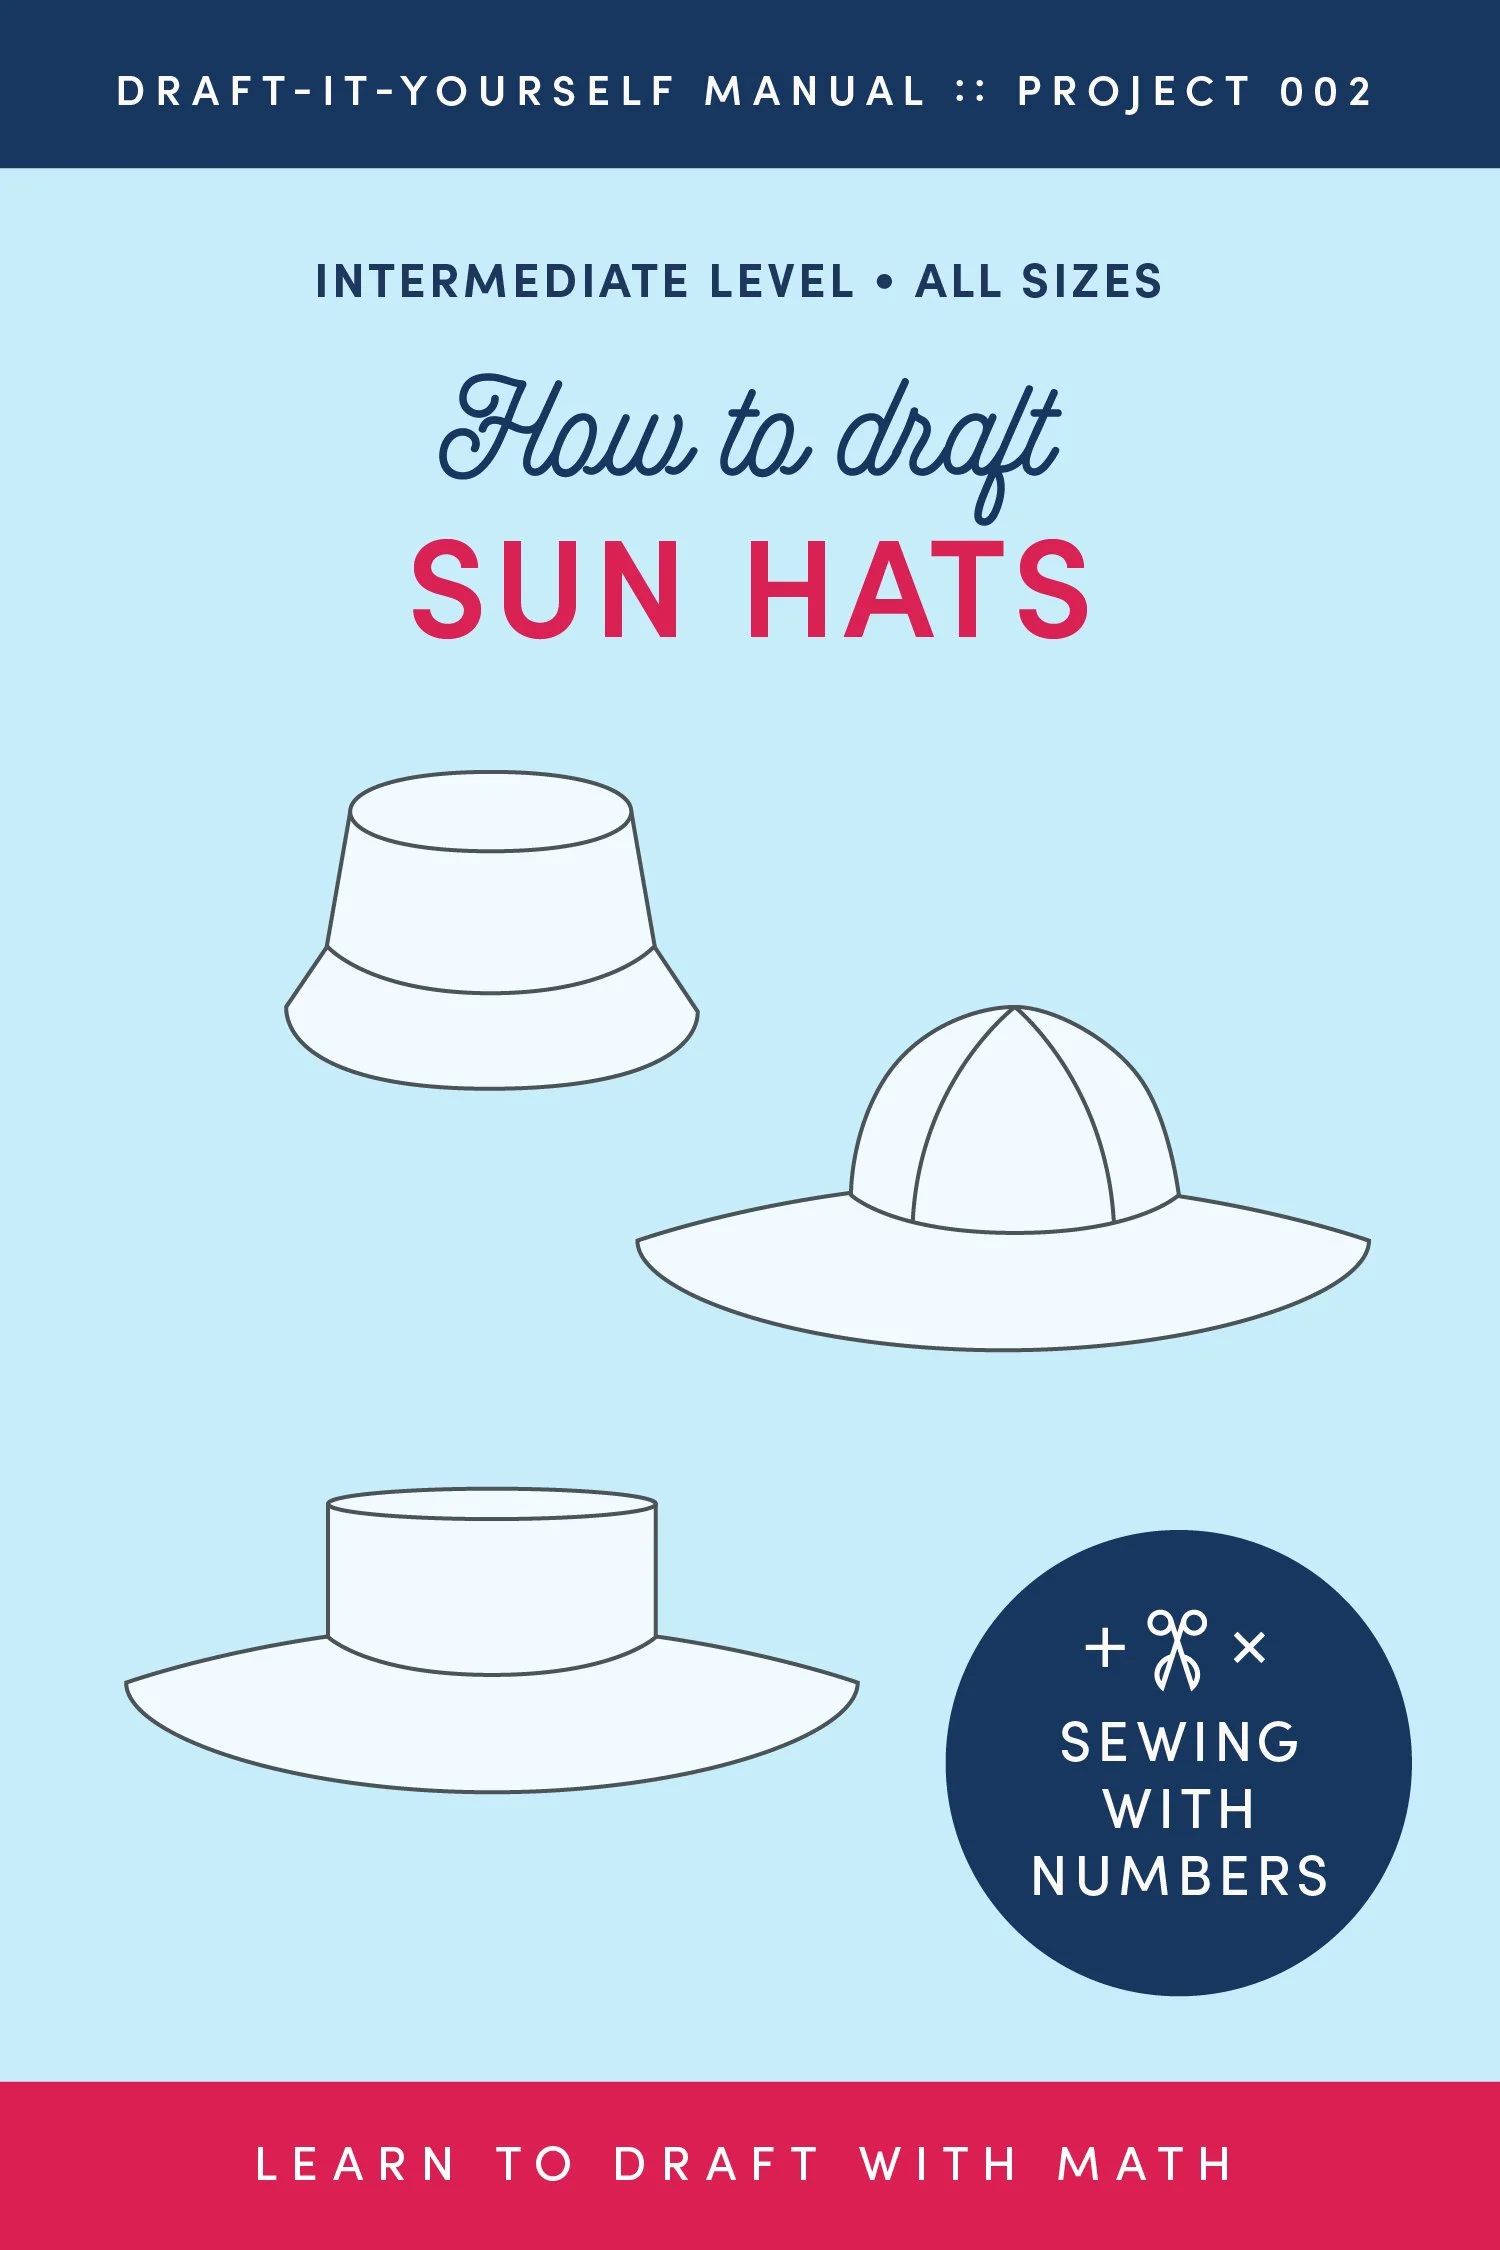
How to Draft Sun Hats — Sewing With Numbers Project 002 Draft-It-Yourself Manual
This manual is an adaptation of a newsletter series that I created for my Substack Sewing With Numbers. When you purchase this interactive pdf, you will receive all of the tutorials and information needed to draft three different custom fit sun hats combined into one resource. (NOTE: This pdf does NOT include instructions for sewing the hats.)
This pdf manual will teach you how to draft three sun hat designs: a basic flat brim hat with a circular crown, a bucket hat with an oval crown and a rounded crown hat with wide brim. The pdf includes tutorials for how to draft circles and curves using both paper and digitally, and a deep dive into how to precisely draft a brim for a consistent angle across sizes. Additionally, there are instructions for drafting three brim variations: a longer front brim, shorter side brims and a scalloped brim.
LESSONS INCLUDED:
Drafting With Circles And Curves
How To Draft Flat Crown Sunhat
How To Draft A Bucket Hat
How To Draft A Rounded Crown Sunhat
Deep Dive: Slash & Spread Vs Rotation
Design Variations
SKILL LEVEL: I recommend this manual for people with an intermediate sewing skill level and beginner or intermediate pattern drafting. If you don't feel confident doing the sewing construction on your own, then this booklet is not for you.
IMPORTANT PLEASE READ: PATTERN PIECES ARE NOT INCLUDED. THIS IS NOT A PHYSICAL PRODUCT. This is an instruction booklet for how to draft a tiered skirt to your custom measurements. This booklet DOES NOT include instructions on how to sew and construct the garment. (See the project journal for some basic notes on construction.) Due to the nature of digital products, there are no refunds. Please read the description carefully. THIS IS NOT A PATTERN NOR IS IT A FINISHED GARMENT.

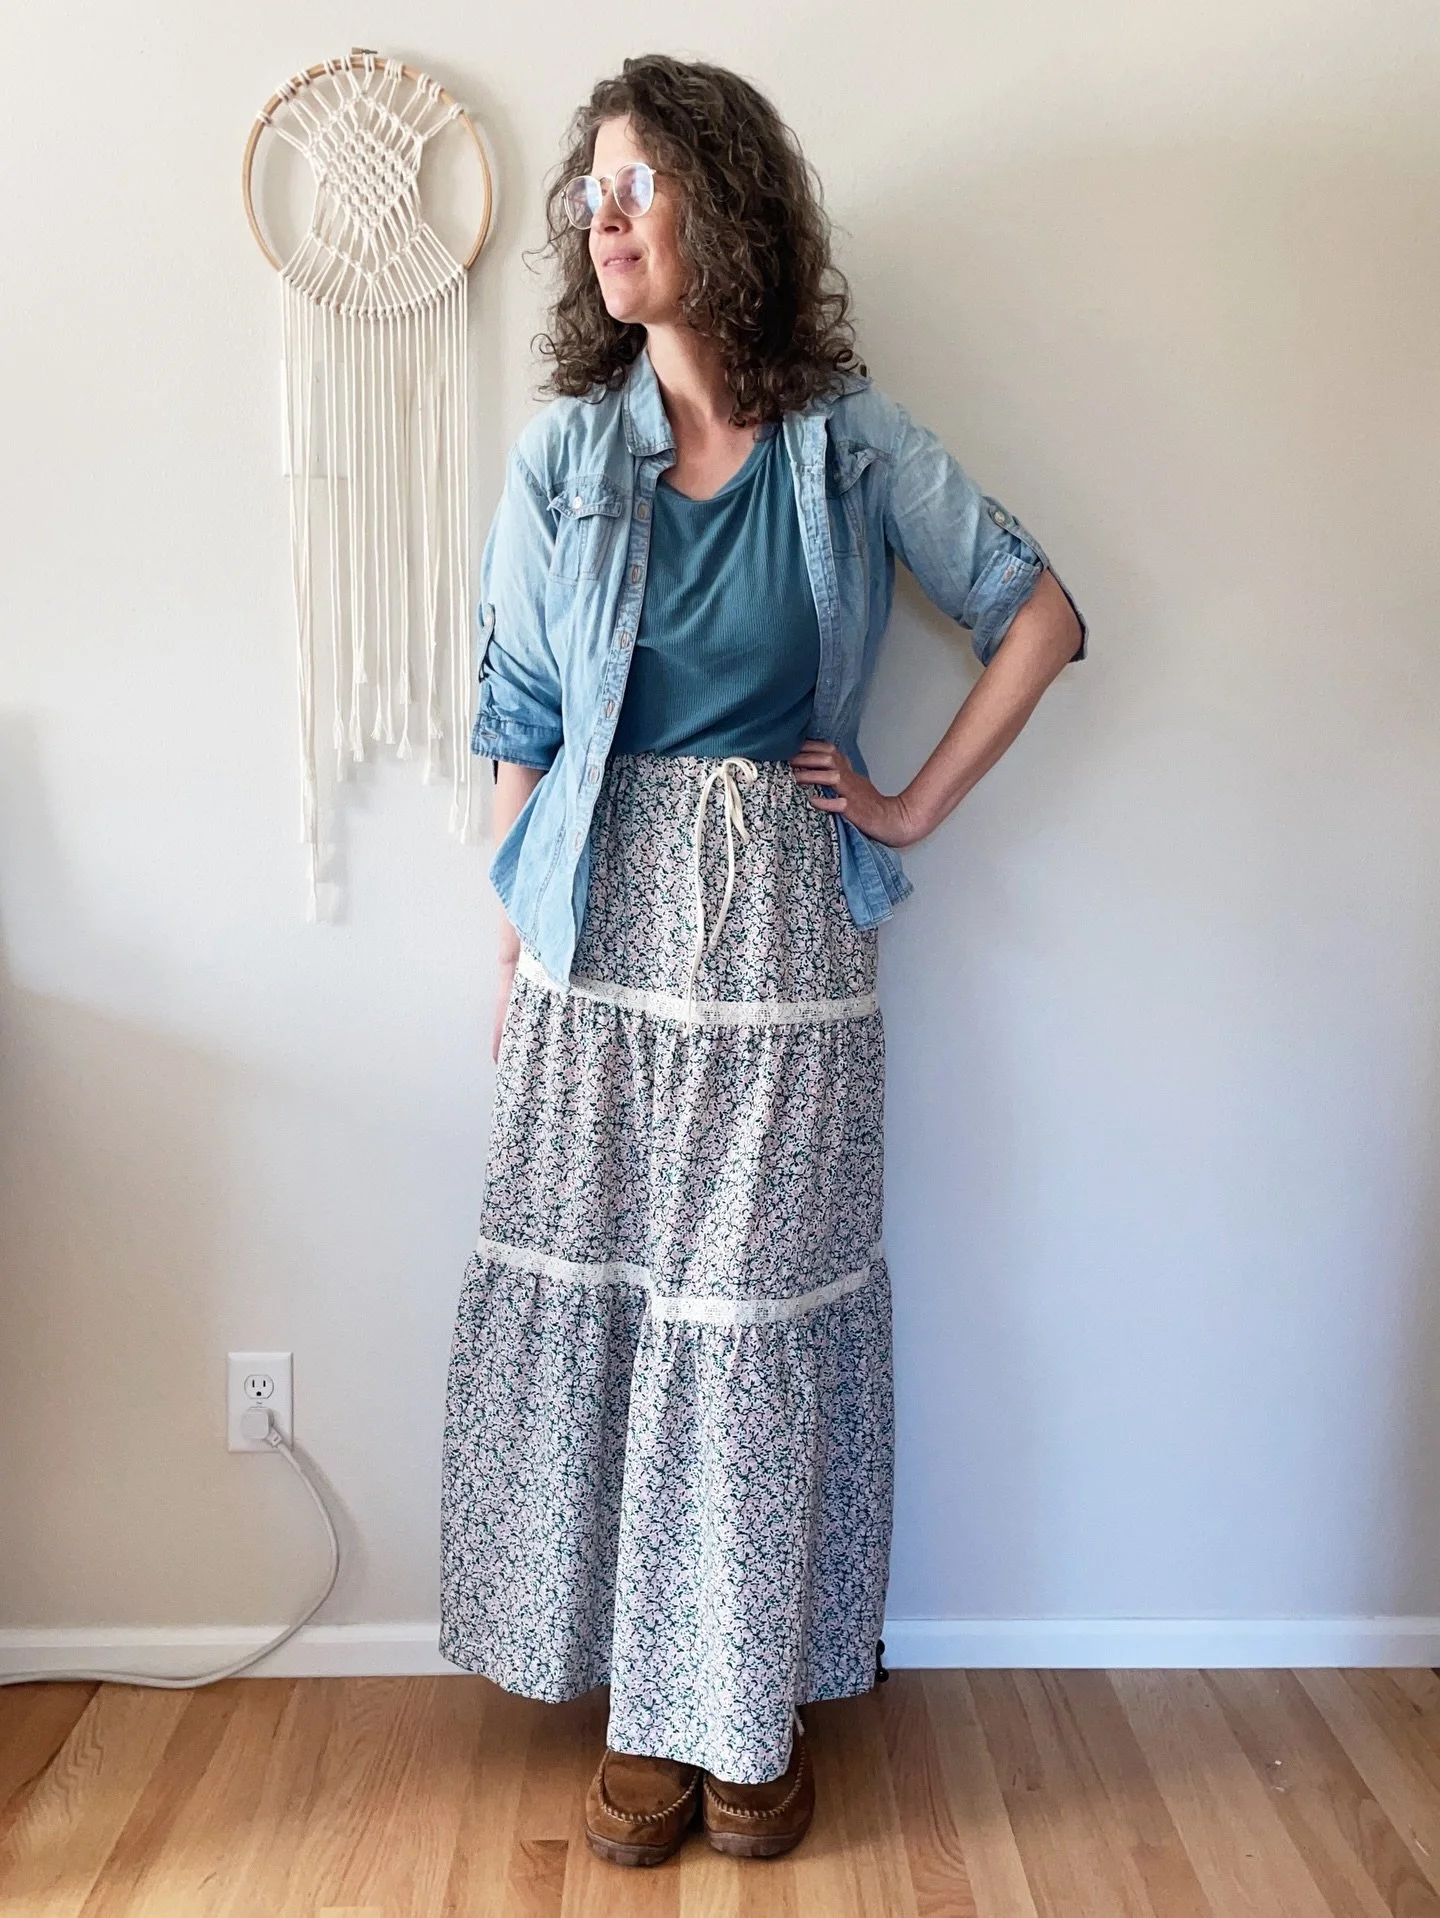
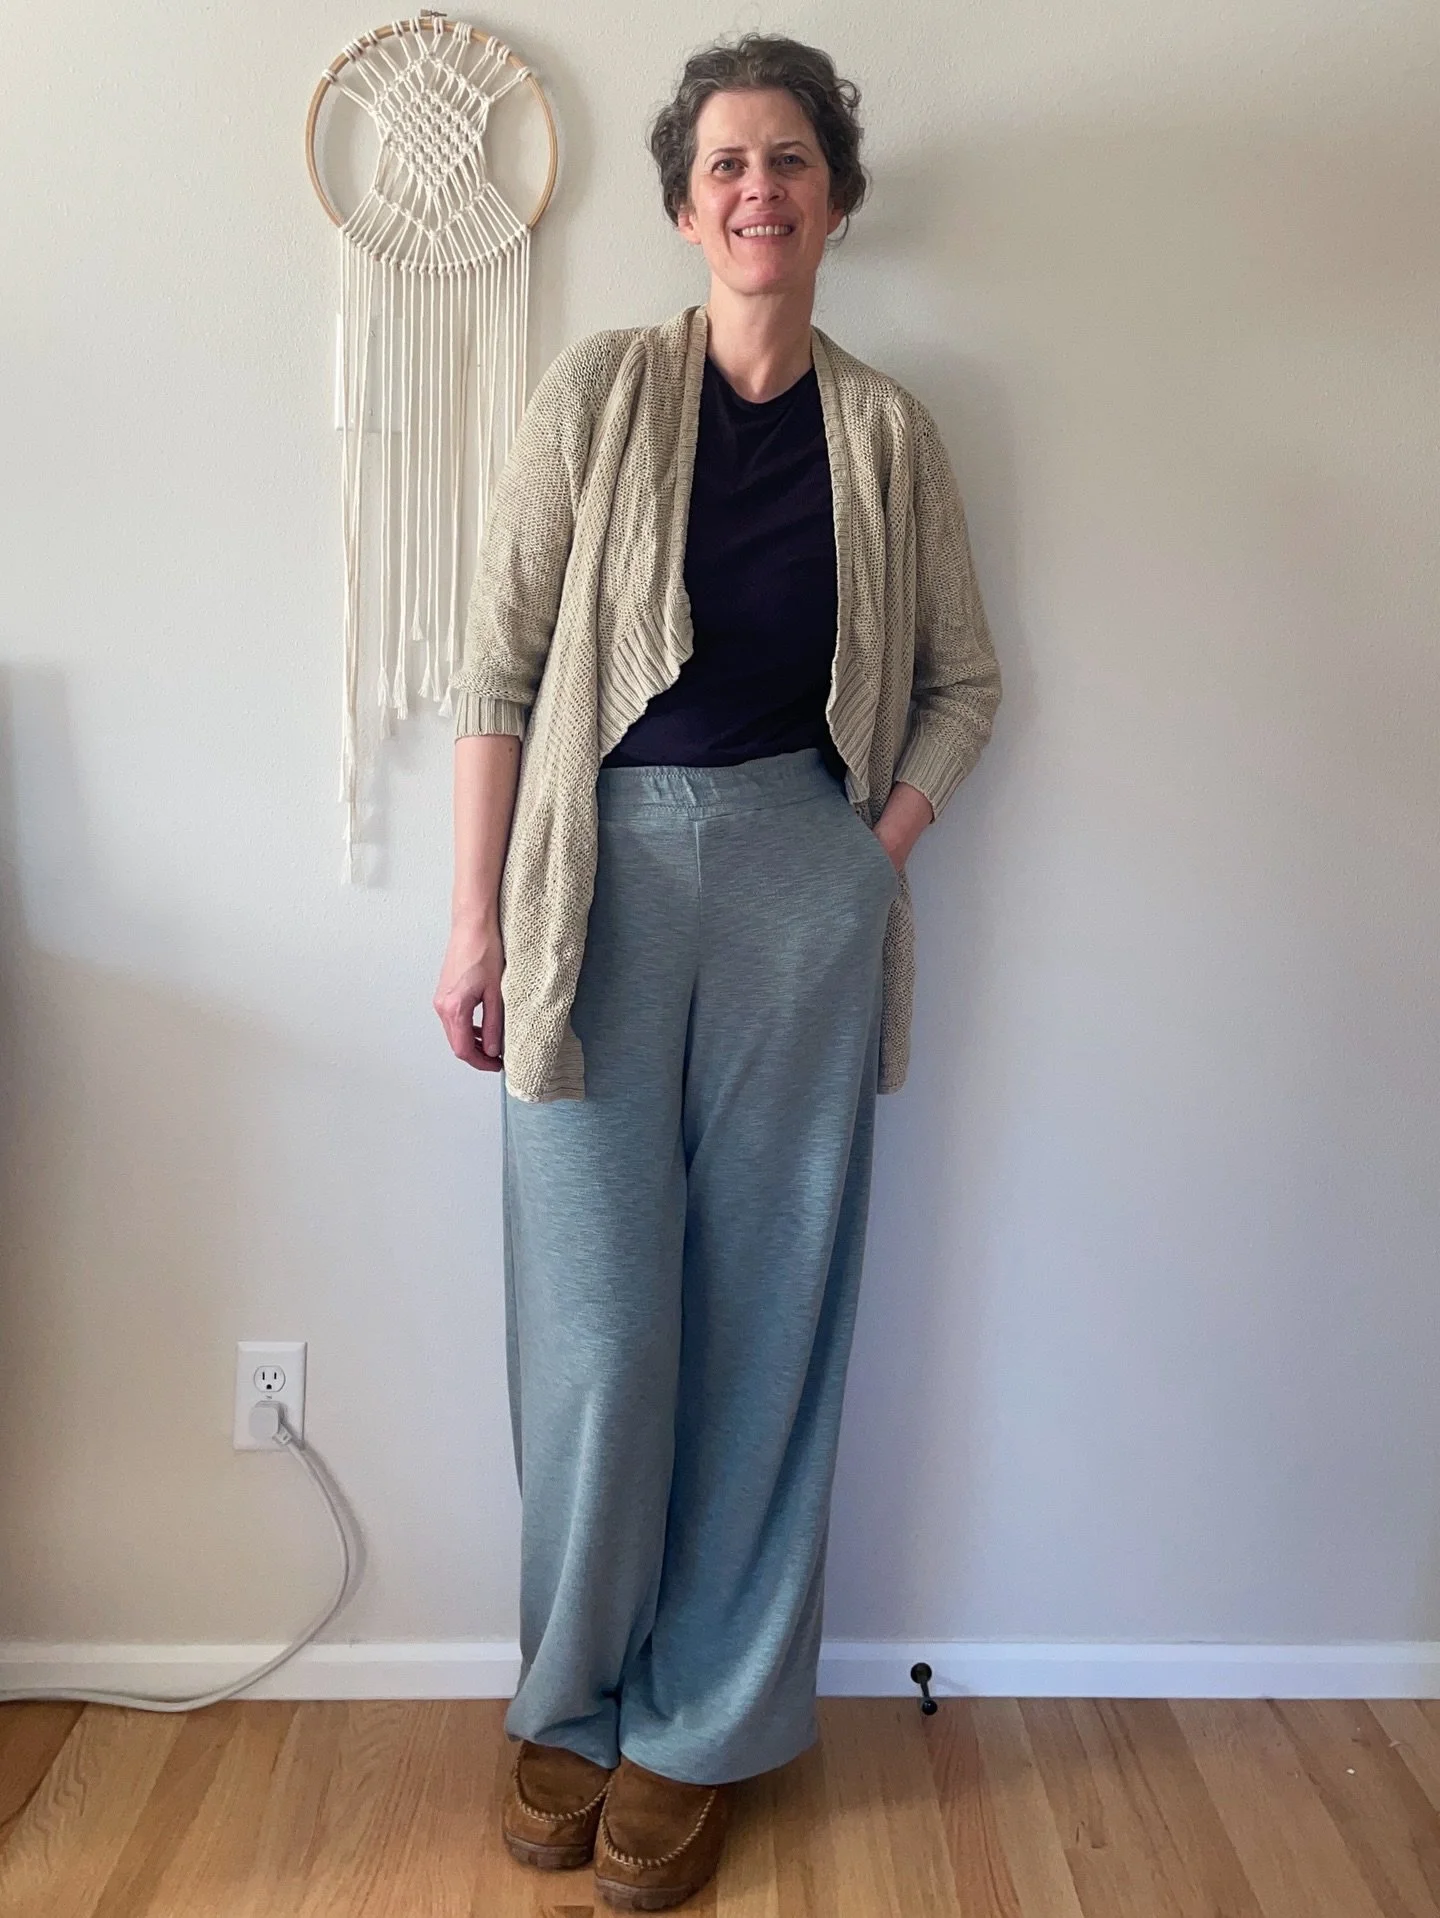
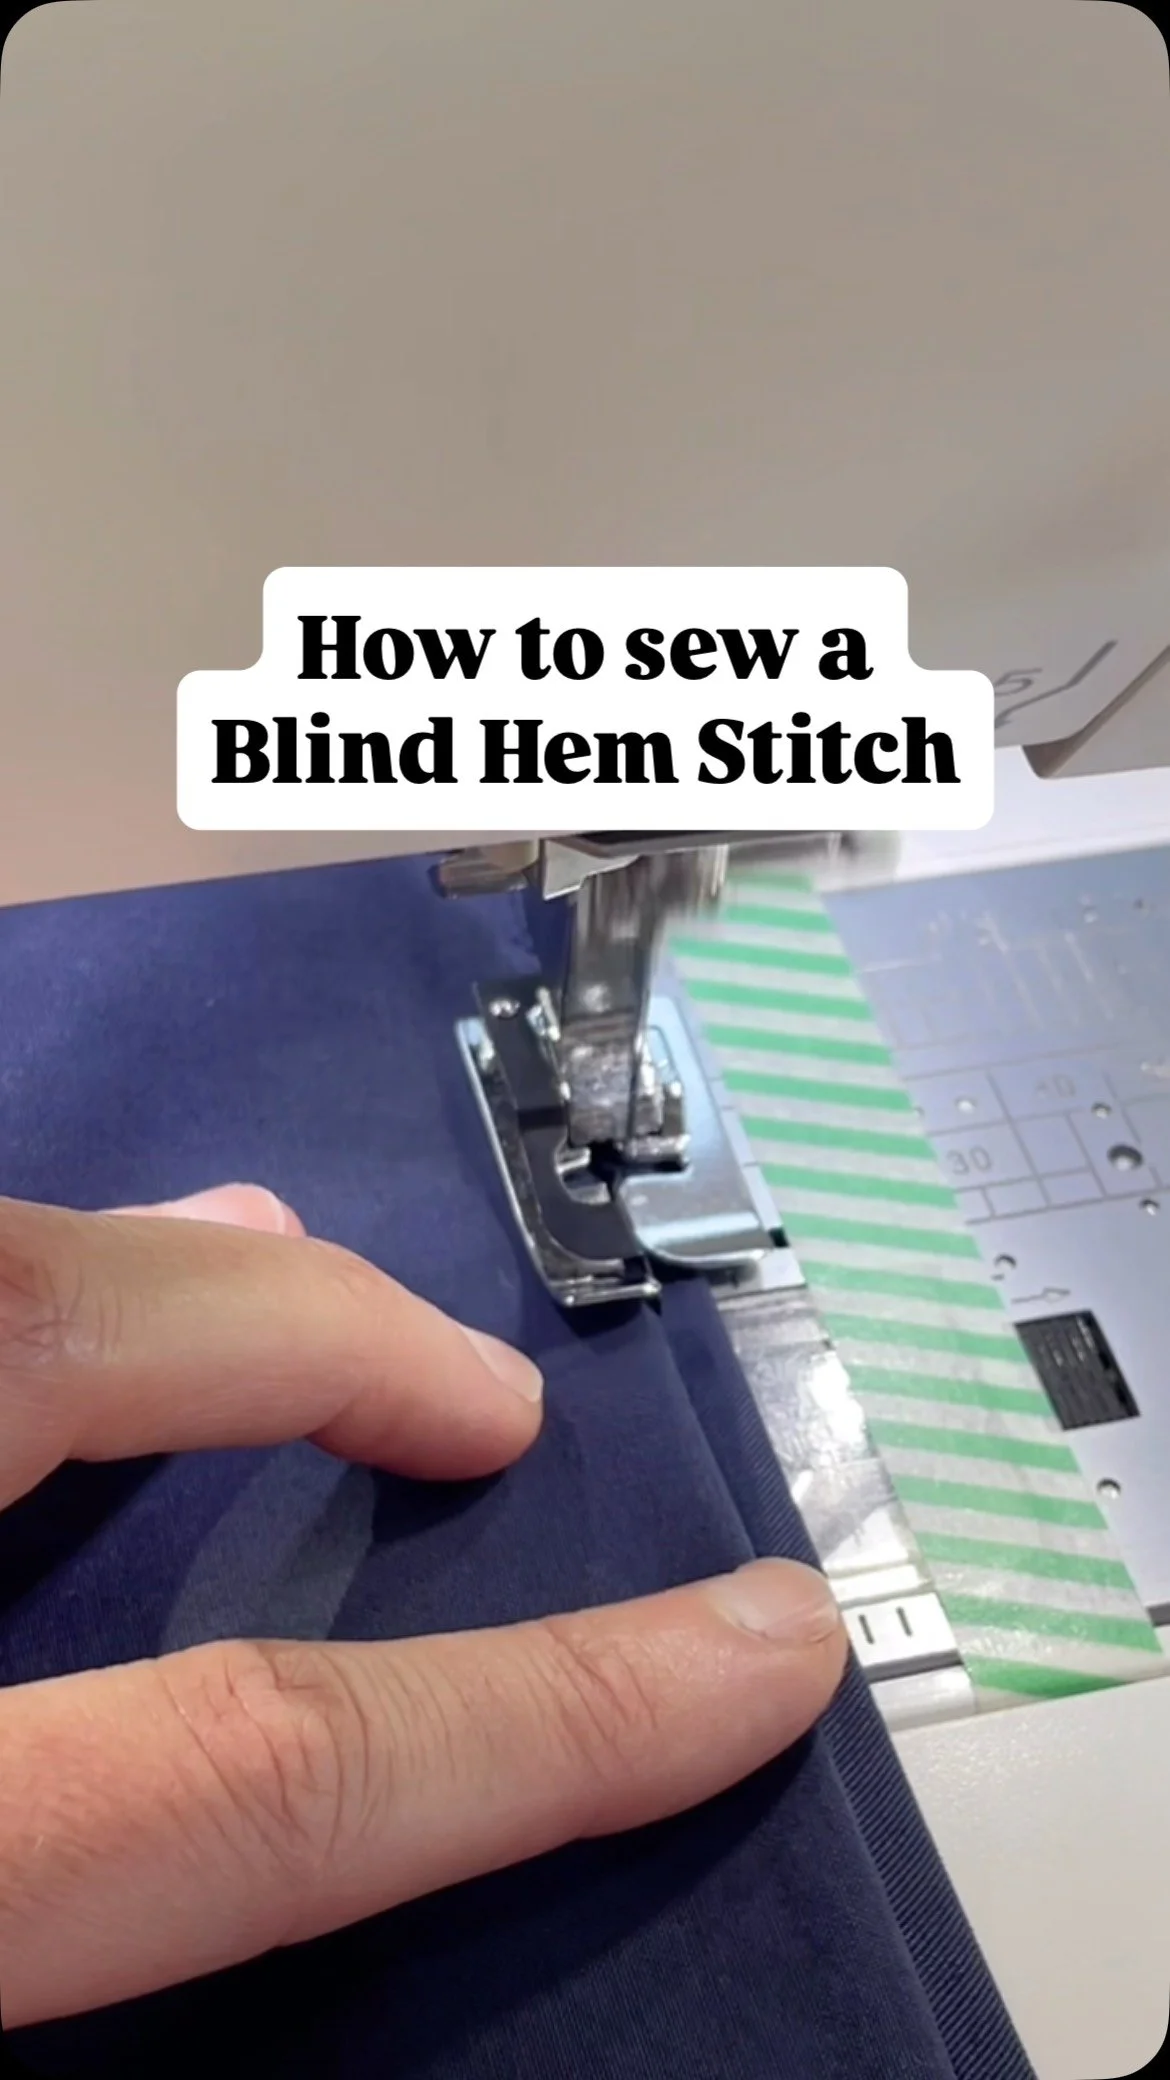
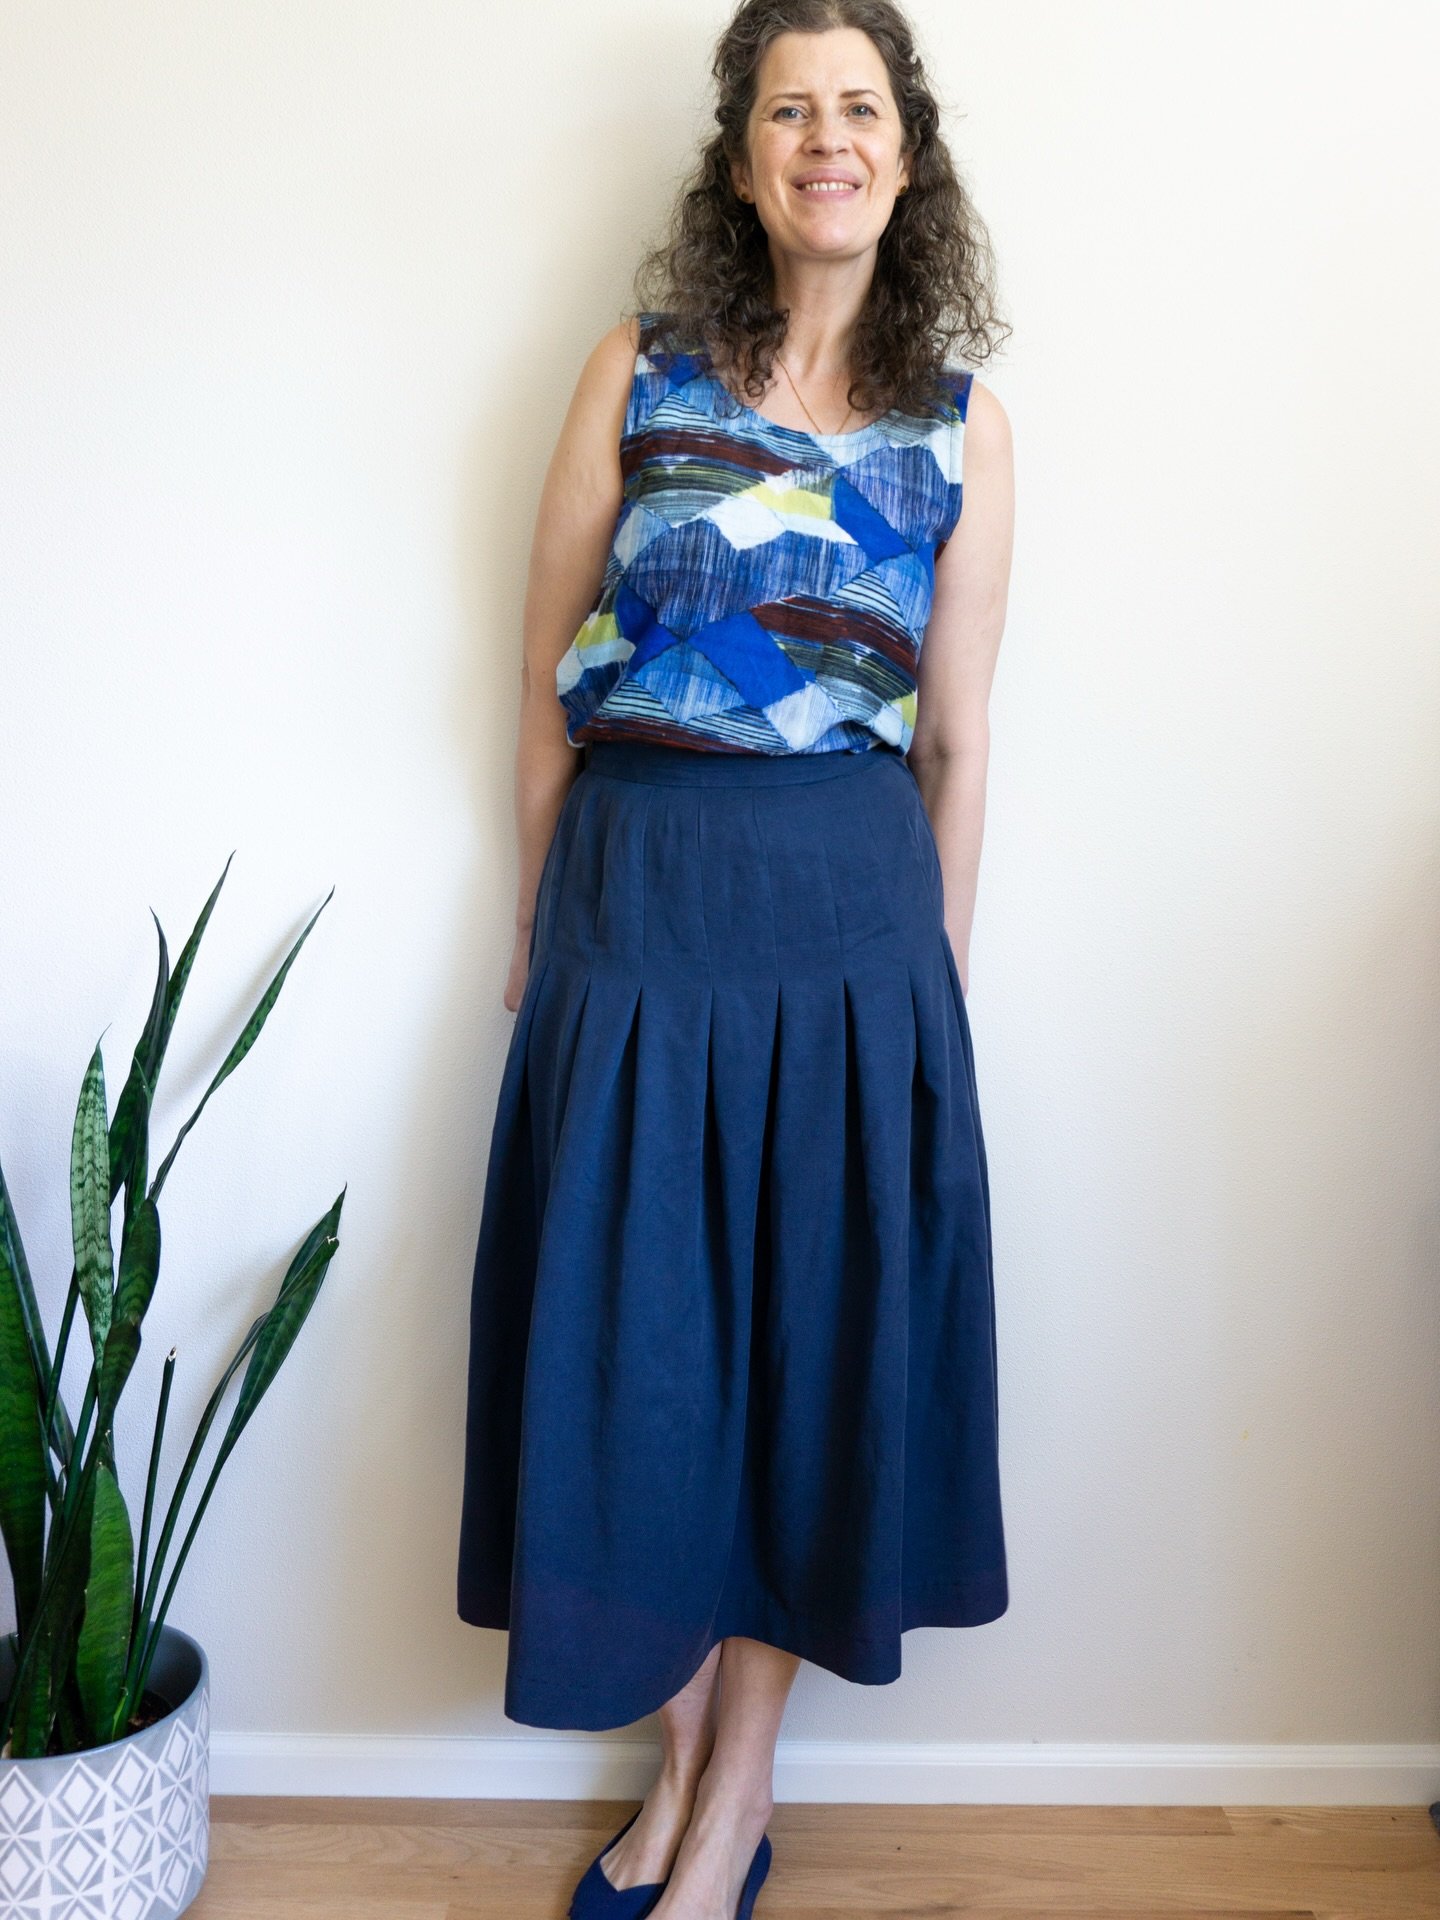
Today’s post is a deep dive into how to make bust adjustment to a pattern with a side dart. The objective of the bust adjustment is to make the dart bigger or smaller so that the shaping fits your body better. I share details on what a full or small bust adjustment is, what you might want to make one and how to do it. I show how to calculate a bust adjustment and how to make the adjustment to your pattern. I’ve included illustrations, written instructions and videos for how to do a full bust adjustment and a small bust adjustment.