This month (June 2025), I’m featuring the Miri Tank Top with a brand new sewalong. Last week I shared posts on Fabric and Supplies and Selecting Your Size and Printing the Pattern. In today’s video, I share how to cut out the fabric, how to fuse the interfacing and all the first few steps of sewing. If you’re following along with the instruction booklet, we’ll be sewing steps 1 through 6. (In the next video, I’ll show you how to sew the facing to the neckline and armholes.) Let's get started.

Watch the video above (or on YouTube) for all the first part of cutting out and sewing the Miri Tank Top pattern. See the time stamps below if you want to skip ahead to different sections.
TIMESTAMPS
00:06 Intro, About the Miri Tank Top pattern
01:02 Cut out the fabric
04:02 Fuse the interfacing
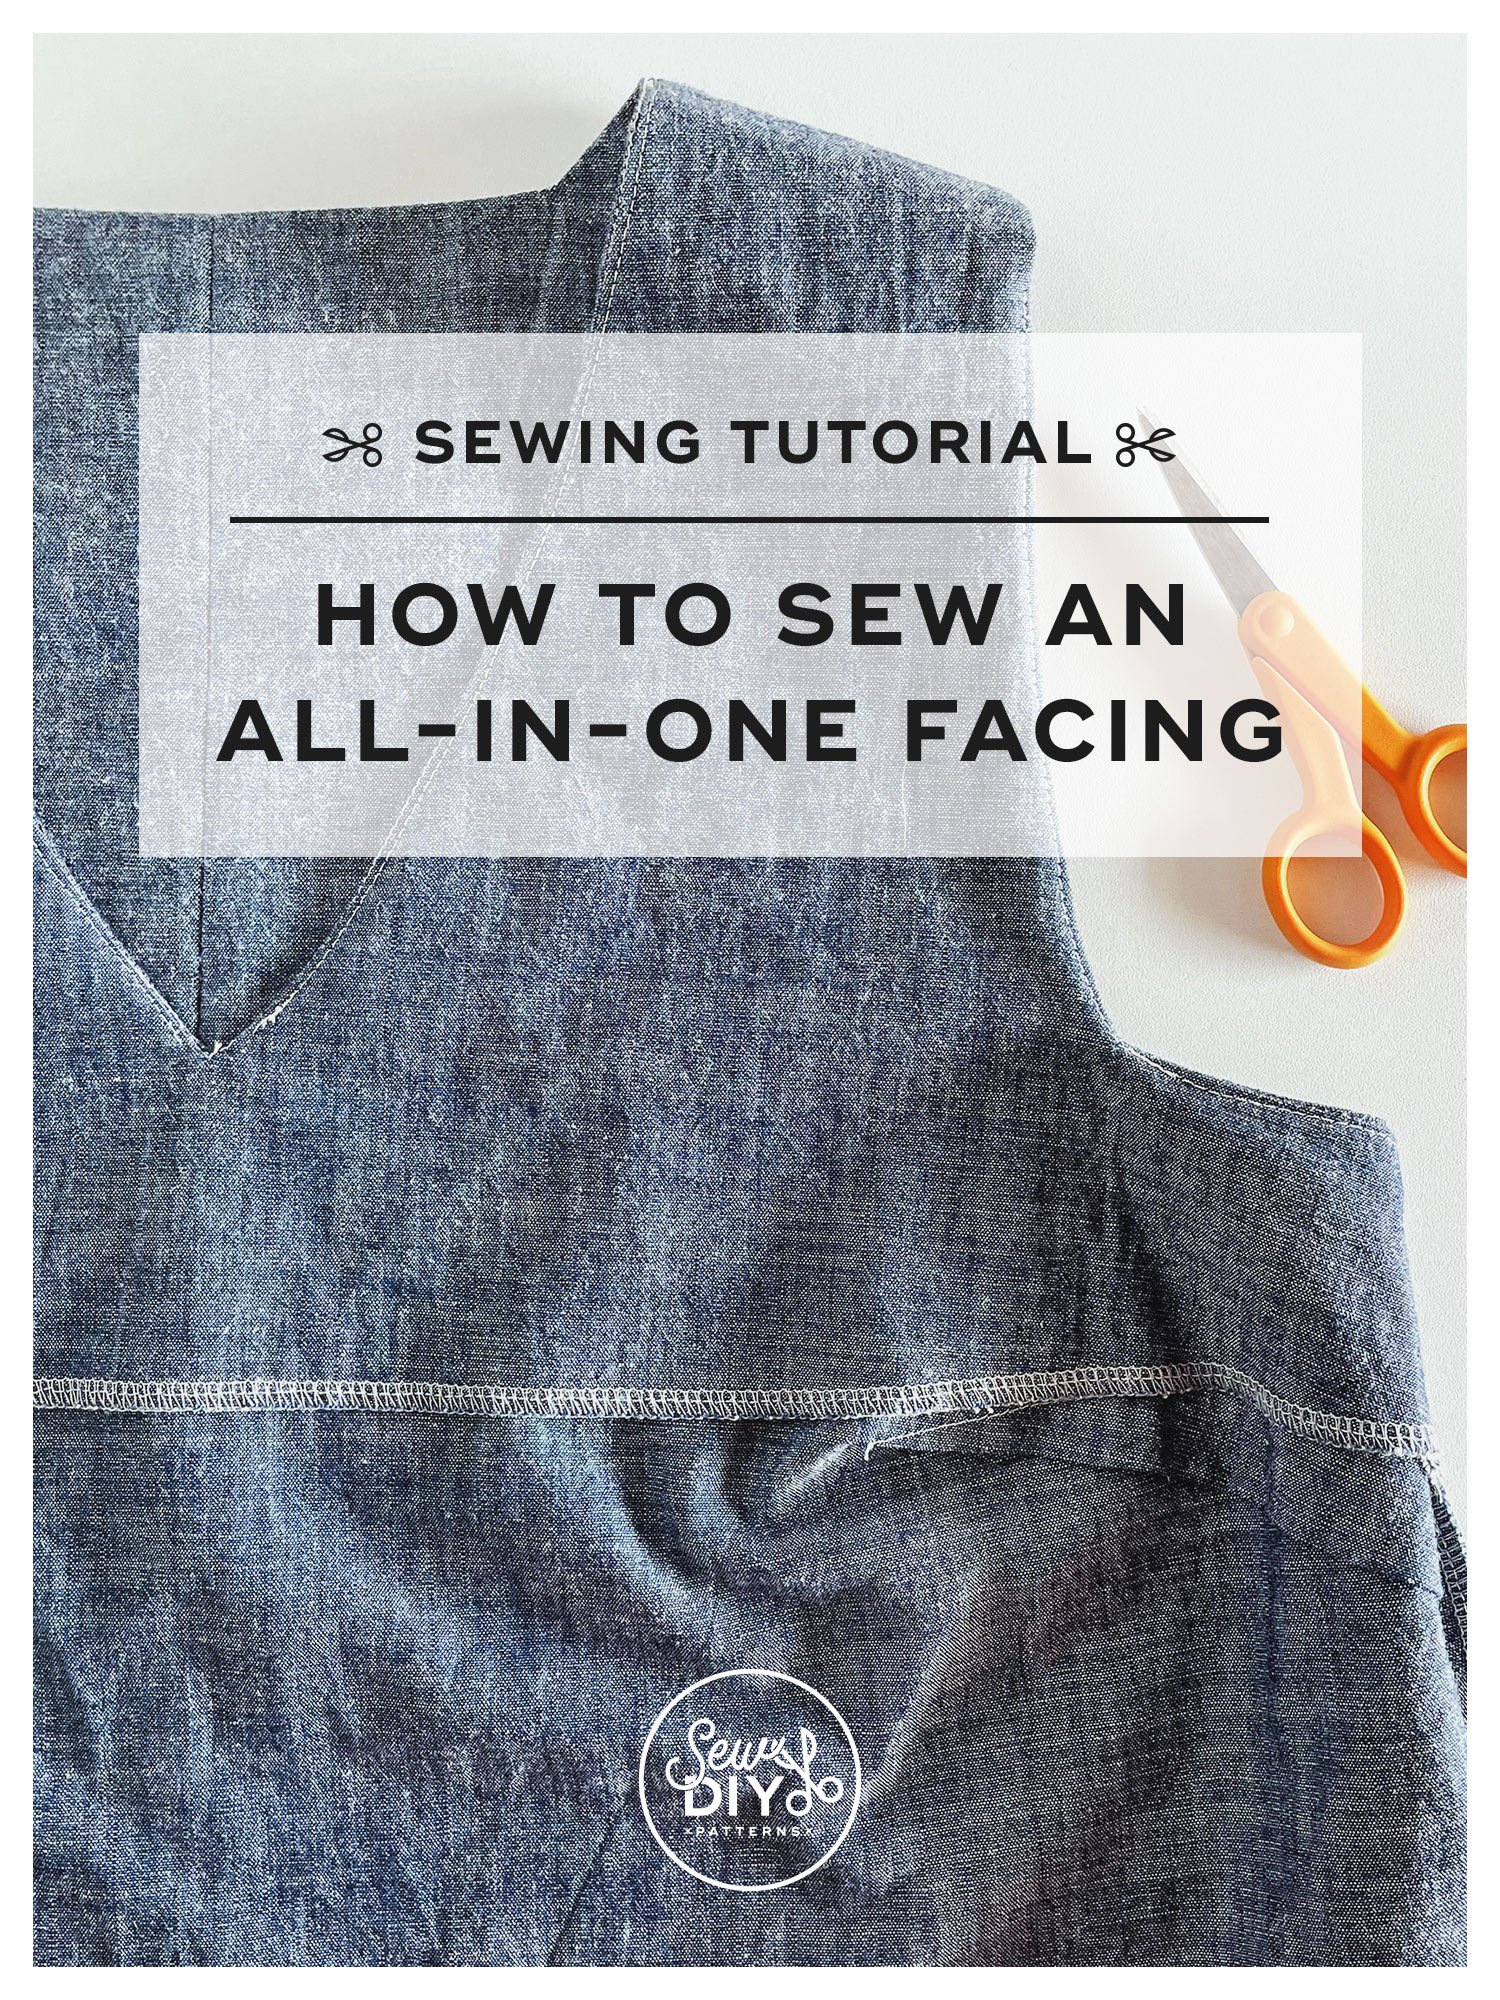
05:35 Stitch the facing shoulder seams
06:36 Staystitch the bodice
07:34 Stitch the darts
10:14 Finish the seams
11:29 Stitch the center back seam
12:05 Stitch the shoulder seams
I’ve made videos about some of these sewing techniques before. If you’d like more details, check out the links below.

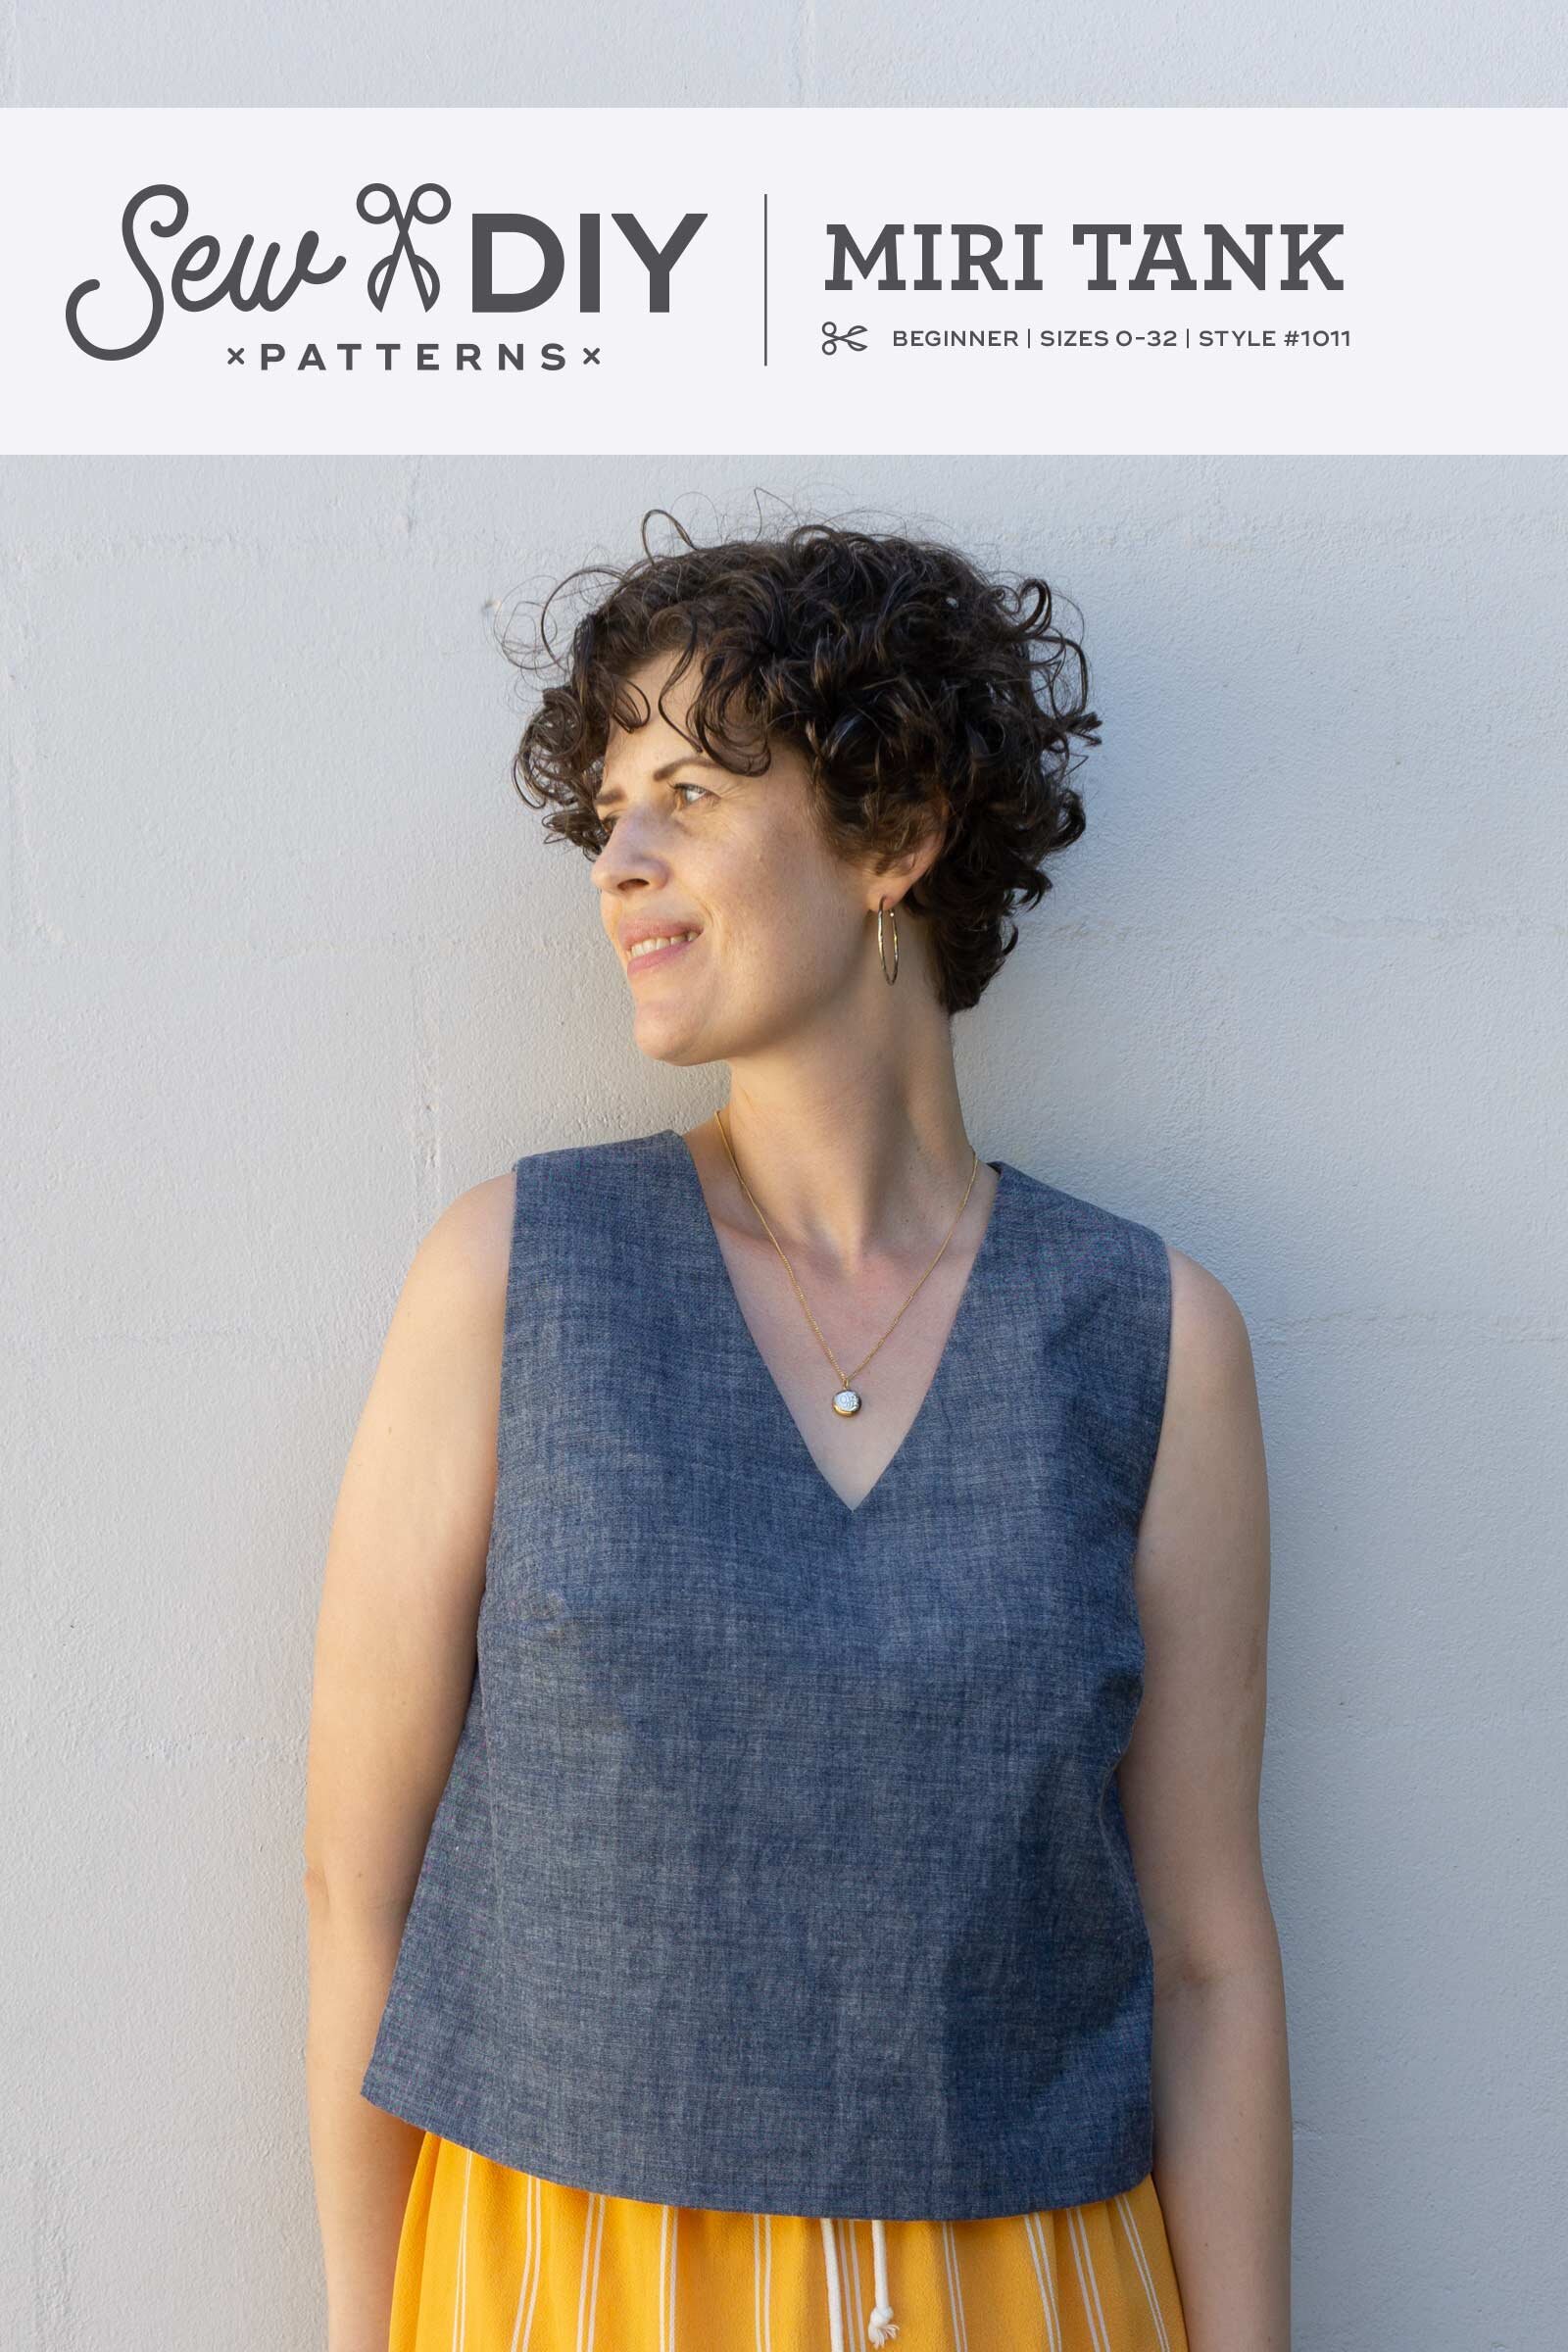
The Miri Tank is a wardrobe building basic that will quickly become the shirt you reach for most often. This simple-to-sew top can be worn with skirts, pants or shorts for a variety of everyday outfits, throughout the year.
This A-line shaped tank top is fitted with a bust dart and cropped to end at the high hip. View A features a classic rounded neckline and armholes, while View B sports a V-neck in the front and gently angled armholes and back neck shaping. Both views are finished with an all-in-one facing. When made in a linen or cotton, the tank will maintain its A-line shape while worn. When made in a drapey rayon or Tencel, the shape will hang closer to the body.
This beginner-friendly pattern is drafted for sizes 0-32 and includes three cup size options for all sizes. Choose from A/B cup, C/D cup or E/F cup for a customized fit through the bust.
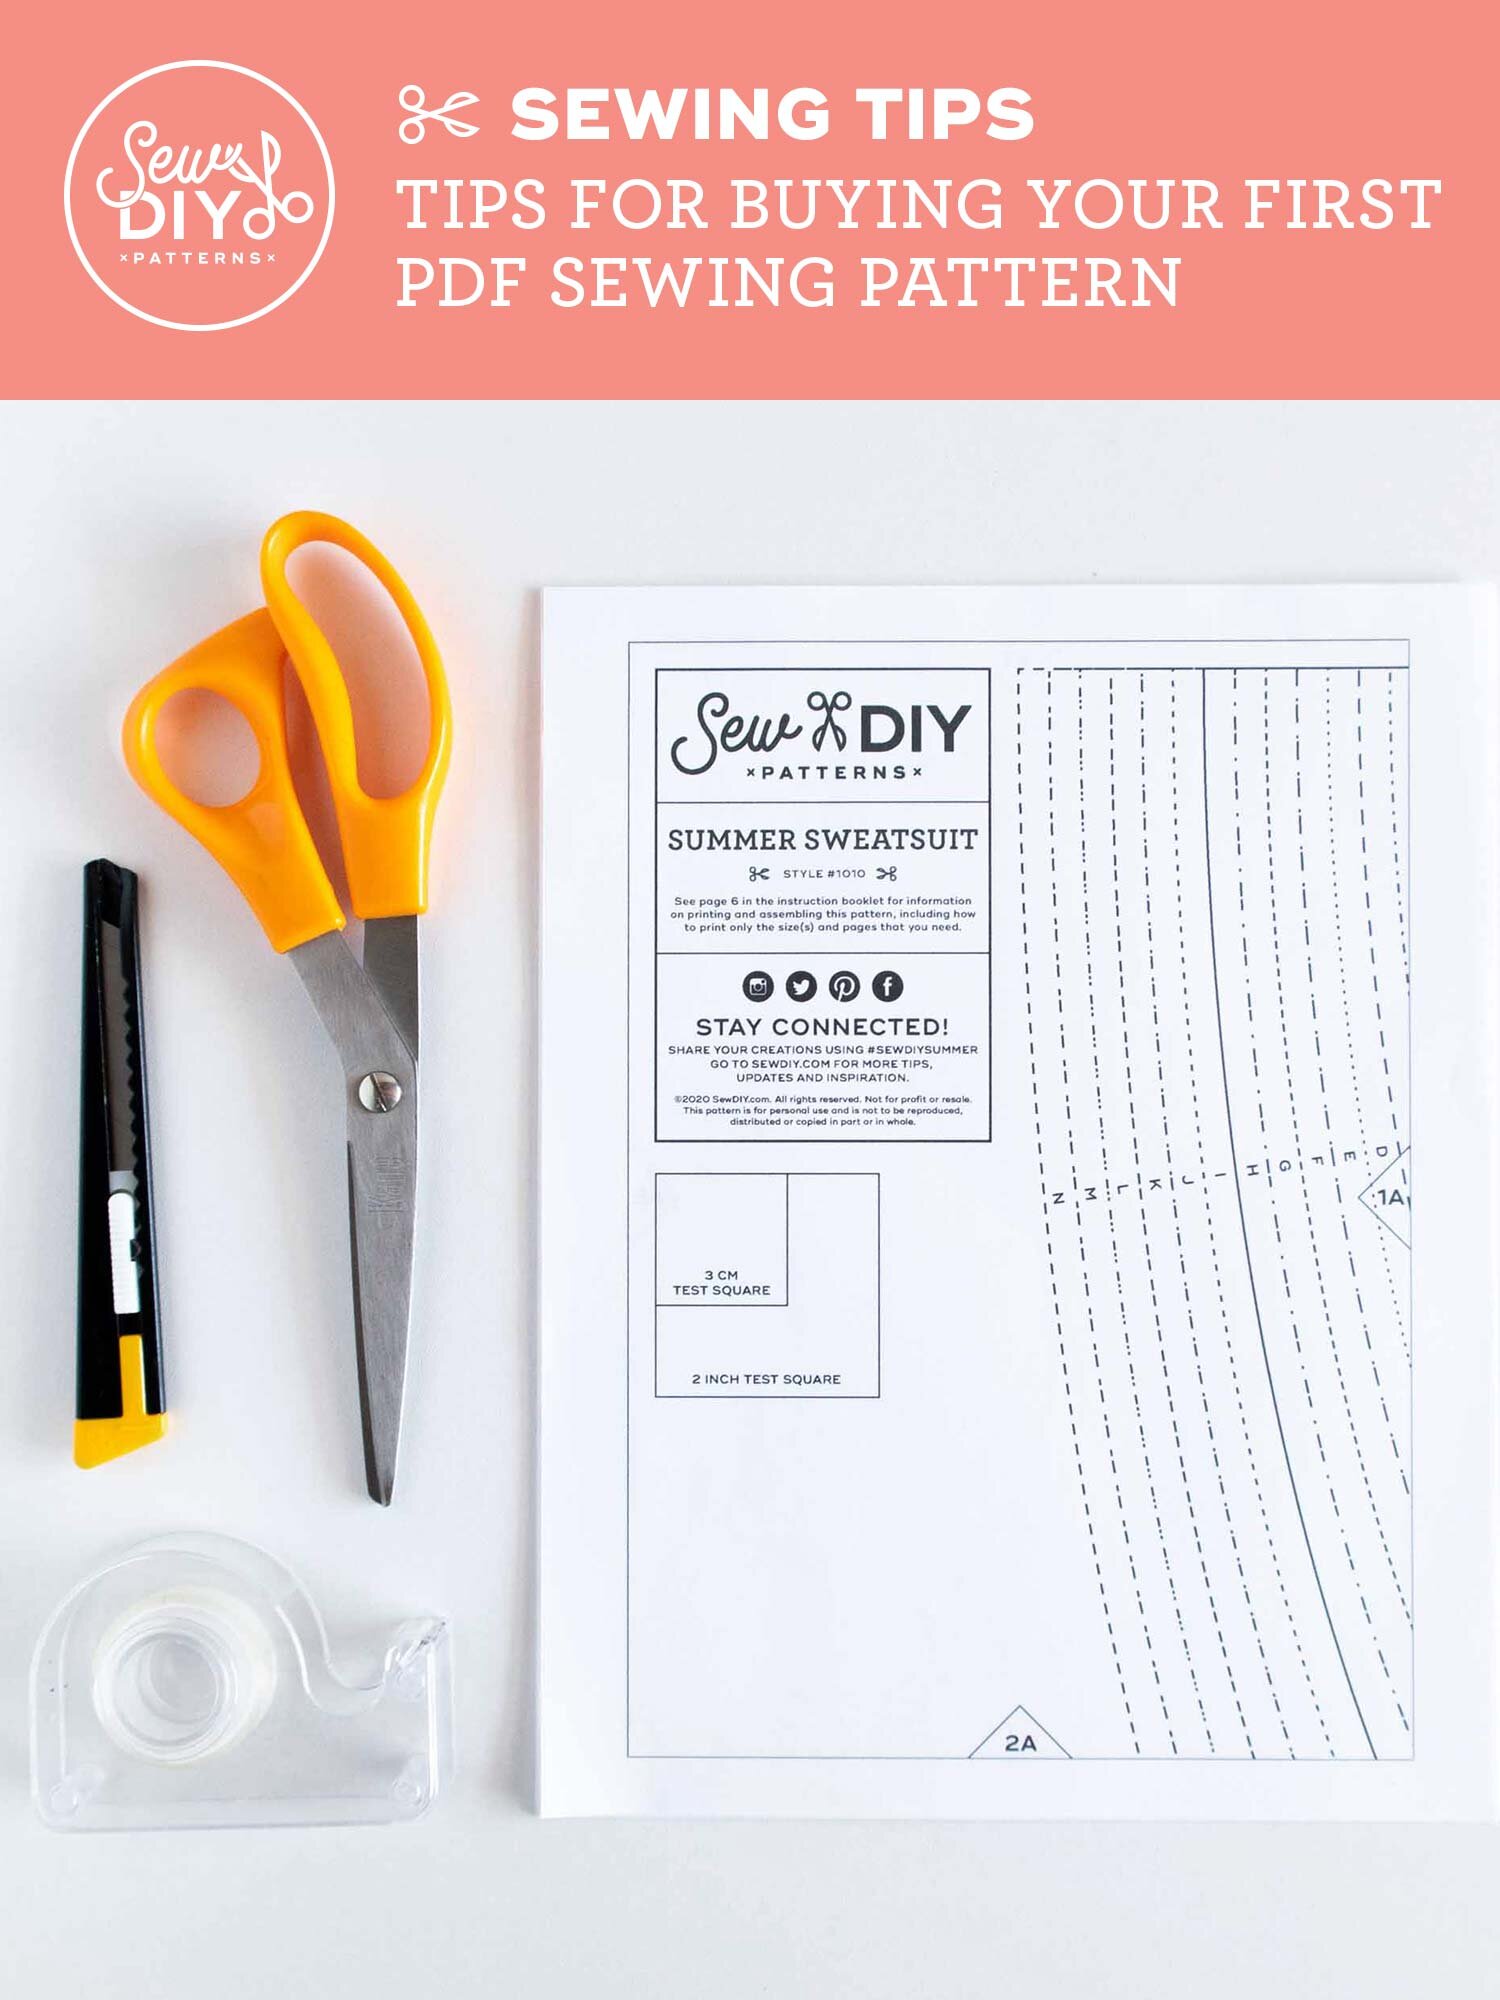
This digital pattern includes an illustrated, step-by-step instruction booklet, a print-at-home layered pattern for letter or A4 size paper, a US copy shop pattern and an A0 size pattern. Pattern files are separated by cup size and view to reduce so that you can easily print only the pattern pieces that you need.
Model is 5’11” and is wearing a size 12 C/D cup.
THIS IS NOT A PHYSICAL PRODUCT. After checkout, you will receive a link to the pattern that will be active for 24 hours after you click it. Prices are in USD.
About the Sew DIY Miri pattern:
The Miri Tank is a wardrobe building basic that will quickly become the shirt you reach for most often. This simple-to-sew top can be worn with skirts, pants or shorts for a variety of everyday outfits, throughout the year.
This A-line shaped tank top is fitted with a bust dart and cropped to end at the high hip. View A features a classic rounded neckline and armholes, while View B sports a V-neck in the front and gently angled armholes and back neck shaping. Both views are finished with an all-in-one facing. When made in a linen or cotton, the tank will maintain its A-line shape while worn. When made in a drapey rayon or Tencel, the shape will hang closer to the body.
This beginner-friendly pattern is drafted for sizes 0-32 and includes three cup size options for all sizes. Choose from A/B cup, C/D cup or E/F cup for a customized fit through the bust.