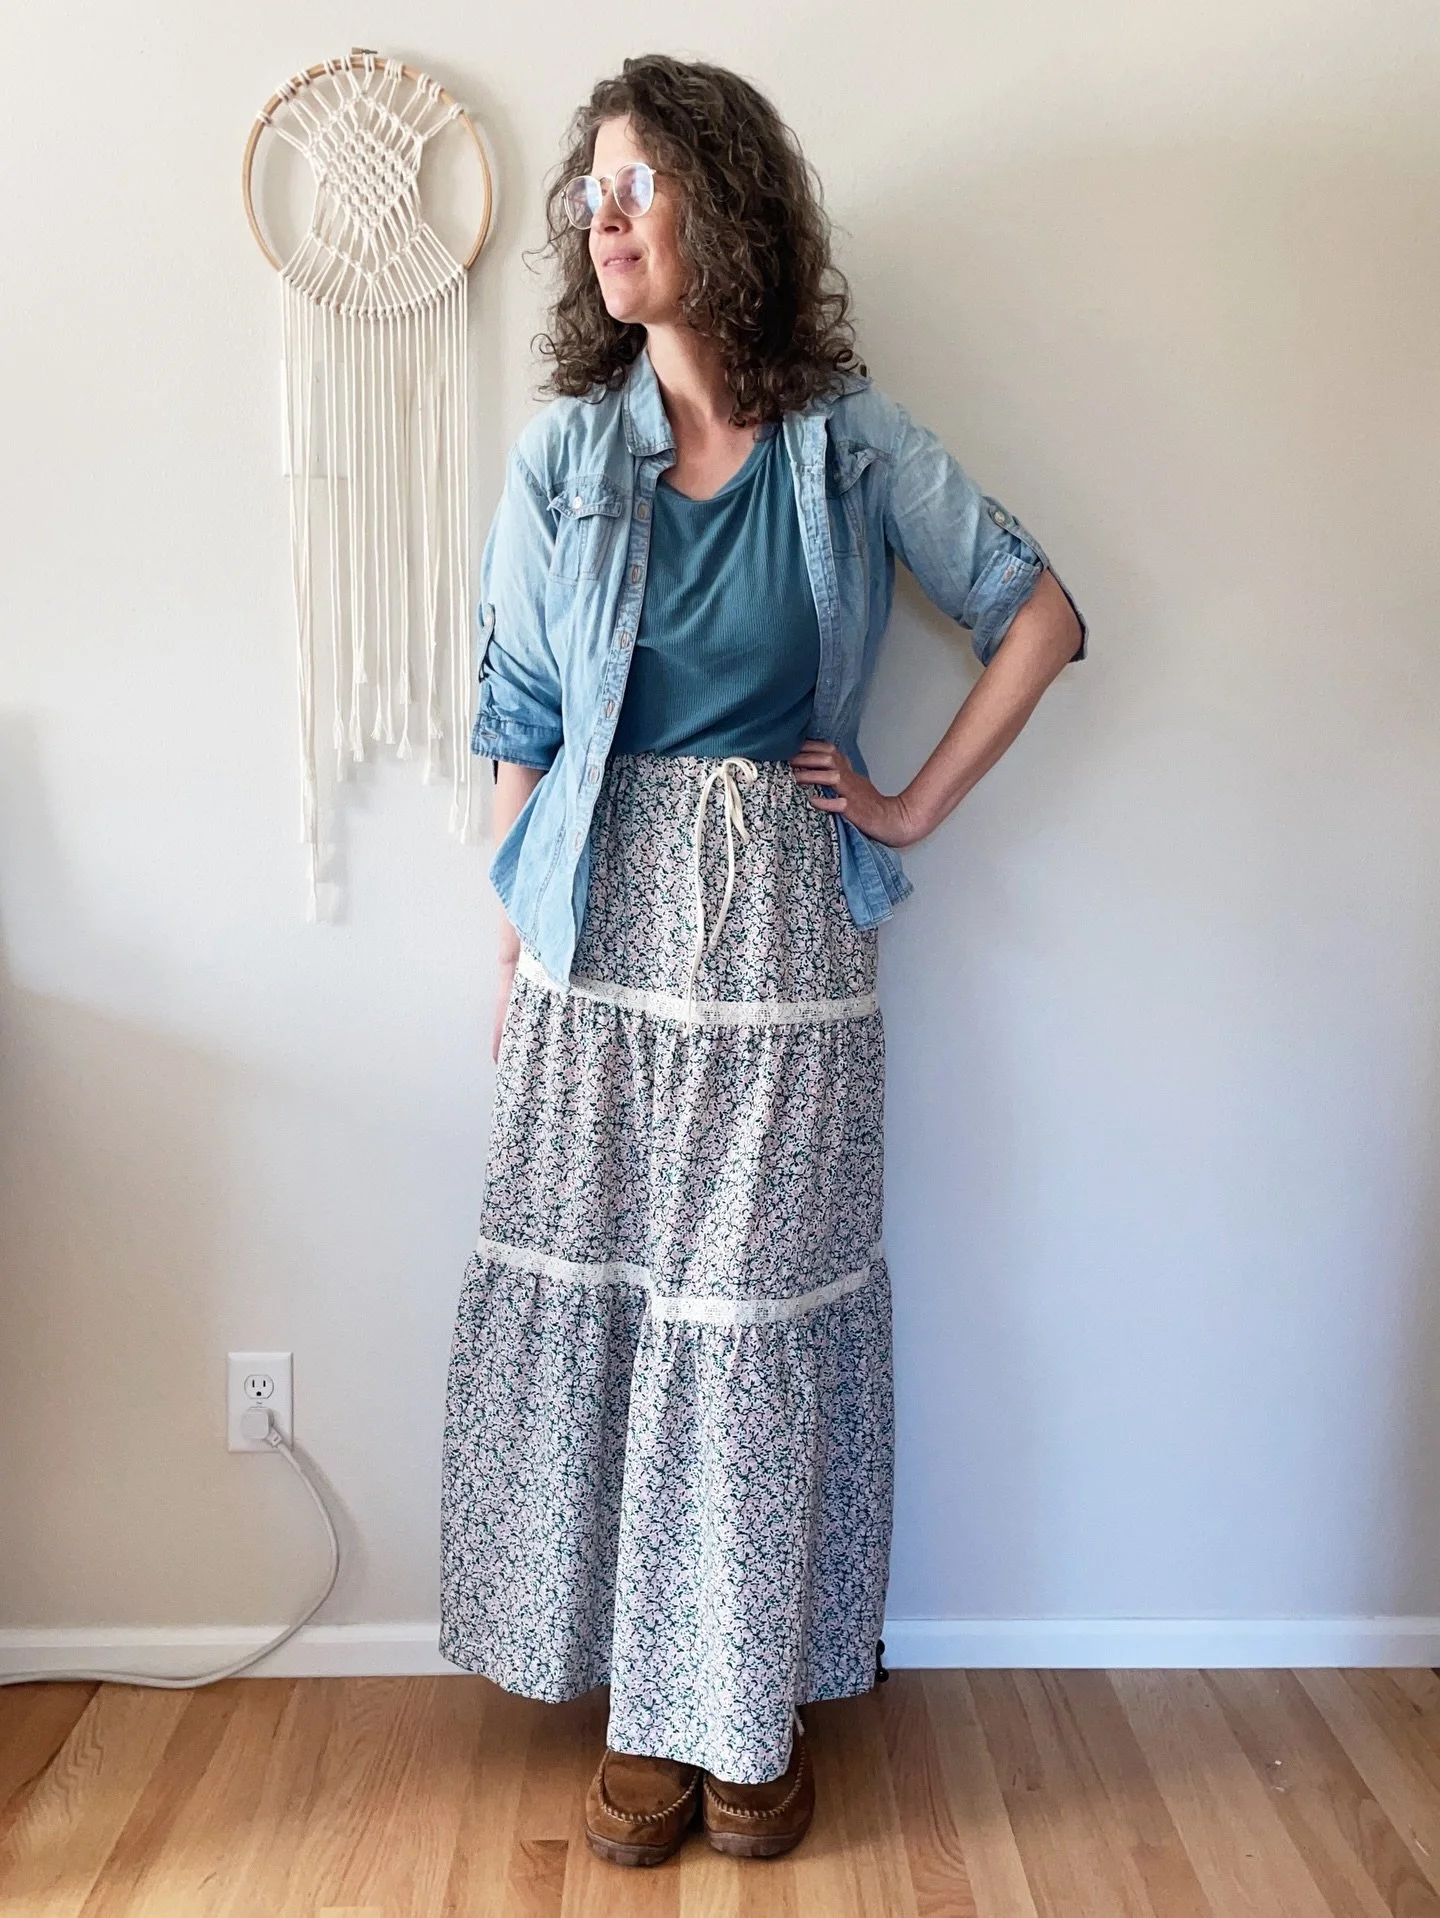
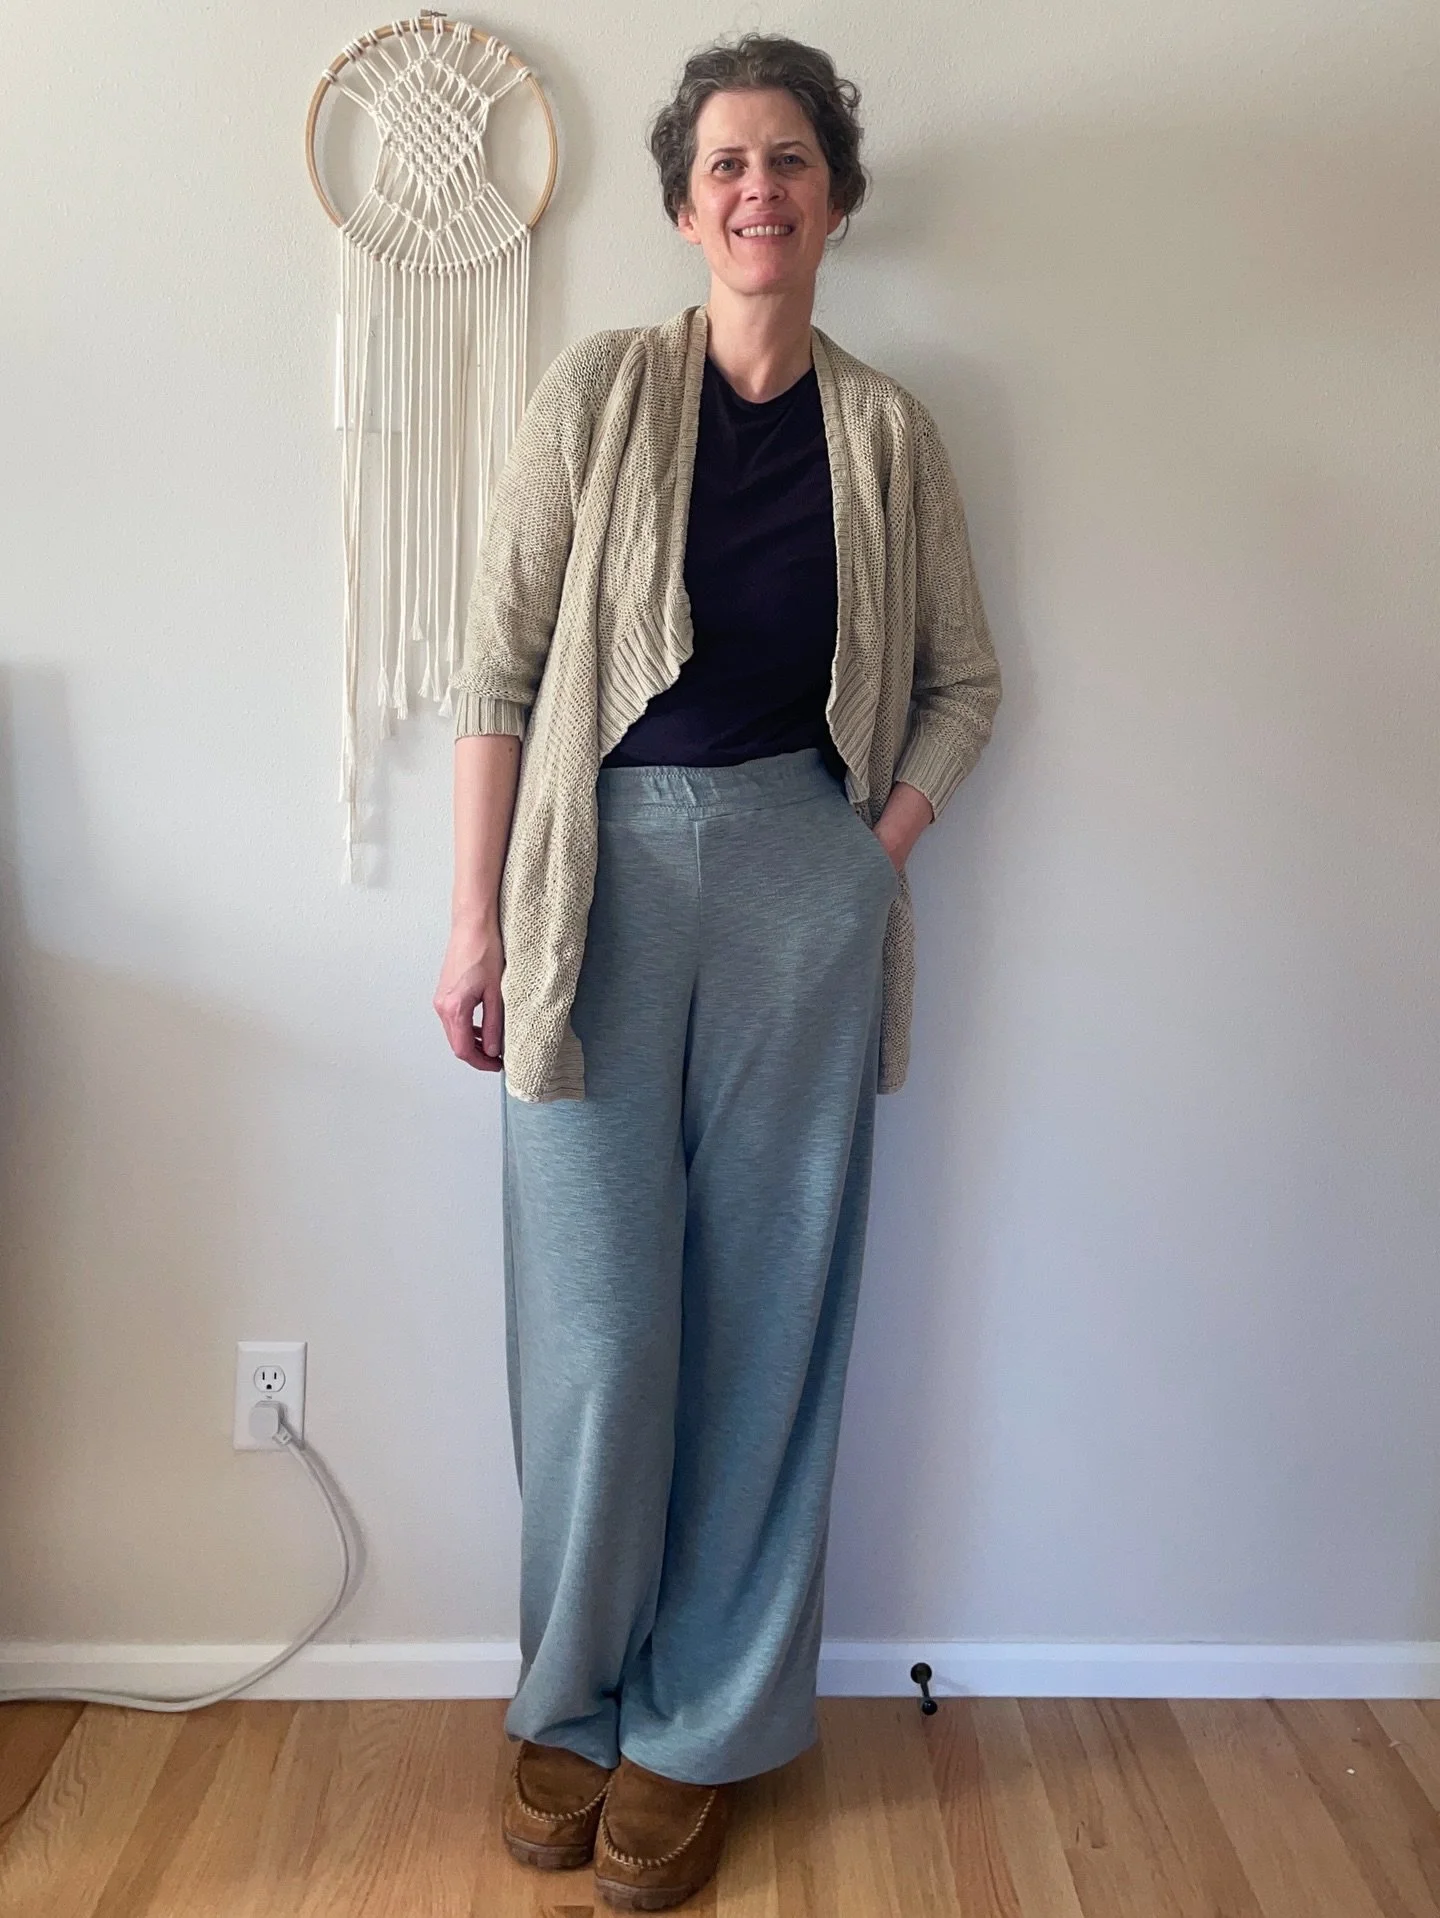
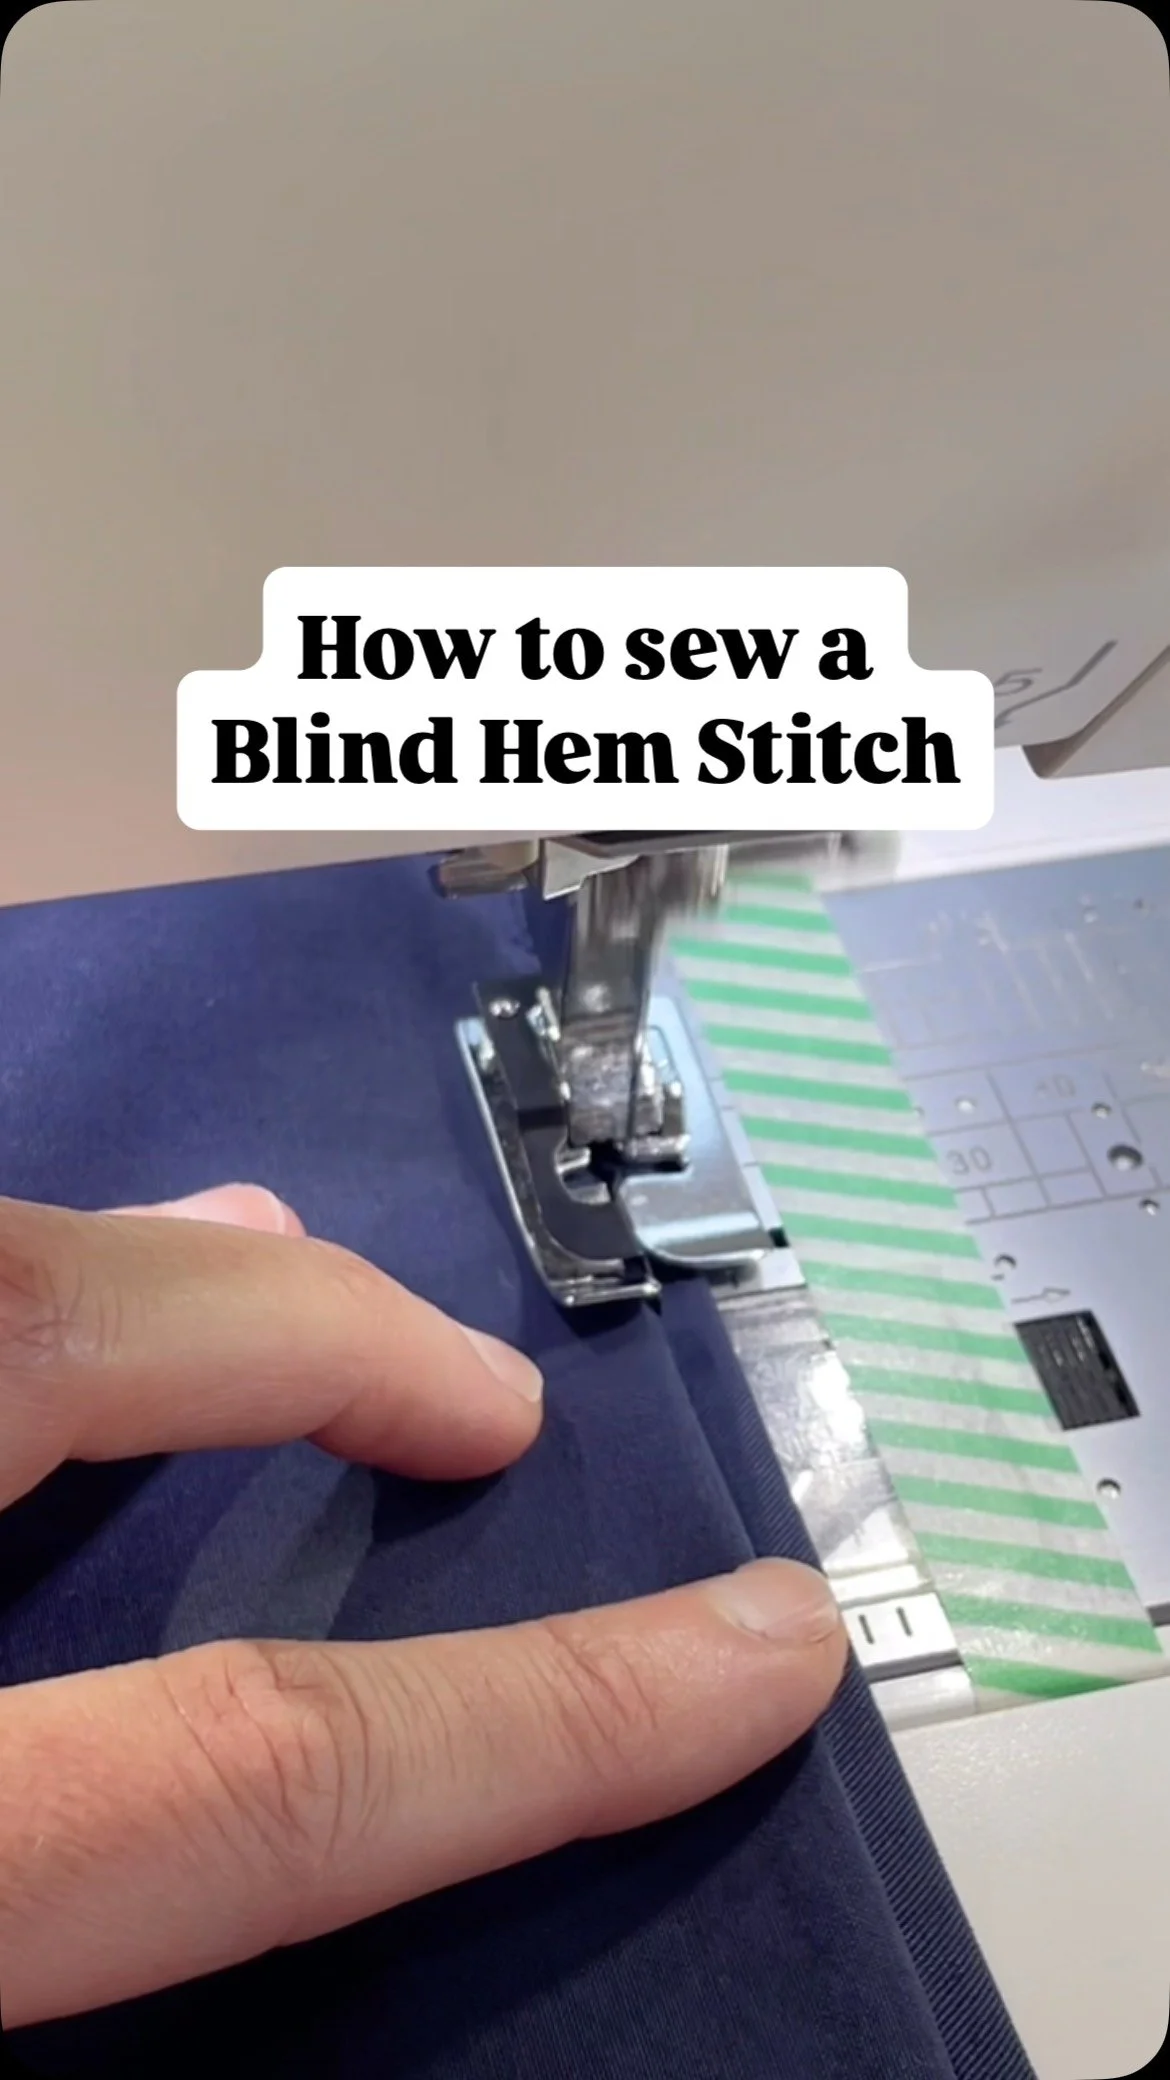
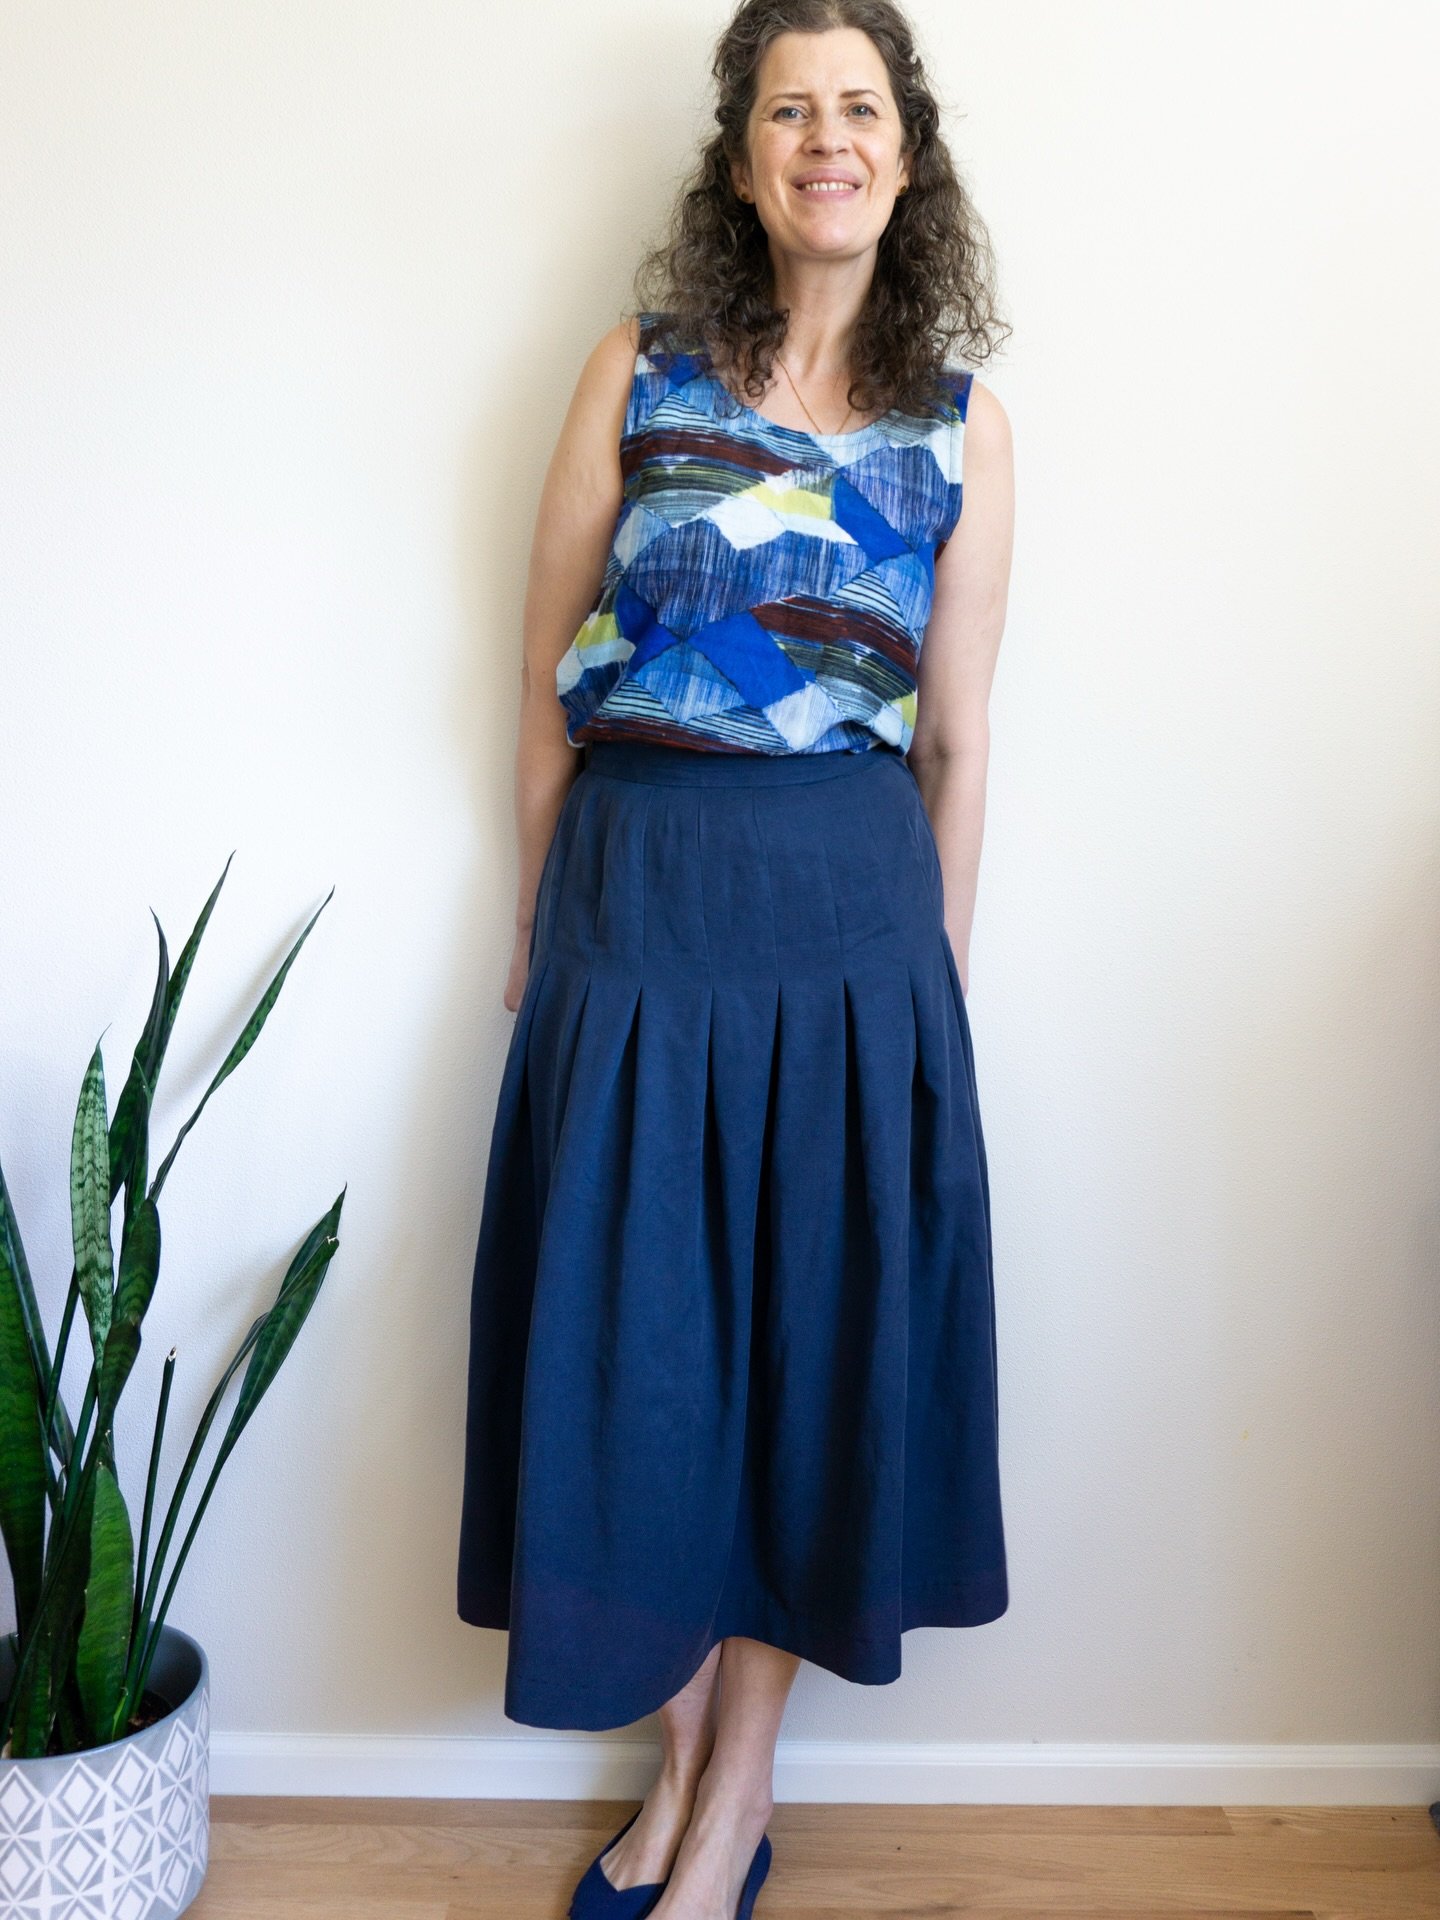
In today’s sewalong post, we are sharing a video that takes you step by step through the process of sewing the elastic waistband of the Lela Skirt pattern. This skirt is very beginner friendly because it’s easy to sew and easy to fit due to the forgiving elastic waistband. If you haven’t read it yet, check out yesterday’s post about selecting your size. And then click through to watch the video and learn all of our best tips for sewing an elastic waistband.
VIDEO TUTORIAL - How to Sew a T-shirt Neckband
A few weeks ago, I asked on my Instagram what people had the most problems with when sewing t-shirts. Far and away the most common reply was the neckband. In today’s video, I take you through the whole process of sewing a knit neckband in the round (see last week’s video for how to sew it flat) AND I give you some tips for identifying whether your neckband is too large or too small.
I hope that this video is helpful for you. Let me know in the comments if there are any other videos that you’d like to see. And if you haven’t already, I’d be thrilled and honored if you follow me on Youtube. Happy sewing!
In this video tutorial, I’ll show you how to sew a pair of quilted bootie-style slippers with a lining. I’m using my Quilted Slippers pattern which I released back in June. It’s been one of my most popular patterns and it’s a really fun one to sew. It’s a small project and great for using scrap fabric, like I did here. This project also makes a great gift. The pattern is drafted for a wide range of sizes from US Women’s 4 up to a US Men’s 14.
Today, I'm very excited to bring you a tutorial for the apron that first got me obsessed with sewing way back in the '90s. I learned how to sew this simple apron in my high school sewing class when I was about 15 years old. I immediately fell in love with sewing and made an apron for all my relatives that Christmas. I still have the apron I first made, way back then. I'm happy to say that I still use and wear that original apron and it's held up remarkably well. You can get a peek of it in the video below.
In today’s YouTube video, I'm continuing my series of videos using fabric scraps to sew handmade gifts, with a tutorial for sewing a reusable flower tote. This is a great tote to take to the farmer's market and reduce your plastic use. Plus, it's also a really nice way to wrap flowers as a gift. Use this tote to give flowers as a hostess gift or, because it's 2020 and we're all social distancing, you can also leave the flowers wrapped in this tote at your friend's door. After the flowers are spent, they'll still be able to use and reuse the tote.
In today’s YouTube video, I’ll be showing you how to sew a 3D style face mask quickly and easily. I know there are a million mask sewing tutorials are out there and that I’m basically 8 months late to the game. I was really intrigued by the 3D face mask design but not thrilled with the lengthy construction process that a lot of tutorials use. I want to sew these masks as quickly as possible so that I can move on to sewing more fun things. So, after reading a lot of blogs, watching videos and doing some experimenting, I figured out the fastest process for sewing these masks. These masks have just one pattern piece and an optional nose bridge. Along the way, I’ll let you know the steps you can skip and why you may not want to skip them.
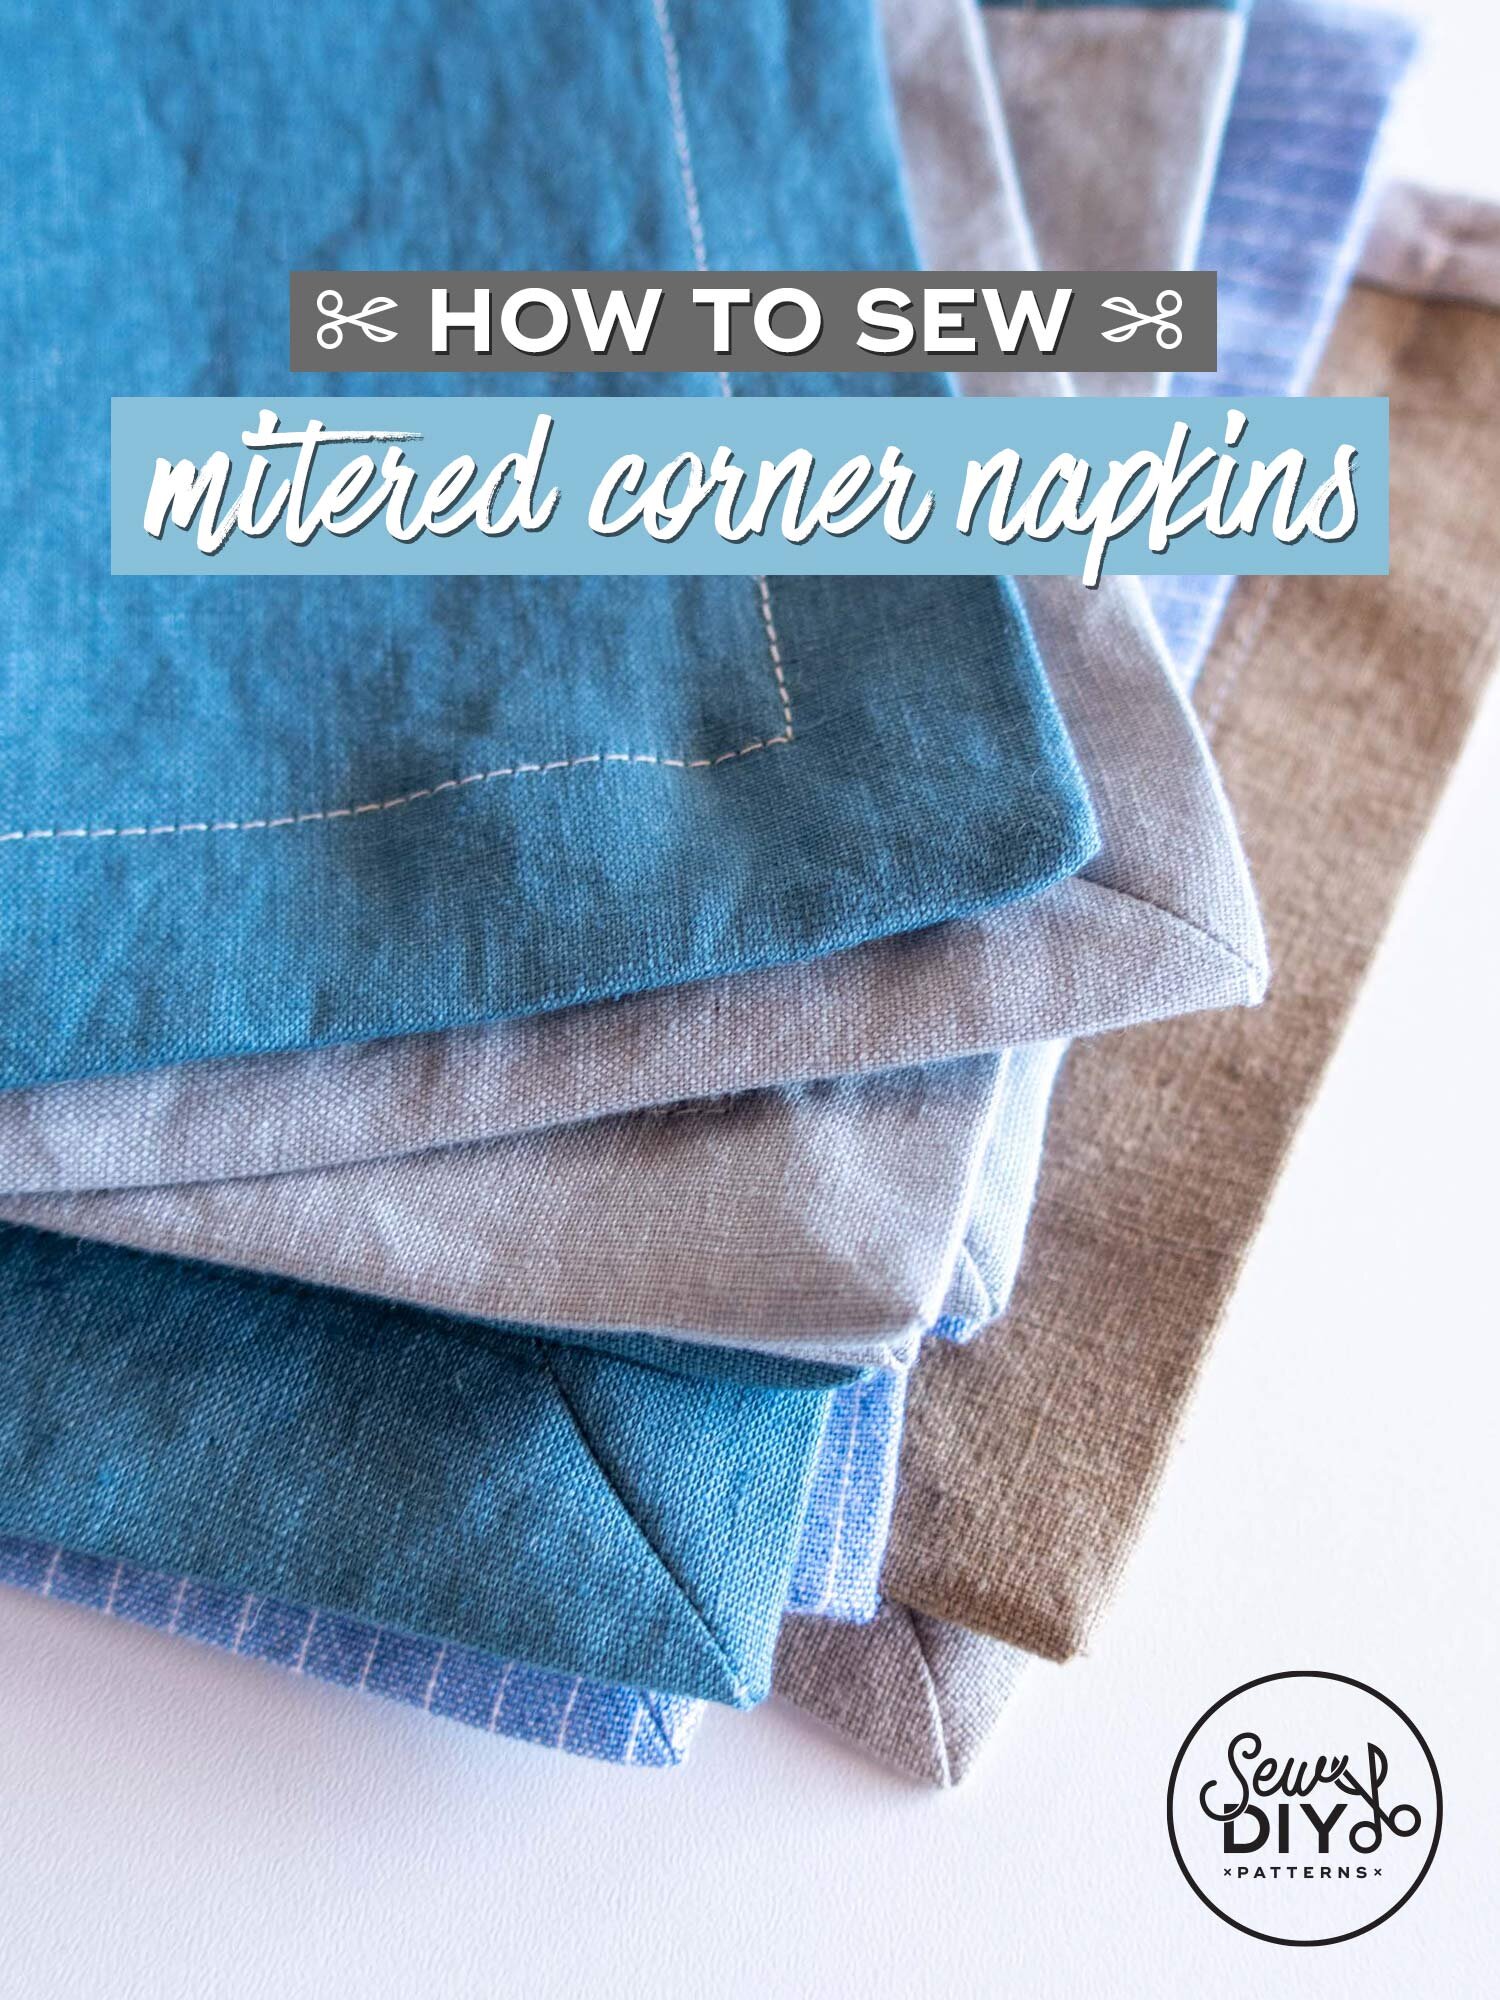
Leading up to the holidays, I’m going to be sharing a few tutorials for sustainable and useful scrap busting projects that are perfect for gift giving. Today’s video tutorial is the first in the series and it’s probably the most simple and most useful of all the projects. In this tutorial, I’ll be showing you how to sew your own mitered corner napkins using scrap fabric. Using a cloth napkin instead of paper disposable napkins is a great way to reduce waste and live a more sustainable lifestyle. Plus, when you use scrap fabric, these napkins are basically free to make. Read on to watch the video and learn how to make these luxurious and earth friendly napkins.
In this video tutorial, I’ll show you how to quilt your own fabric to make garments, bags or home accessories. In the video, I’m making my Quilted Slippers pattern but the same techniques work for other projects as well. I will share a variety of tools you can use to mark quilting lines on your fabric and then demonstrate a couple of ways to quilt the fabric to the batting. The Quilted Slippers are a great project for using scraps of leftover fabric and for introducing yourself to quilting.
Hello friends! This post is for all of you with the Draft-it-Yourself Tasi Robe and Jacket pattern. I’ve been making a variation of this pattern for years and this month, I decided I wanted to make a really classic robe for my Dad for Father’s Day. I haven’t been to a fabric store since February so I shopped my stash and found a navy gingham cotton. I also had some braided navy piping which I decided to use to create classic piped edge robe.
To get that really classic robe with a piped edge look, you’ll want to add piping to the center front opening, the seam between the cuffs and sleeves and to the pockets. Adding piping to the cuffs is pretty straightforward but you’ll need to do some adjustments to the drafting for the front band and the pockets. If you’ve never sewn with piping, make sure to check out this blog post to learn how.
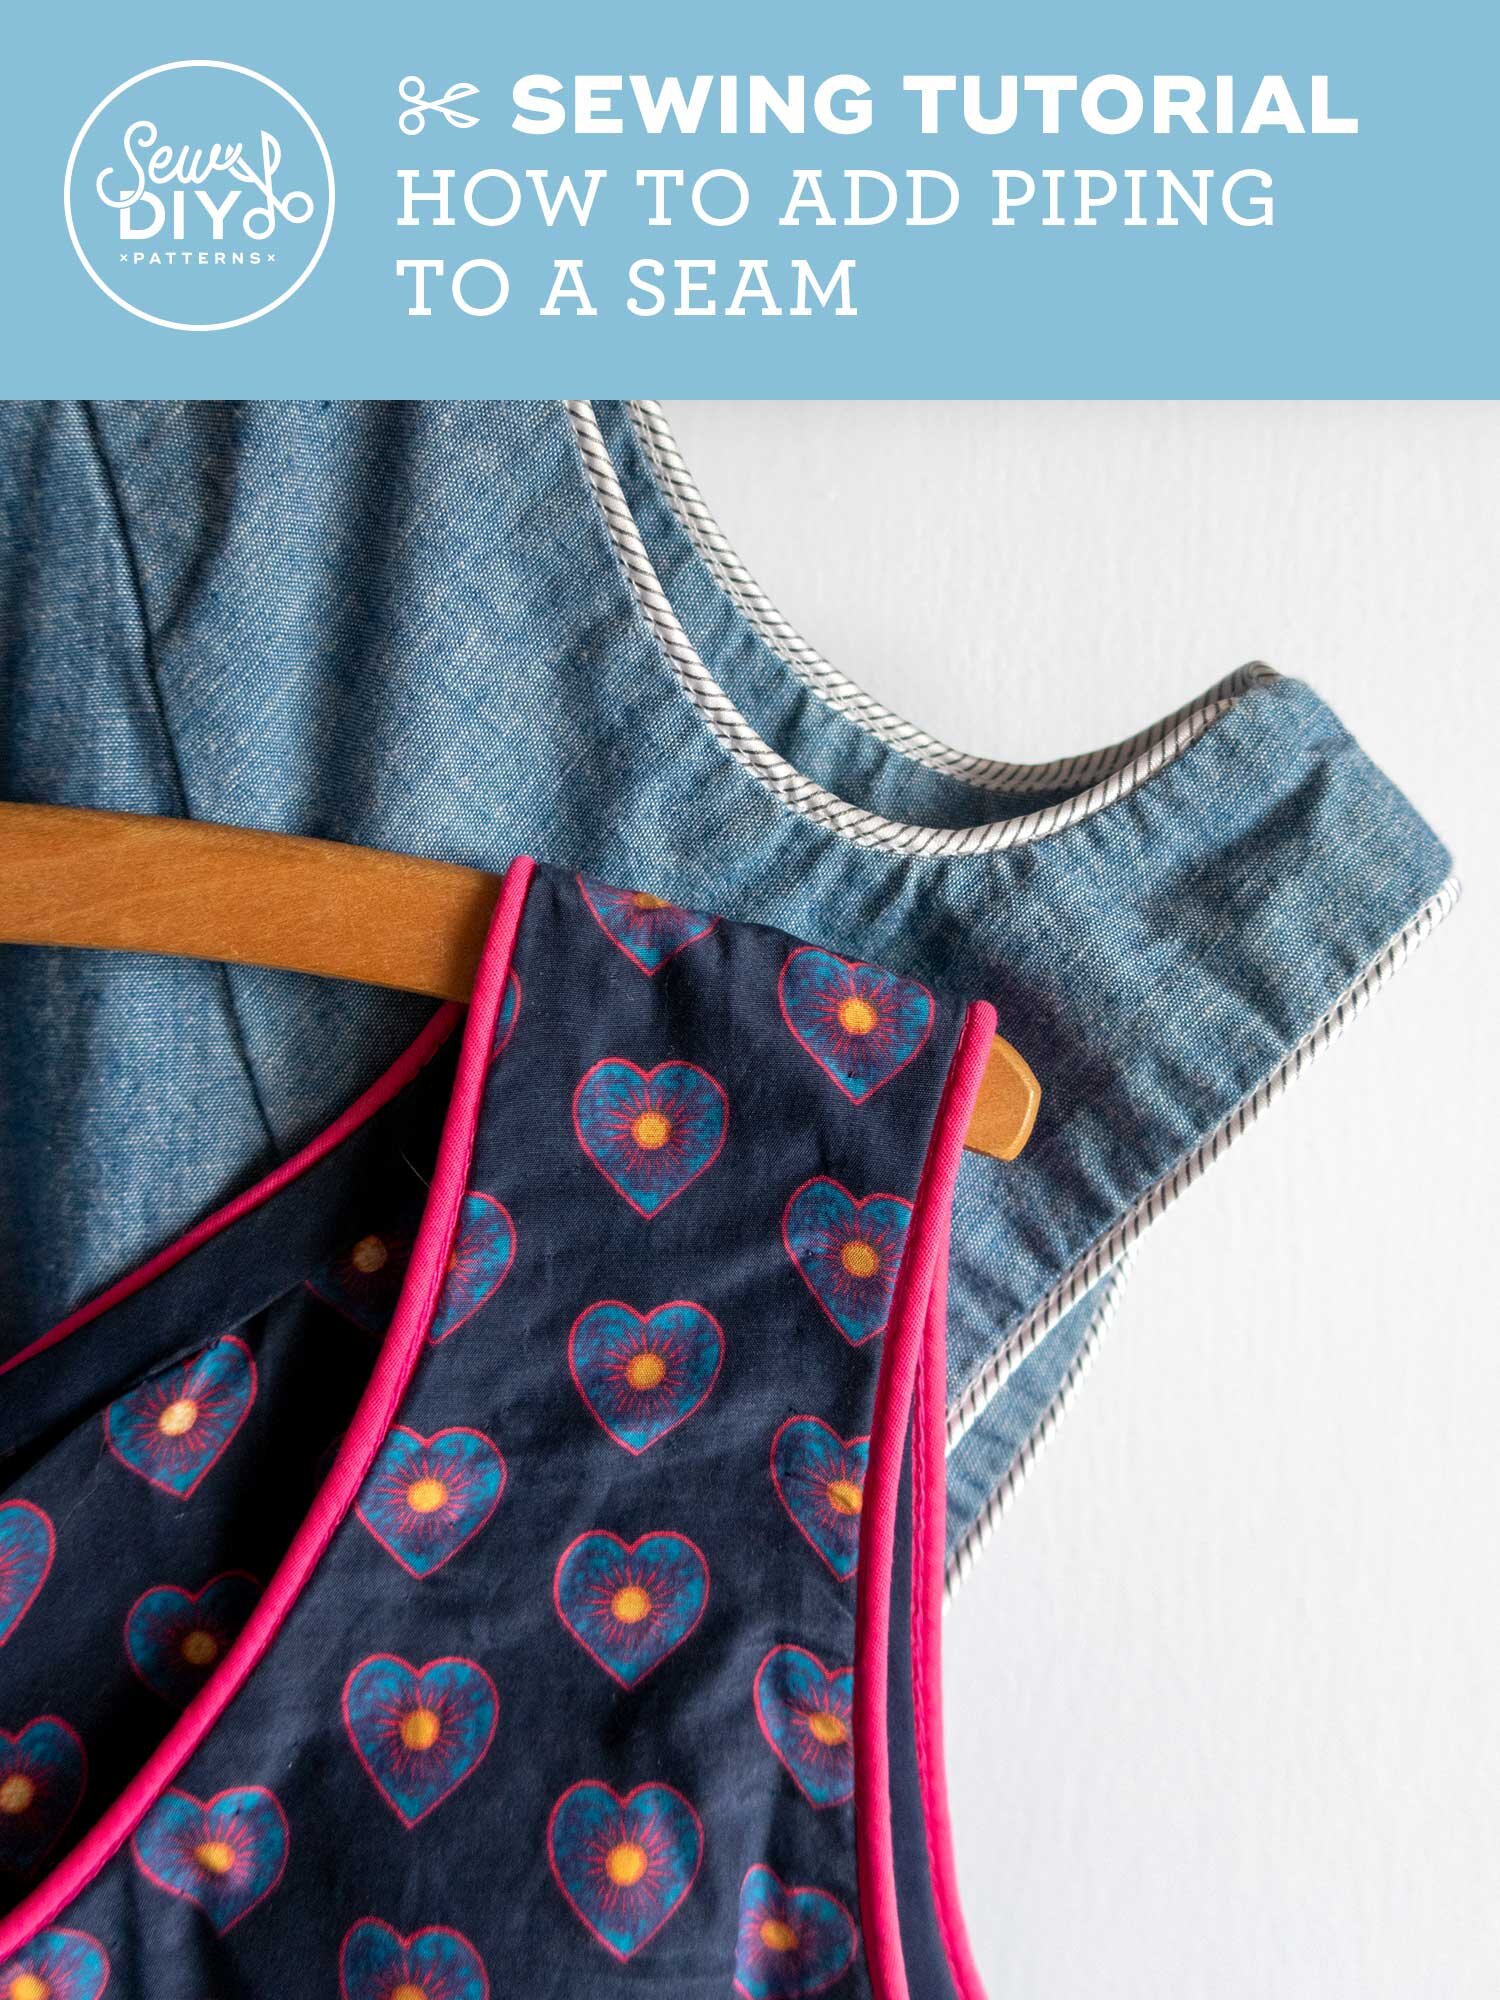
In today’s video, I’ll be showing you how to sew piping into a seam. Piping is a great way to add an extra bit of detail to your garments or home decor items. Plus, it’s fairly easy to do. In this video, I’ll be showing you how to sew piping using a zipper foot to a flat piece of fabric and one that is in the round. Alternately, you may be able to buy a special piping foot to use when stitching piping.
VIDEO Sewalong - How to Sew the Lou Box Top in Knit Fabric
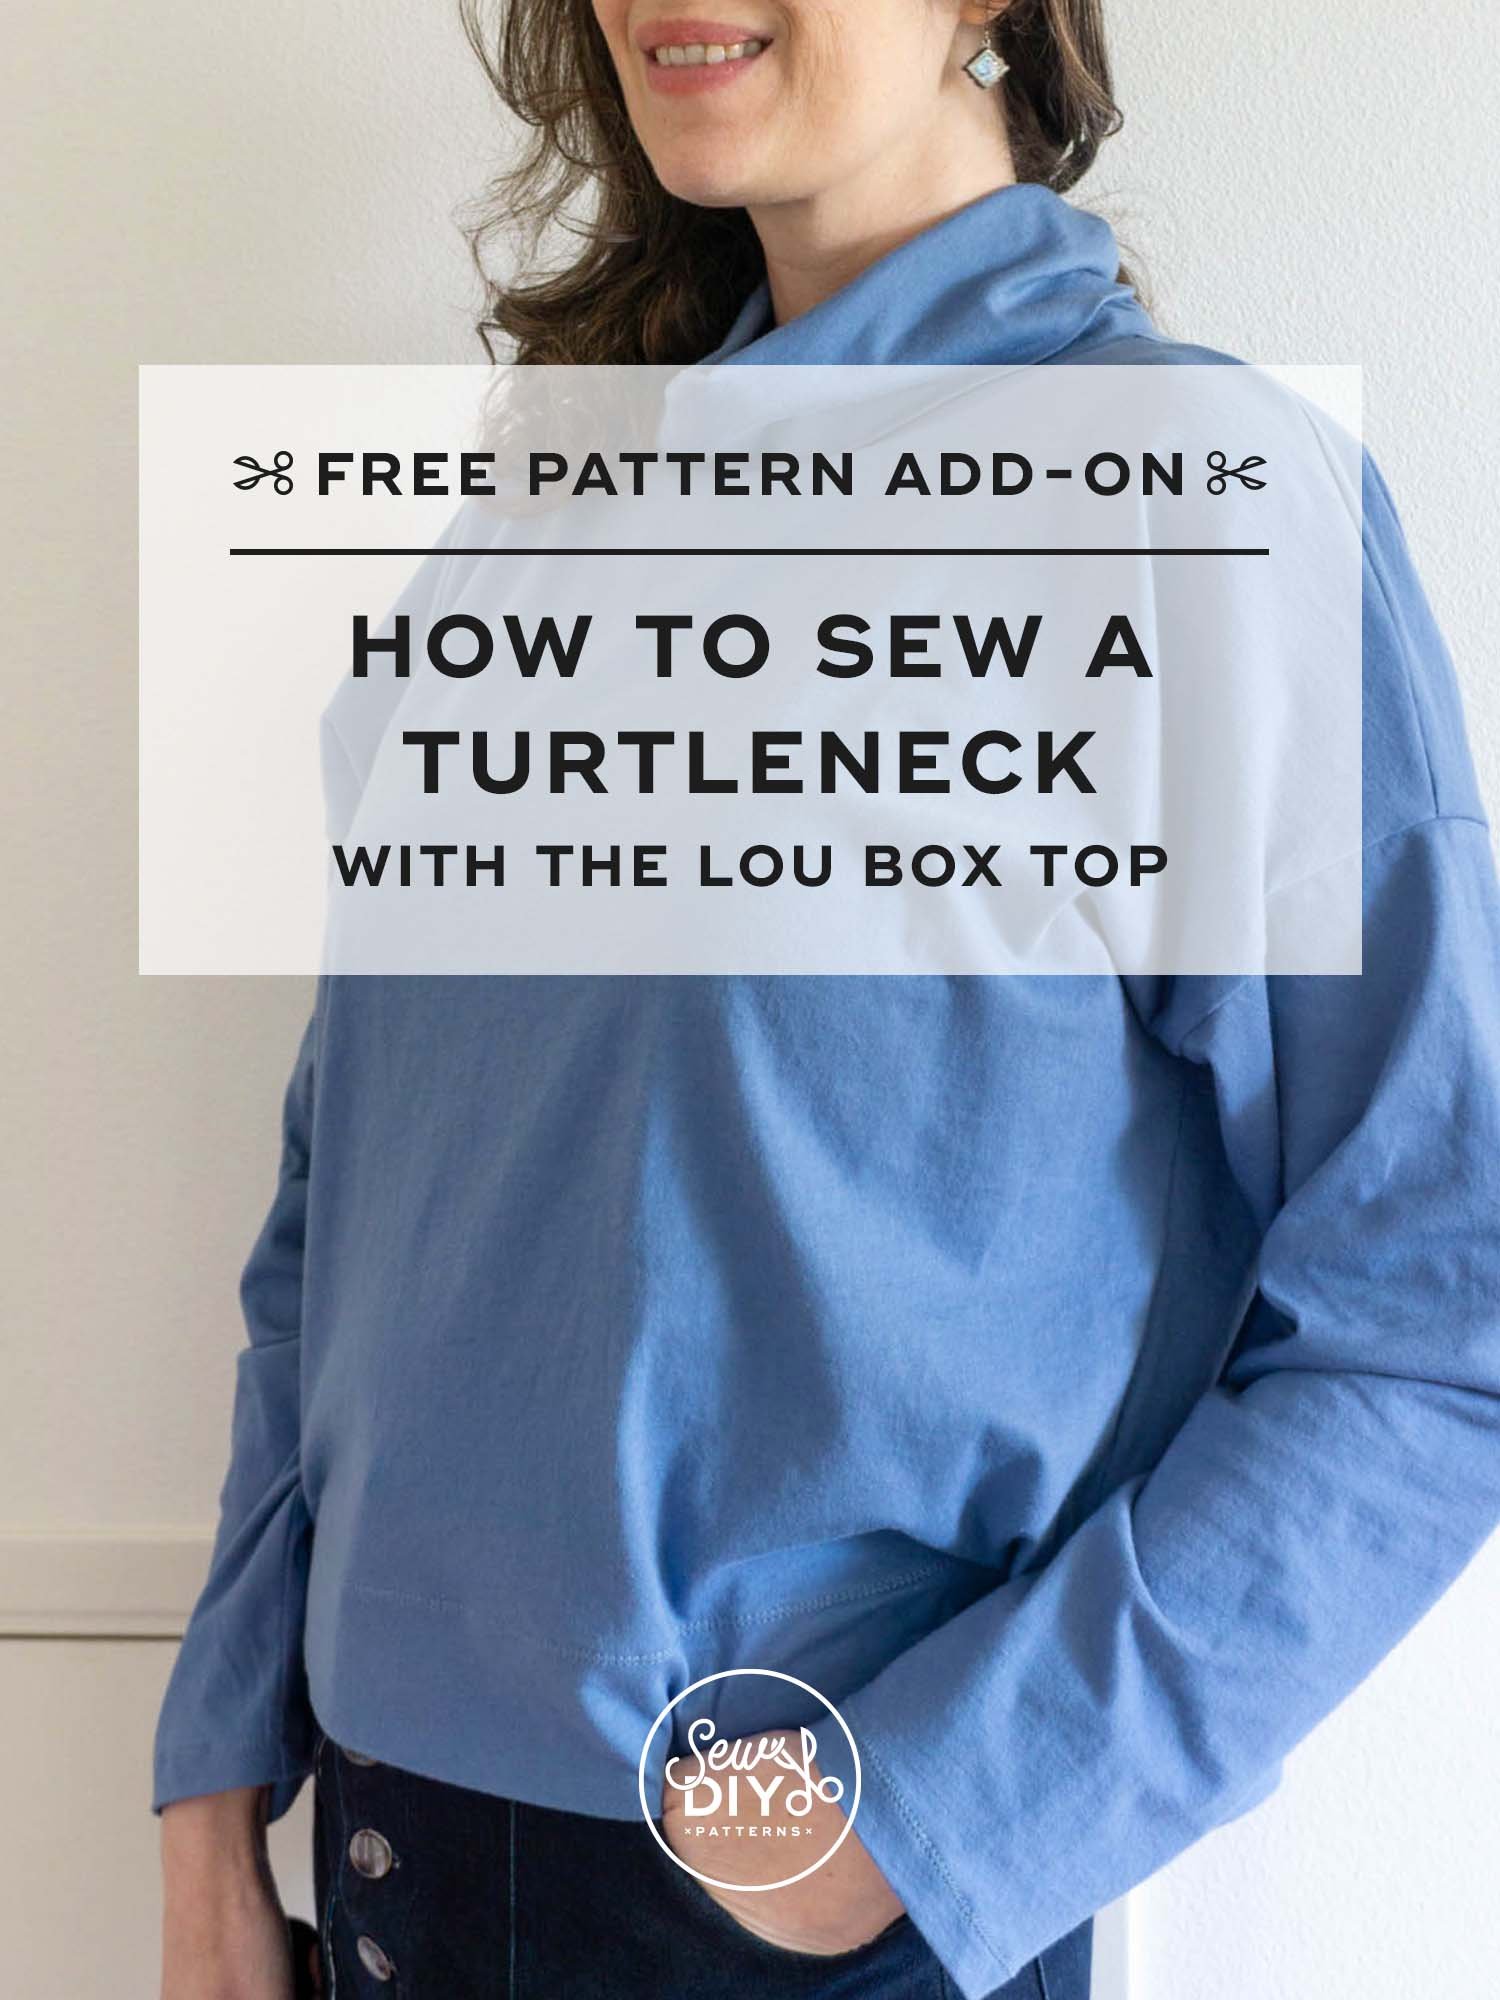
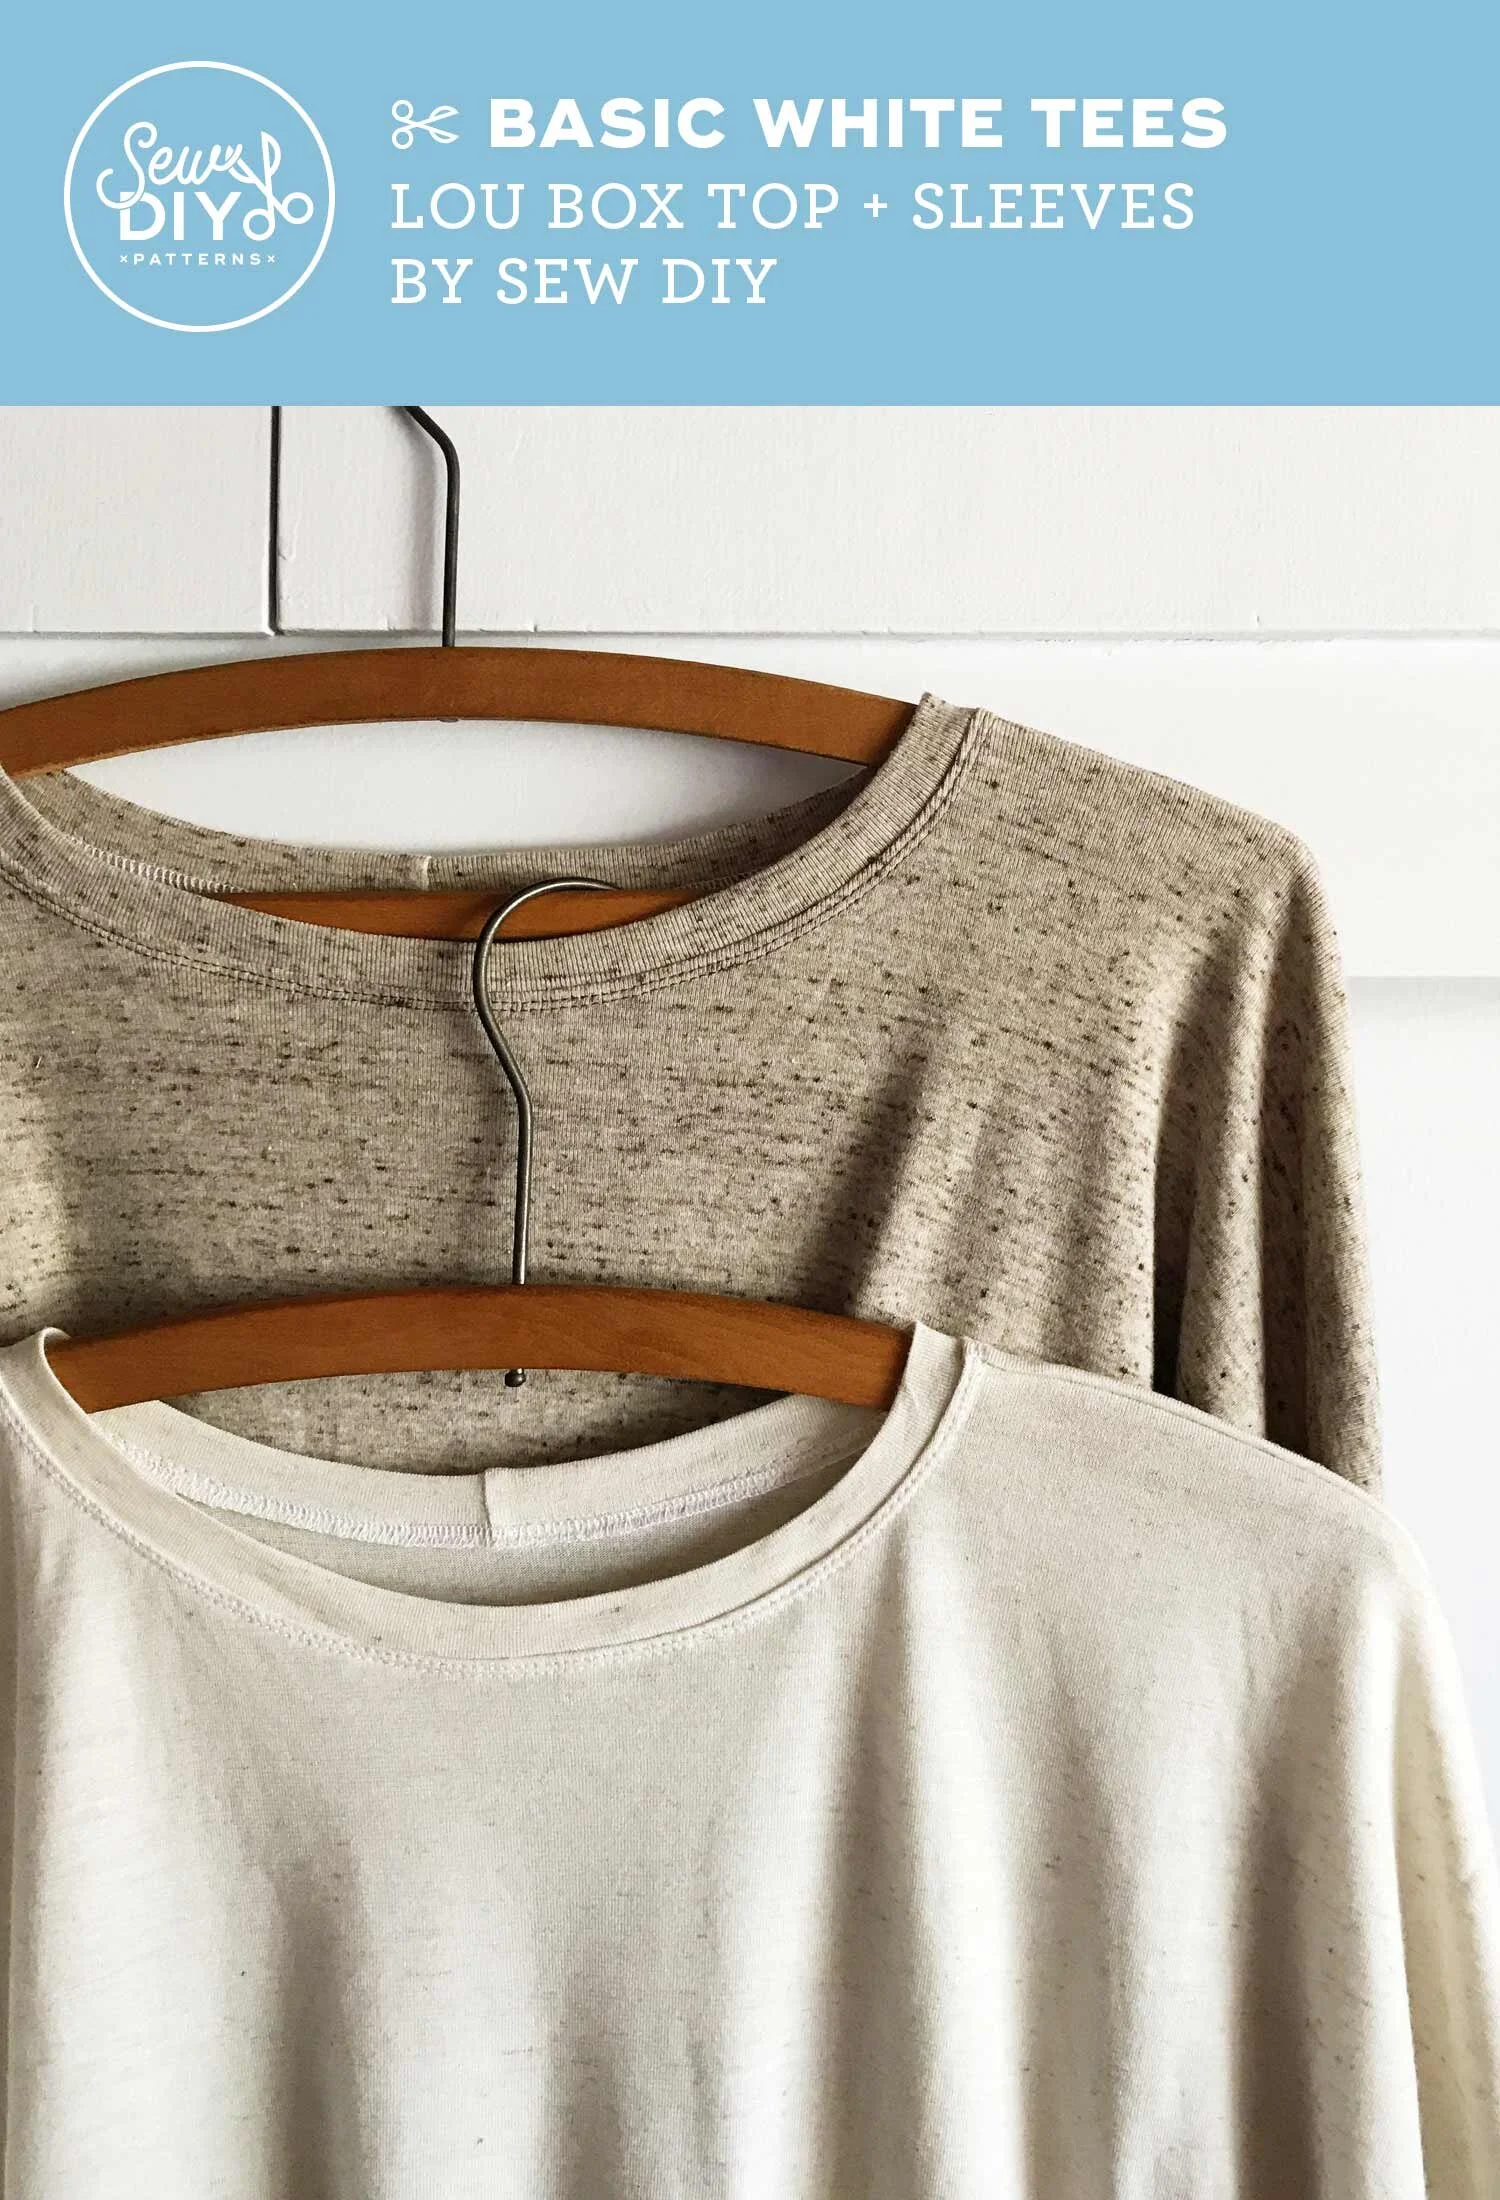
Today I have our very first sewalong video. In the past, I’ve done sewalongs using photos and text but now that I’m getting more familiar with making videos and have a real YouTube channel, I thought it would be fun to do a video. This video goes step by step through the sewing process of making the Lou Box Top pattern. This pattern comes with instructions for sewing it in woven and in knit fabric. There is an existing sewalong for the Lou Box Top right here and it mostly covers sewing the top with woven fabric. So I thought it could be helpful for this video to be all about sewing with knit fabric.
I have a couple of other videos about sewing with knits that may be helpful to you. The first is tips for sewing with knits and the second is how to use a twin needle. In the video I use both a conventional sewing machine and a serger. If you don’t have a serger you can use only a conventional machine. Just make sure to use a stitch that stretch for your seams. You can use a narrow zig zag stitch or a lightning stitch.
One more note, these instructions favor sewing things flat instead of in the round because I think that’s little easier for beginners. (Specifically the neckline and sleeves are sewn flat.) But, it’s totally personal preference. I will be doing another video soon about sewing a neck band in the round so stay tuned for that. You can follow me on YouTube to be notified when new videos are released. And if you haven’t gotten your paws on the Lou Box Top pattern yet, you can get it right here. Happy sewing!
P.S. One more note! :) The top I make and wear in the video has a lower and wider scoop neck than the final pattern. This was one of my tester versions and after sewing it and getting tester feedback, I realized that it was too deep. The final pattern is much closer to the original pattern release.
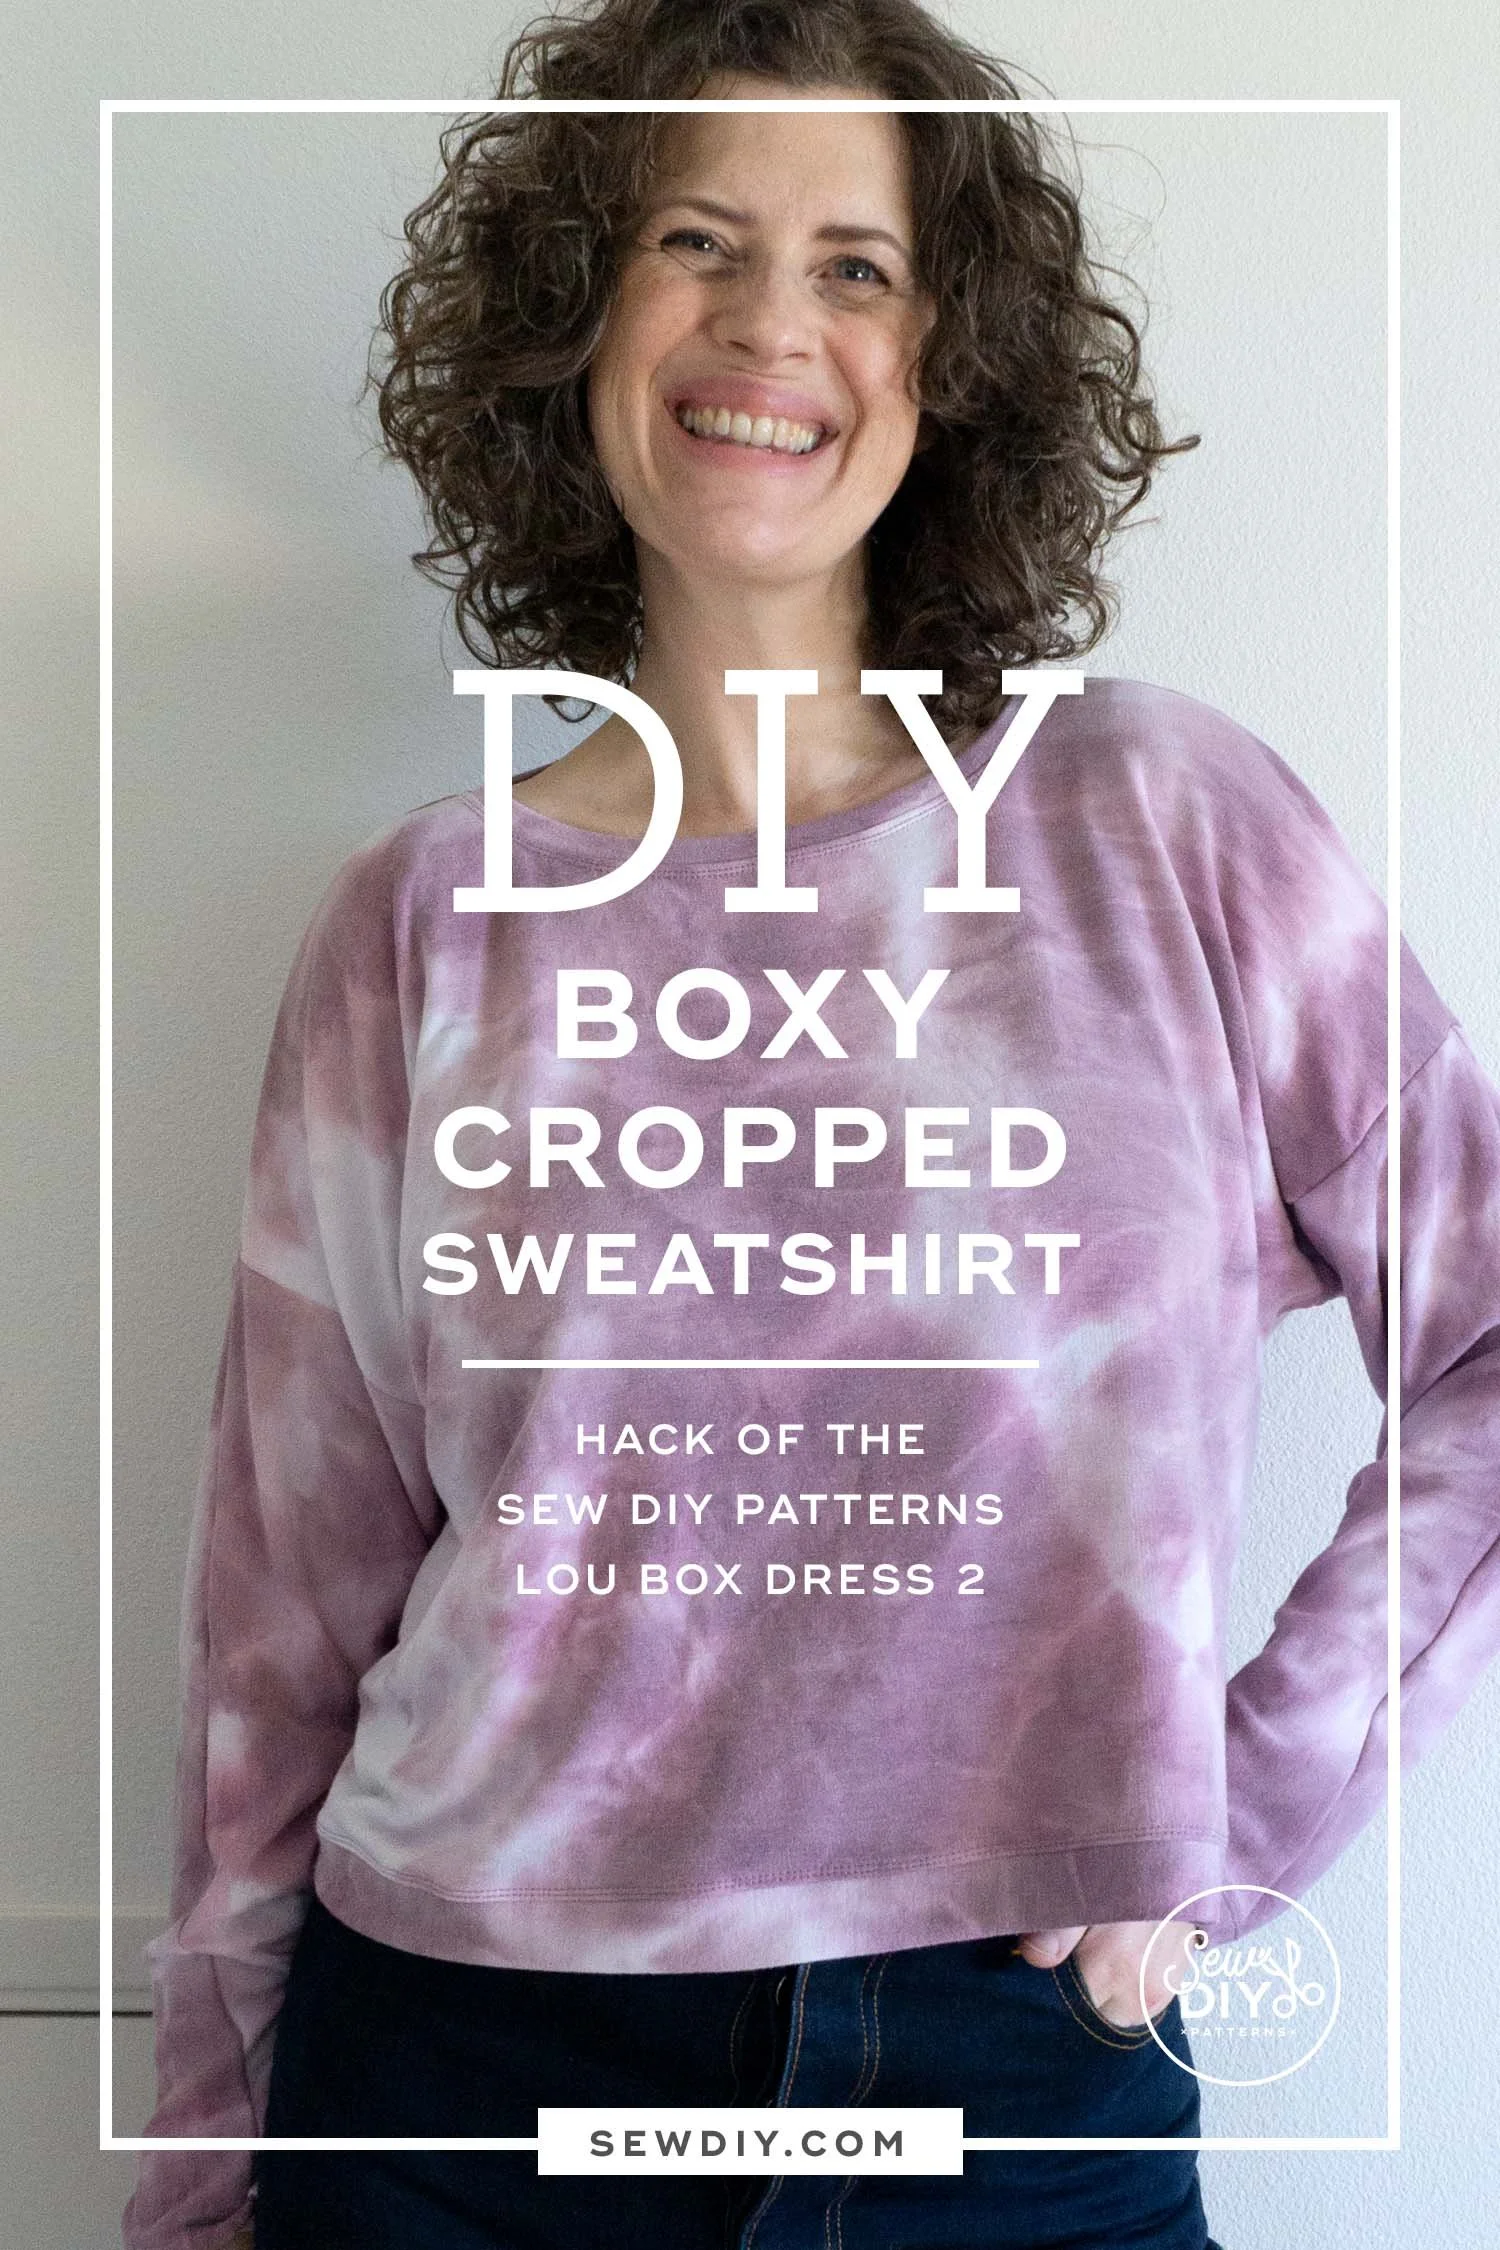
Today, I have a super cute, casual and easy hack of my Lou Box Dress 2 pattern. As a bonus, it's also a great stash busting project. I made this long-sleeved boxy top out of a fabric remnant that was just under 1 yard long! I'll share cutting layouts, pattern adjustments and tips for how I hacked the layout to make it work. This DIY boxy top is a great cozy, oversized top and I've been loving wearing it. Use a lighter weight knit fabric for a boxy top or a medium-weight loop-back fabric for a true sweatshirt style.
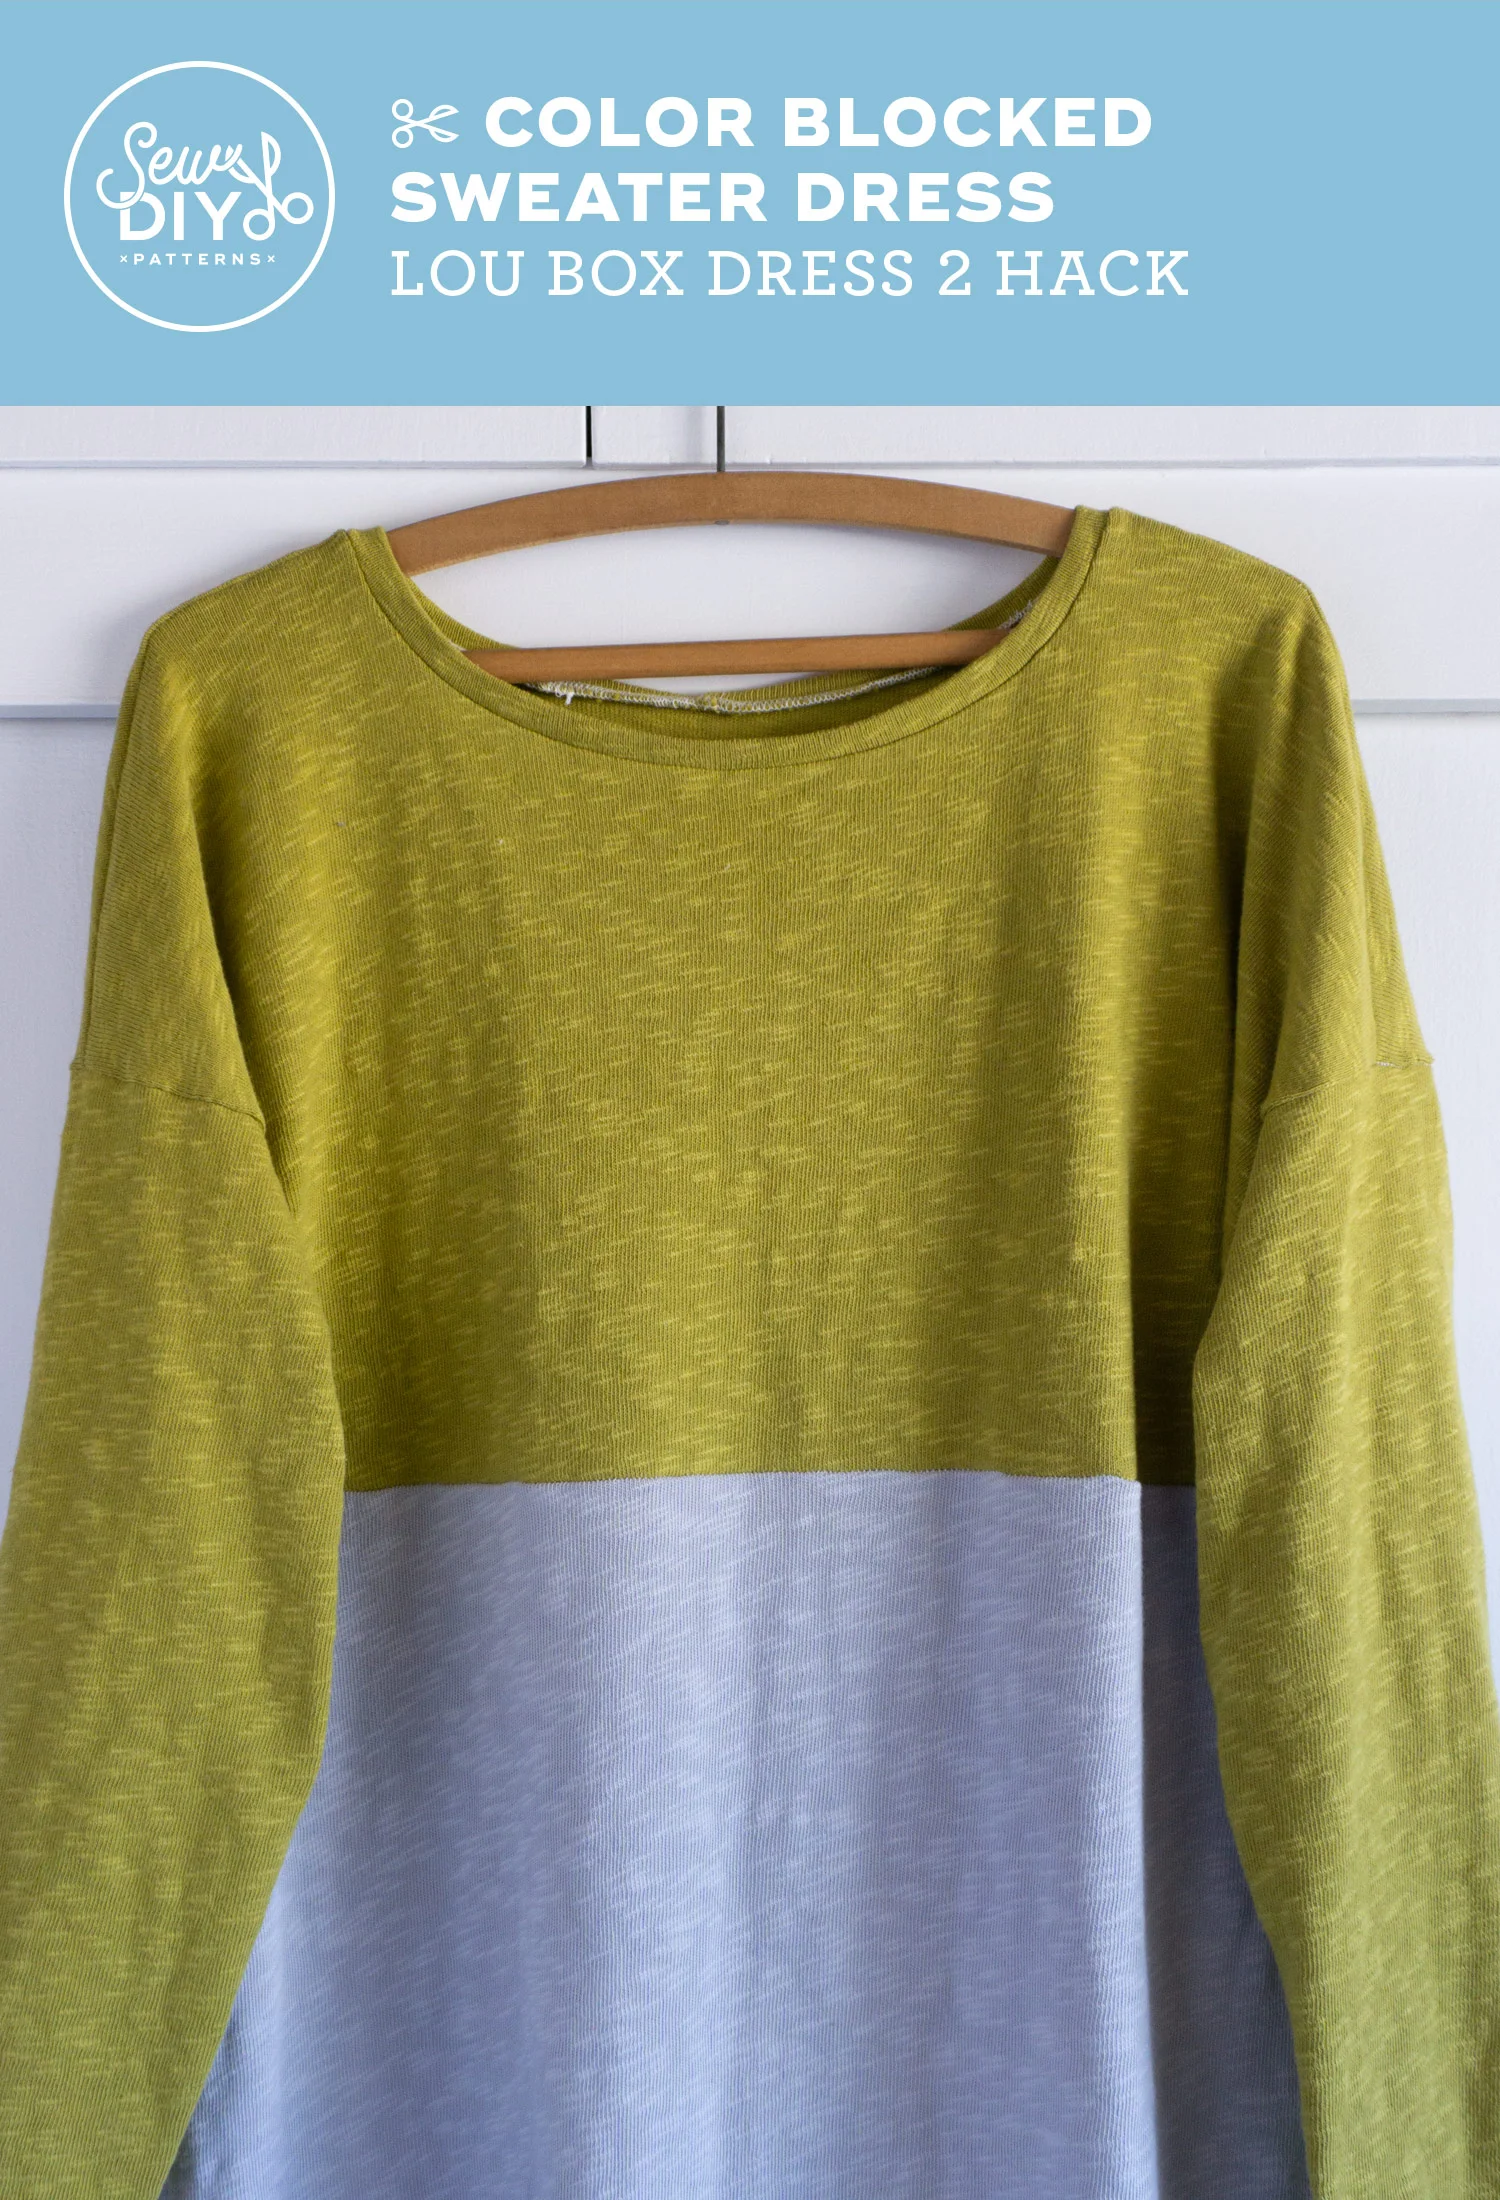
Today I have a fun and easy Lou Box Top/Dress hack to share with you – a split hem, color-blocked sweater dress. This dress is made using the cotton sweater knit currently in my shop. When I selected this fabric, I had a vision of this dress and I’m so pleased that it turned out exactly how I envisioned it. There was a moment during the making of it that I thought it was going to be an utter failure but it worked out. phew!
In today’s blog post and video, we will be showing you how to make a full bust adjustment to the Lou Box Top pattern. If you haven’t already read it, we recommend reading our post and watching the video about selecting your size and measuring yourself. To recap that post, we recommend making a full bust adjustment to this pattern if your bust/full bust is 4 or more inches larger than your upper bust. This pattern has plenty of ease but during the testing phase, we discovered that if you have a full bust, the hem of the top may lift up and look uneven. A full bust adjustment will help solve that issue.
Because the Lou Box Top is designed for both woven and knit fabrics, we have two methods for how to do the full bust adjustment (FBA for short). The first method will create a dart at the side seam. The second will have no dart. If you are using woven fabric you can use either method. If you are using knit fabric, we recommend the method without a dart.
In today’s post, we will be giving tips for how to measure yourself and going over the most important measurements for sewing the Lou Box Top. The video is packed full of tips for measuring yourself and important things to think about when you select your size. These tips are focused on the Lou Box Top but will be helpful for any time you sew a pattern.
A few important things to know about this pattern. The Lou Box Top is designed for someone who is 5’10” and has a C-cup bust (meaning the bust is 3” larger than the upper bust). This pattern has 10” of ease at the bust and hangs straight down from there. The size chart does not cover waist and hip because it’s the same as the bust in this pattern.
Today I’m very pleased to share a few photos from the tester group for the new draft the Lou Box Top. (To learn more about the updates to the pattern, check out yesterday’s post.) Testers are so integral to the pattern design process. I’m eternally grateful for their help. If you are looking for more Lou Box Top inspiration, check out the #louboxtop hashtag on Instagram.
Leanne (above) had this to say about the pattern:
“I'm so excited that Beth is expanding her sizes, as I can now fit into her patterns. The Lou Box top was such a fun and easy sew, and I can't wait to make a lot more to fill out some holes in my me made wardrobe. The instructions are super easy to follow along with and I'd recommend this pattern to any beginner looking to sew up a boxy shirt!”
Read on for lots more photos and loads of inspiration.


Today, I'm very excited to bring you a tutorial for sewing a cat toy. I love my kitty and he LOVES catnip so catnip toys are very popular in my house. This project is inspired by a couple of toys that I bought that have a pocket that closes with velcro where you can put catnip. The pocket means you can replace the catnip when it loses potency and the velcro means that the catnip won’t fall all over the place while your cat is playing. Read on to download the (free!) template and watch the video.