Today, I’m excited to share the second installment of the Bucket Tote Sewalong. Last week, we selected fabric and prepared for sewing and today we can start stitching. The instruction booklet that comes with the pattern uses line drawing illustrations and written instructions so for the sewalong, I like to share a video of the process. In the video, I talk through all the steps and provide extra tips and info that would be too cumbersome to include in the instructions.
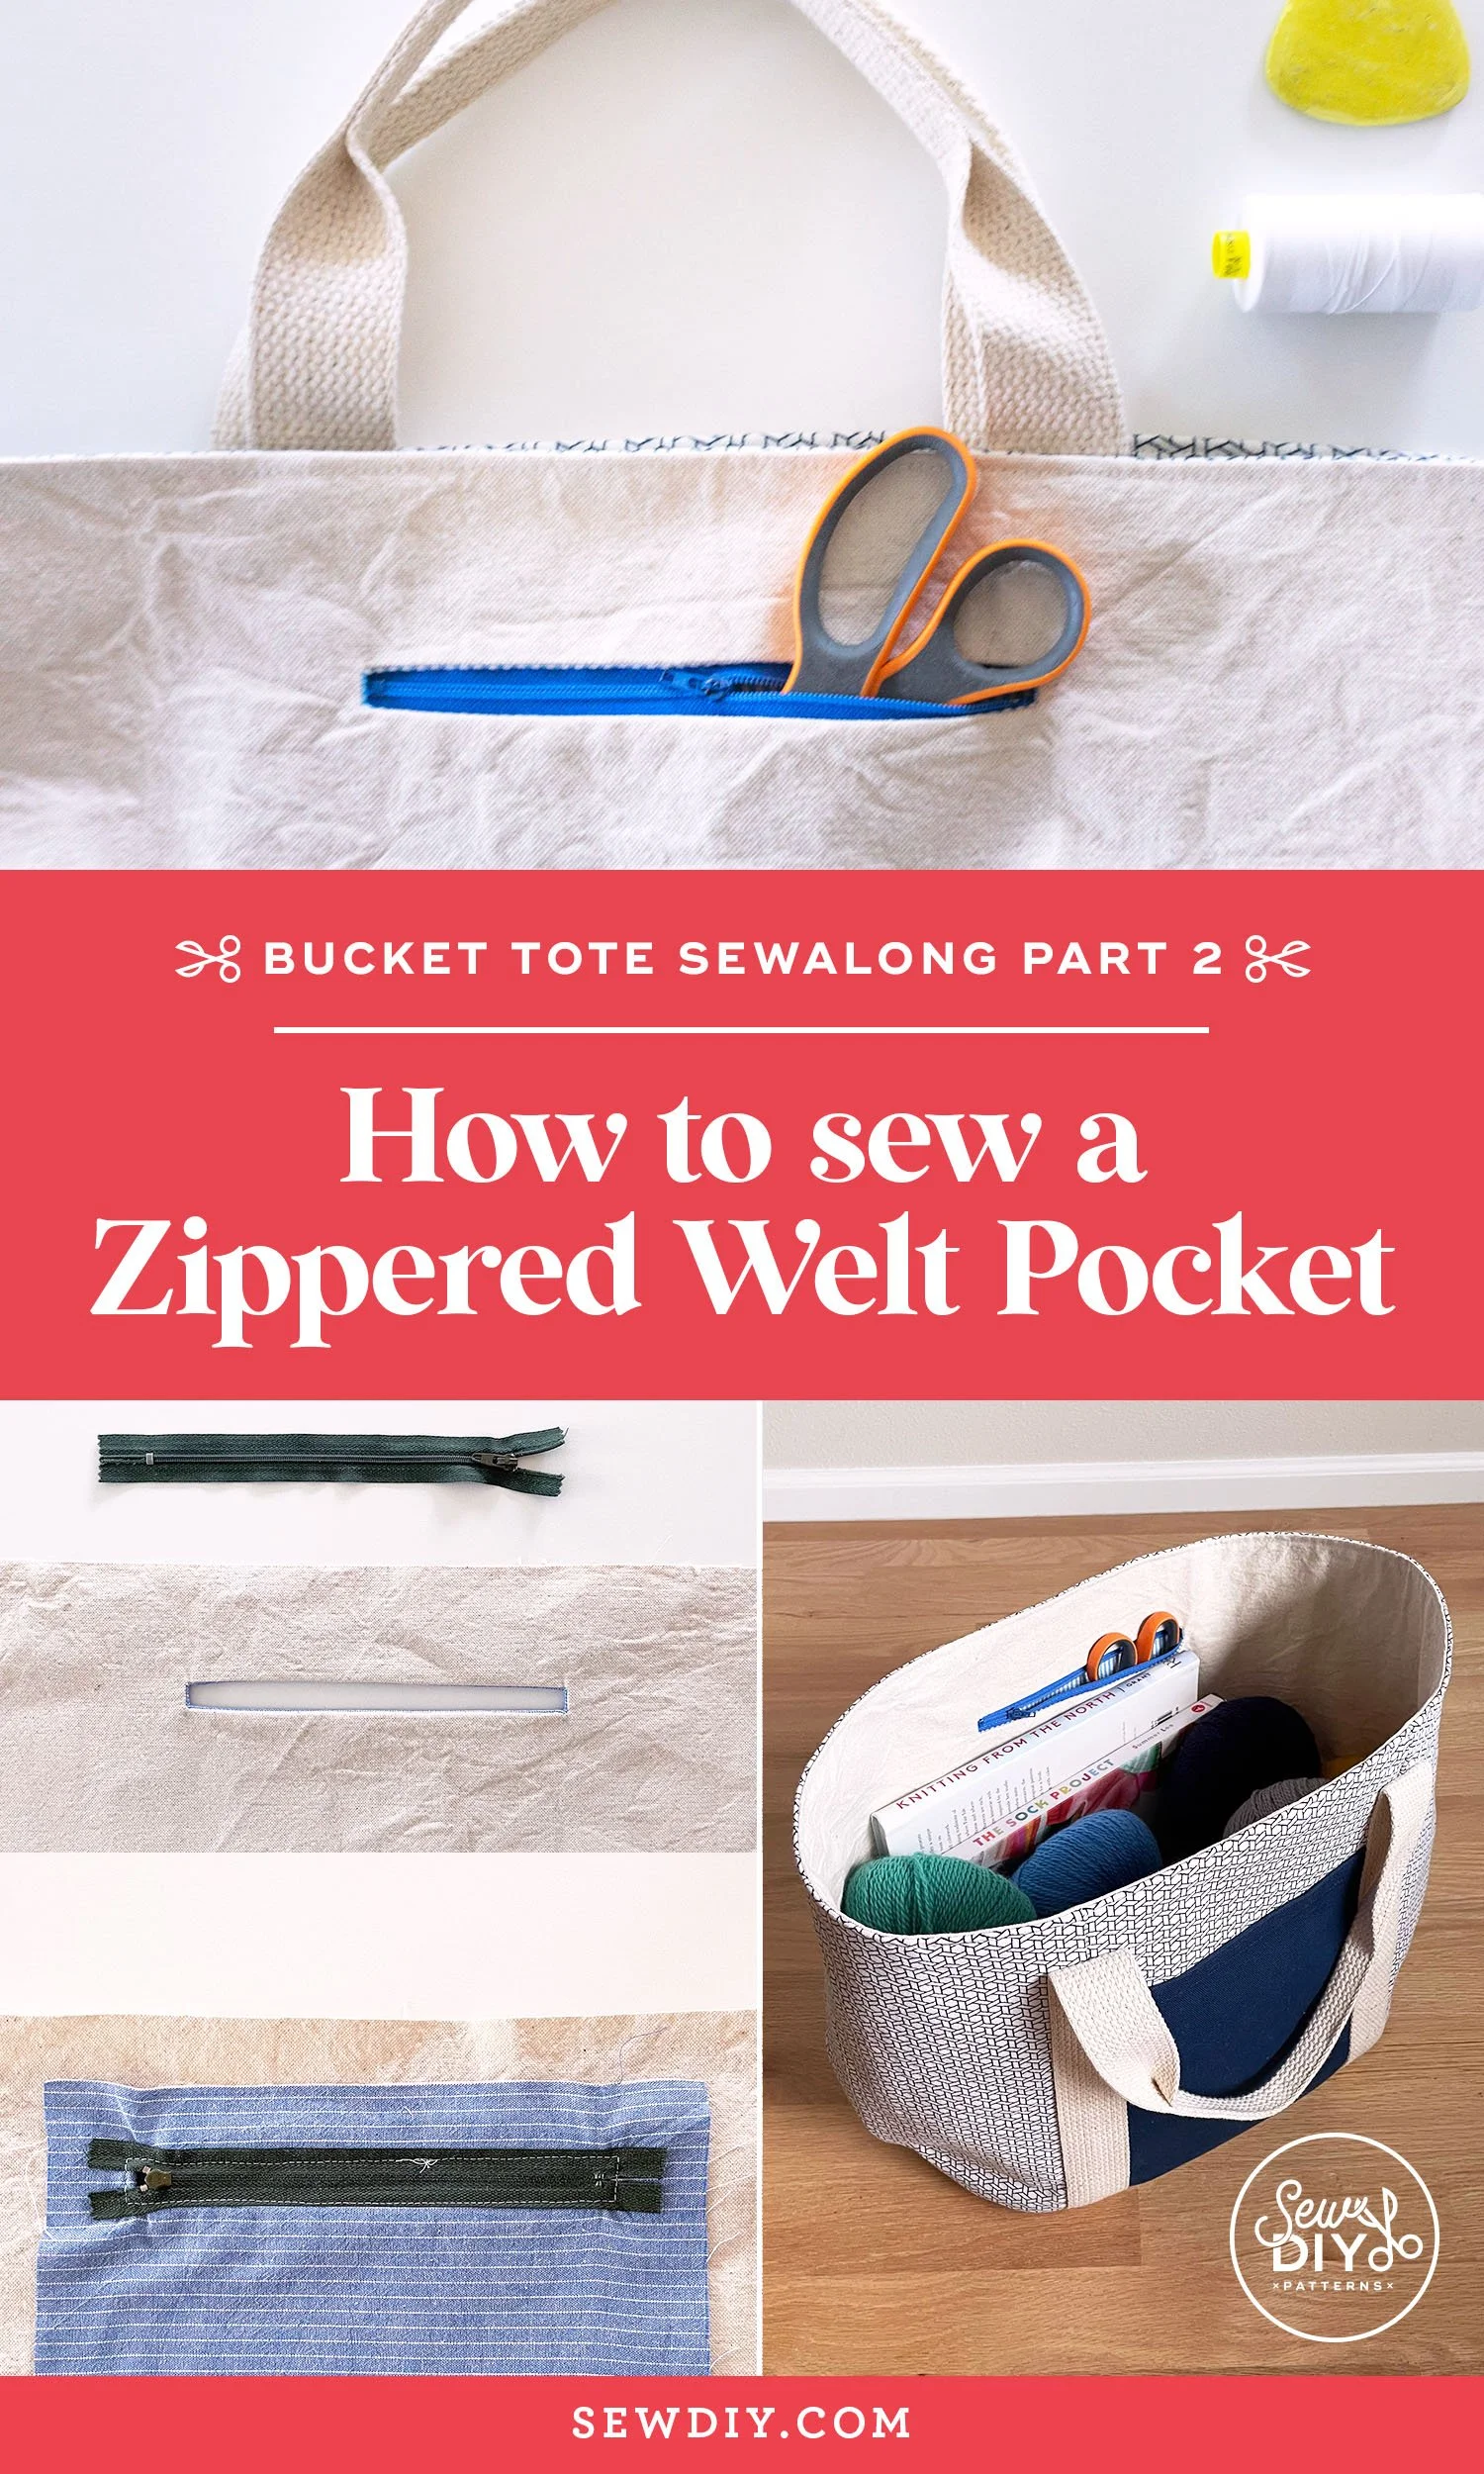
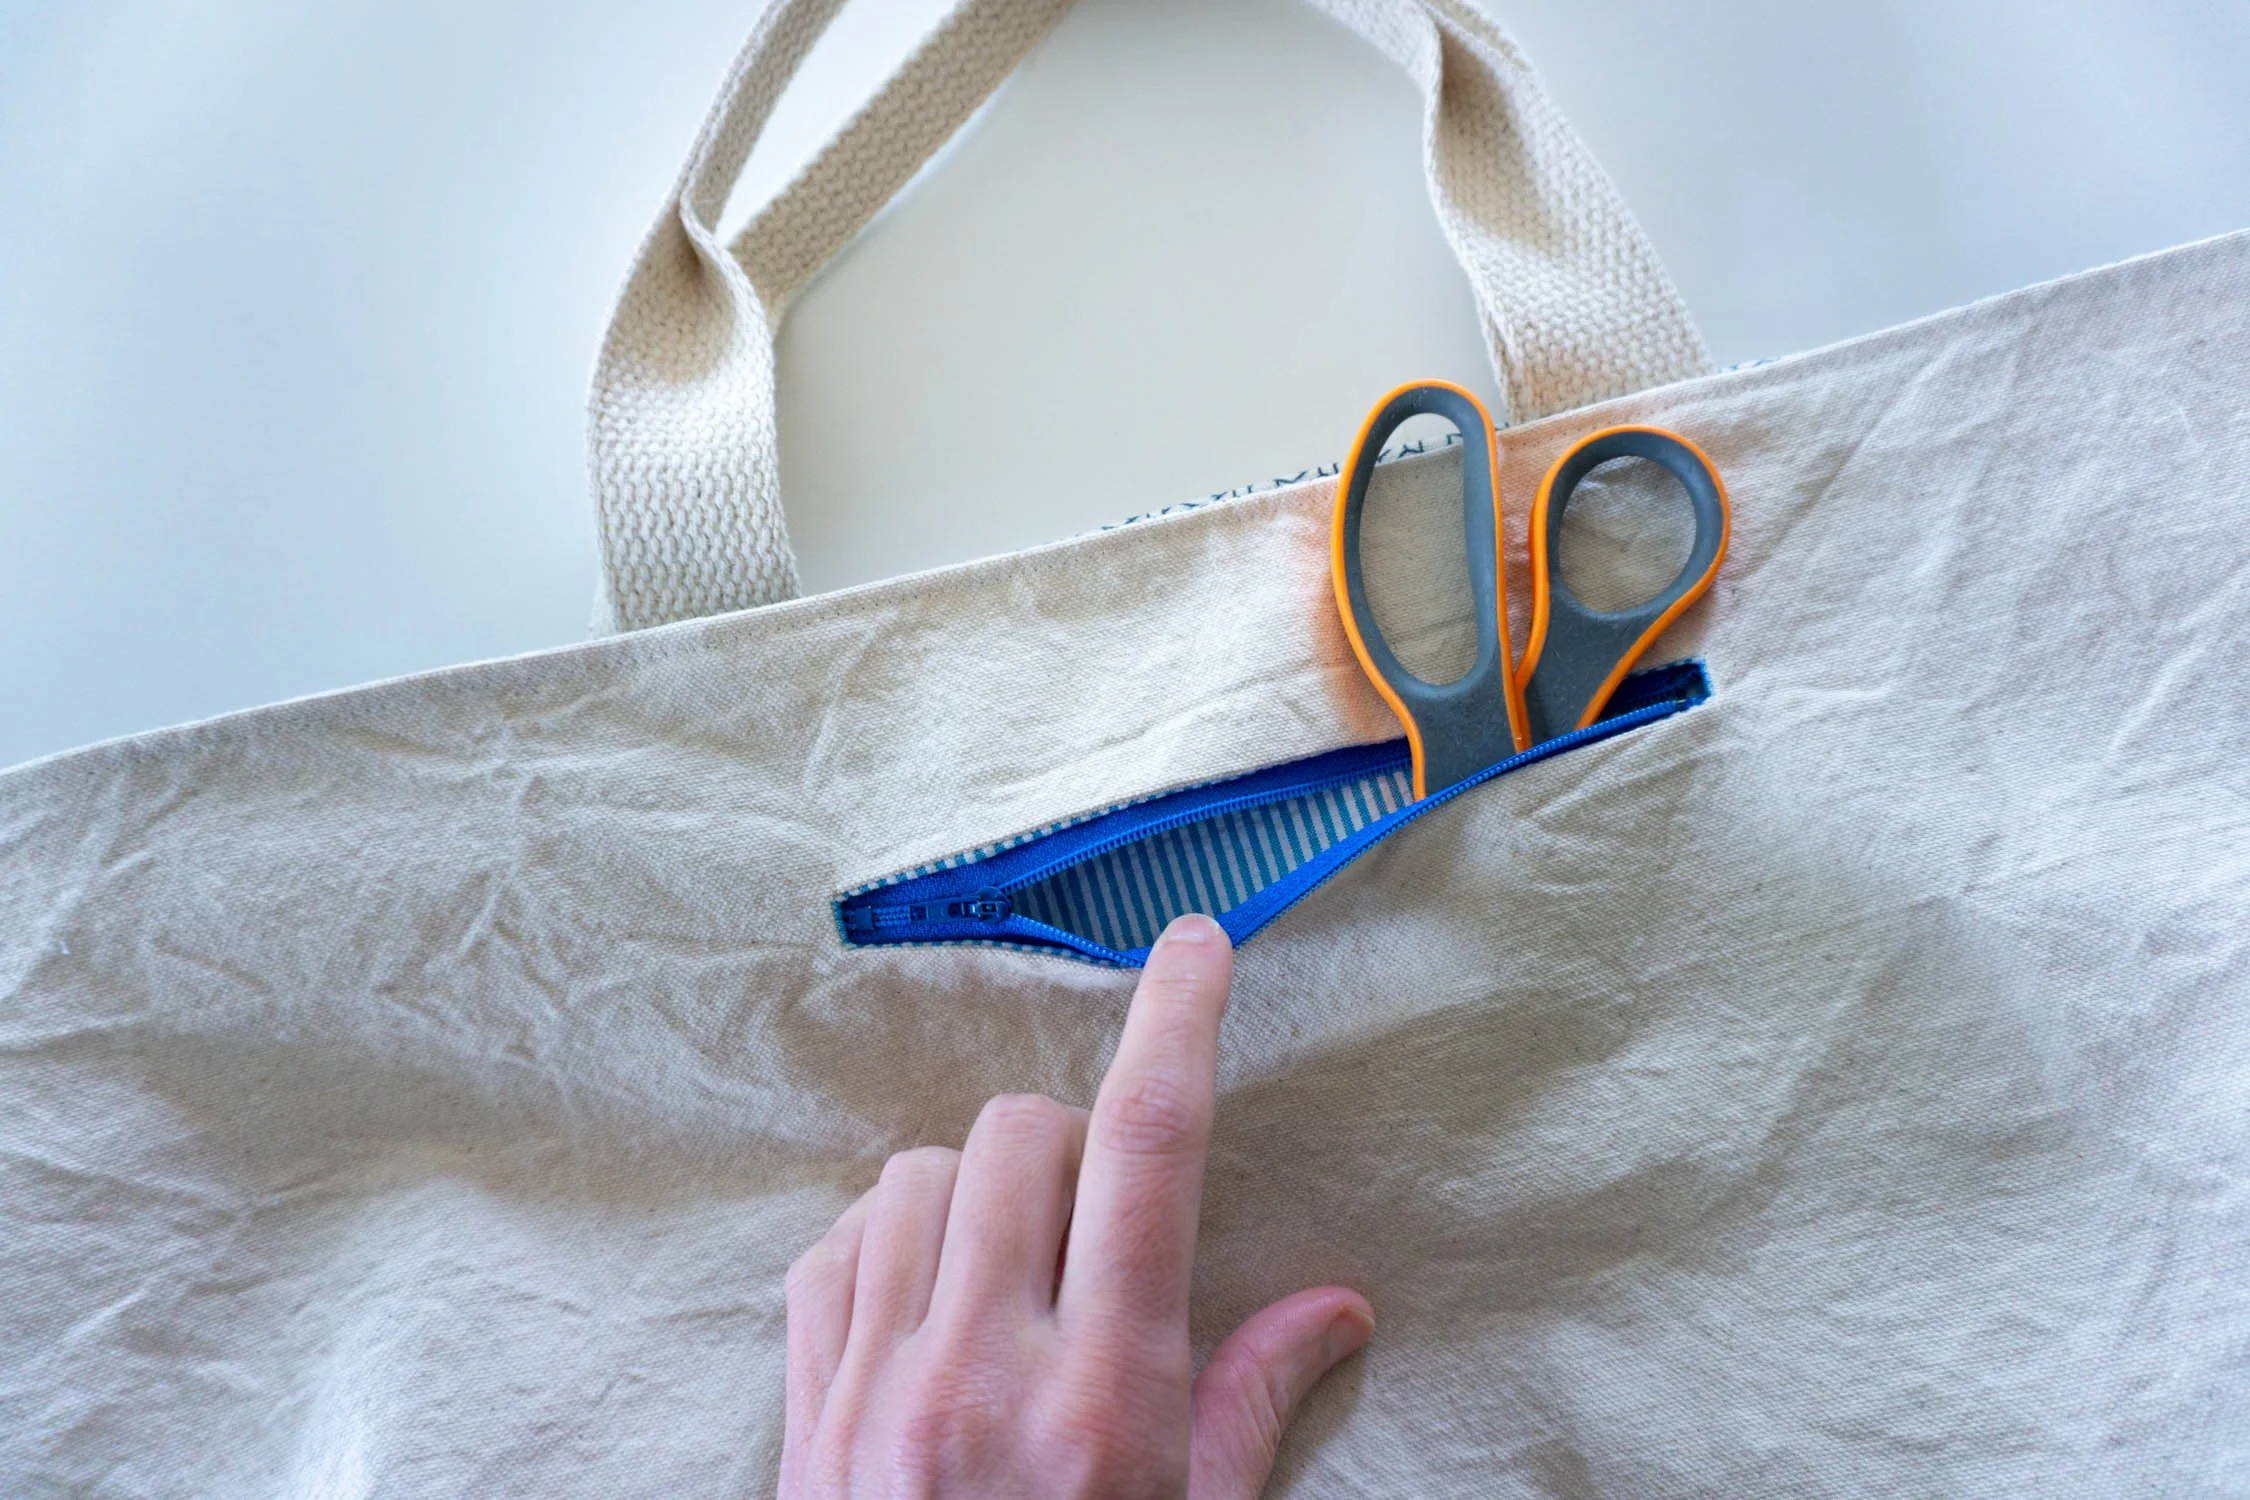
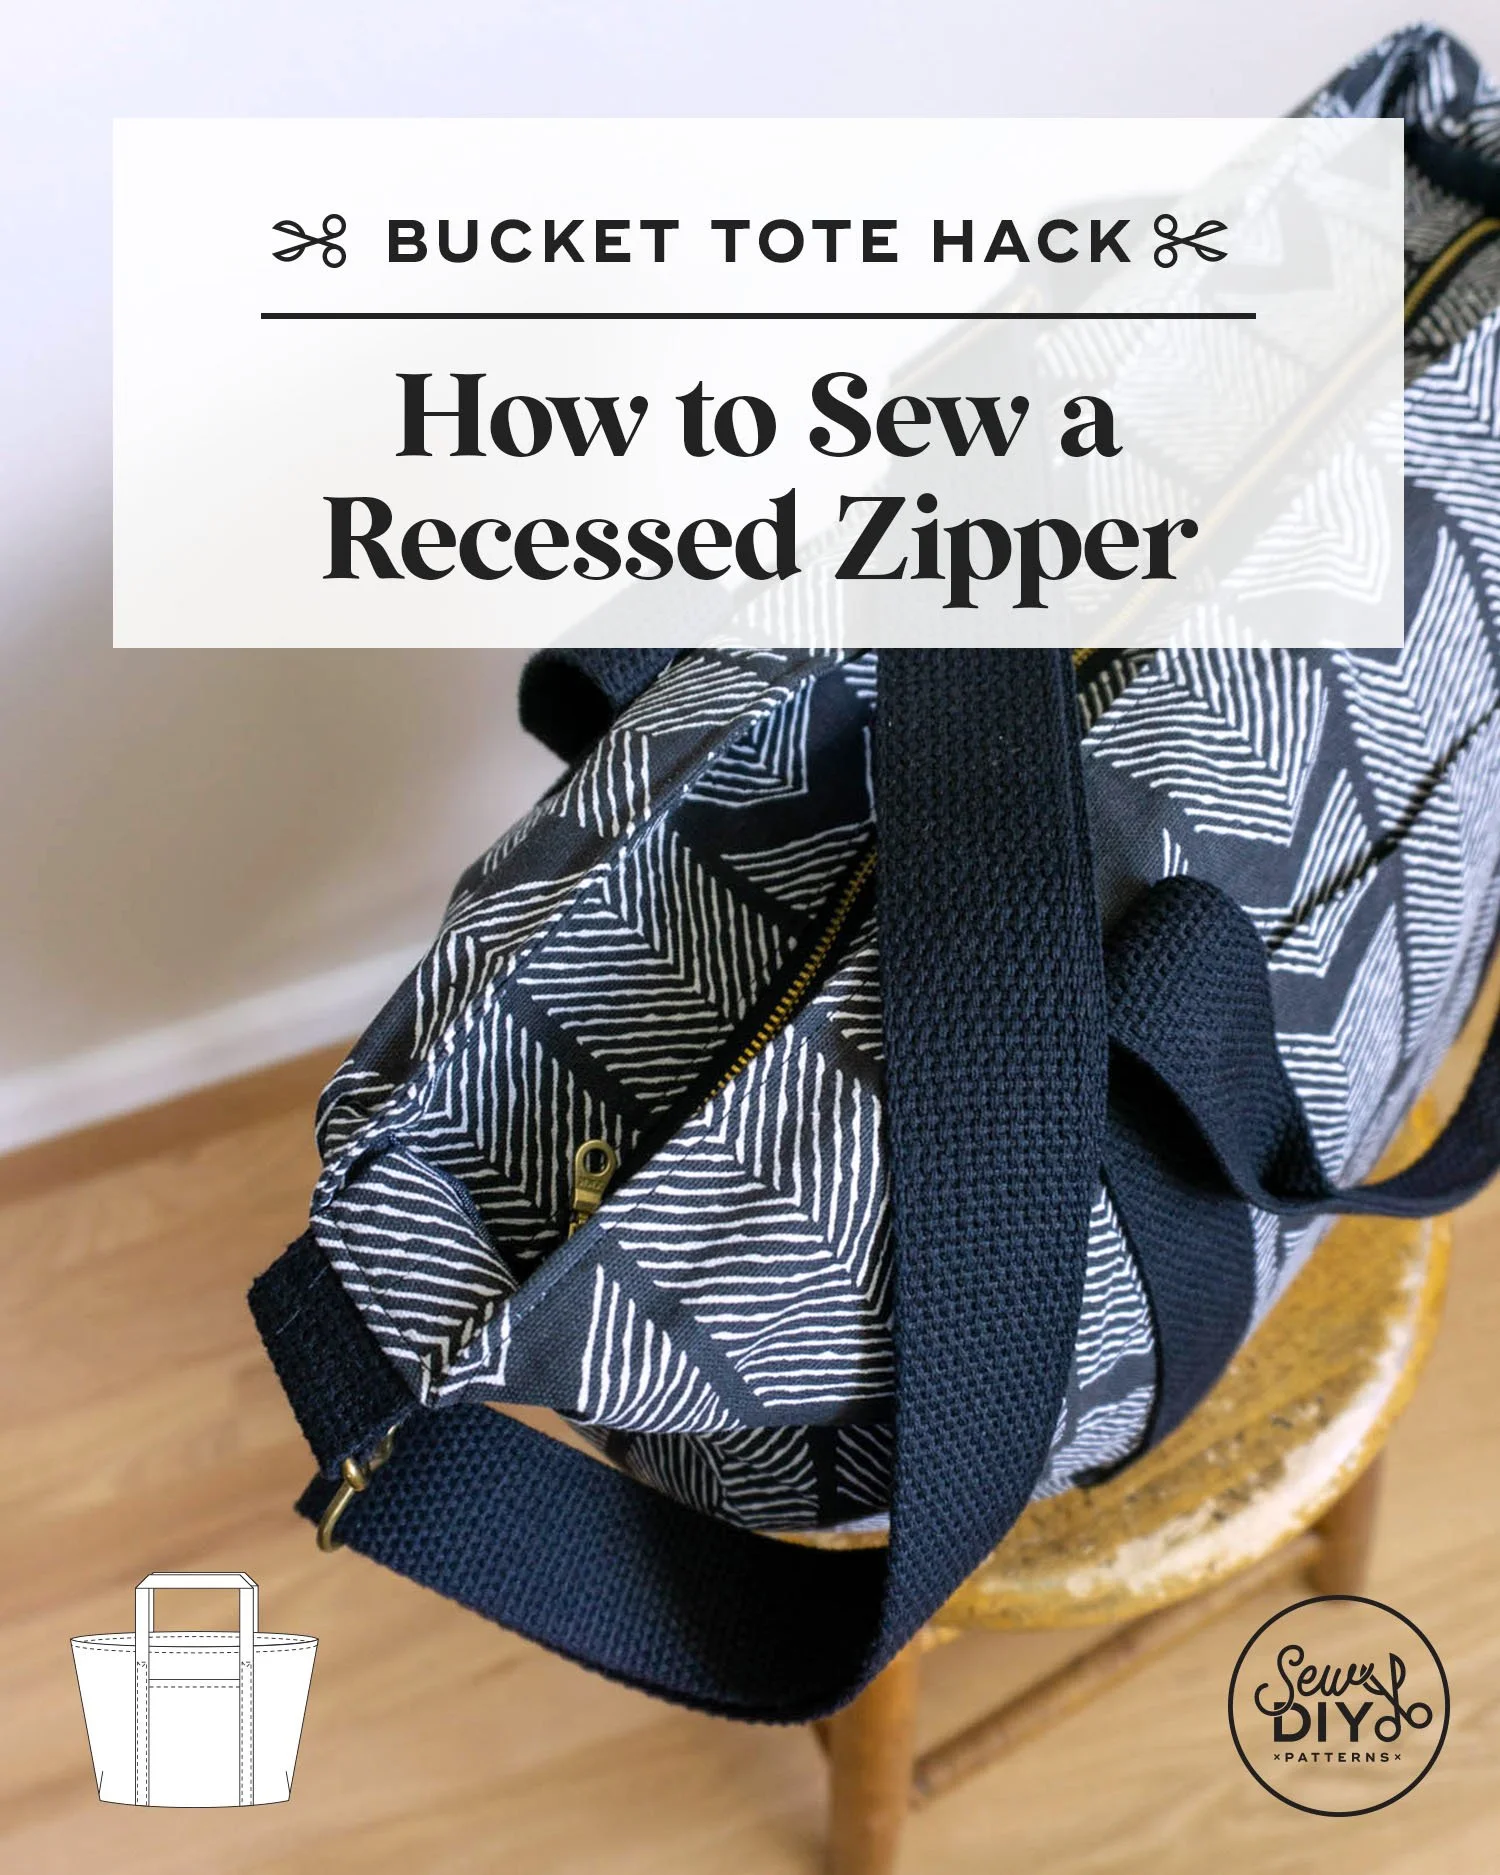
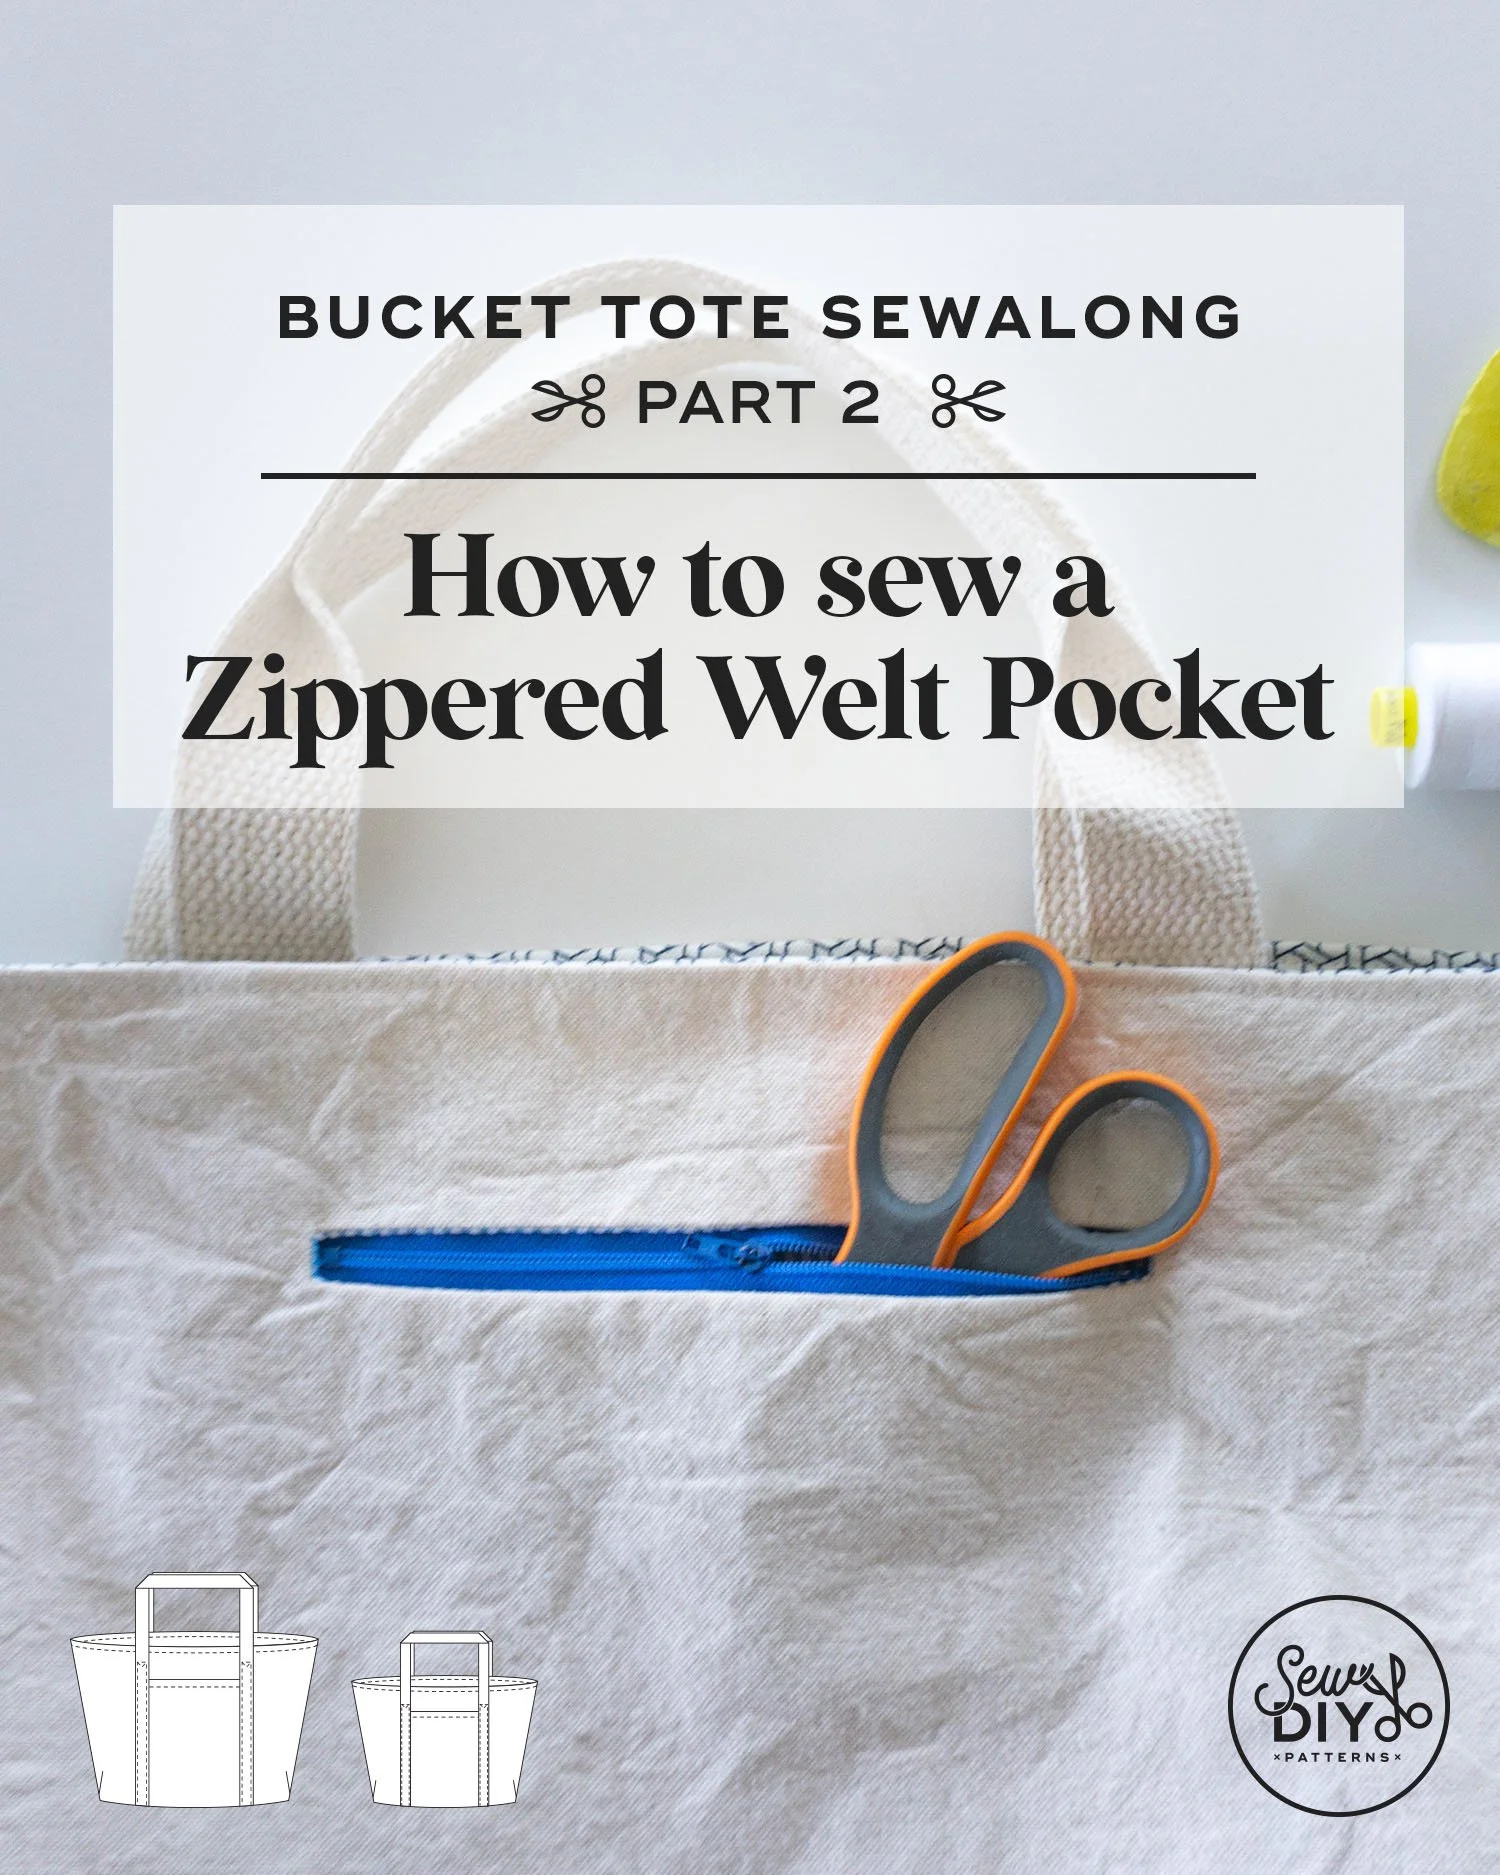
In this part, we’ll be sewing the welt zippered pocket for the Regular Size tote. You can use this same technique to sew a welt zippered pocket anywhere you want one. The cool and scary thing about sewing this style of pocket is that you have to cut a hole in the middle of your fabric. The pocket fabric acts as both a facing for the opening and the pocket bag and when completed, the pocket bag is hidden inside the bag and only the zipper will be visible. It can feel very daunting to sew but if you take it one step at a time, it’s not too hard.
For this project, I like to use a medium to heavy weight woven fabric for the lining and a light weight cotton (like quilting cotton) for the pocket bag. I prefer a lighter fabric for the pocket so that there is less bulk in between the exterior fabric and the lining. A lighter fabric can also be easier to use as a facing.
In this pattern, the zippered welt pocket is only included in the regular size tote. If you want to sew one in the small size lining, you may want to use a smaller zipper and smaller welt opening.
Below is the step-by-step video for how to sew the zippered welt pocket. My biggest tip is to double check the placement of the stitching before cutting the opening. Happy sewing!
Watch the video above or on YouTube by clicking here. Use the time stamps below to jump to different sections in the video.
TIME STAMPS
:05 Intro
2:20 About the pattern pieces and markings
5:40 Step 1: Pin the pocket to the lining
6:56 Step 2: Stitch around the rectangle
7:42 Step 3: Cut down the center of the opening
8:34 Step 4: Press the pocket to the wrong side
10:34 Step 5: Pin the zipper centered in the opening
11:42 Step 6: Topstitch the zipper in place
12:30 Step 7: Fold the pocket bag in half & pin
13:36 Step 8: Stitch the sides and top edges of the pocket
14:38 Step 9: Finish the edges of the pocket
14:47 Thank you!

Above are some photos of the process of sewing the welt zippered pocket. In the top photo, the pocket has been sewn to the lining. In the bottom photo, the zipper has been stitched to the opening and is seen from the wrong side of the lining.
I hope that you found this tutorial helpful. Click here to see all of the posts in Bucket Tote Sewalong. Or, scroll through them below.


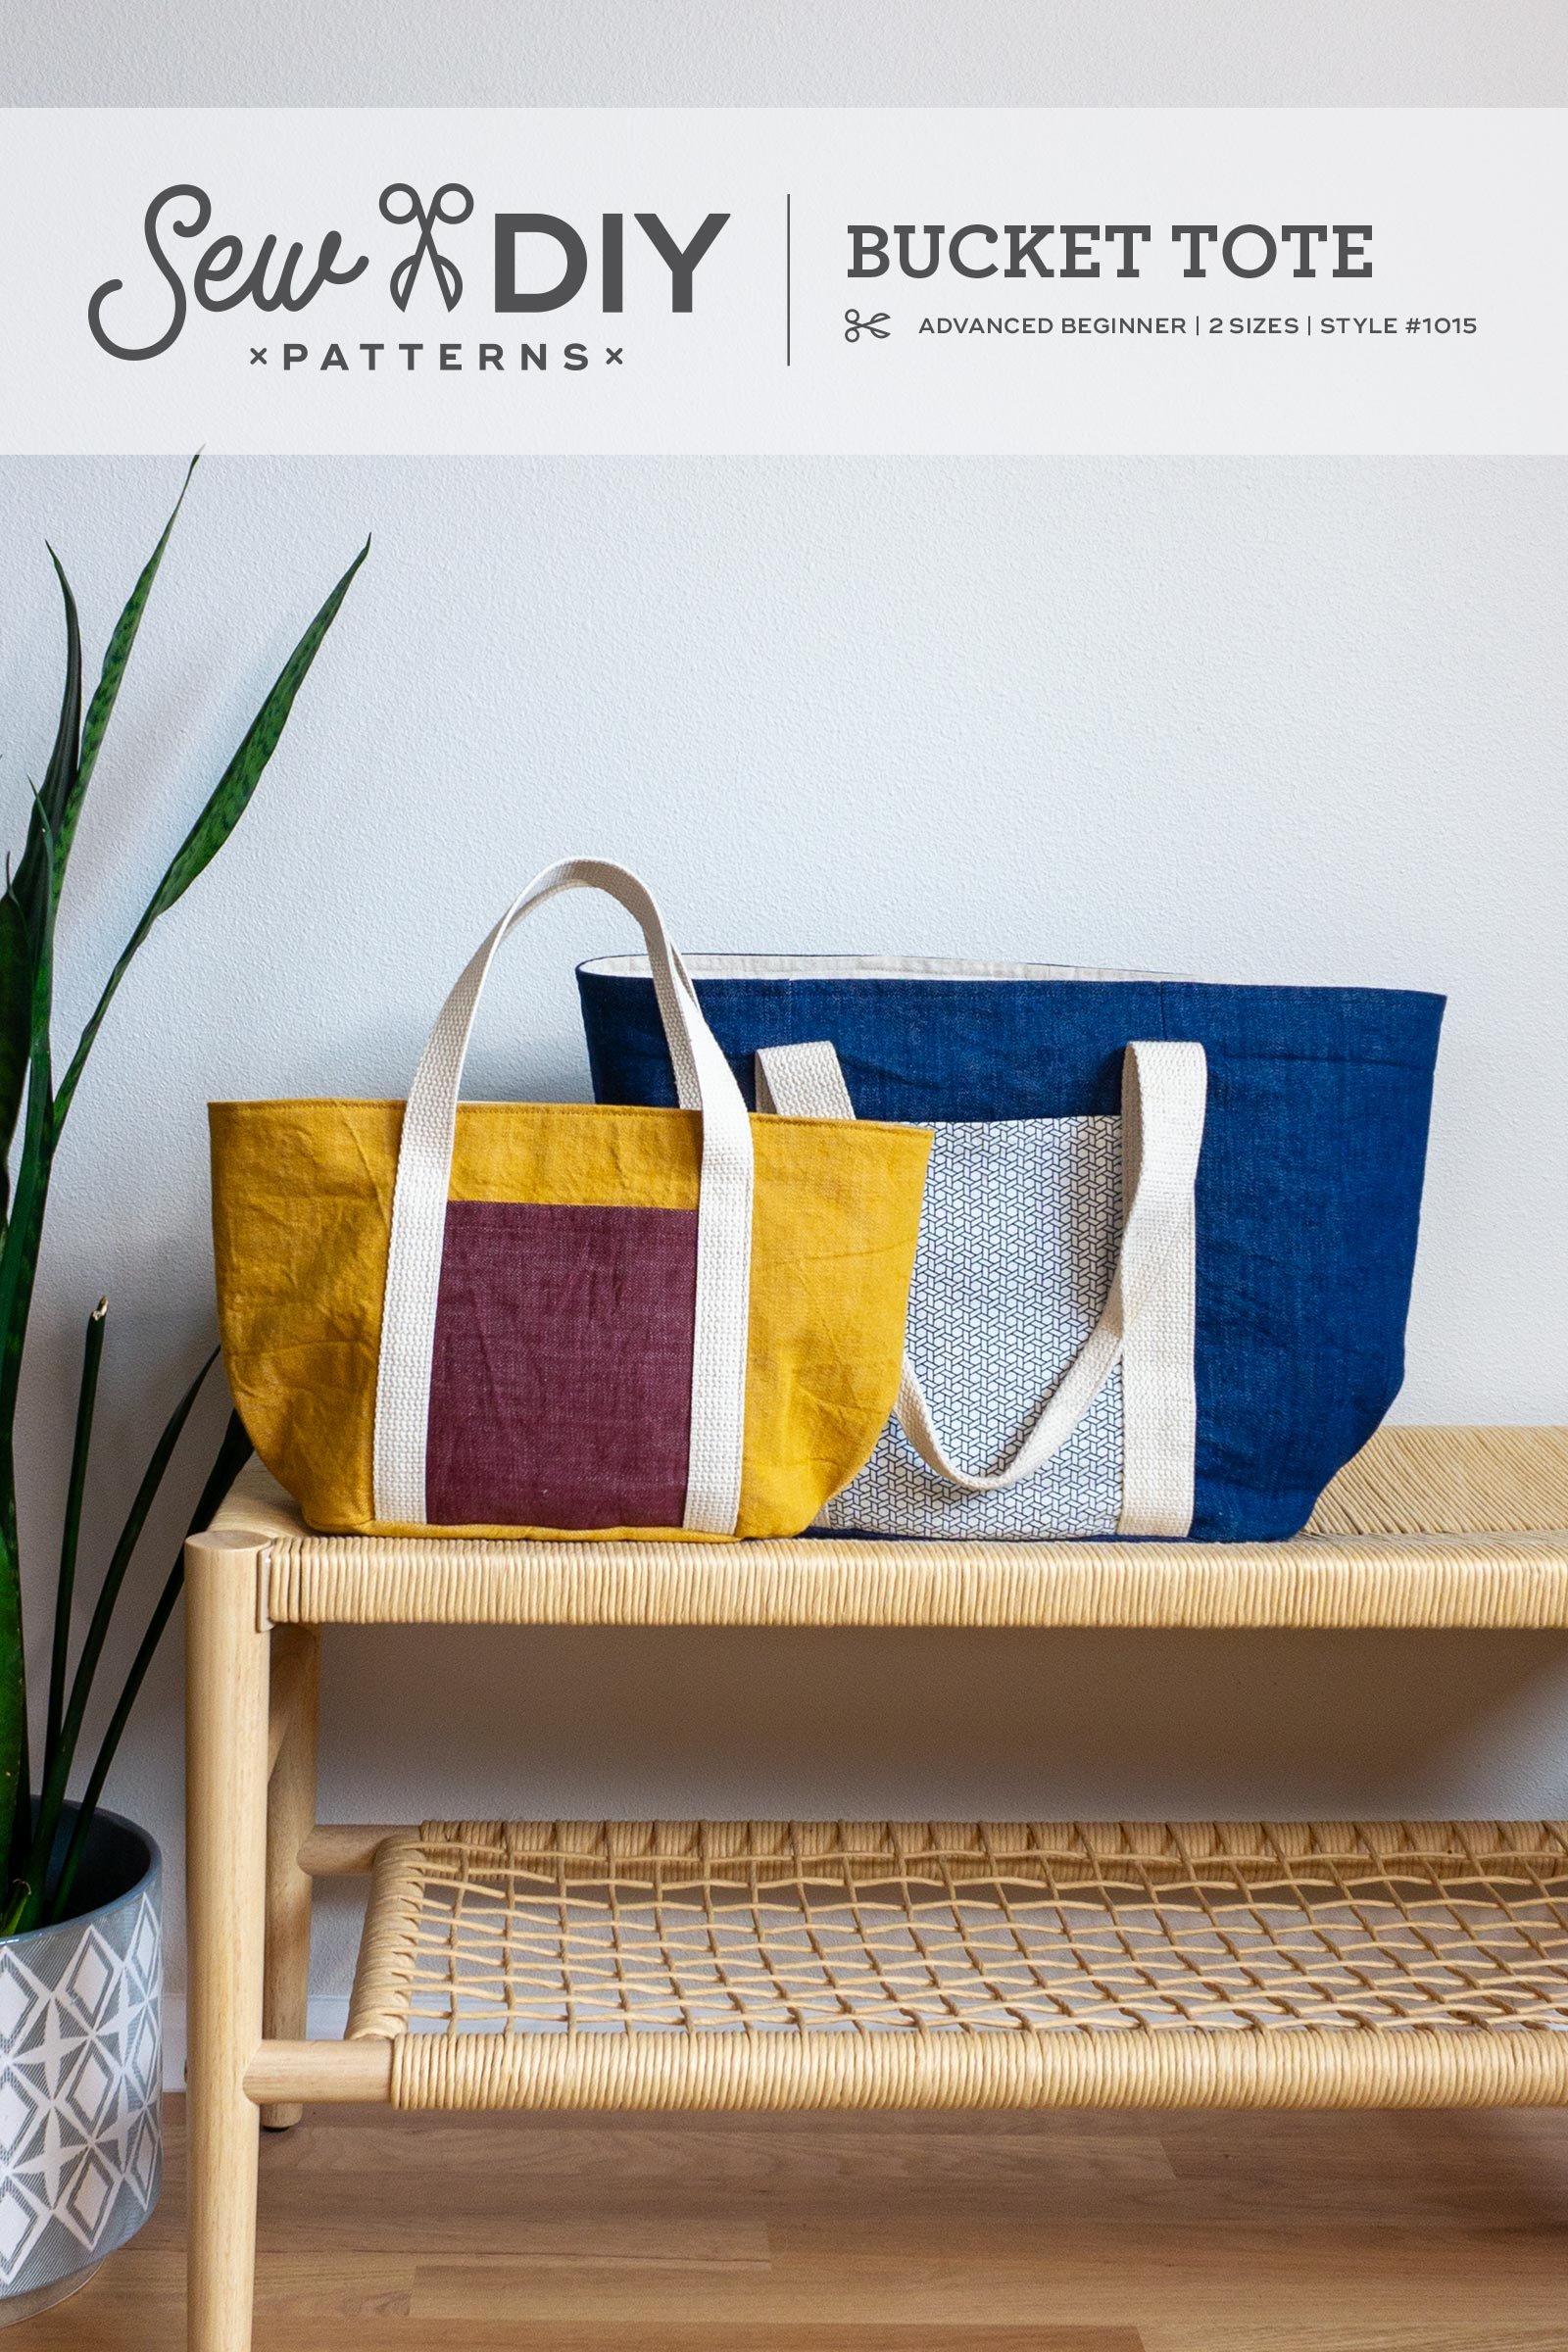


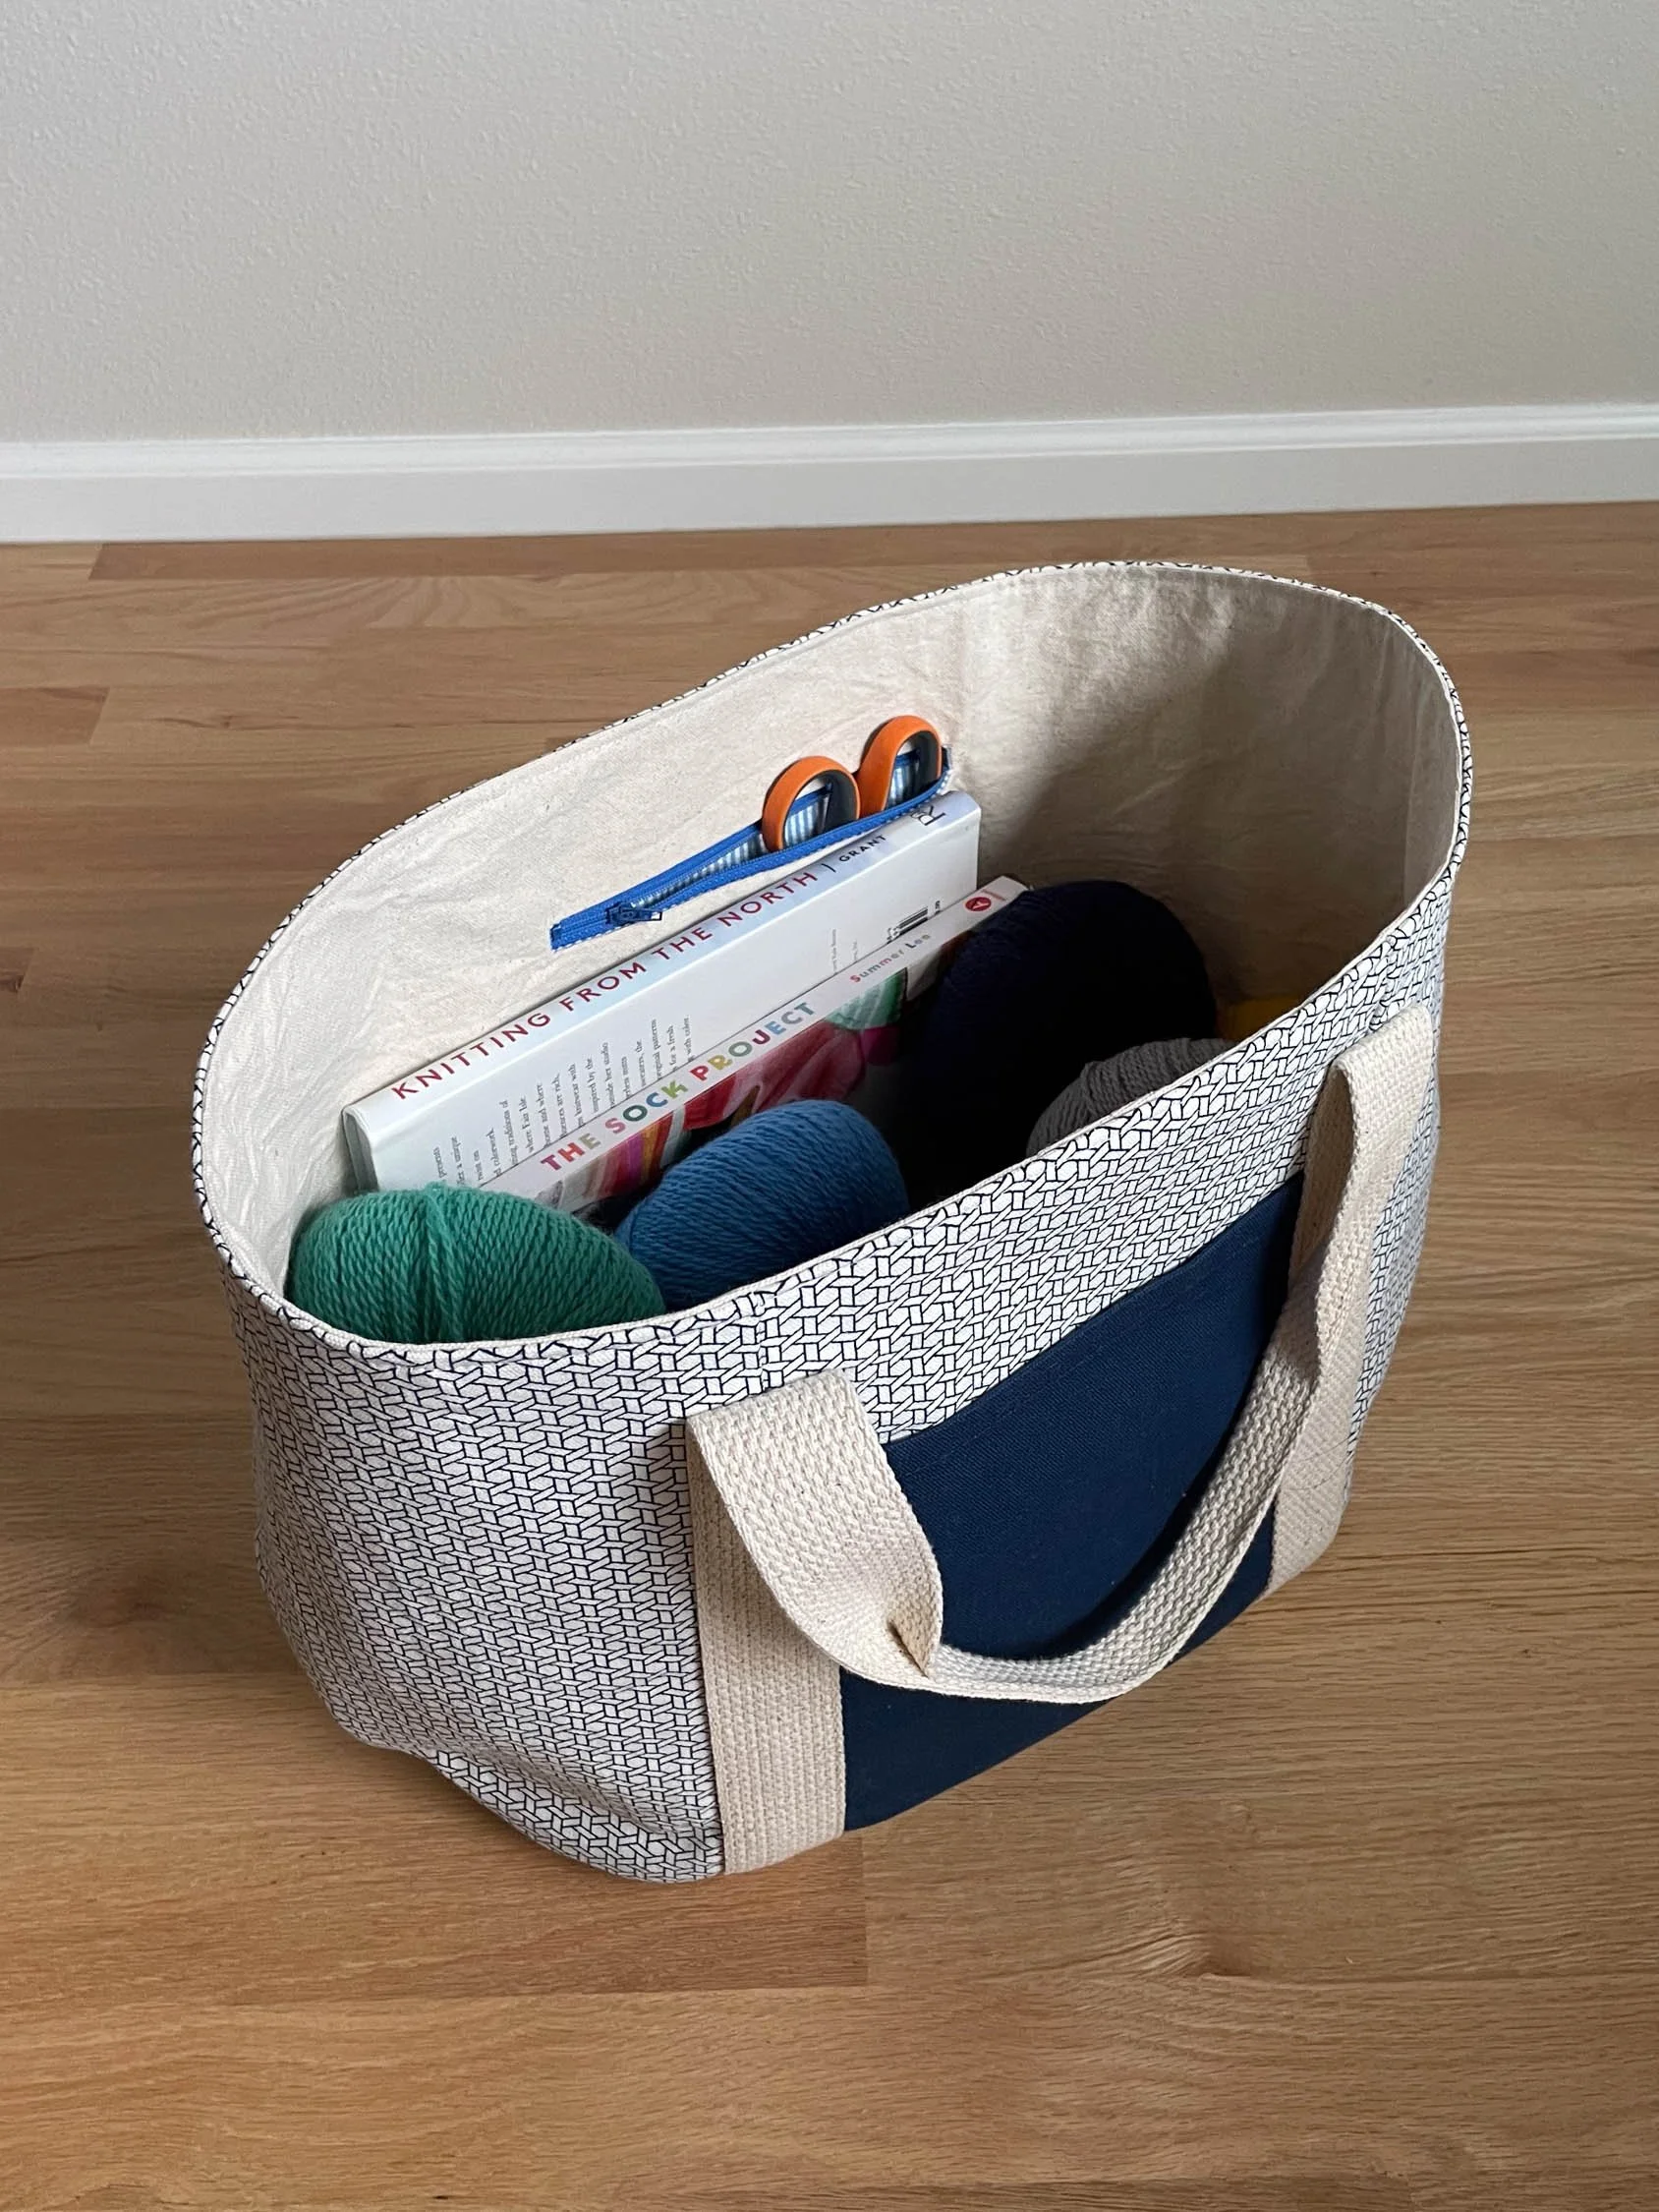
The Sew DIY Bucket Tote is the perfect "throw & go" bag with a wide top opening so you can easily see and access everything inside. This fully-lined tote is thoughtfully designed with an oval base, pleats at each end and exterior and interior pockets.
The pattern includes both regular and small sizes, giving you options for wherever life takes you. The regular size is perfect for a day at the pool or a short road trip while the small size can be used to carry your lunch or a small craft project.
Both sizes have two exterior patch pockets and one interior pocket. The regular size has a welt zippered pocket inside and the small size has an interior patch pocket. The handles are made from cotton webbing that are topstitched to the sides of the bag and secured in the bottom seam.
This digital pattern includes:
• Illustrated instruction booklet
• Print-at-home layered pattern (Letter/A4)
• US copy shop and A0 patterns
• Projector pattern
Scroll down for more details.
THIS IS NOT A PHYSICAL PRODUCT. After checkout, you will receive a link to the pattern that will be active for 24 hours after you click it. Prices are in USD.
About the Sew DIY Bucket Tote pattern:
This fully-lined tote is thoughtfully designed with an oval base, pleats at each end and exterior and interior pockets.
The pattern includes both regular and small sizes, giving you options for wherever life takes you. The regular size is perfect for a day at the pool or a short road trip while the small size can be used to carry your lunch or a small craft project.
Both sizes have two exterior patch pockets and one interior pocket. The regular size has a welt zippered pocket inside and the small size has an interior patch pocket. The handles are made from cotton webbing and are topstitched to the sides of the bag and secured in the bottom seam.
If you’d like to save this post for later, you can save the image below to Pinterest. Happy sewing!