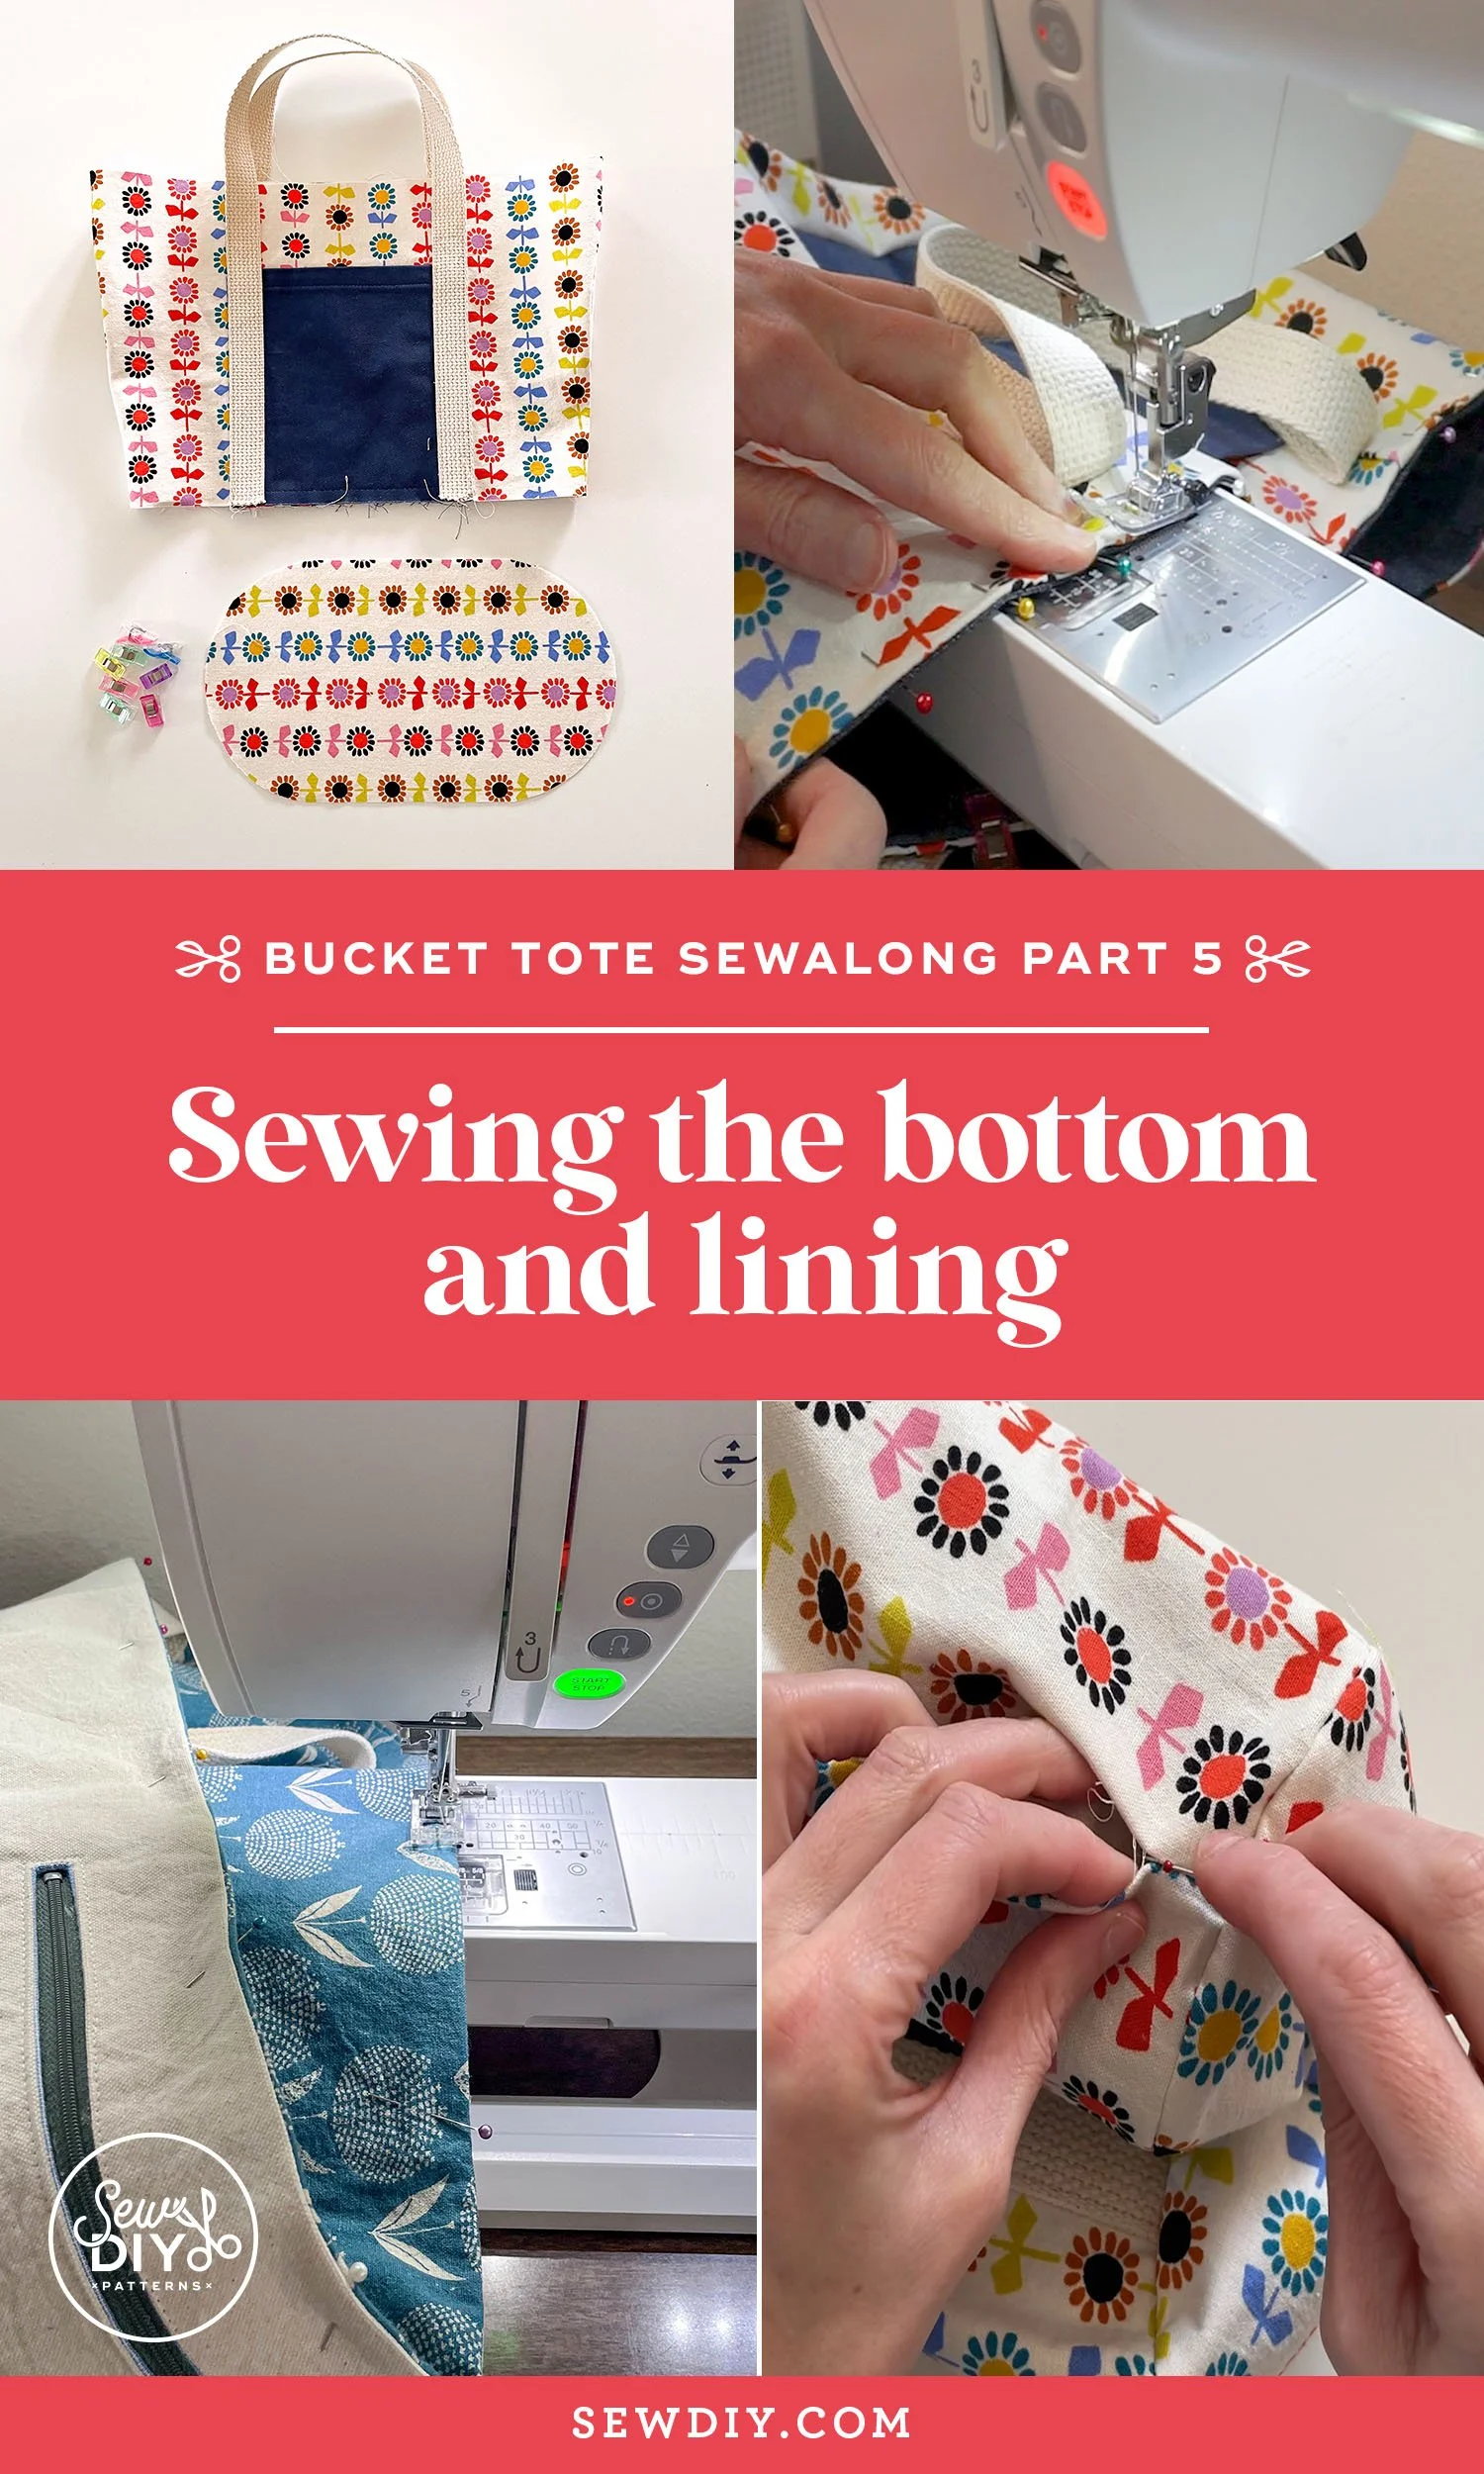
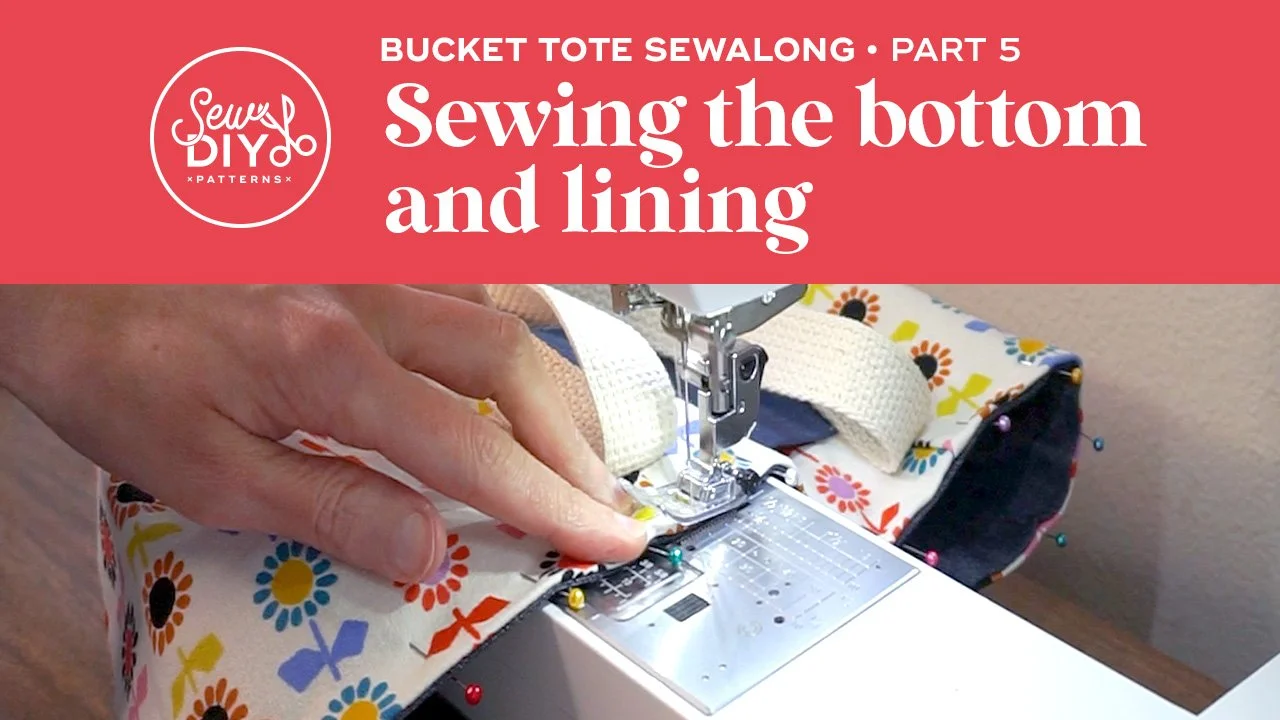
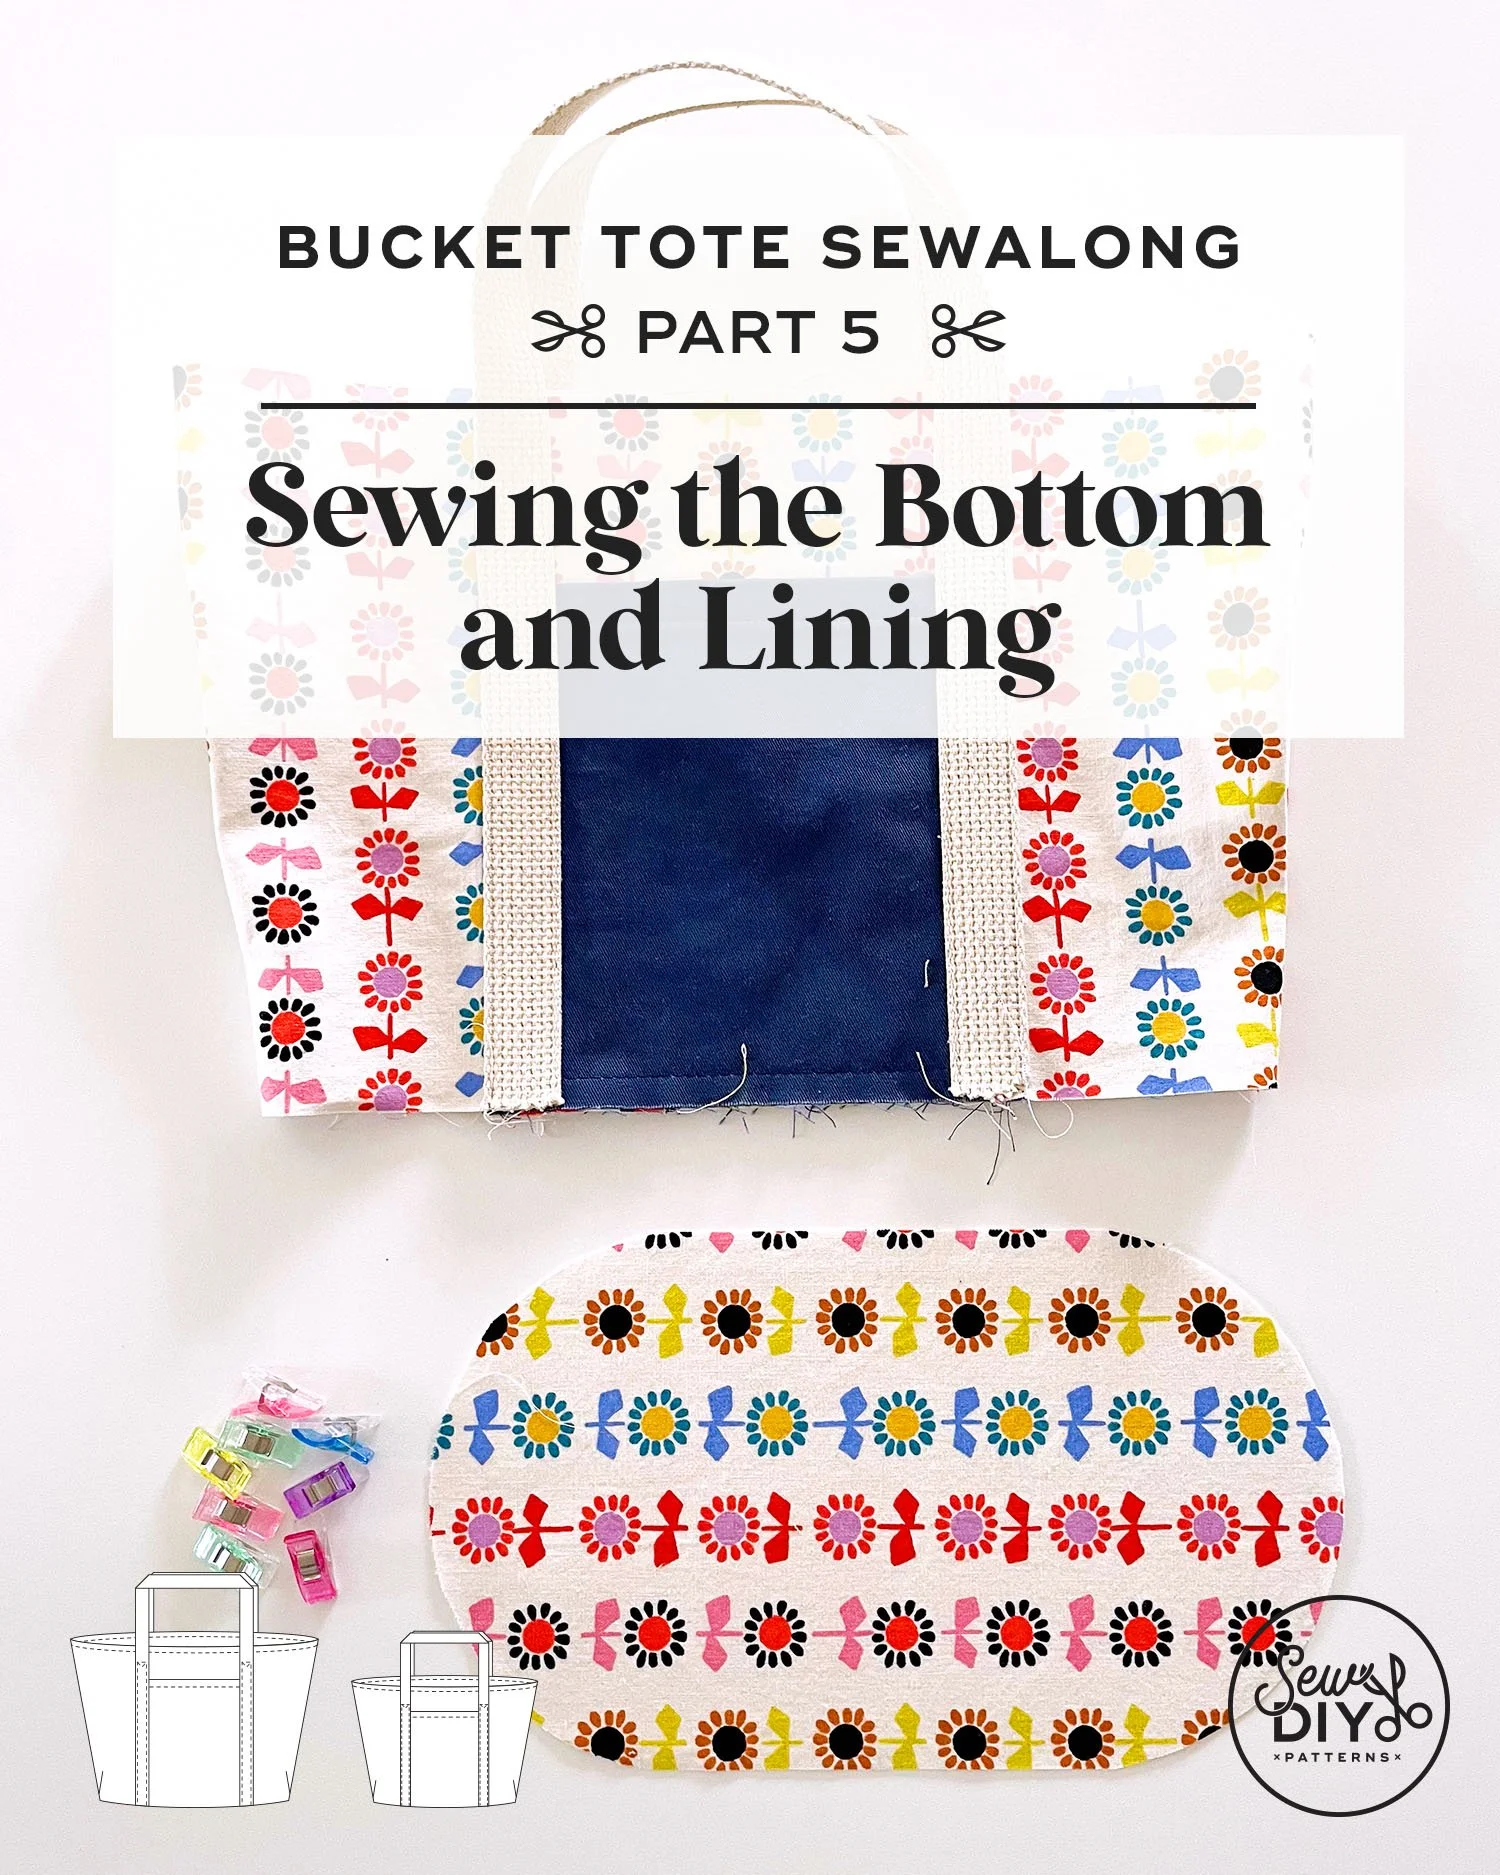
Today is the fifth and final installment of the Bucket Tote Sewalong. In this video, I’ll show how to sew the rounded bottom of the bag to the body and share two different methods for attaching the lining to the exterior. Sewing the rounded corners of the bottom of the bag can be one of the trickiest steps when sewing this pattern, so I make sure to include all of my techniques for sewing the curves with ease.
For sewing the lining of the bag to the exterior, I first demonstrate the method that I use in the instruction booklet which uses a hole in the lining to turn the bag right side out. During the testing of this bag, a couple of testers used a “drop-in” method where they topstitched the lining and exterior together in one step. This is not my personal preferred method BUT it is easier if you are using especially thick layers of fabric. Both methods are included in the video and you can use the time stamps to skip ahead to the section you’re interested in.
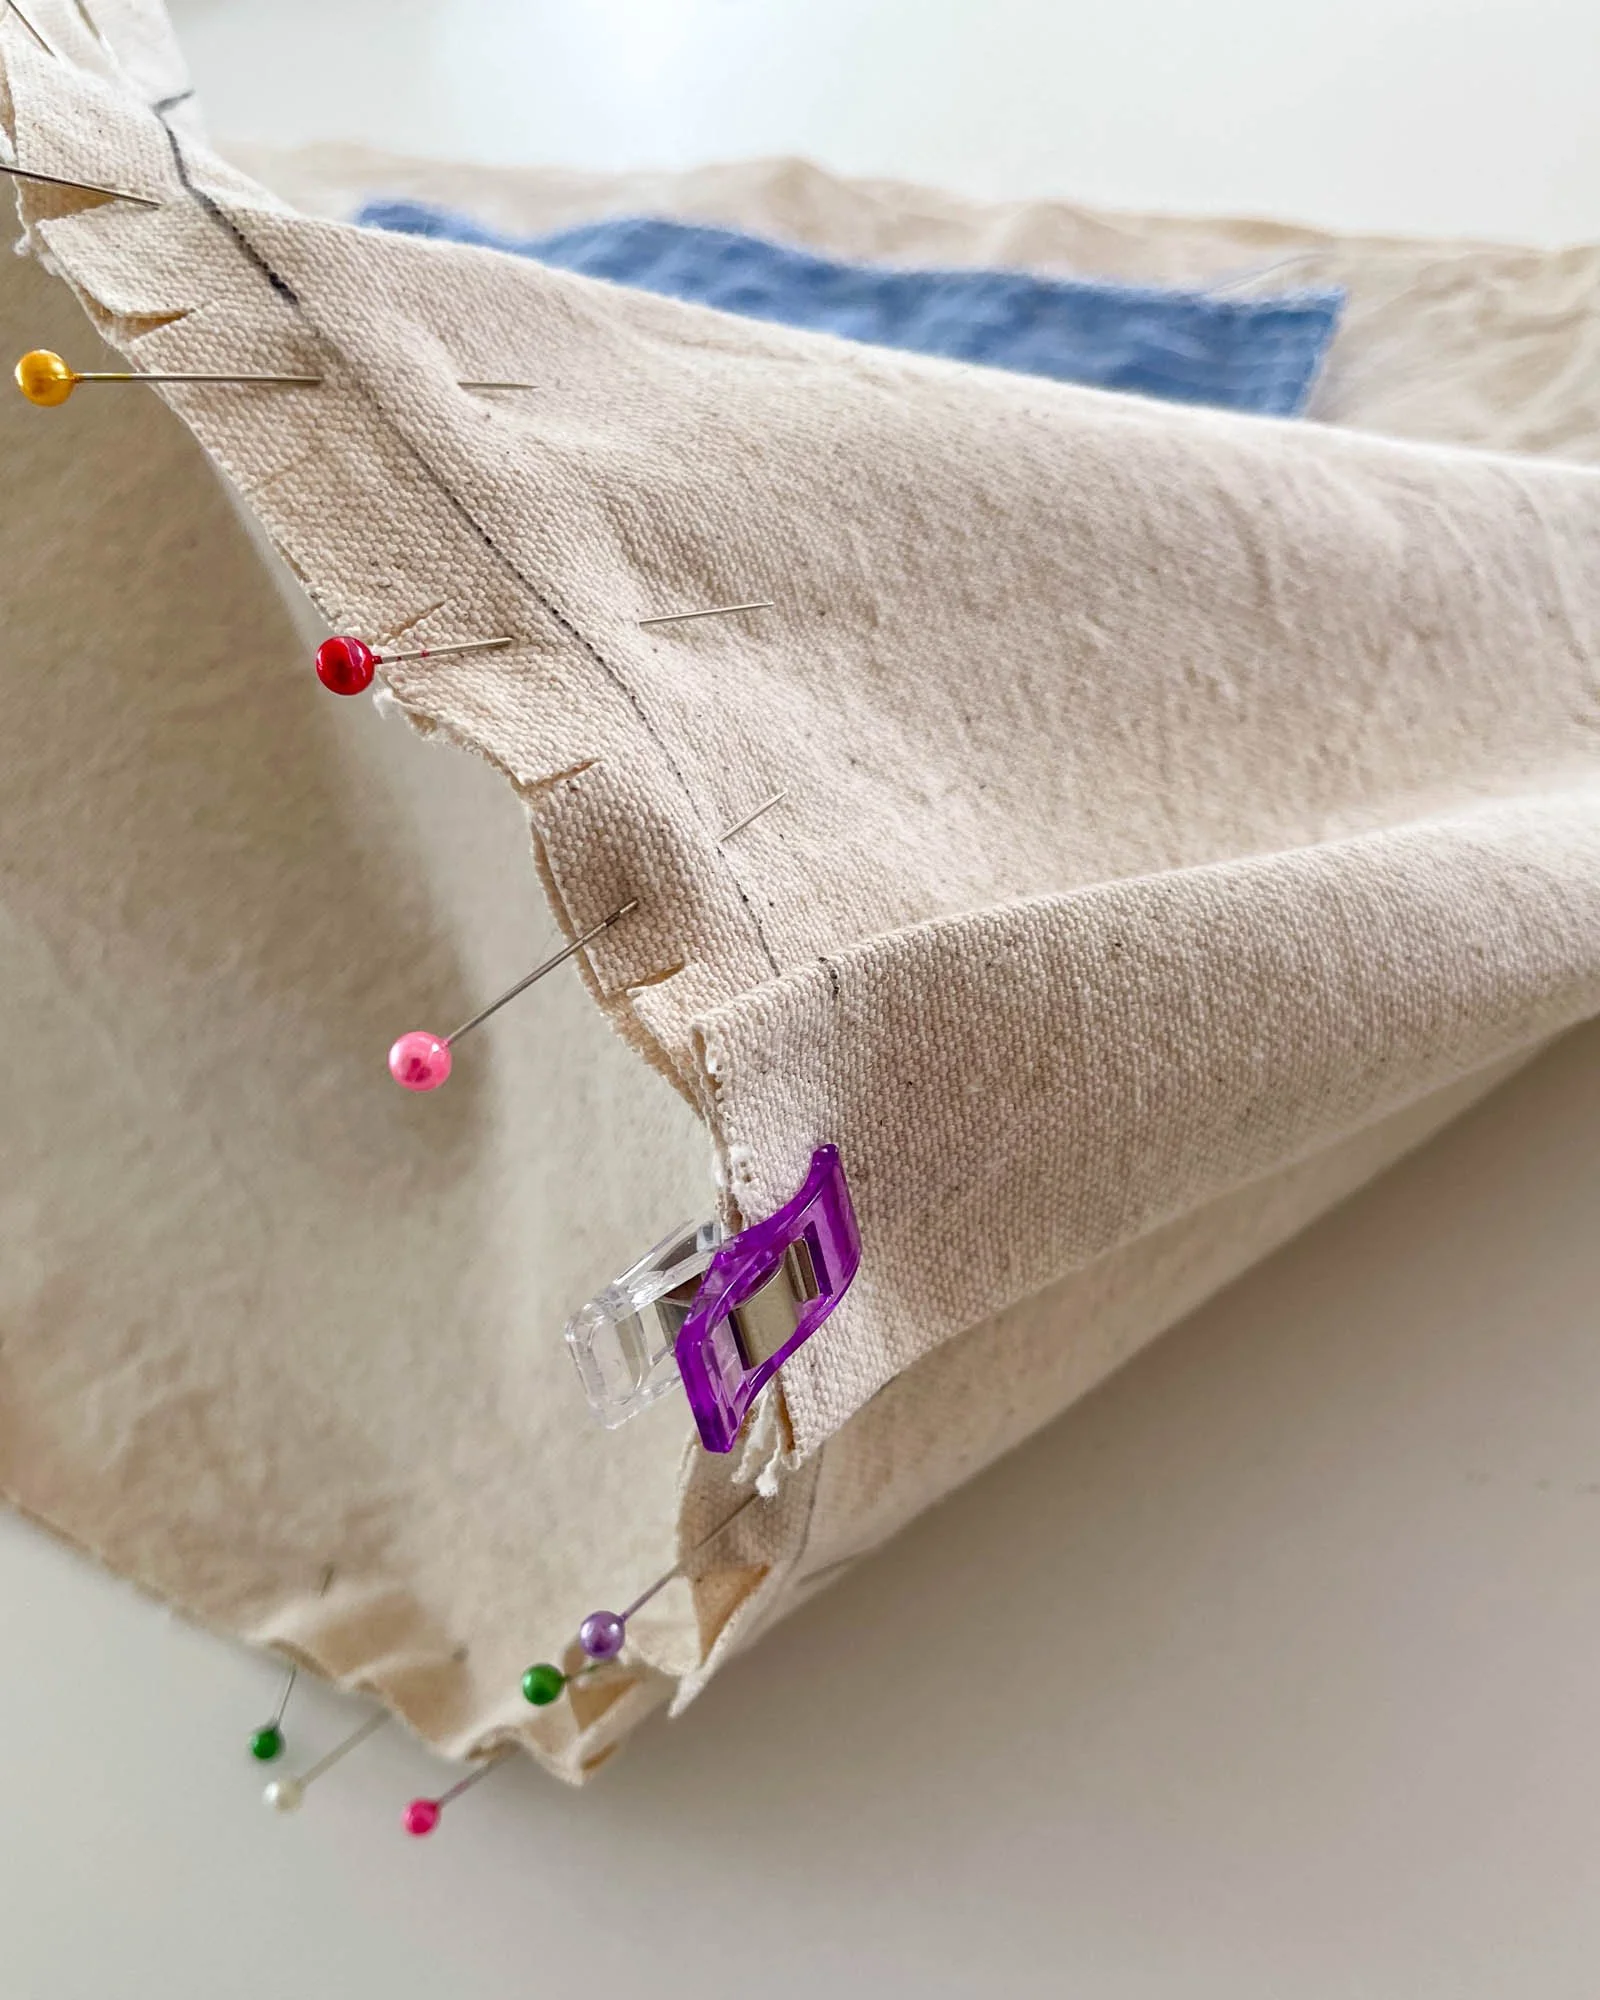
TIPS FOR SEWING THE CURVED ENDS OF THE BOTTOM
The thing that’s tricky about sewing curves is that the cut line is a different length than the seam line. In this pattern, the cut edge of the rounded bottom is bigger than the seam line. So it may feel like the pattern pieces aren’t fitting together but just remember that it’s the seam line, not the edges that need to be equal.
Snip the exterior body to help it lay flat during stitching. Be very careful not to cut too close to the seam line. About 1/4 inch should be enough to help.
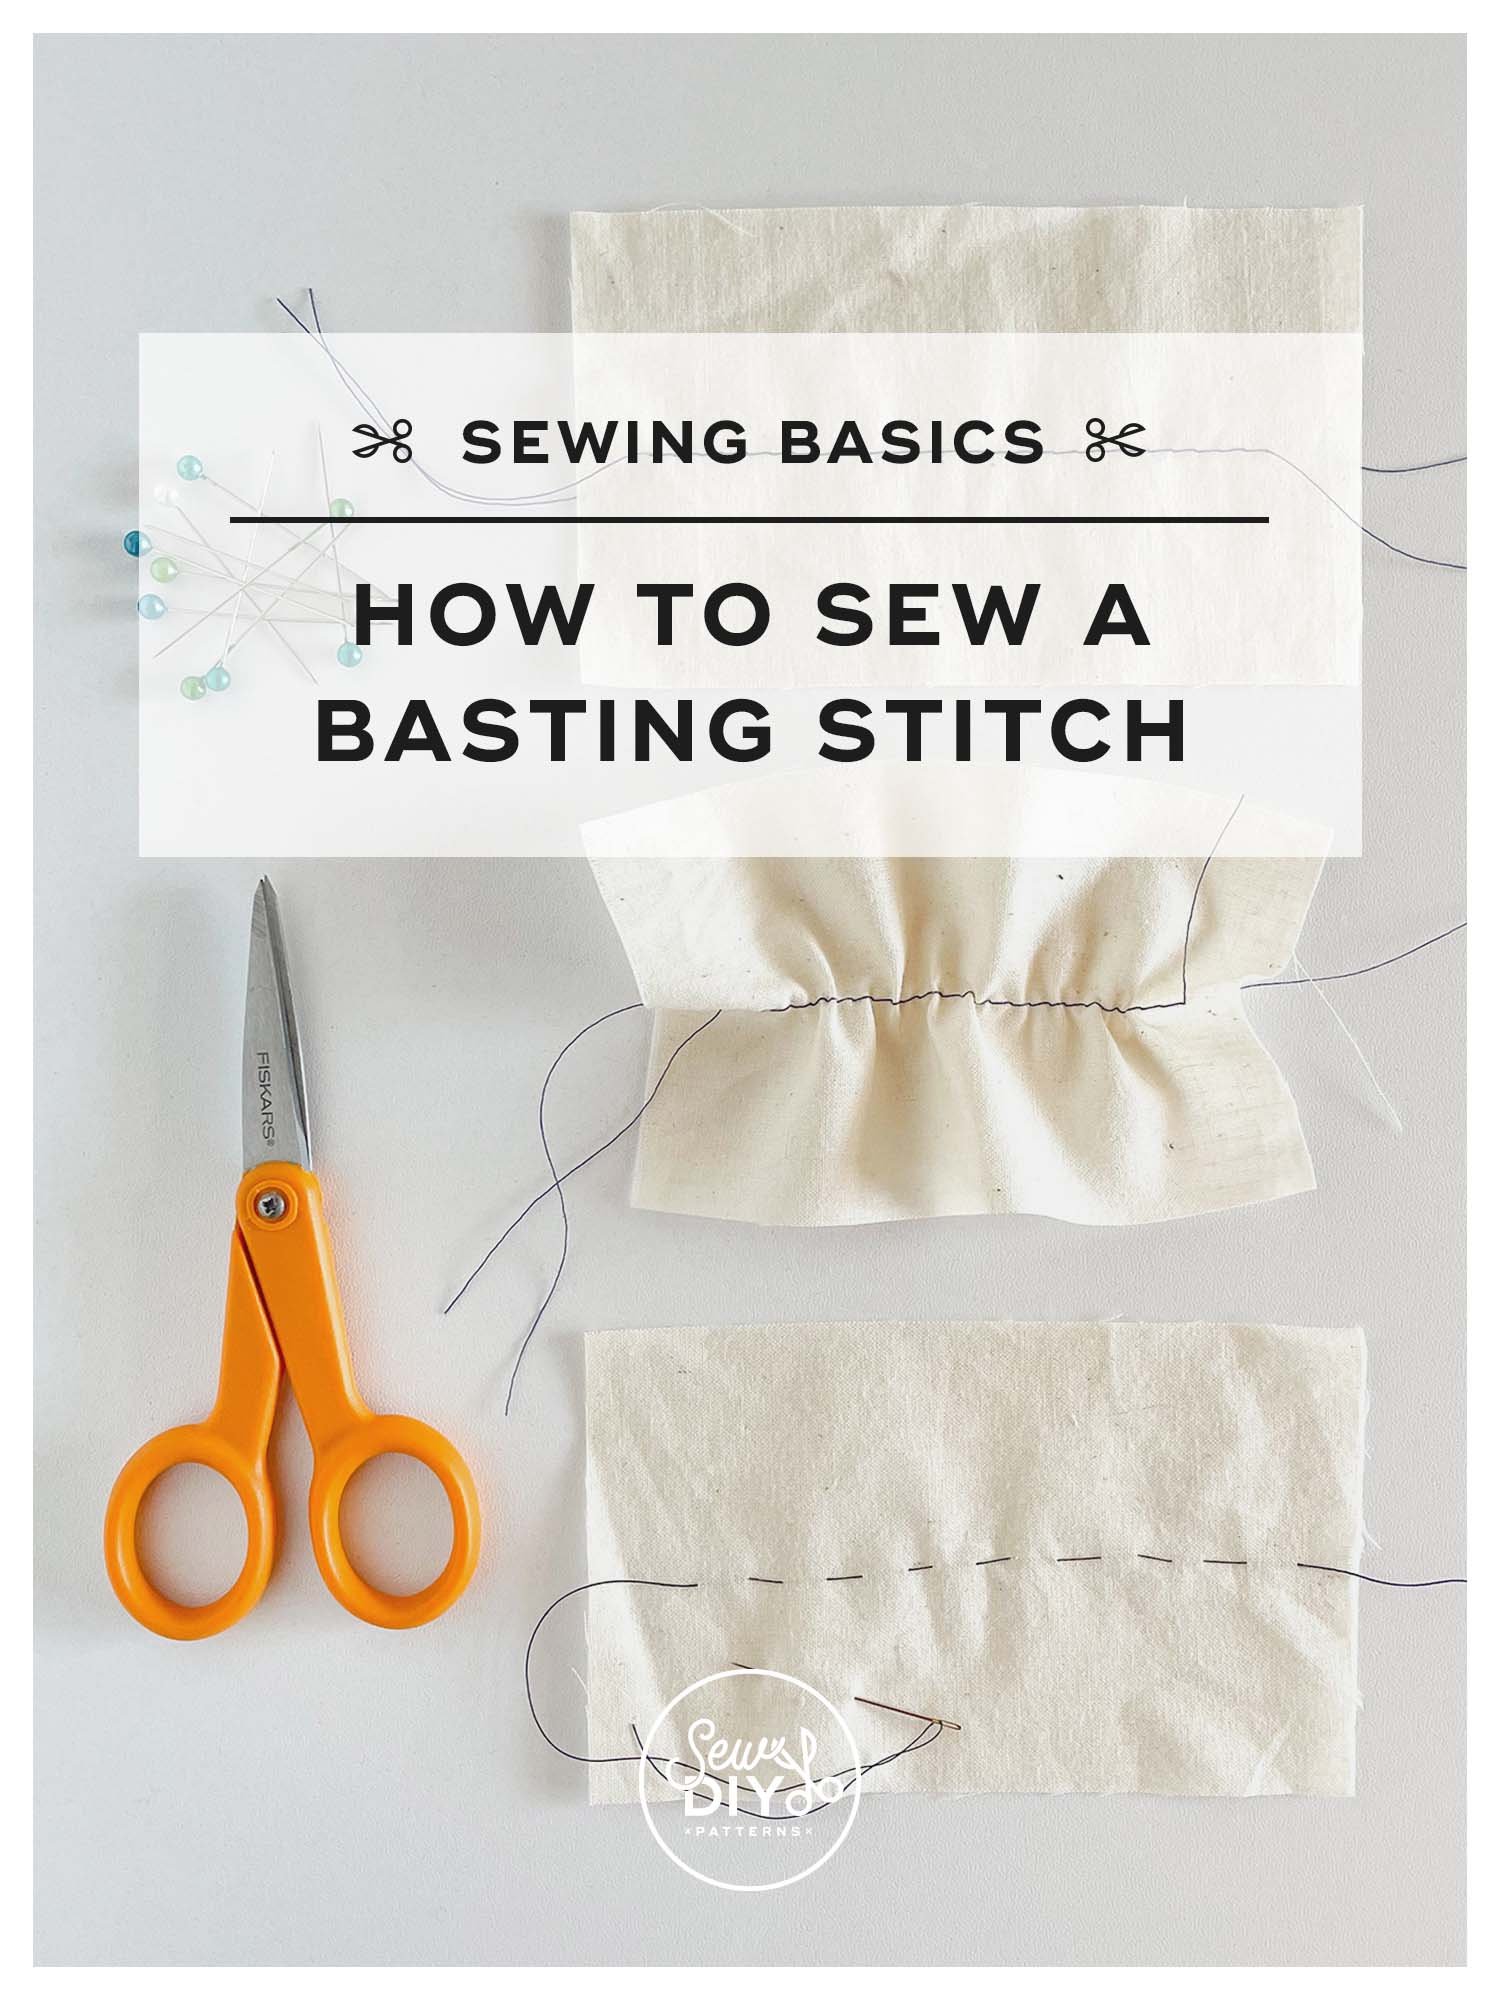
Baste the curved ends first. Check for wrinkles, adjust if needed and then stitch the seam.
While stitching position the exterior bag on the top and the bottom of the bag on the bottom.
While stitching, use your left hand to hold up the weight of the bag and prevent it from pulling away from the needle. At the same time, use your right hand to guide the fabric around the curve.
Take your time and stitch slowly.
Below is the step-by-step video for how to stitch the bottom of the bag to the body and two methods for attaching the lining to the exterior. Happy sewing!
Watch the video above or on YouTube by clicking here. Use the time stamps below to jump to different sections in the video.
TIME STAMPS
:05 Intro
1:51 Sew the bottom to the body
5:26 Stitch the lining bottom
6:58 Trim and press the bottom
9:47 Stitch lining to exterior—Method One
11:25 Turn bag right side out and topstitch—Method One
14:36 Stitch lining to exterior—Method Two
18:32 Thank you!
I hope that you found this tutorial helpful. Click here to see all of the posts in Bucket Tote Sewalong. Or, scroll through them below.


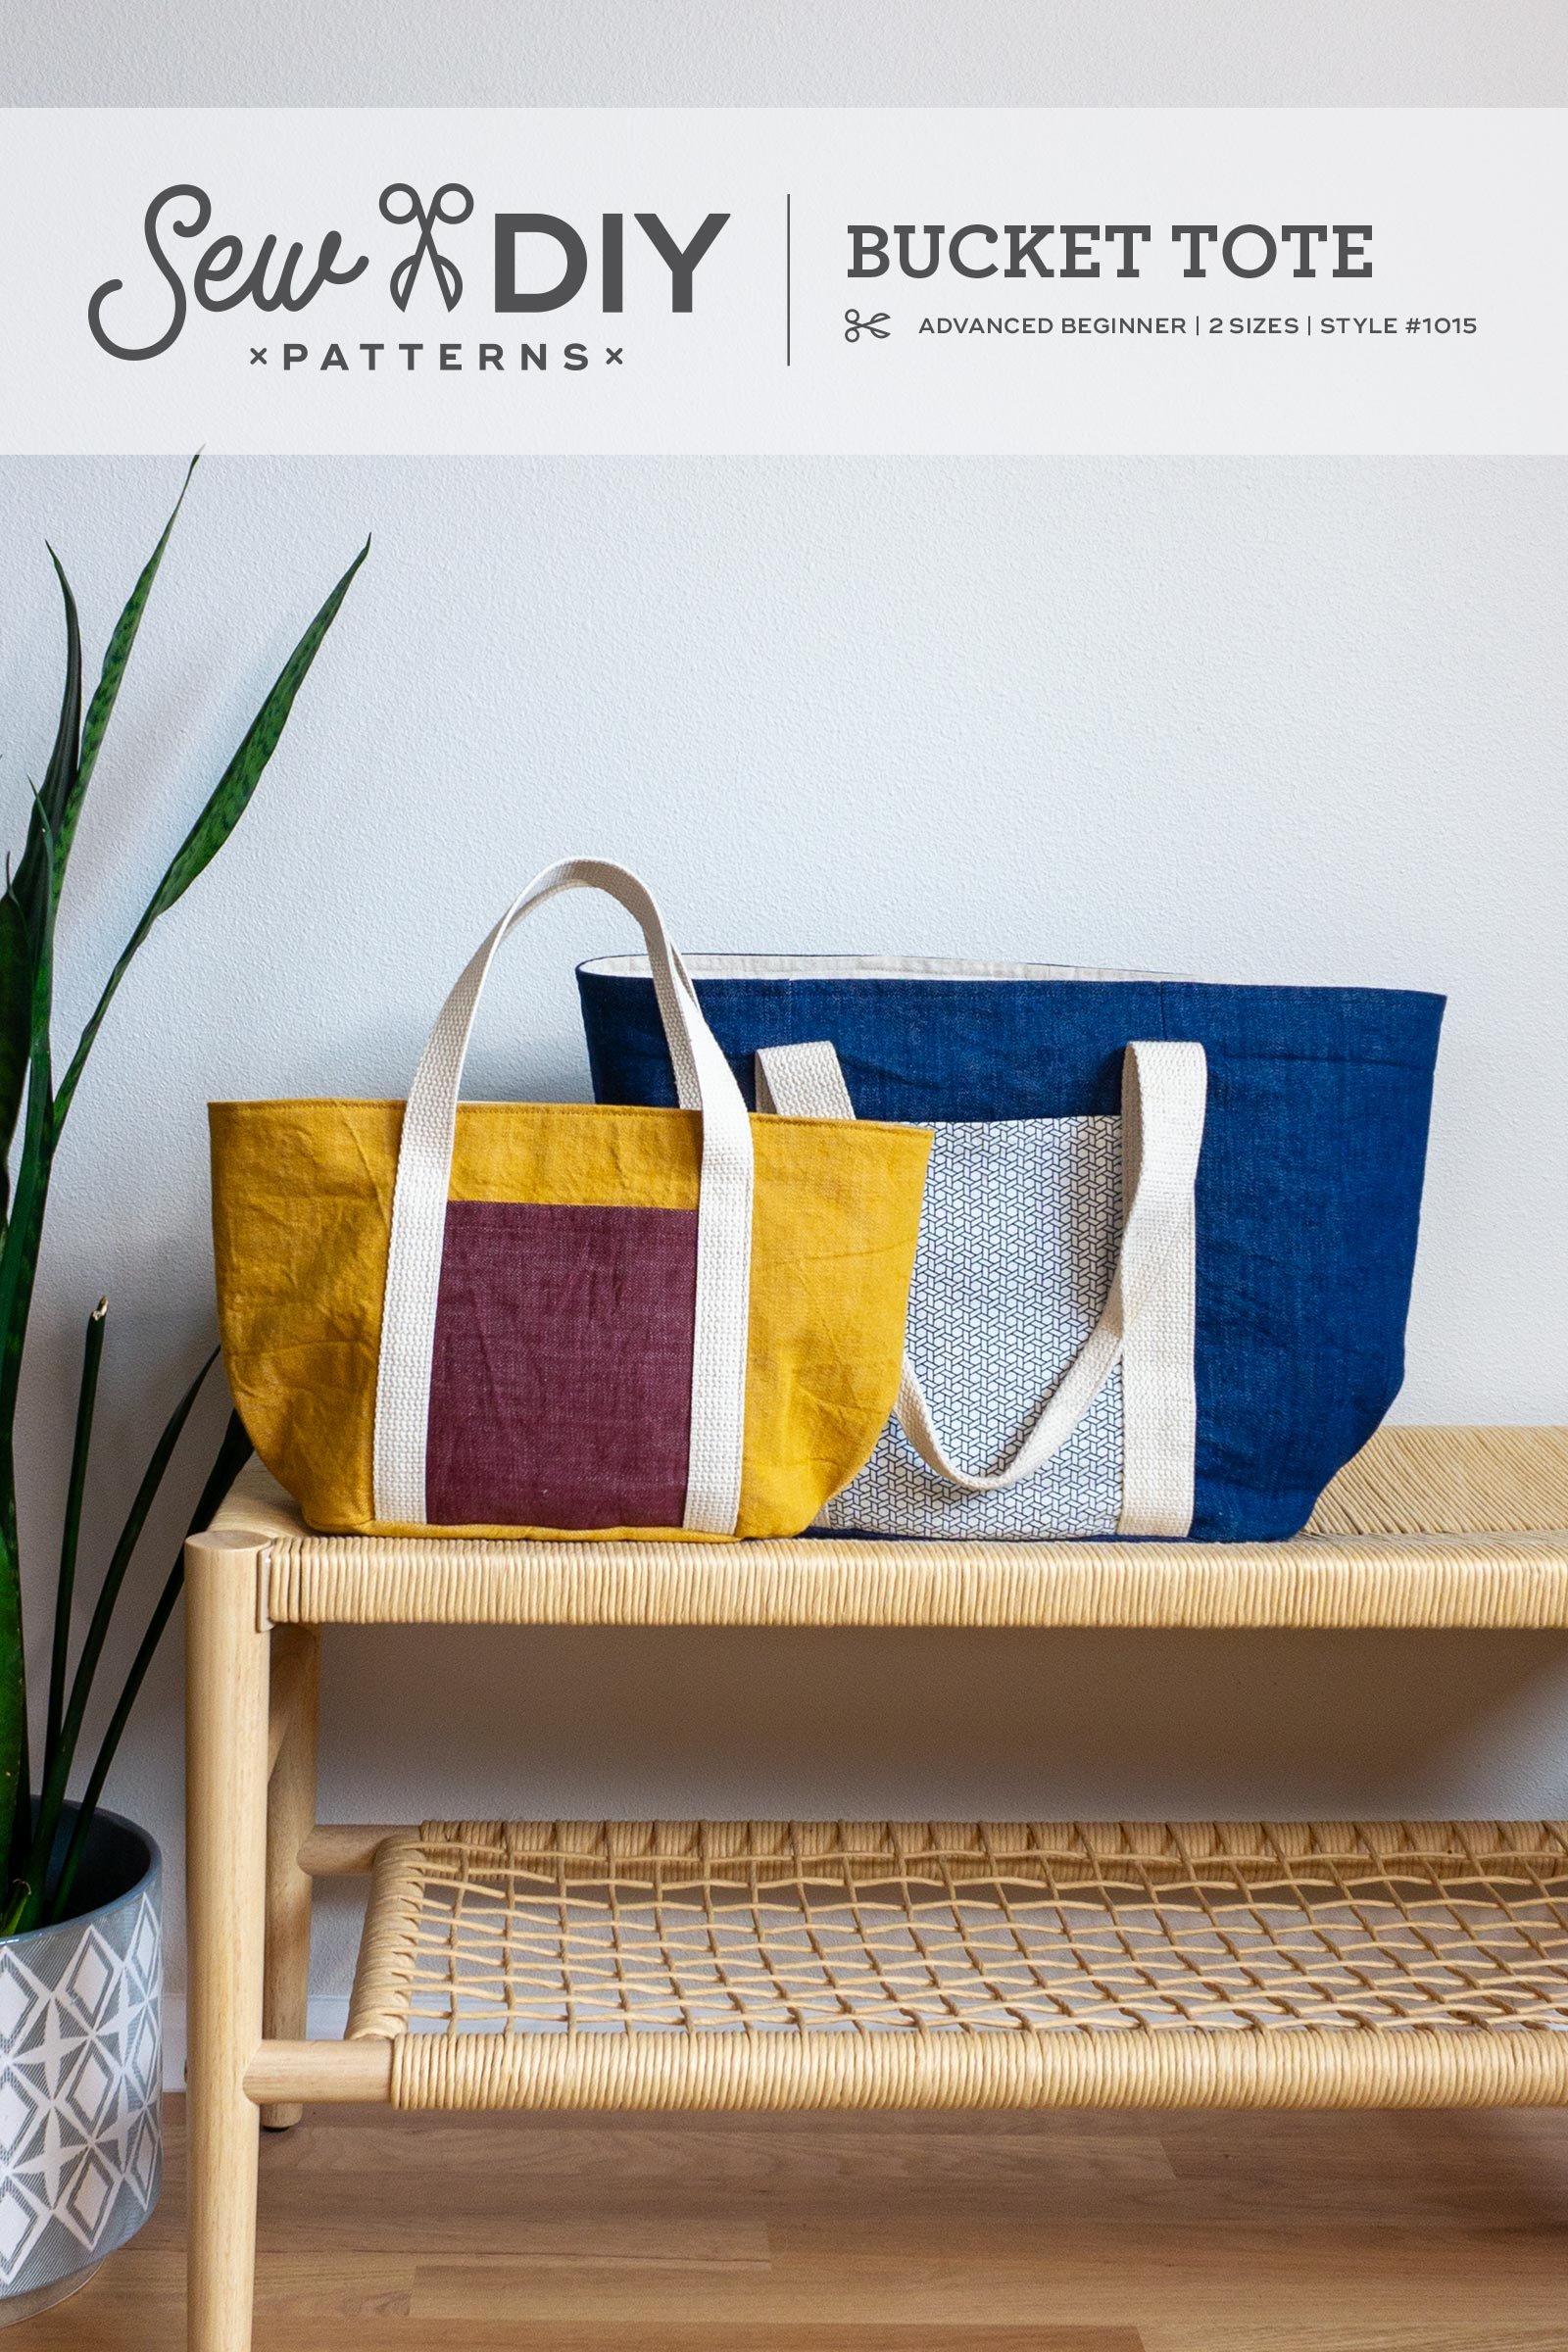
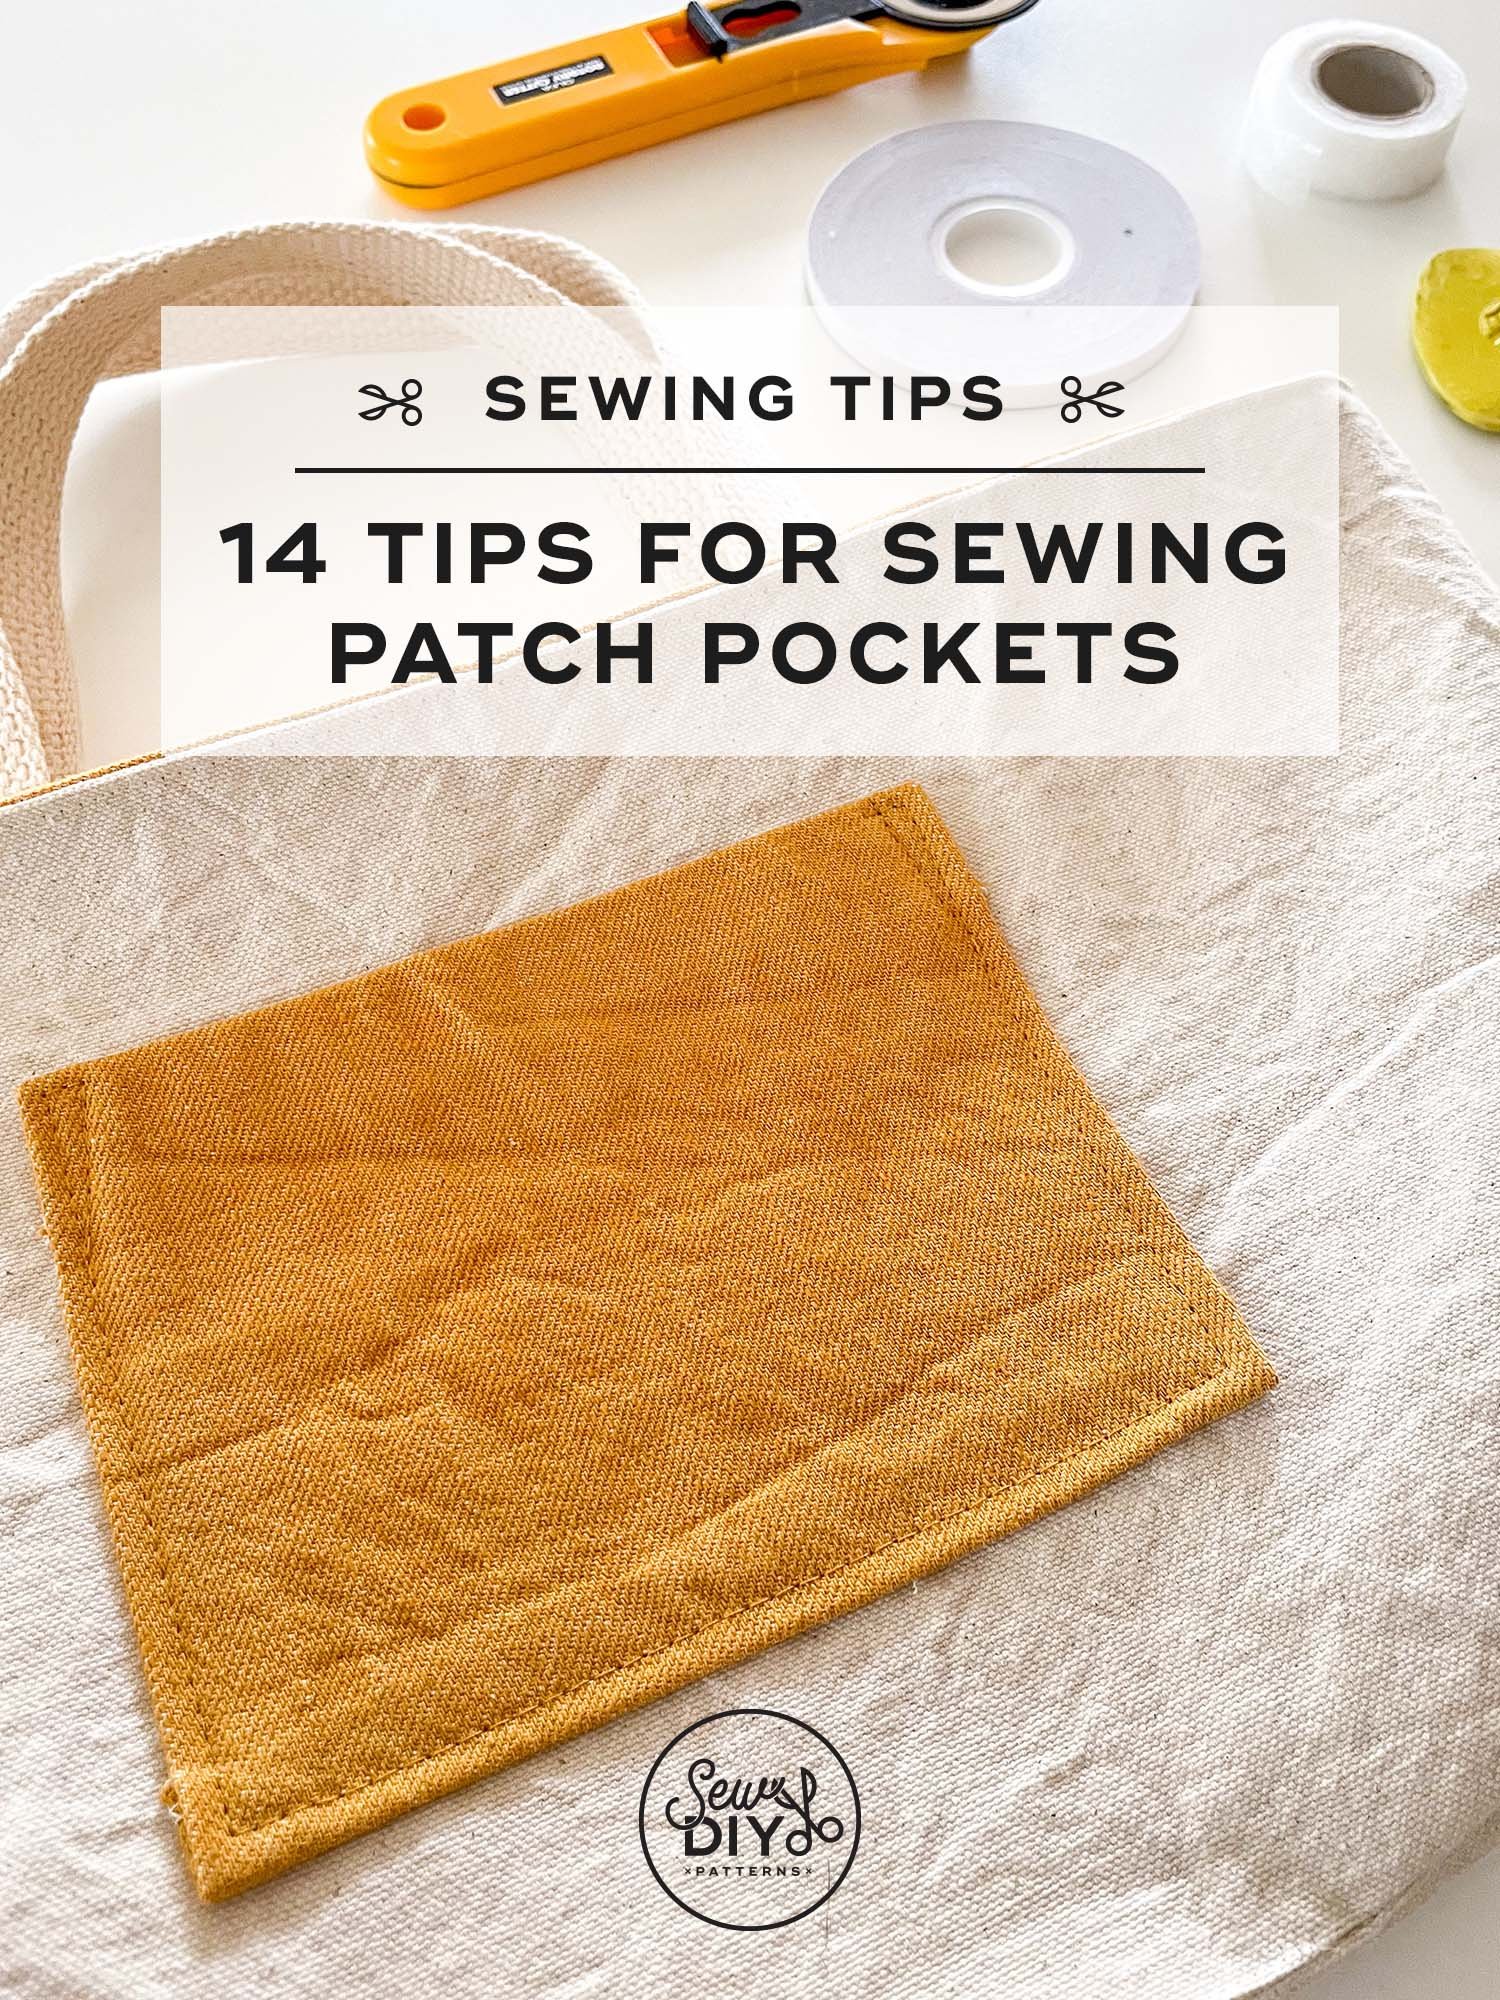


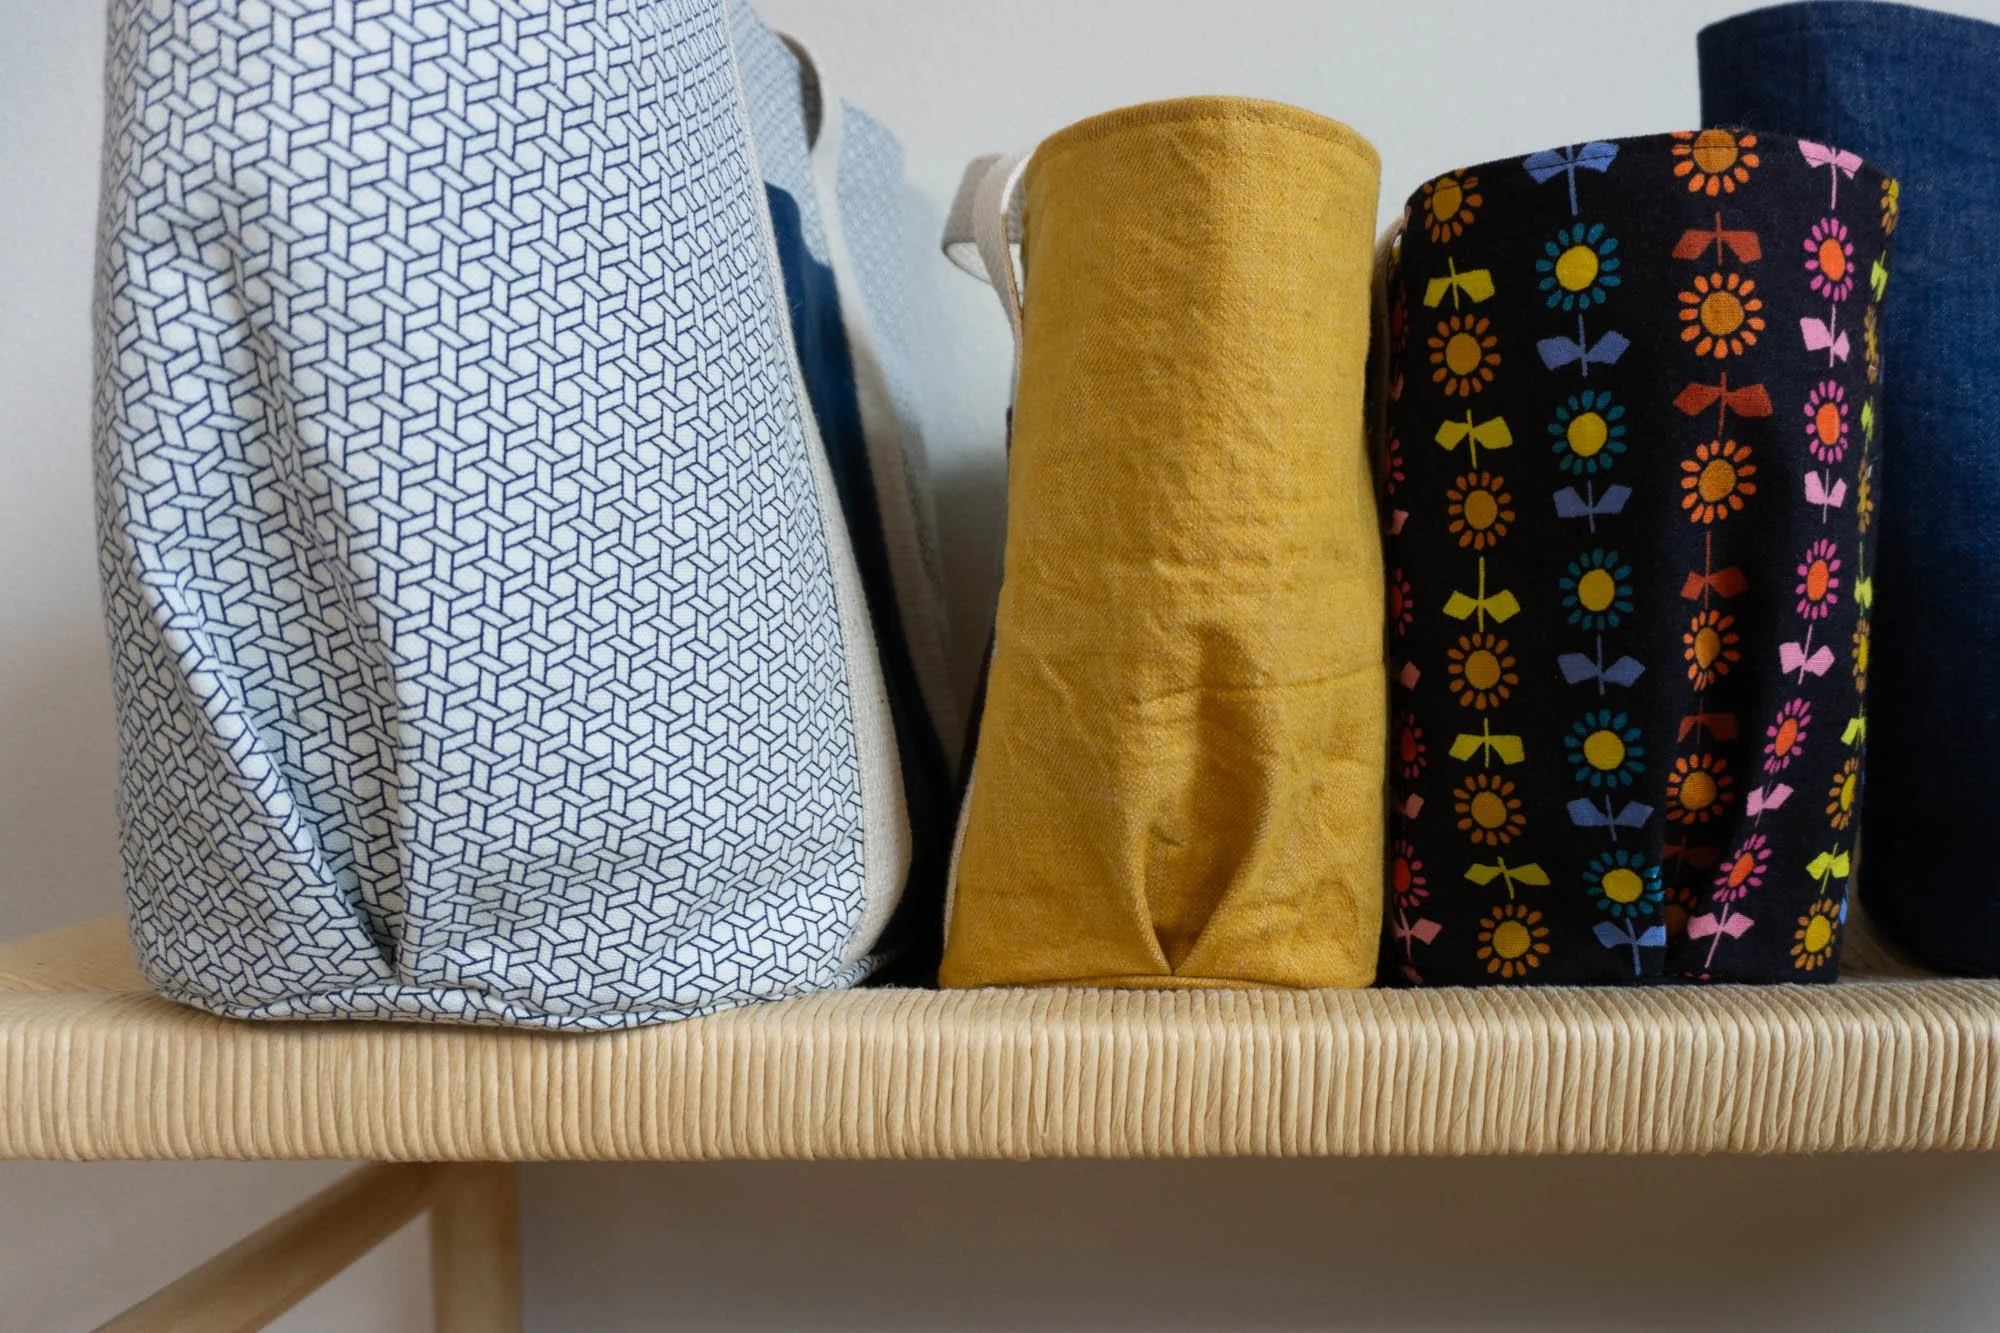
The Sew DIY Bucket Tote is the perfect "throw & go" bag with a wide top opening so you can easily see and access everything inside. This fully-lined tote is thoughtfully designed with an oval base, pleats at each end and exterior and interior pockets.
The pattern includes both regular and small sizes, giving you options for wherever life takes you. The regular size is perfect for a day at the pool or a short road trip while the small size can be used to carry your lunch or a small craft project.
Both sizes have two exterior patch pockets and one interior pocket. The regular size has a welt zippered pocket inside and the small size has an interior patch pocket. The handles are made from cotton webbing that are topstitched to the sides of the bag and secured in the bottom seam.
This digital pattern includes:
• Illustrated instruction booklet
• Print-at-home layered pattern (Letter/A4)
• US copy shop and A0 patterns
• Projector pattern
Scroll down for more details.
THIS IS NOT A PHYSICAL PRODUCT. After checkout, you will receive a link to the pattern that will be active for 24 hours after you click it. Prices are in USD.
About the Sew DIY Bucket Tote pattern:
This fully-lined tote is thoughtfully designed with an oval base, pleats at each end and exterior and interior pockets.
The pattern includes both regular and small sizes, giving you options for wherever life takes you. The regular size is perfect for a day at the pool or a short road trip while the small size can be used to carry your lunch or a small craft project.
Both sizes have two exterior patch pockets and one interior pocket. The regular size has a welt zippered pocket inside and the small size has an interior patch pocket. The handles are made from cotton webbing and are topstitched to the sides of the bag and secured in the bottom seam.
If you’d like to save this post for later, you can save the image below to Pinterest. Happy sewing!