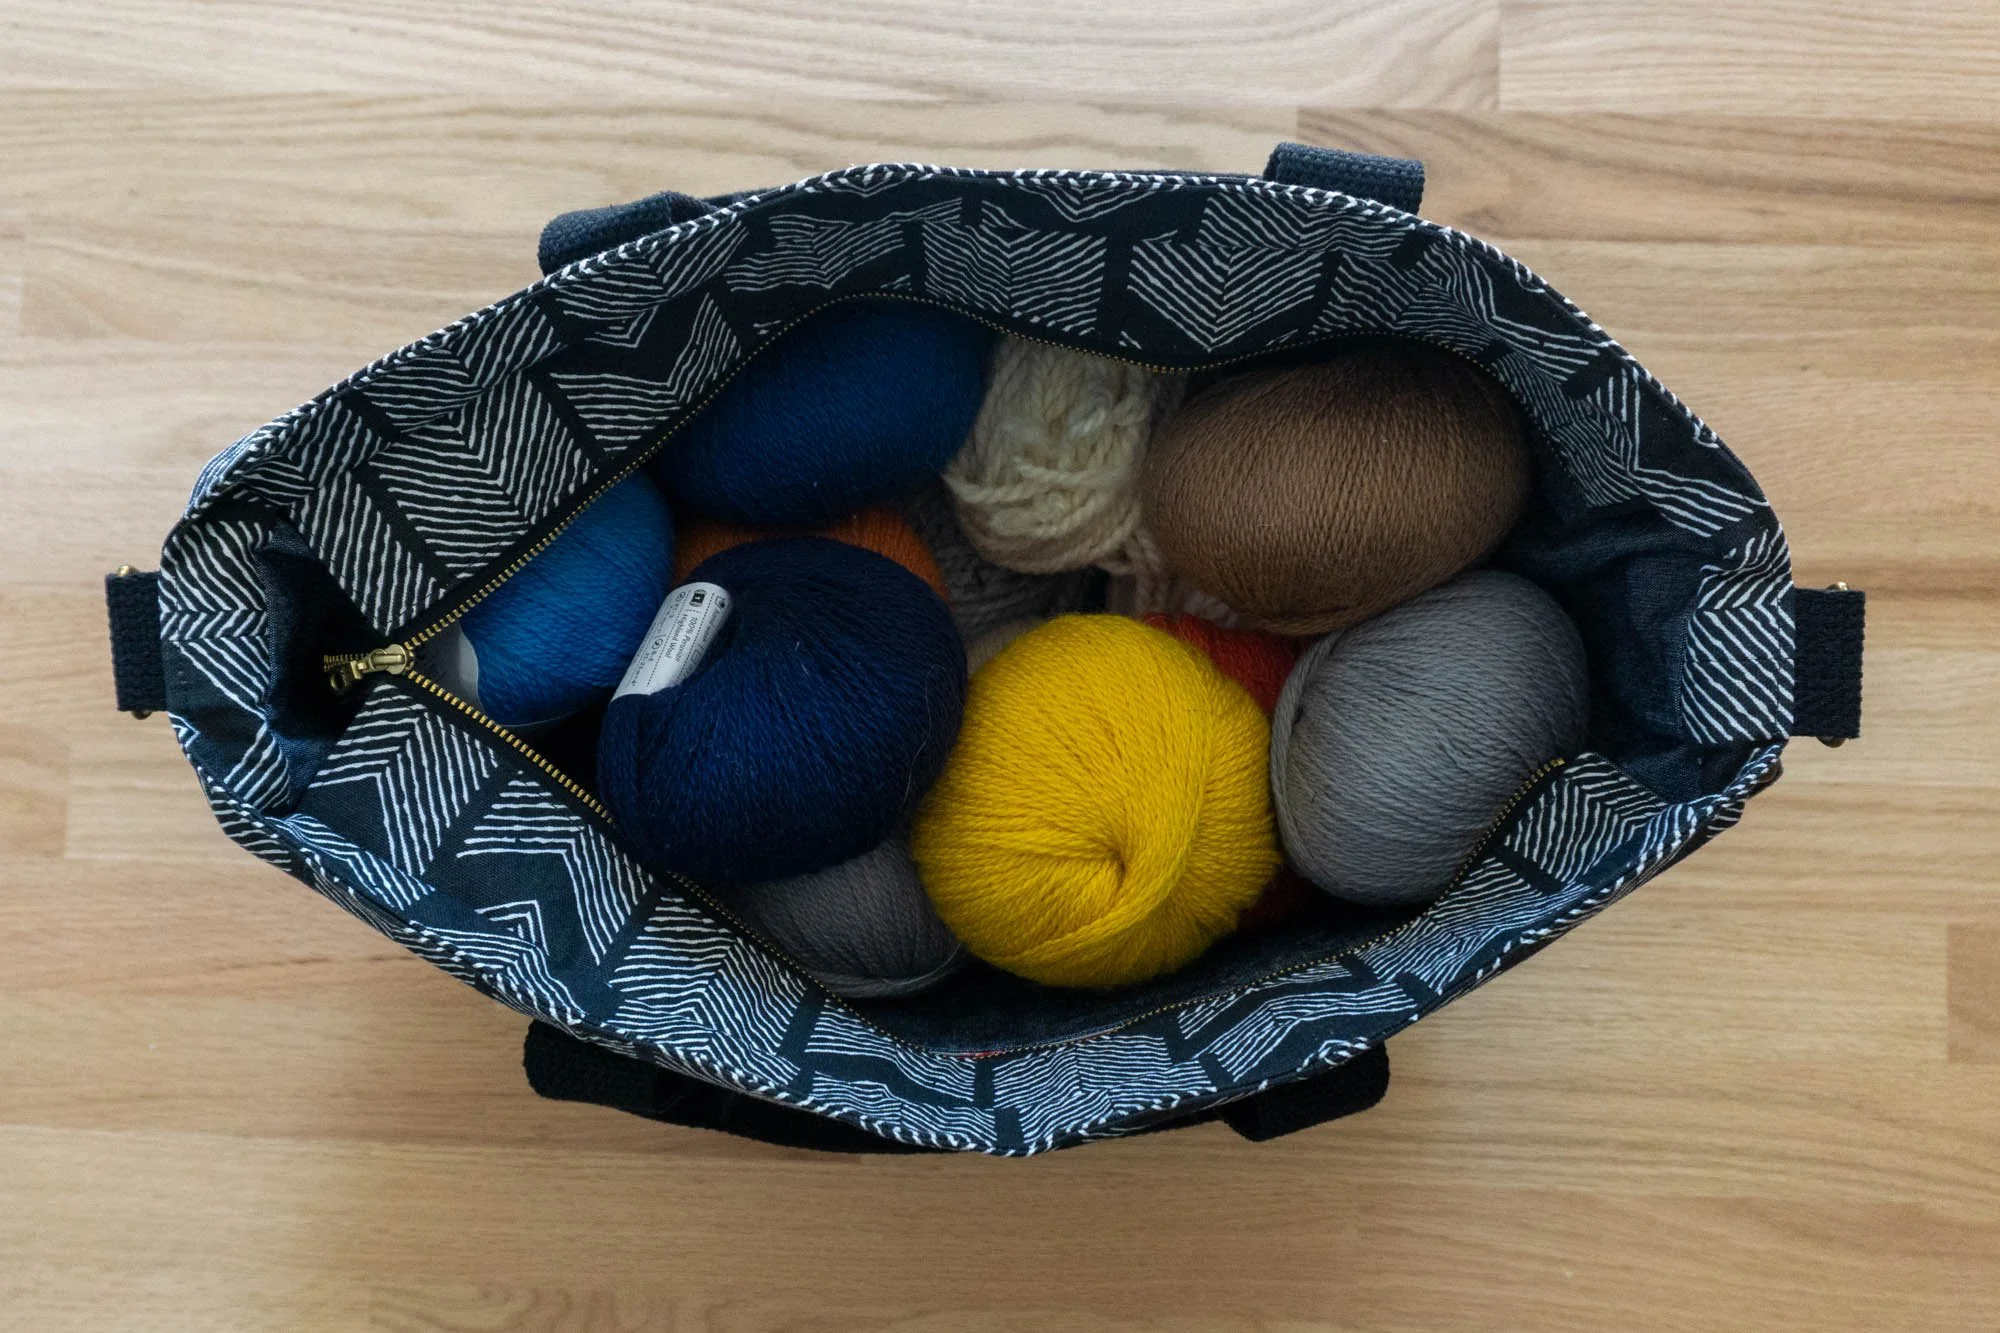
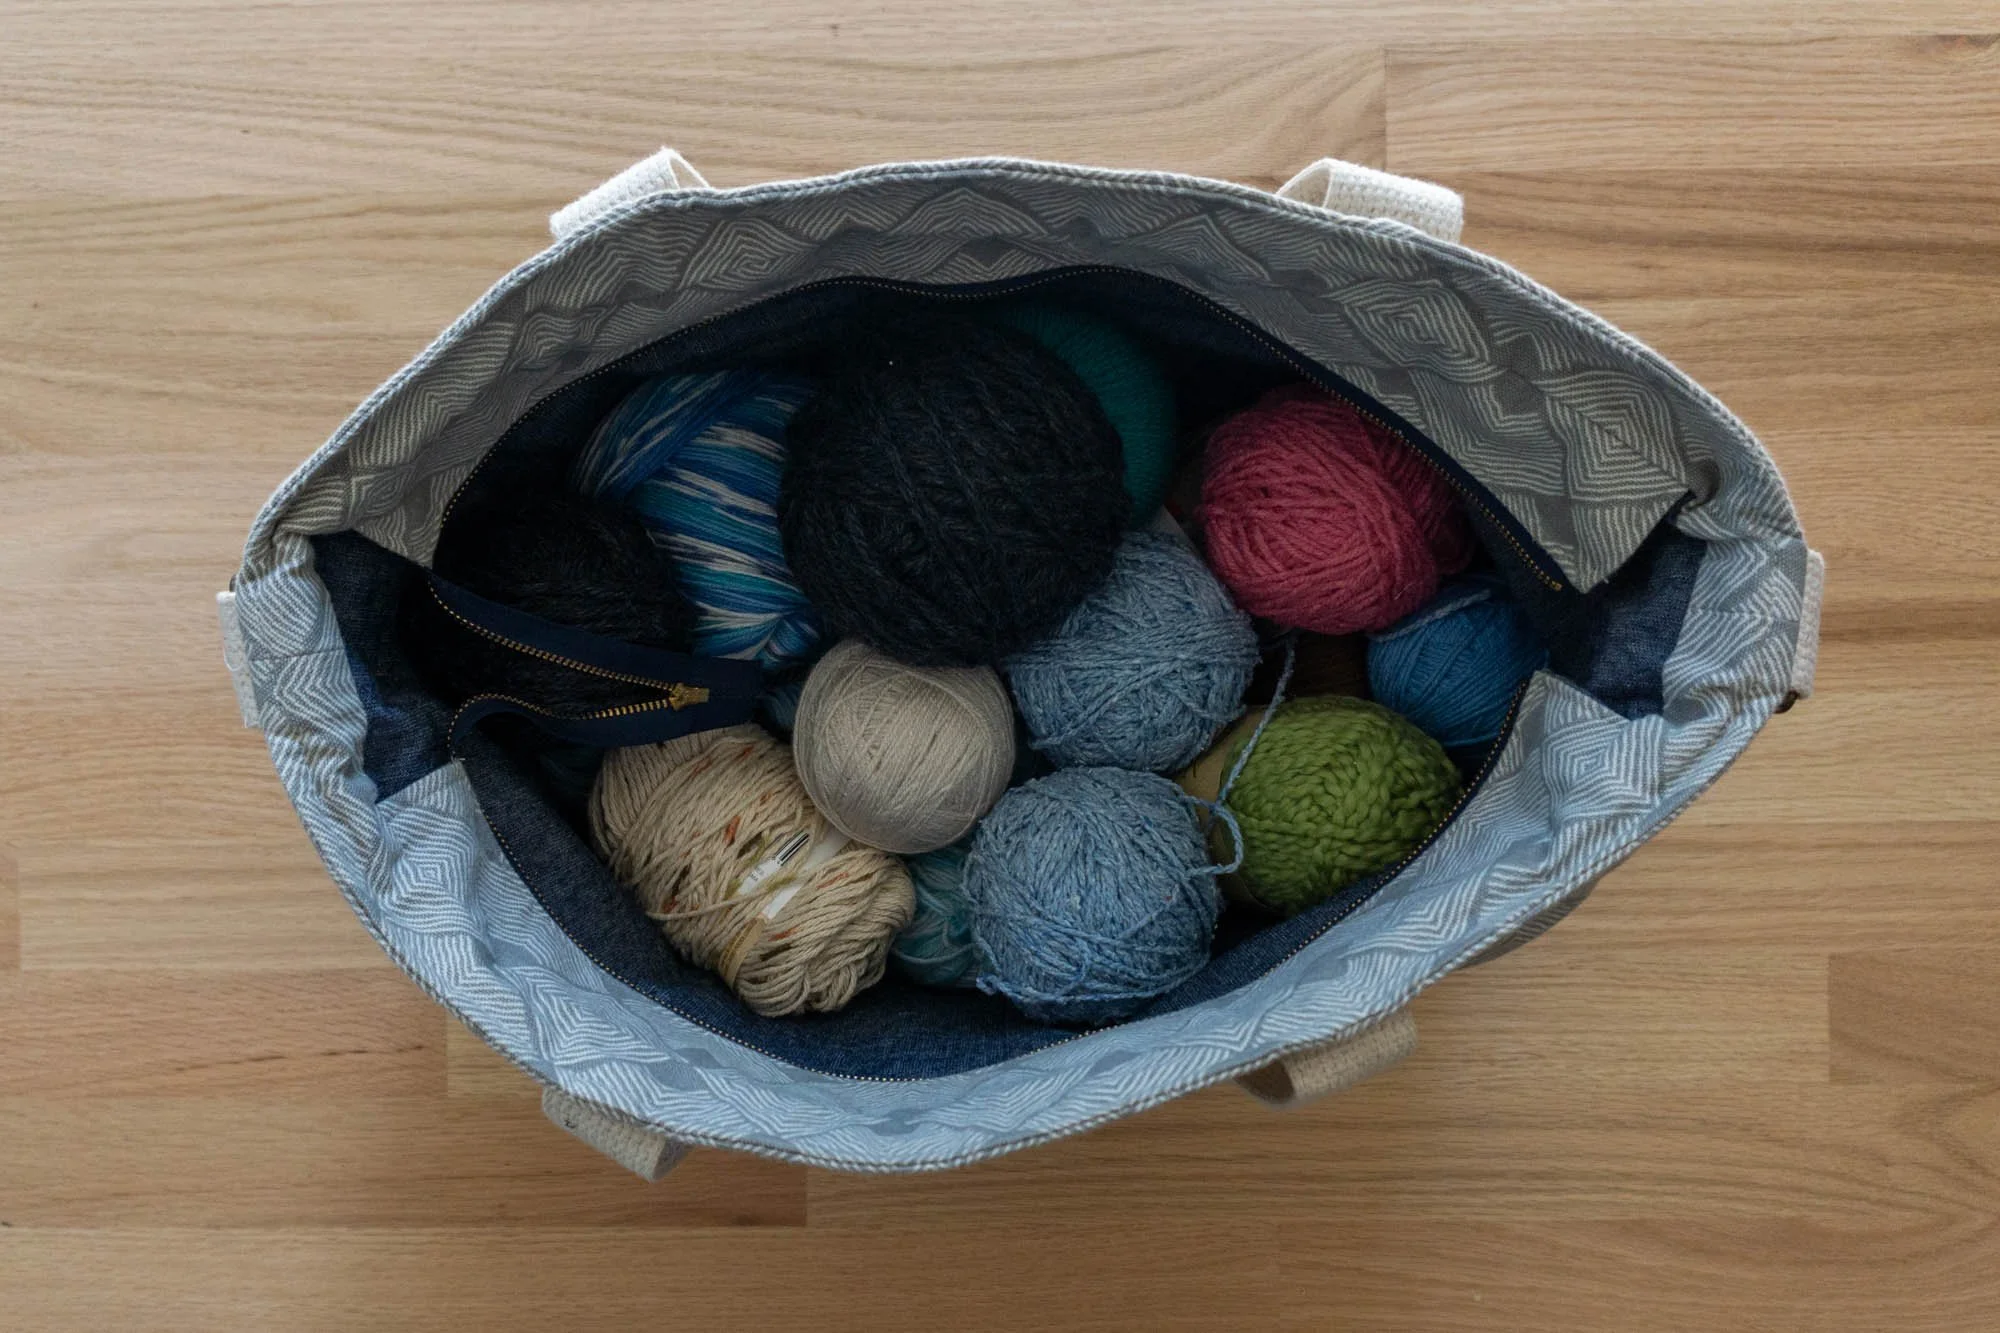
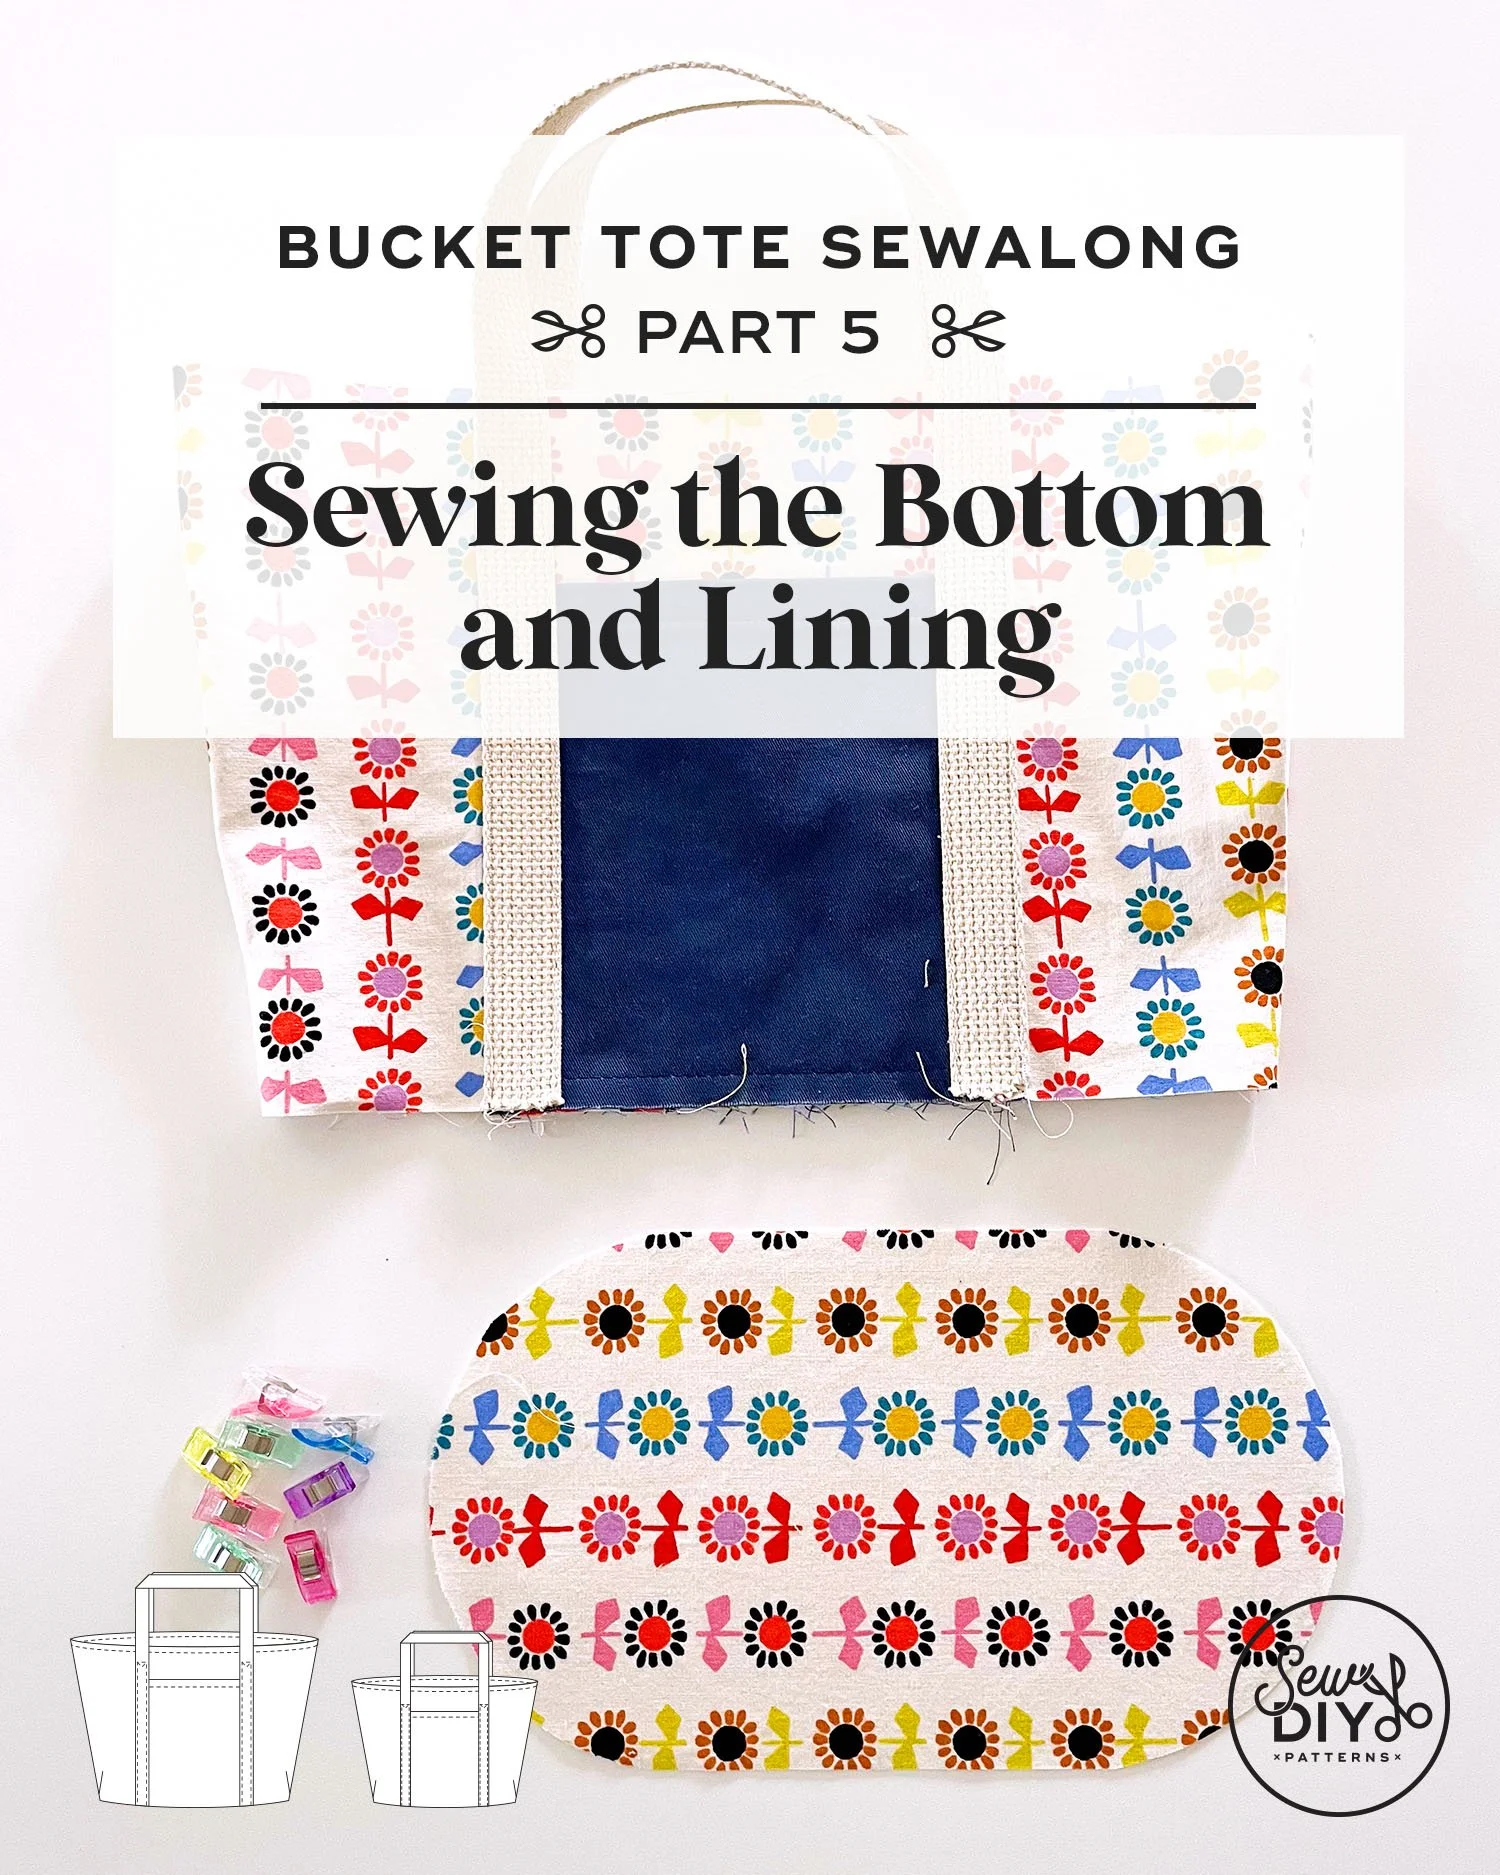
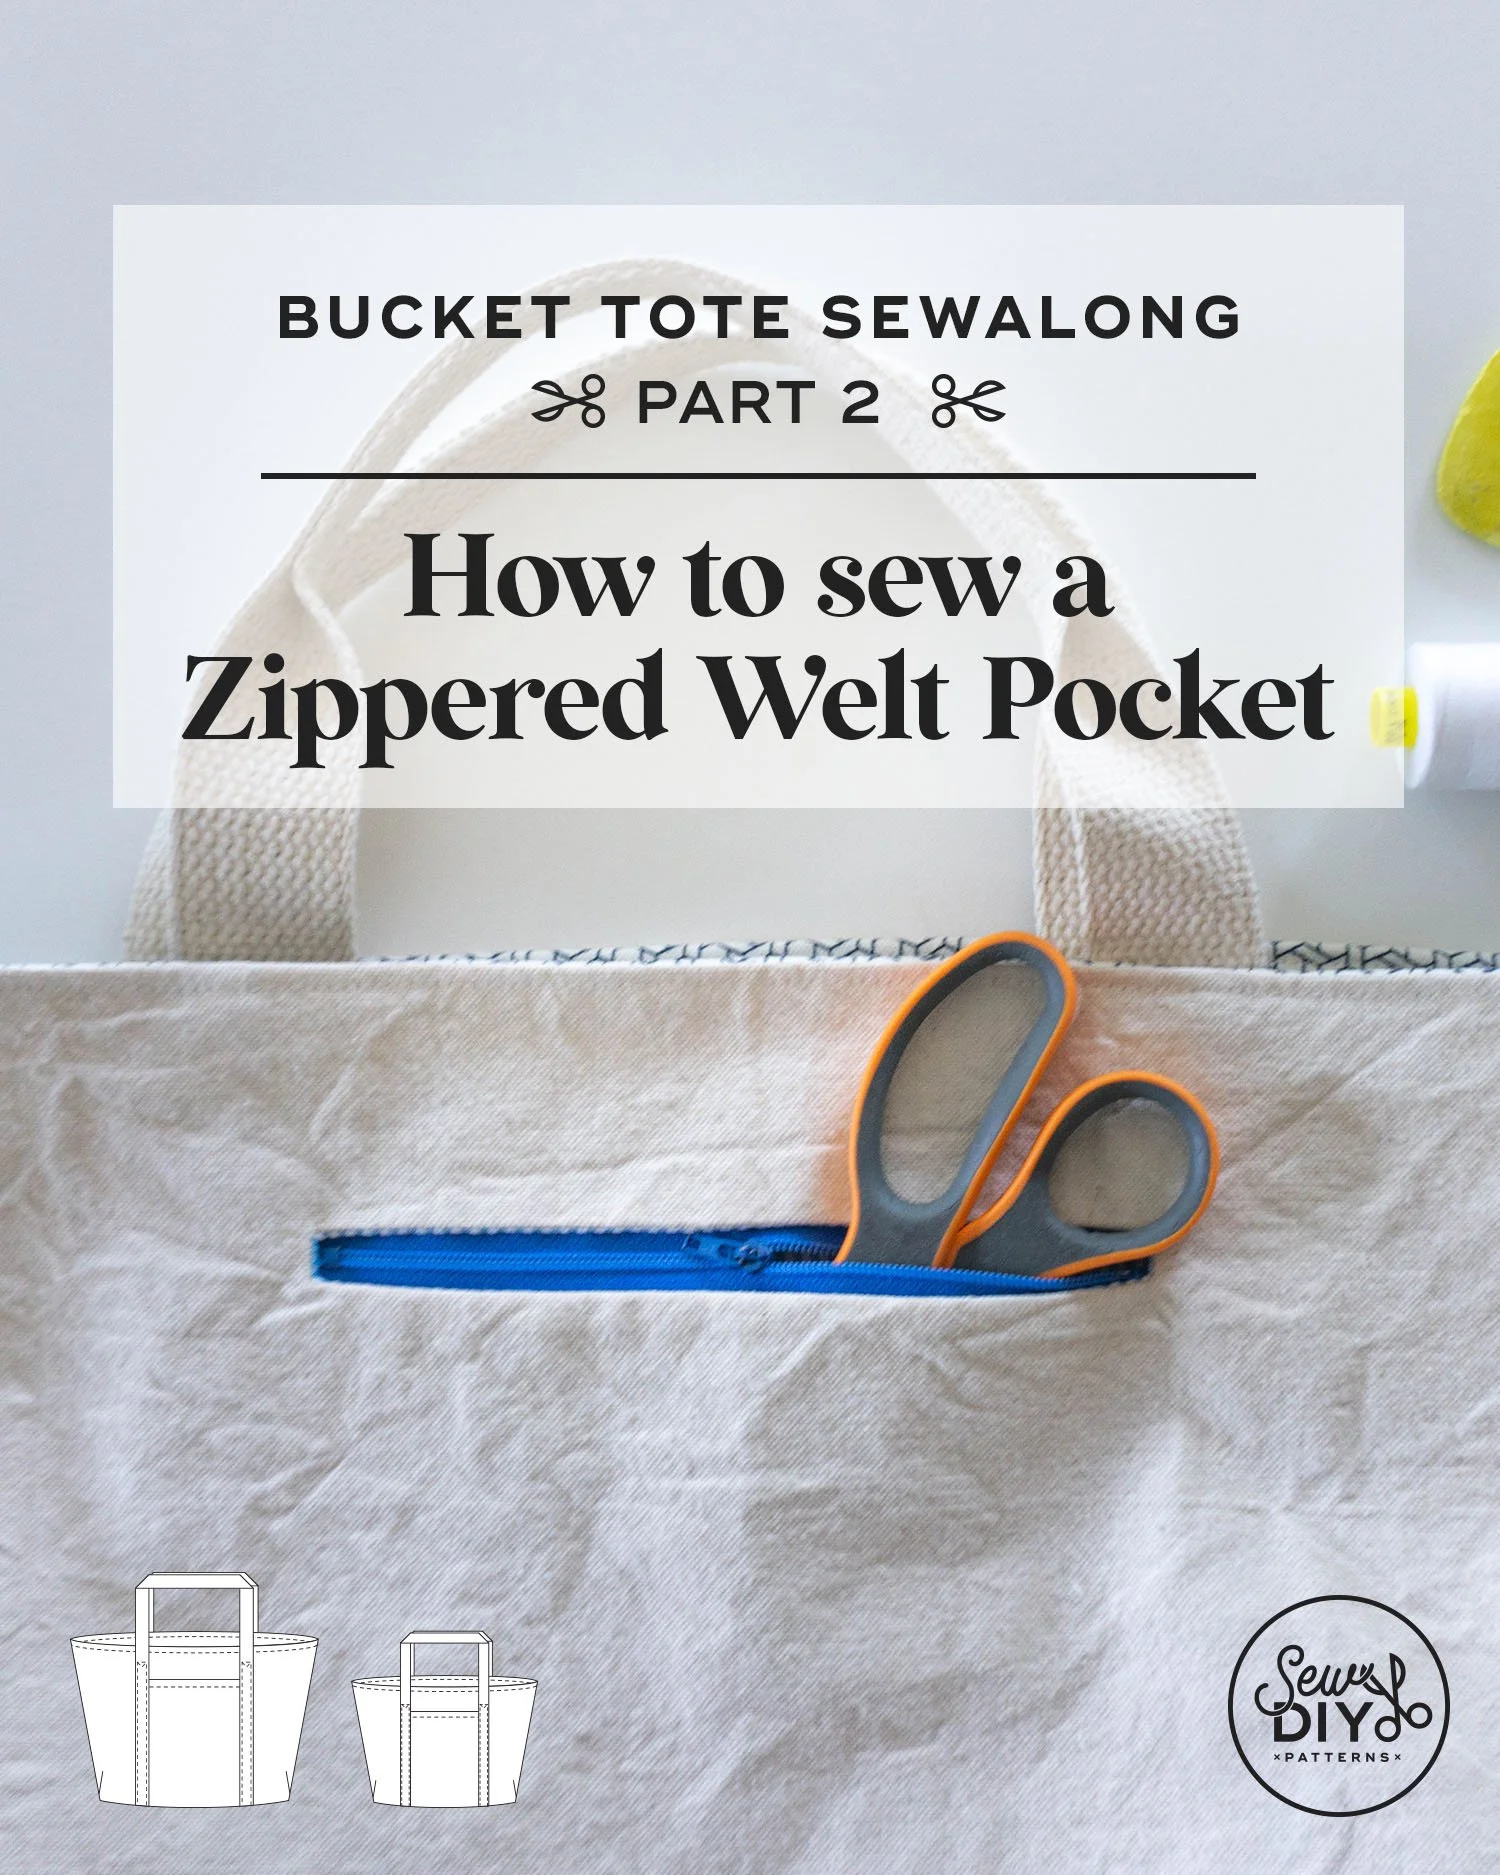
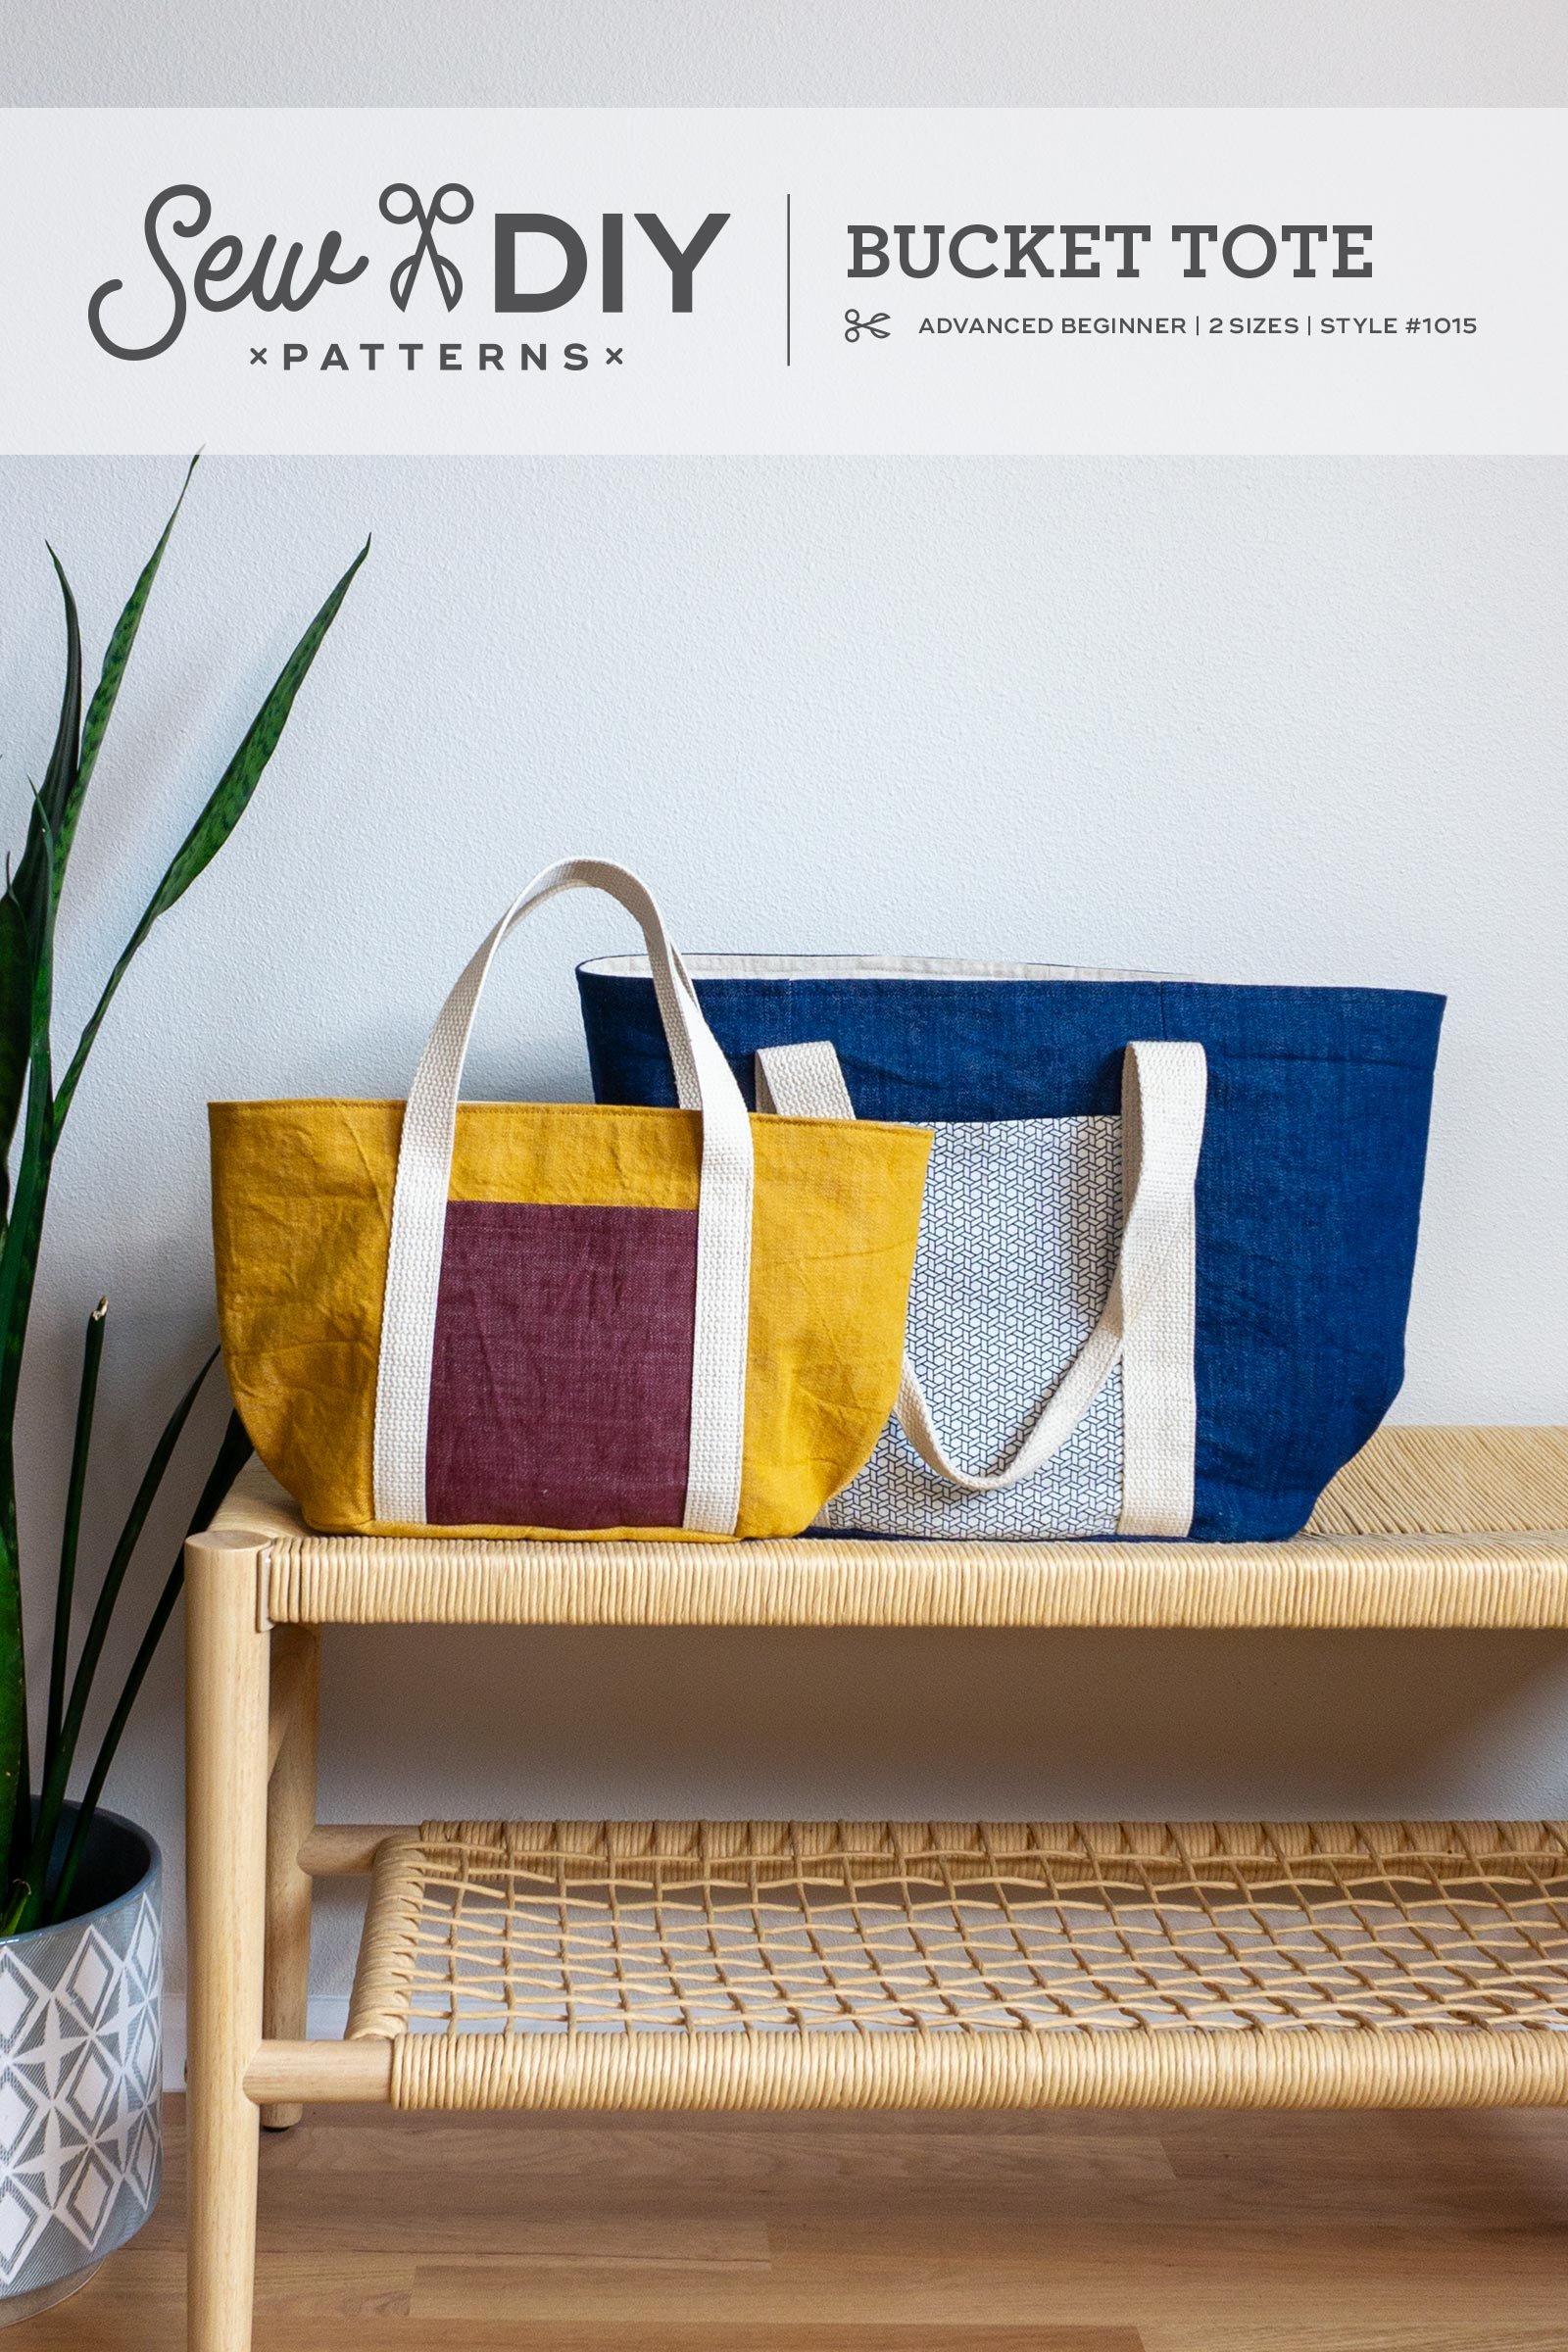
The Sew DIY Bucket Tote is the perfect "throw & go" bag with a wide top opening so you can easily see and access everything inside. This fully-lined tote is thoughtfully designed with an oval base, pleats at each end and exterior and interior pockets.
The pattern includes both regular and small sizes, giving you options for wherever life takes you. The regular size is perfect for a day at the pool or a short road trip while the small size can be used to carry your lunch or a small craft project.
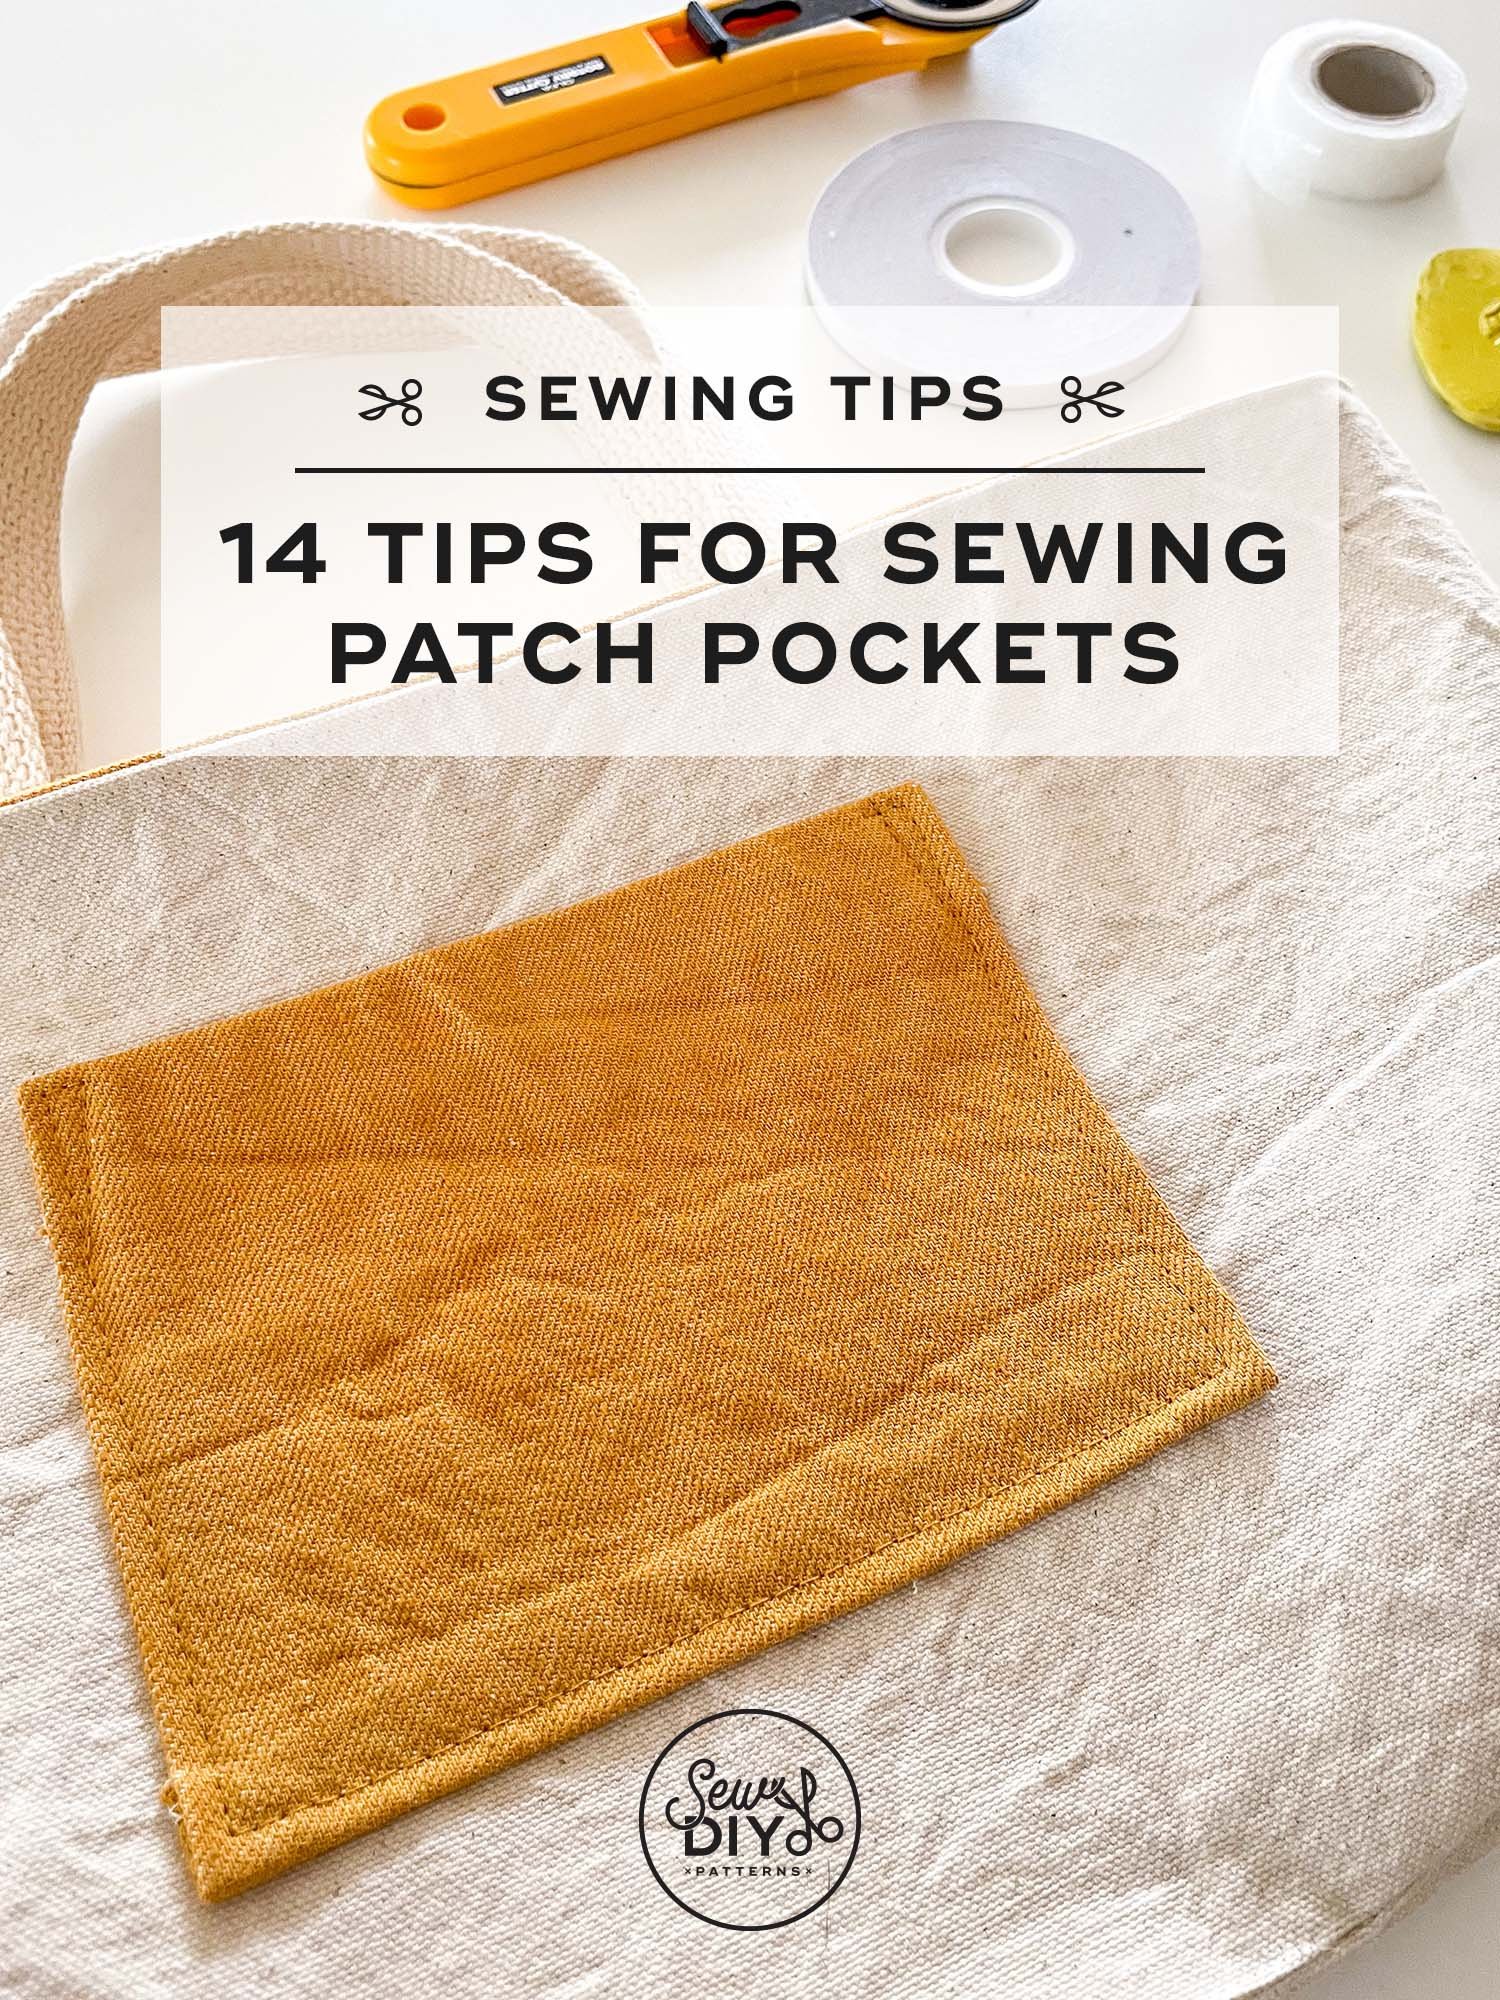
Both sizes have two exterior patch pockets and one interior pocket. The regular size has a welt zippered pocket inside and the small size has an interior patch pocket. The handles are made from cotton webbing that are topstitched to the sides of the bag and secured in the bottom seam.
This digital pattern includes:
• Illustrated instruction booklet
• Print-at-home layered pattern (Letter/A4)
• US copy shop and A0 patterns
• Projector pattern
Scroll down for more details.
THIS IS NOT A PHYSICAL PRODUCT. After checkout, you will receive a link to the pattern that will be active for 24 hours after you click it. Prices are in USD.
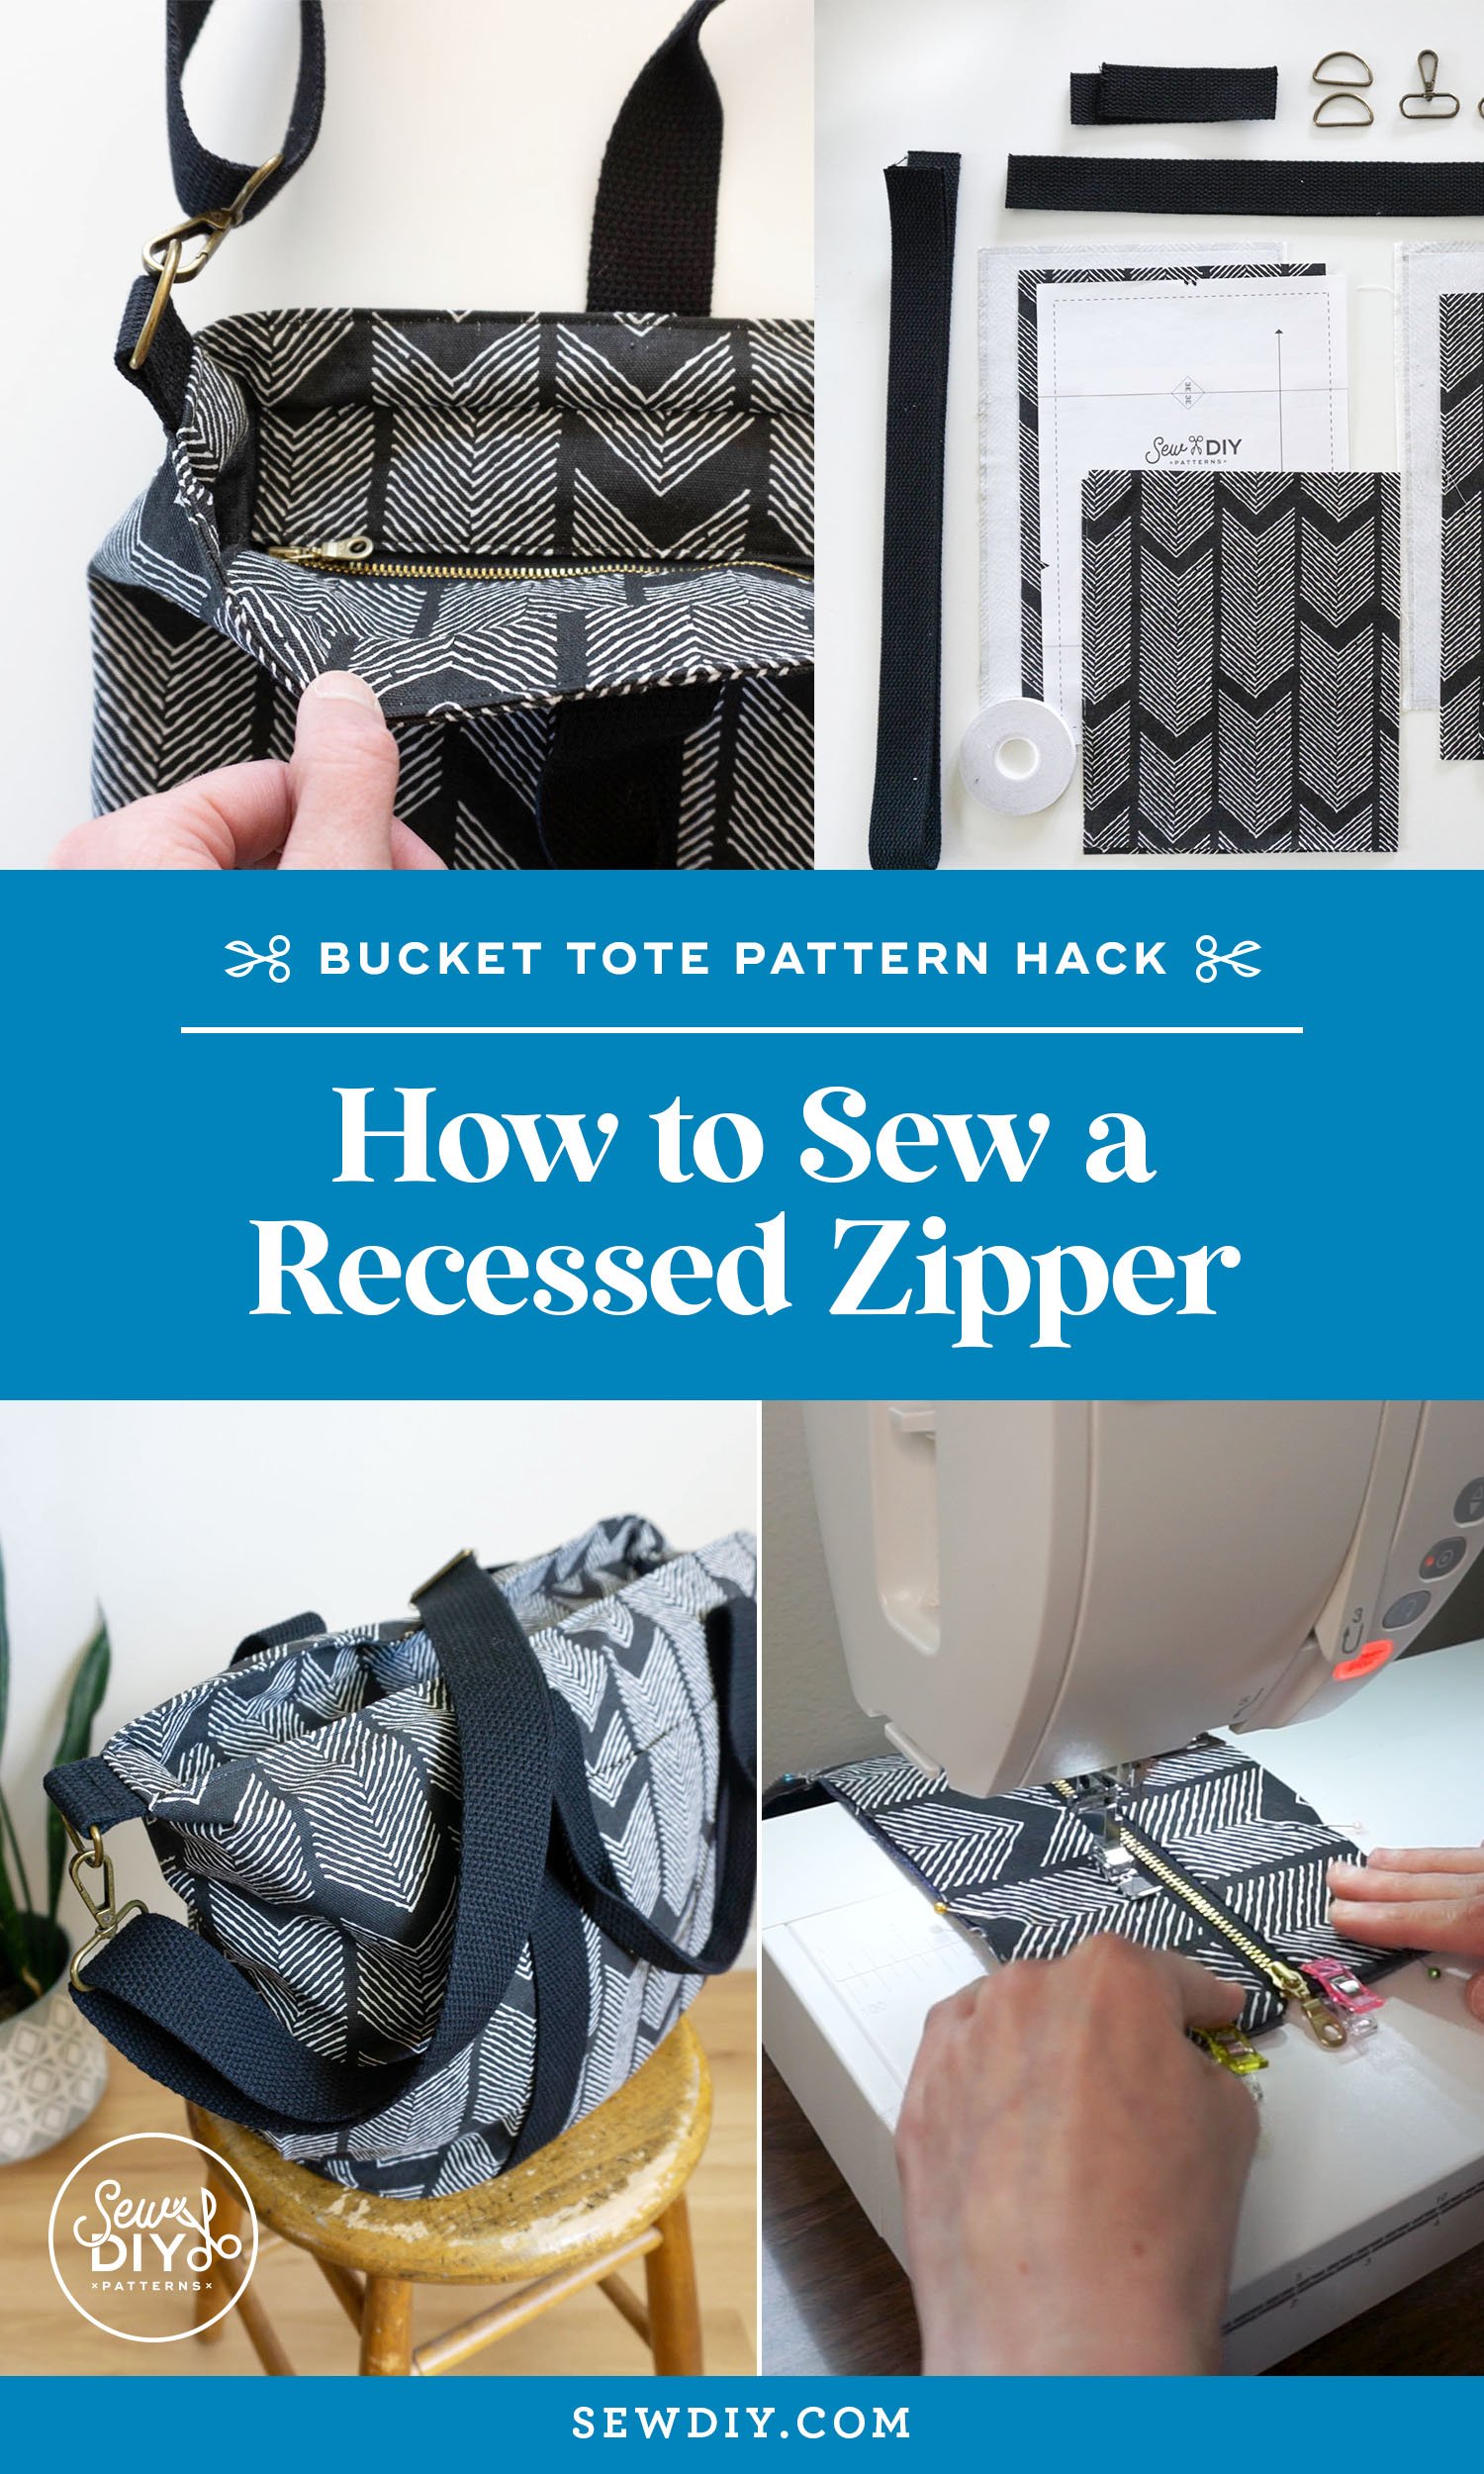
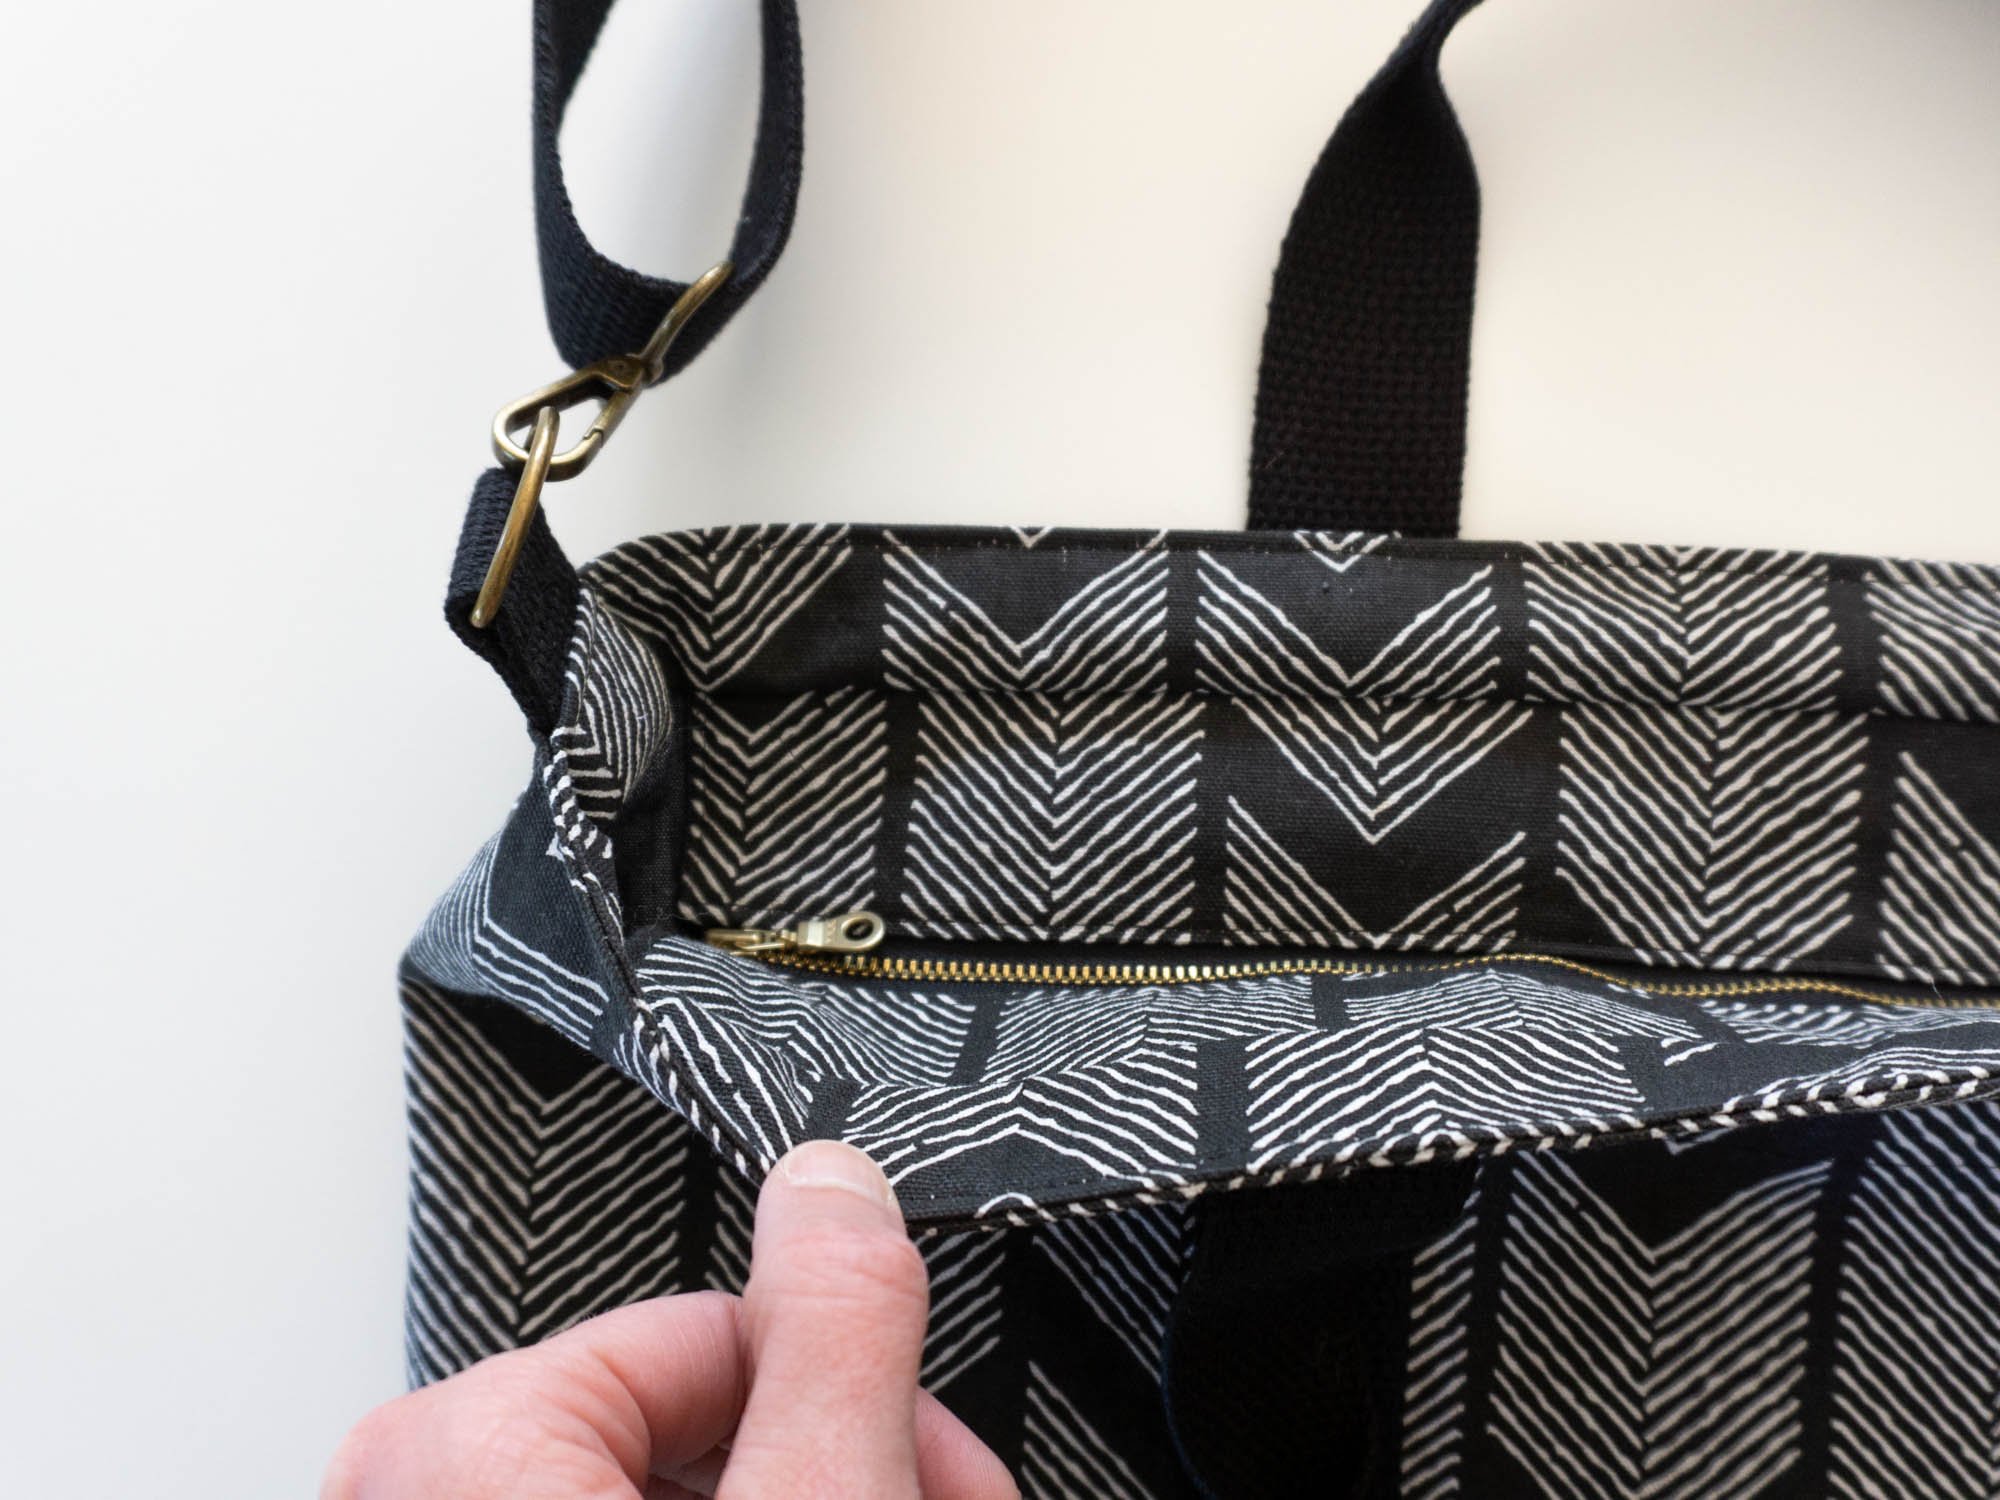
Today, I'm excited to share a hack for my Bucket Tote sewing pattern. This variation of the pattern adds a recessed zipper to the lining and an adjustable strap. To make the recessed zipper, the lining is lowered inside the bag and a zipper with fabric extensions is sewn into the lining. The extensions on either side of the zipper allow the bag more depth when closed, meaning you can put more stuff in your bag. When the zipper is closed, the lining is nearly invisible. Below, you'll find a step-by-step video tutorial, a list of supplies and fabric dimensions plus written instructions for quick reference.
I first made this variation to use as a "personal item" for plane travel and while it's not the perfect travel bag it worked really well. I took the bag on a two week trip to England last year and it worked really well. I converted one of the exterior pockets into a sleeve for my suitcase handle but the opening is just a little too tight. I could have made the pocket bigger but then it wouldn't be flush to the bag—not ideal. The other drawback is that the oval shape is a little small for my laptop. Otherwise, it was a great travel bag.
Note, due to the rounded shape of this bag I decided not to attach the zipper to the bag on each end. This tutorial uses the Regular size of the Bucket Tote pattern and the zipper is designed to provide as much coverage as possible. It closes most of the way but small things could fall out of the bag.

How to Sew a Recessed Zipper in the Sew DIY Bucket Tote
Note: These instructions are for adding a recessed zipper to the Regular size of the pattern.
SUPPLIES
Note, the hardware should match the width of the webbing for the strap. If desired, you can use a different width of the handles and the strap.
140" (about 4 yards or 3.5 meters) Webbing, 1.5" (3.8cm) wide (this includes the webbing for the handles)
2 D-rings 1.5" (3.8cm) wide
2 Swivel Hooks 1.5" (3.8cm) wide
1 Slider 1.5" (3.8cm) wide
1 Zipper, at least 17" long (A longer zipper will allow the top of the bag to open wider. The zipper does not need to be cut shorter during construction. See below for two examples.)
Bag with an 18” zipper
Bag with a 21” zipper
CUTTING
• Cut the Exterior of the tote as normal
• From the Exterior Fabric cut the following:
• Cut 2: 17.75x2.75" (45 x 7cm) for zipper extension/flaps
• Cut 2: 22x2.25" (55.9 x 5.7cm) for top (recessed portion) of lining
• Cut the Lining Body 1.25" (3.2cm) shorter than the pattern. Make the markings for the welt zippered pocket and pleats the same distance from the top/bottom as is shown on the pattern. (In effect, we're subtracting length from the middle of the pattern.)
From the Lining Fabric, cut the following:
• Cut 2: 17.75x2.75" (45 x 7cm) for bottom side of zipper extension/flaps
From the Webbing, cut the following:
2 pieces 4" (10cm) long for the D-rings (in the video, I cut these 5" but this is longer than needed)
1 piece 52" (132) long for the strap
2 pieces 40" (101cm) long each for the handles (as written in the pattern)

Watch the video above or on YouTube by clicking here. Use the time stamps below to jump to different sections in the video.
TIME STAMPS
:05 Intro
1:44 Part 1: Preparing to Sew
3:53 Part 2: Assemble the Strap
5:53 Part 3: Stitch the D-rings to the exterior
7:56 Part 4: Assemble the zipper
13:02 Part 5: Assemble the lining
17:32 Part 6: Stitch lining to exterior
18:19 Part 7: Finishing the tote
19:20 Thank you!
Scroll down for written instructions.
HOW TO SEW THE RECESSED ZIPPER
Note: A .5" seam allowance is used throughout.
PART 1: Preparing to sew
Cut fabric as instructed above.
Assemble the exterior of the tote as instructed in the pattern booklet. See the Sewalong for videos. You will need to sew the exterior pockets, the pleats, handles and bottom of the tote.
Assemble the lining of the tote as instructed in the pattern booklet. You will need to sew the welt zippered pocket, the pleats, side seam and attach the bottom (leaving an opening). Set aside.
PART 2: Assemble the strap and set aside.
Step 1: Attach the slider to one end of strap. Fold in the raw end and stitch.
Step 2: Thread one hook onto webbing. This hook does not get stitched in place so that when the slider is adjusted the hook can also move.
Step 3: Take the loose end of the webbing and weave it through the slider over the top of the stitched end.
Step 4: Slide the second hook onto the remaining end of the webbing. Fold in the raw edge and stitch in place.
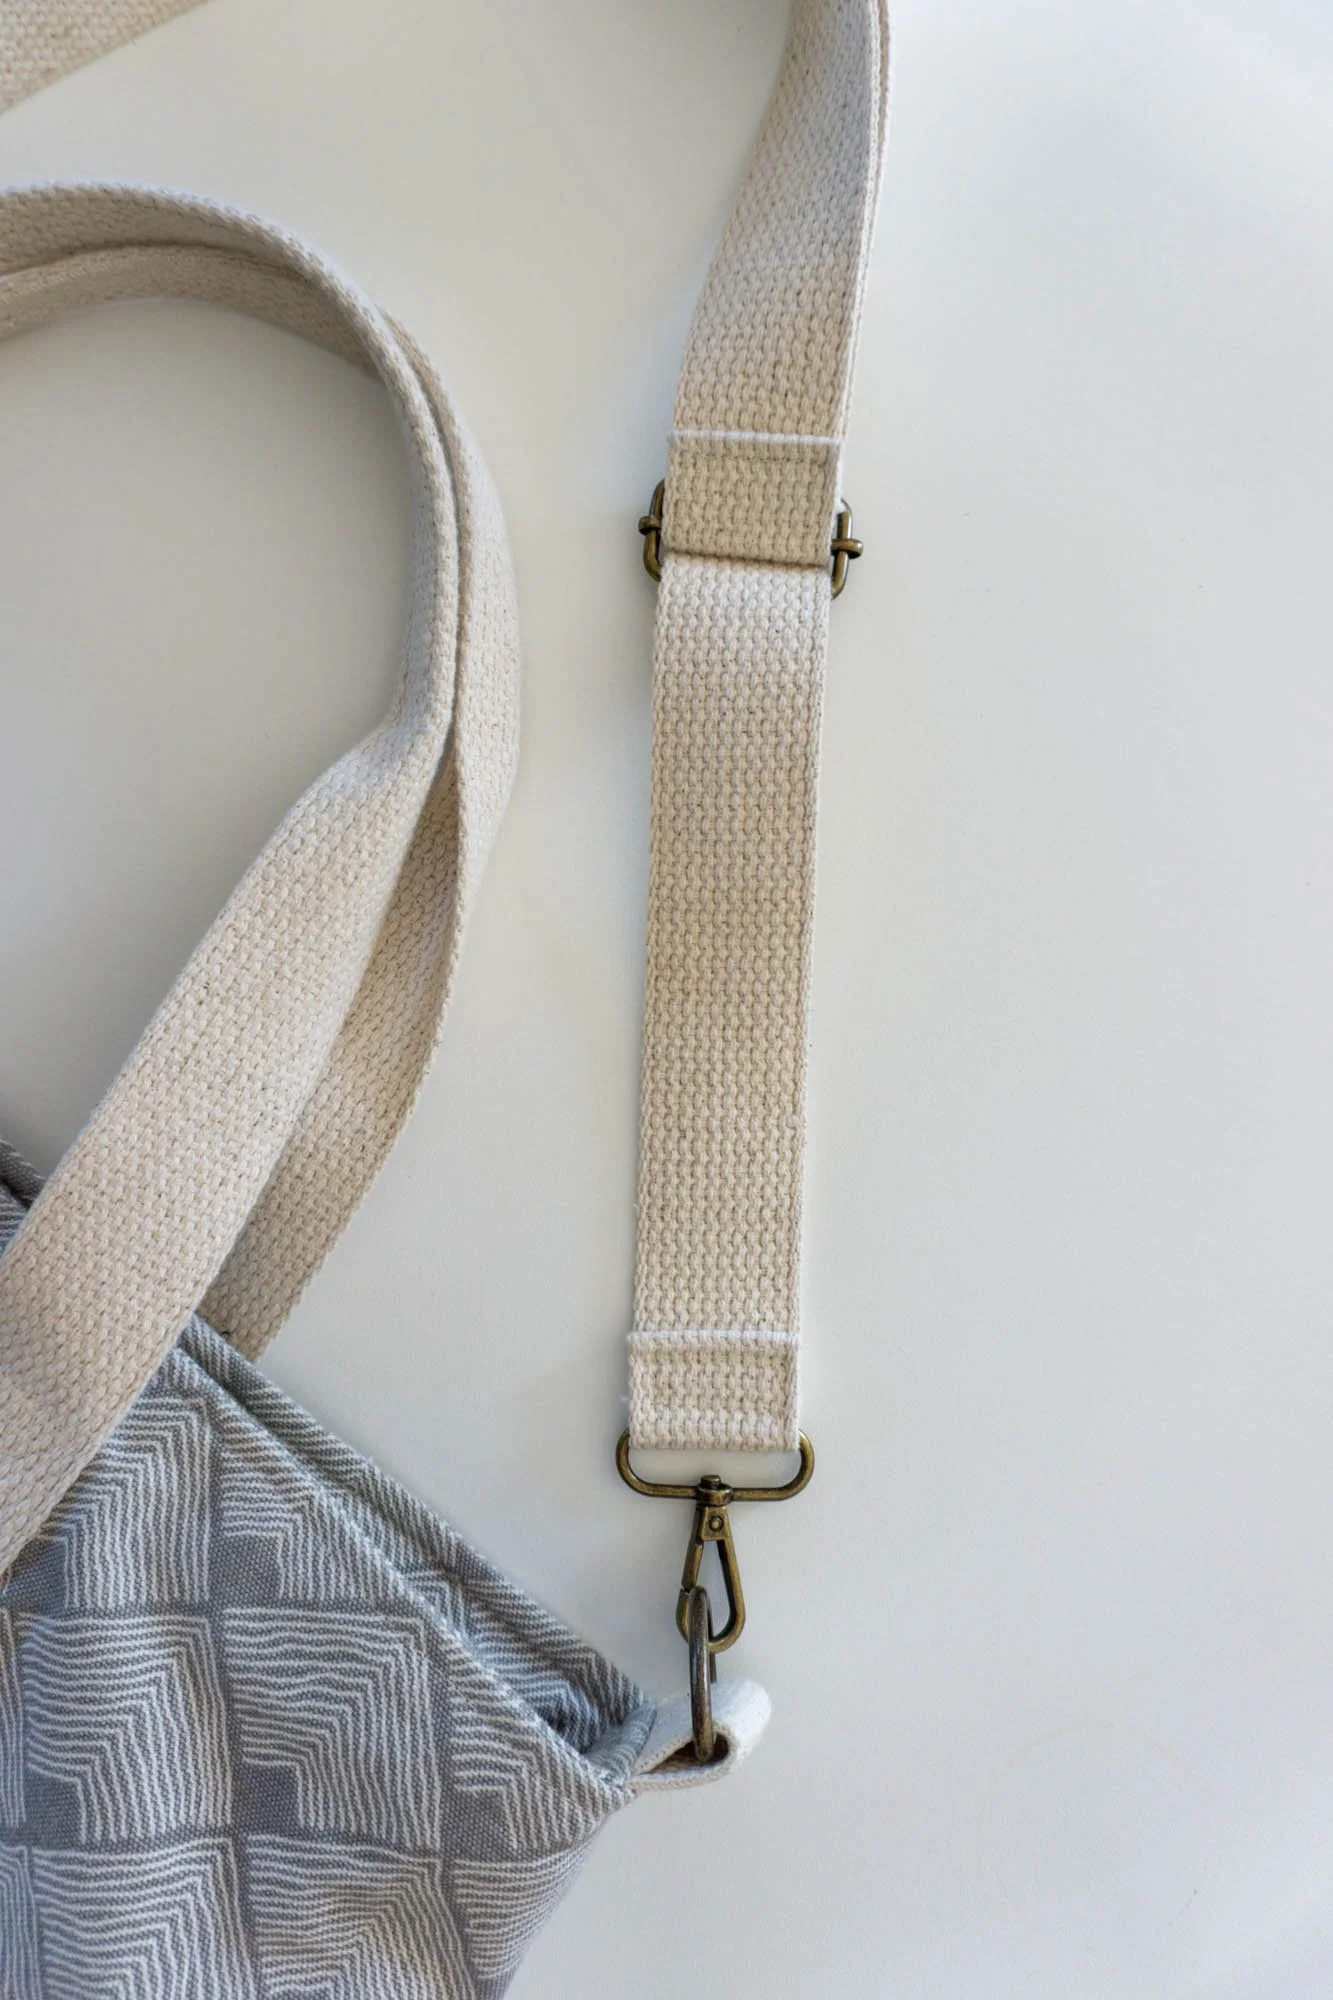
PART 3: Stitch the D-rings to the exterior
Loop one 4" long piece of webbing through each D-Ring and fold webbing in half.
Stitch close to the D-ring.
Baste one D-ring to each side of the exterior bag, aligning the raw edges to the desired length.
PART 4: Assemble the zipper and fabric extensions. Tip: Use a zipper foot and open the zipper to ease stitching.
On the short ends of the fabric extensions, fold and press the seam allowance to the wrong side.
With right sides together, pin or clip one piece of exterior fabric to the right side of the zipper, aligning the folded edge with the zipper stop. Baste in place.
Pin the lining piece to the zipper and stitch. Press fabric away from the zipper.
Repeat for the second set of fabric.
Topstitch the fabric extensions along the folded ends and the zipper.
I also trimmed the fabric extensions to 1.25" after topstitching.
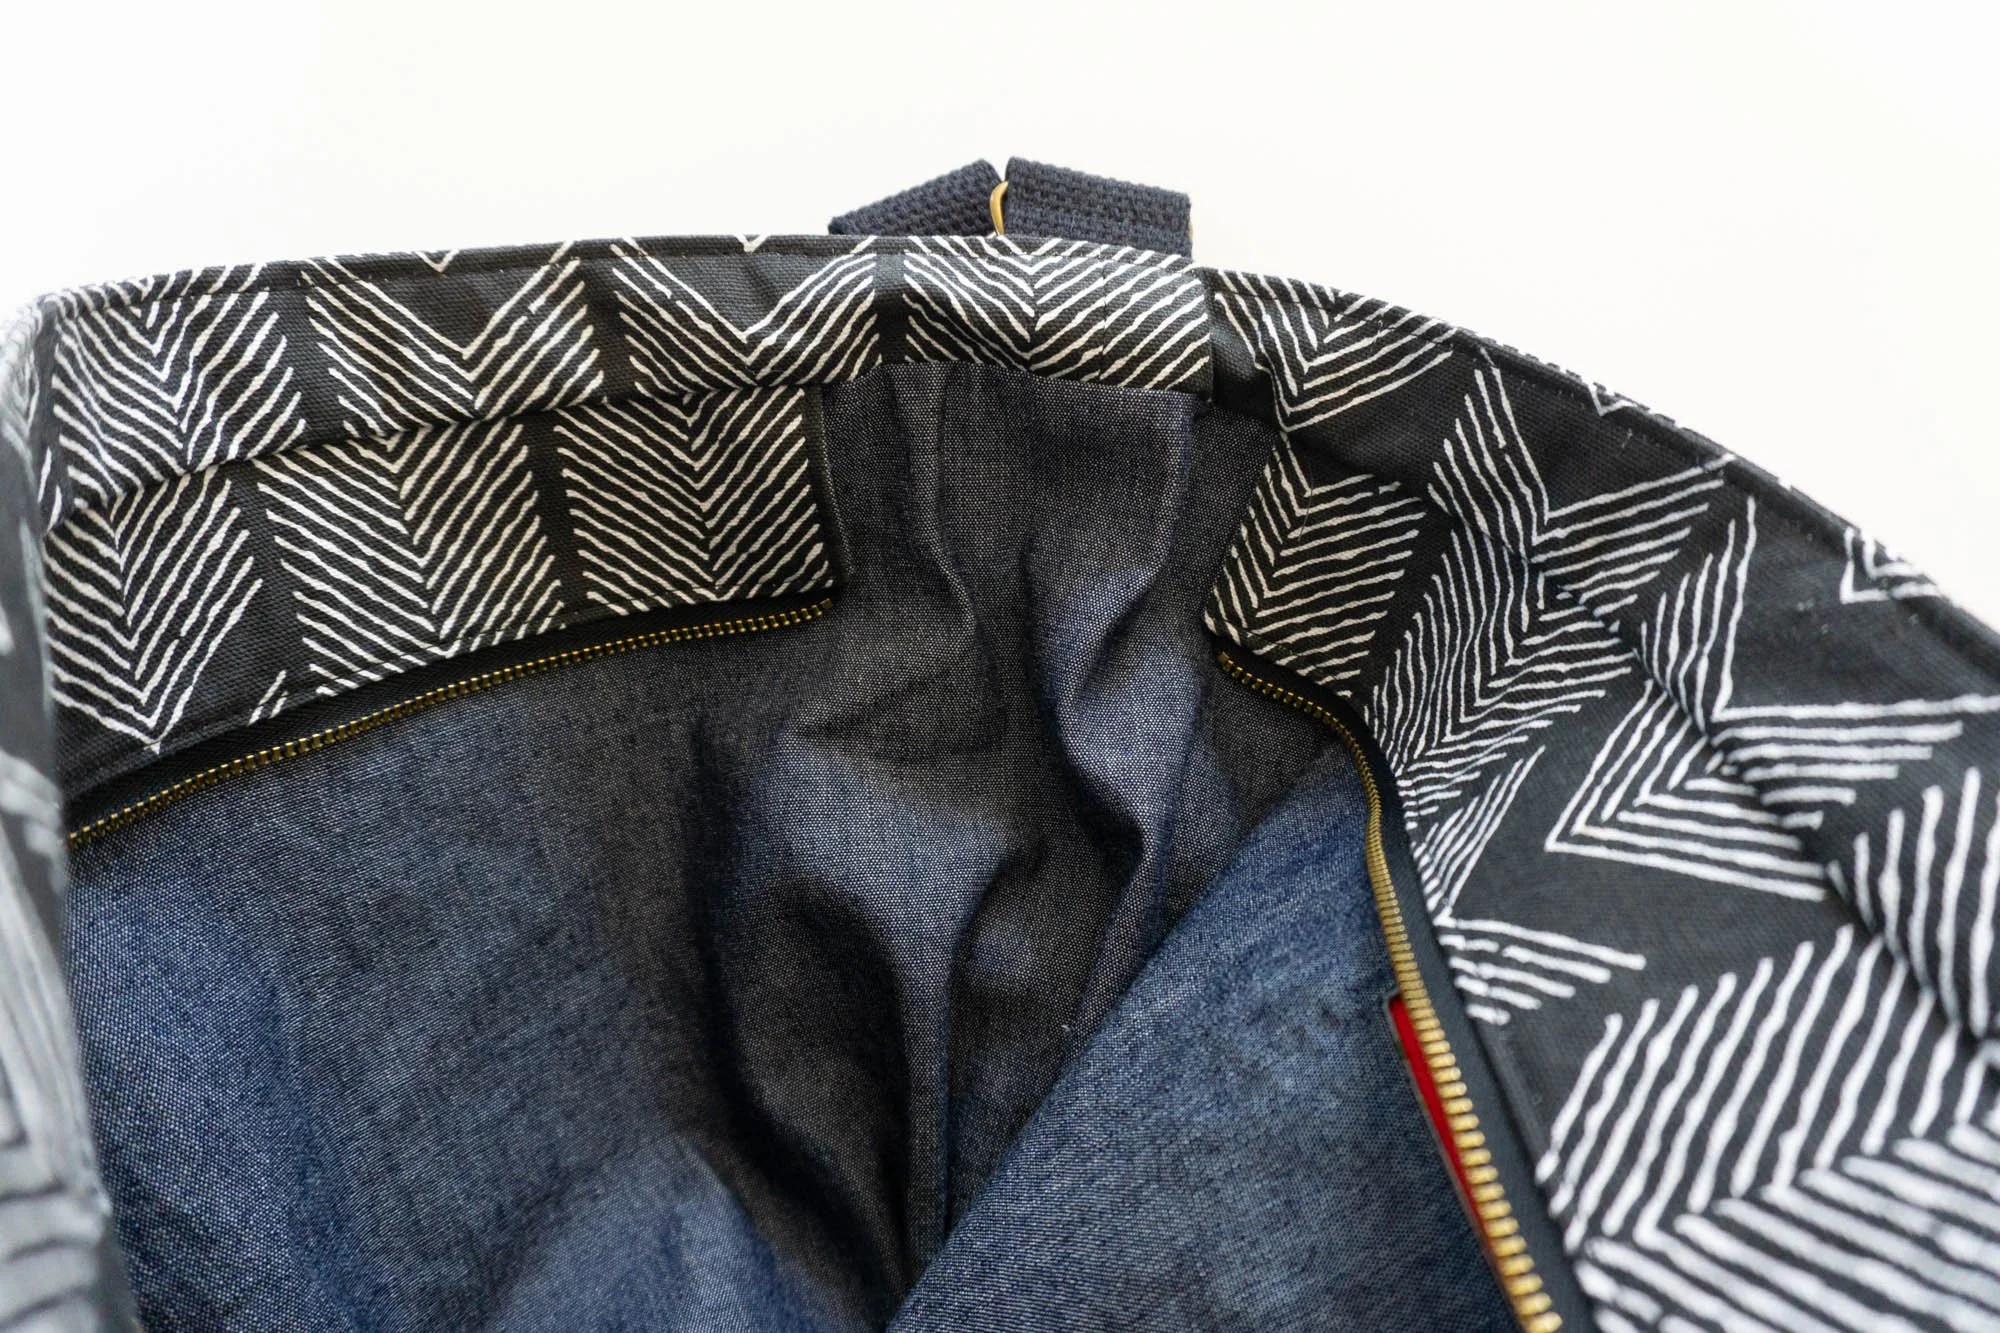
PART 5: Assemble the zippered lining
Stitch the short ends of the Lining top and press the seam allowances open.
Center the zipper on the lining matching the two lining fabrics together. Pin and baste. (The center of the zipper should be aligned with the double notches and the seam in the lining body.)
Stitch the upper lining to the bottom lining.
Grade the seam allowance and press towards the bottom.
PART 6: Stitch lining to exterior
Stitch the lining to the exterior as instructed in the pattern booklet. The only difference is that you’ll stitch through the webbing holding the D-rings on the sides of the bags.
PART 7: Finishing the tote
Turn right side out through the opening in the lining. Topstitch and press.
Stitch the opening in the lining closed.
Use the swivel hooks to attach the strap to the D-rings.
I hope that you found this tutorial helpful. Click here to see all of the posts in Bucket Tote Sewalong. Or, scroll through them below.


The Sew DIY Bucket Tote is the perfect "throw & go" bag with a wide top opening so you can easily see and access everything inside. This fully-lined tote is thoughtfully designed with an oval base, pleats at each end and exterior and interior pockets.
The pattern includes both regular and small sizes, giving you options for wherever life takes you. The regular size is perfect for a day at the pool or a short road trip while the small size can be used to carry your lunch or a small craft project.
Both sizes have two exterior patch pockets and one interior pocket. The regular size has a welt zippered pocket inside and the small size has an interior patch pocket. The handles are made from cotton webbing that are topstitched to the sides of the bag and secured in the bottom seam.
This digital pattern includes:
• Illustrated instruction booklet
• Print-at-home layered pattern (Letter/A4)
• US copy shop and A0 patterns
• Projector pattern
Scroll down for more details.
THIS IS NOT A PHYSICAL PRODUCT. After checkout, you will receive a link to the pattern that will be active for 24 hours after you click it. Prices are in USD.
About the Sew DIY Bucket Tote pattern:
This fully-lined tote is thoughtfully designed with an oval base, pleats at each end and exterior and interior pockets.
The pattern includes both regular and small sizes, giving you options for wherever life takes you. The regular size is perfect for a day at the pool or a short road trip while the small size can be used to carry your lunch or a small craft project.
Both sizes have two exterior patch pockets and one interior pocket. The regular size has a welt zippered pocket inside and the small size has an interior patch pocket. The handles are made from cotton webbing and are topstitched to the sides of the bag and secured in the bottom seam.
If you’d like to save this post for later, you can save the image below to Pinterest. Happy sewing!