
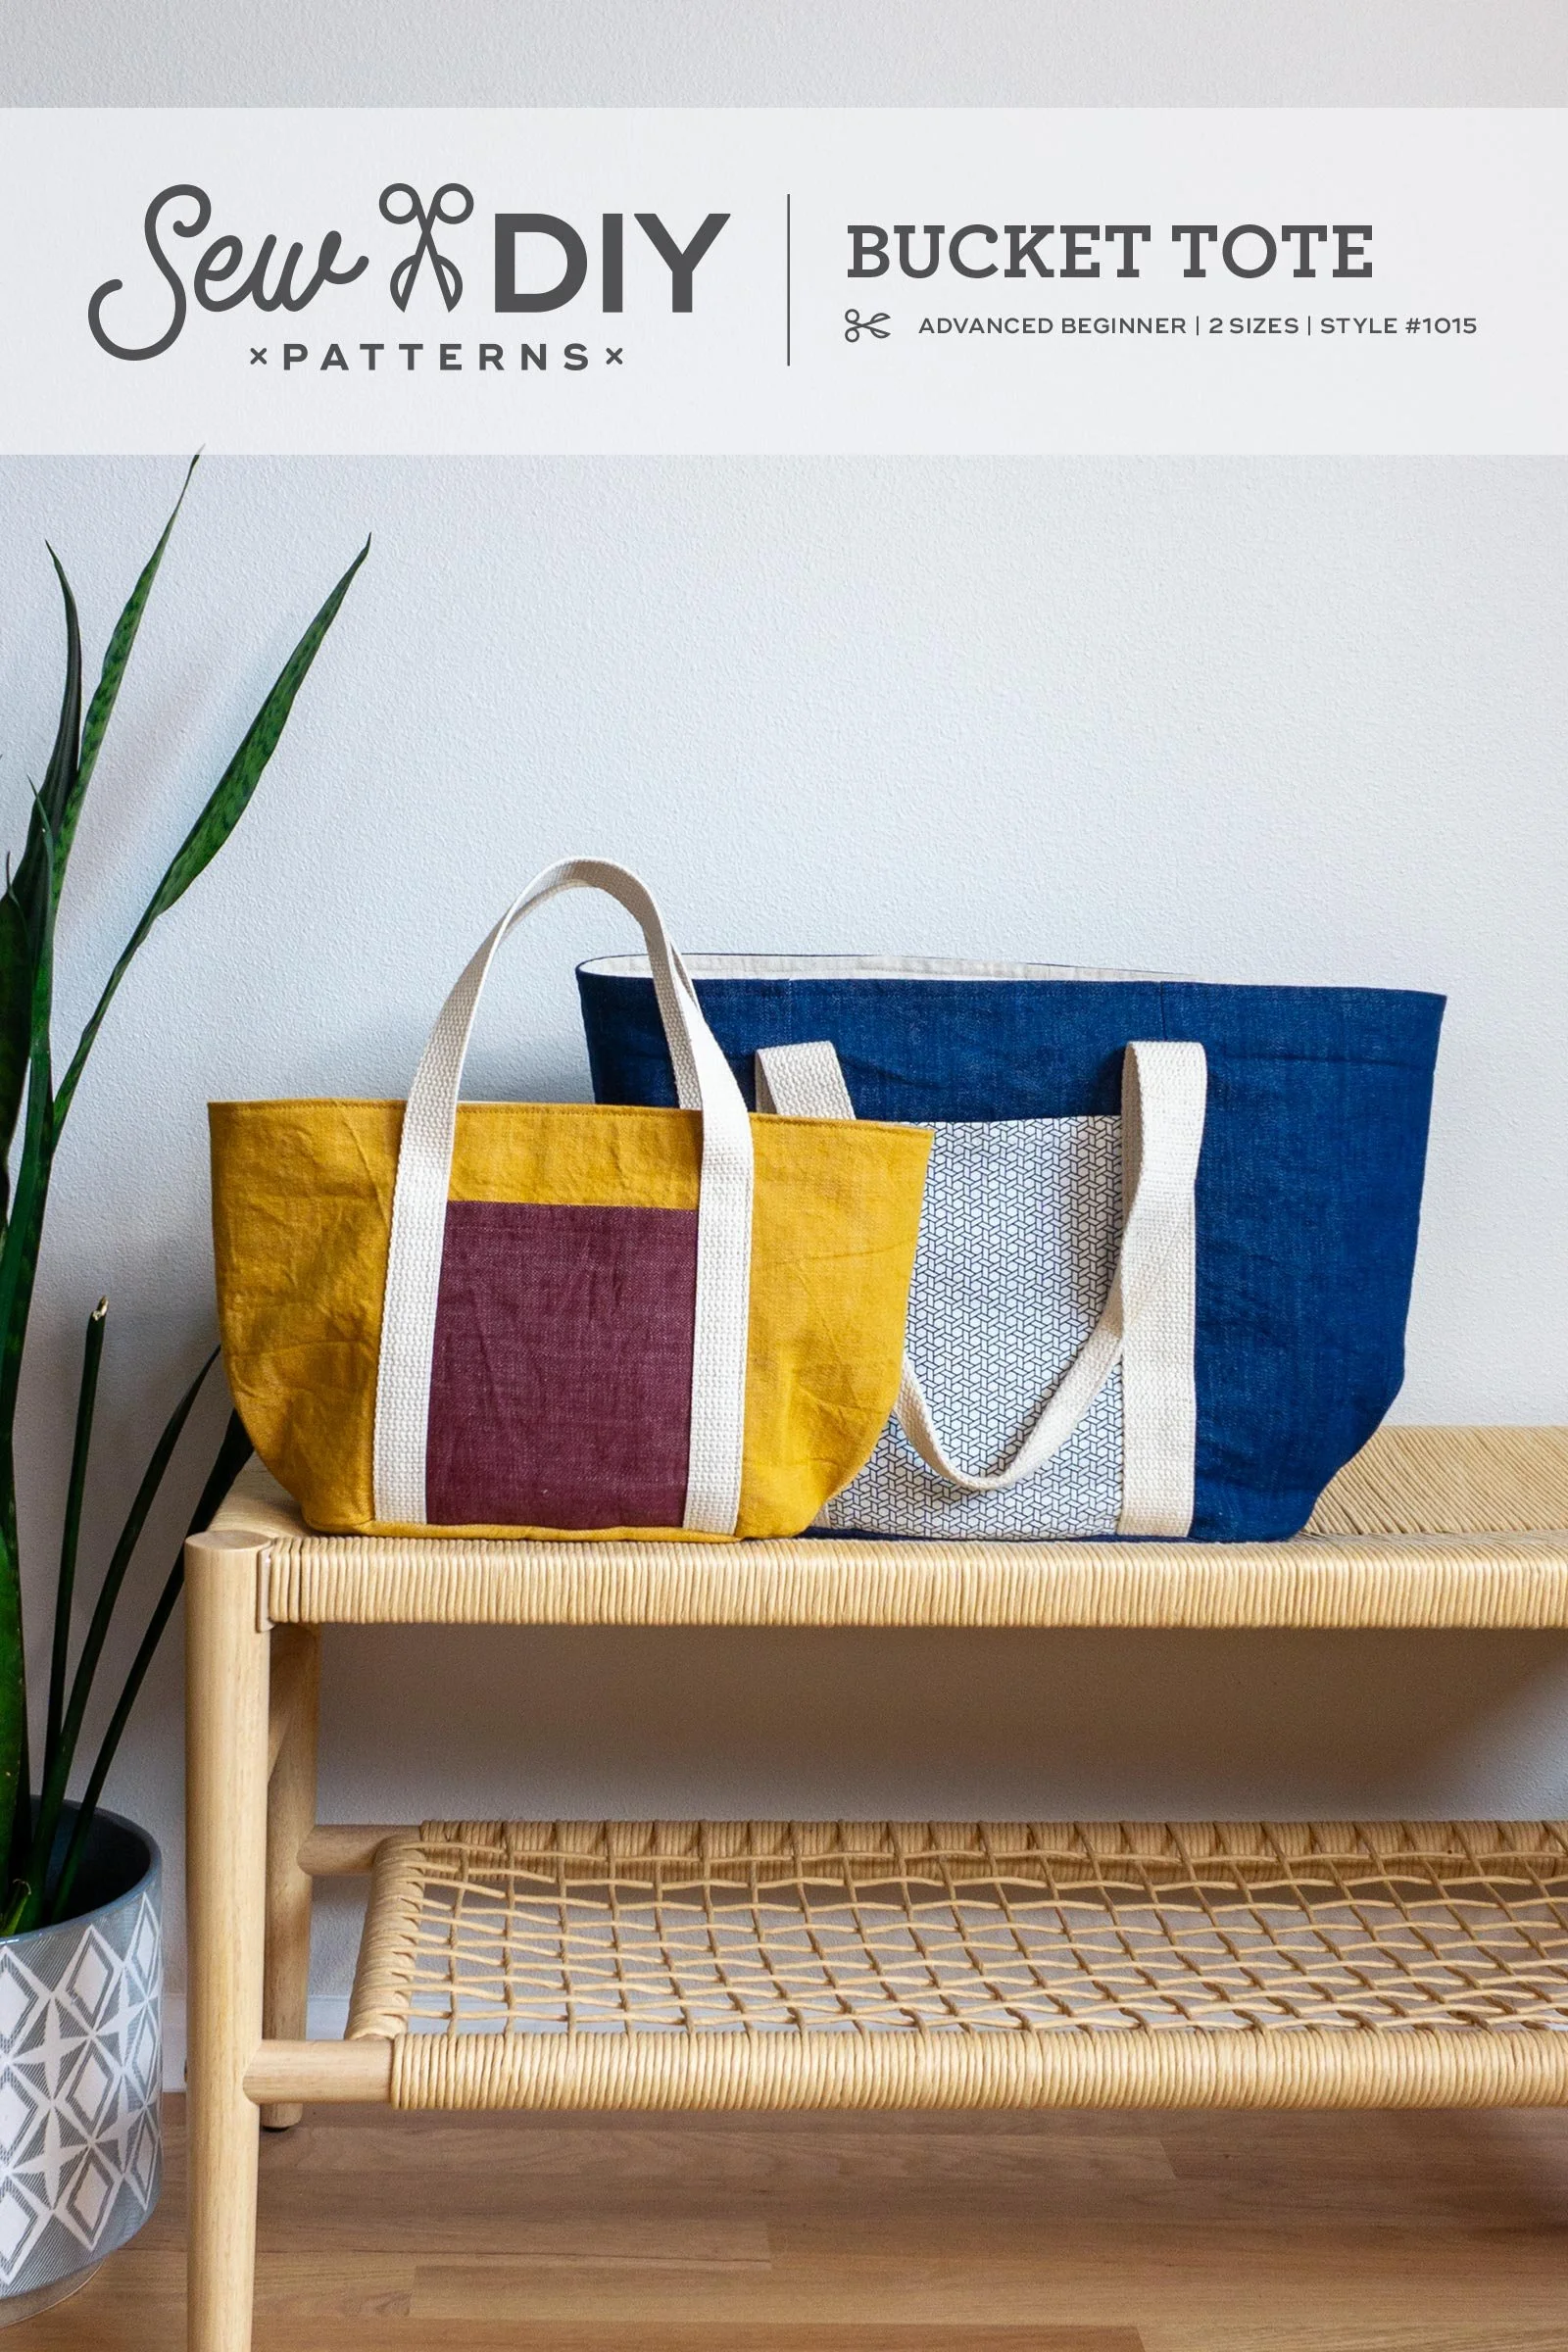
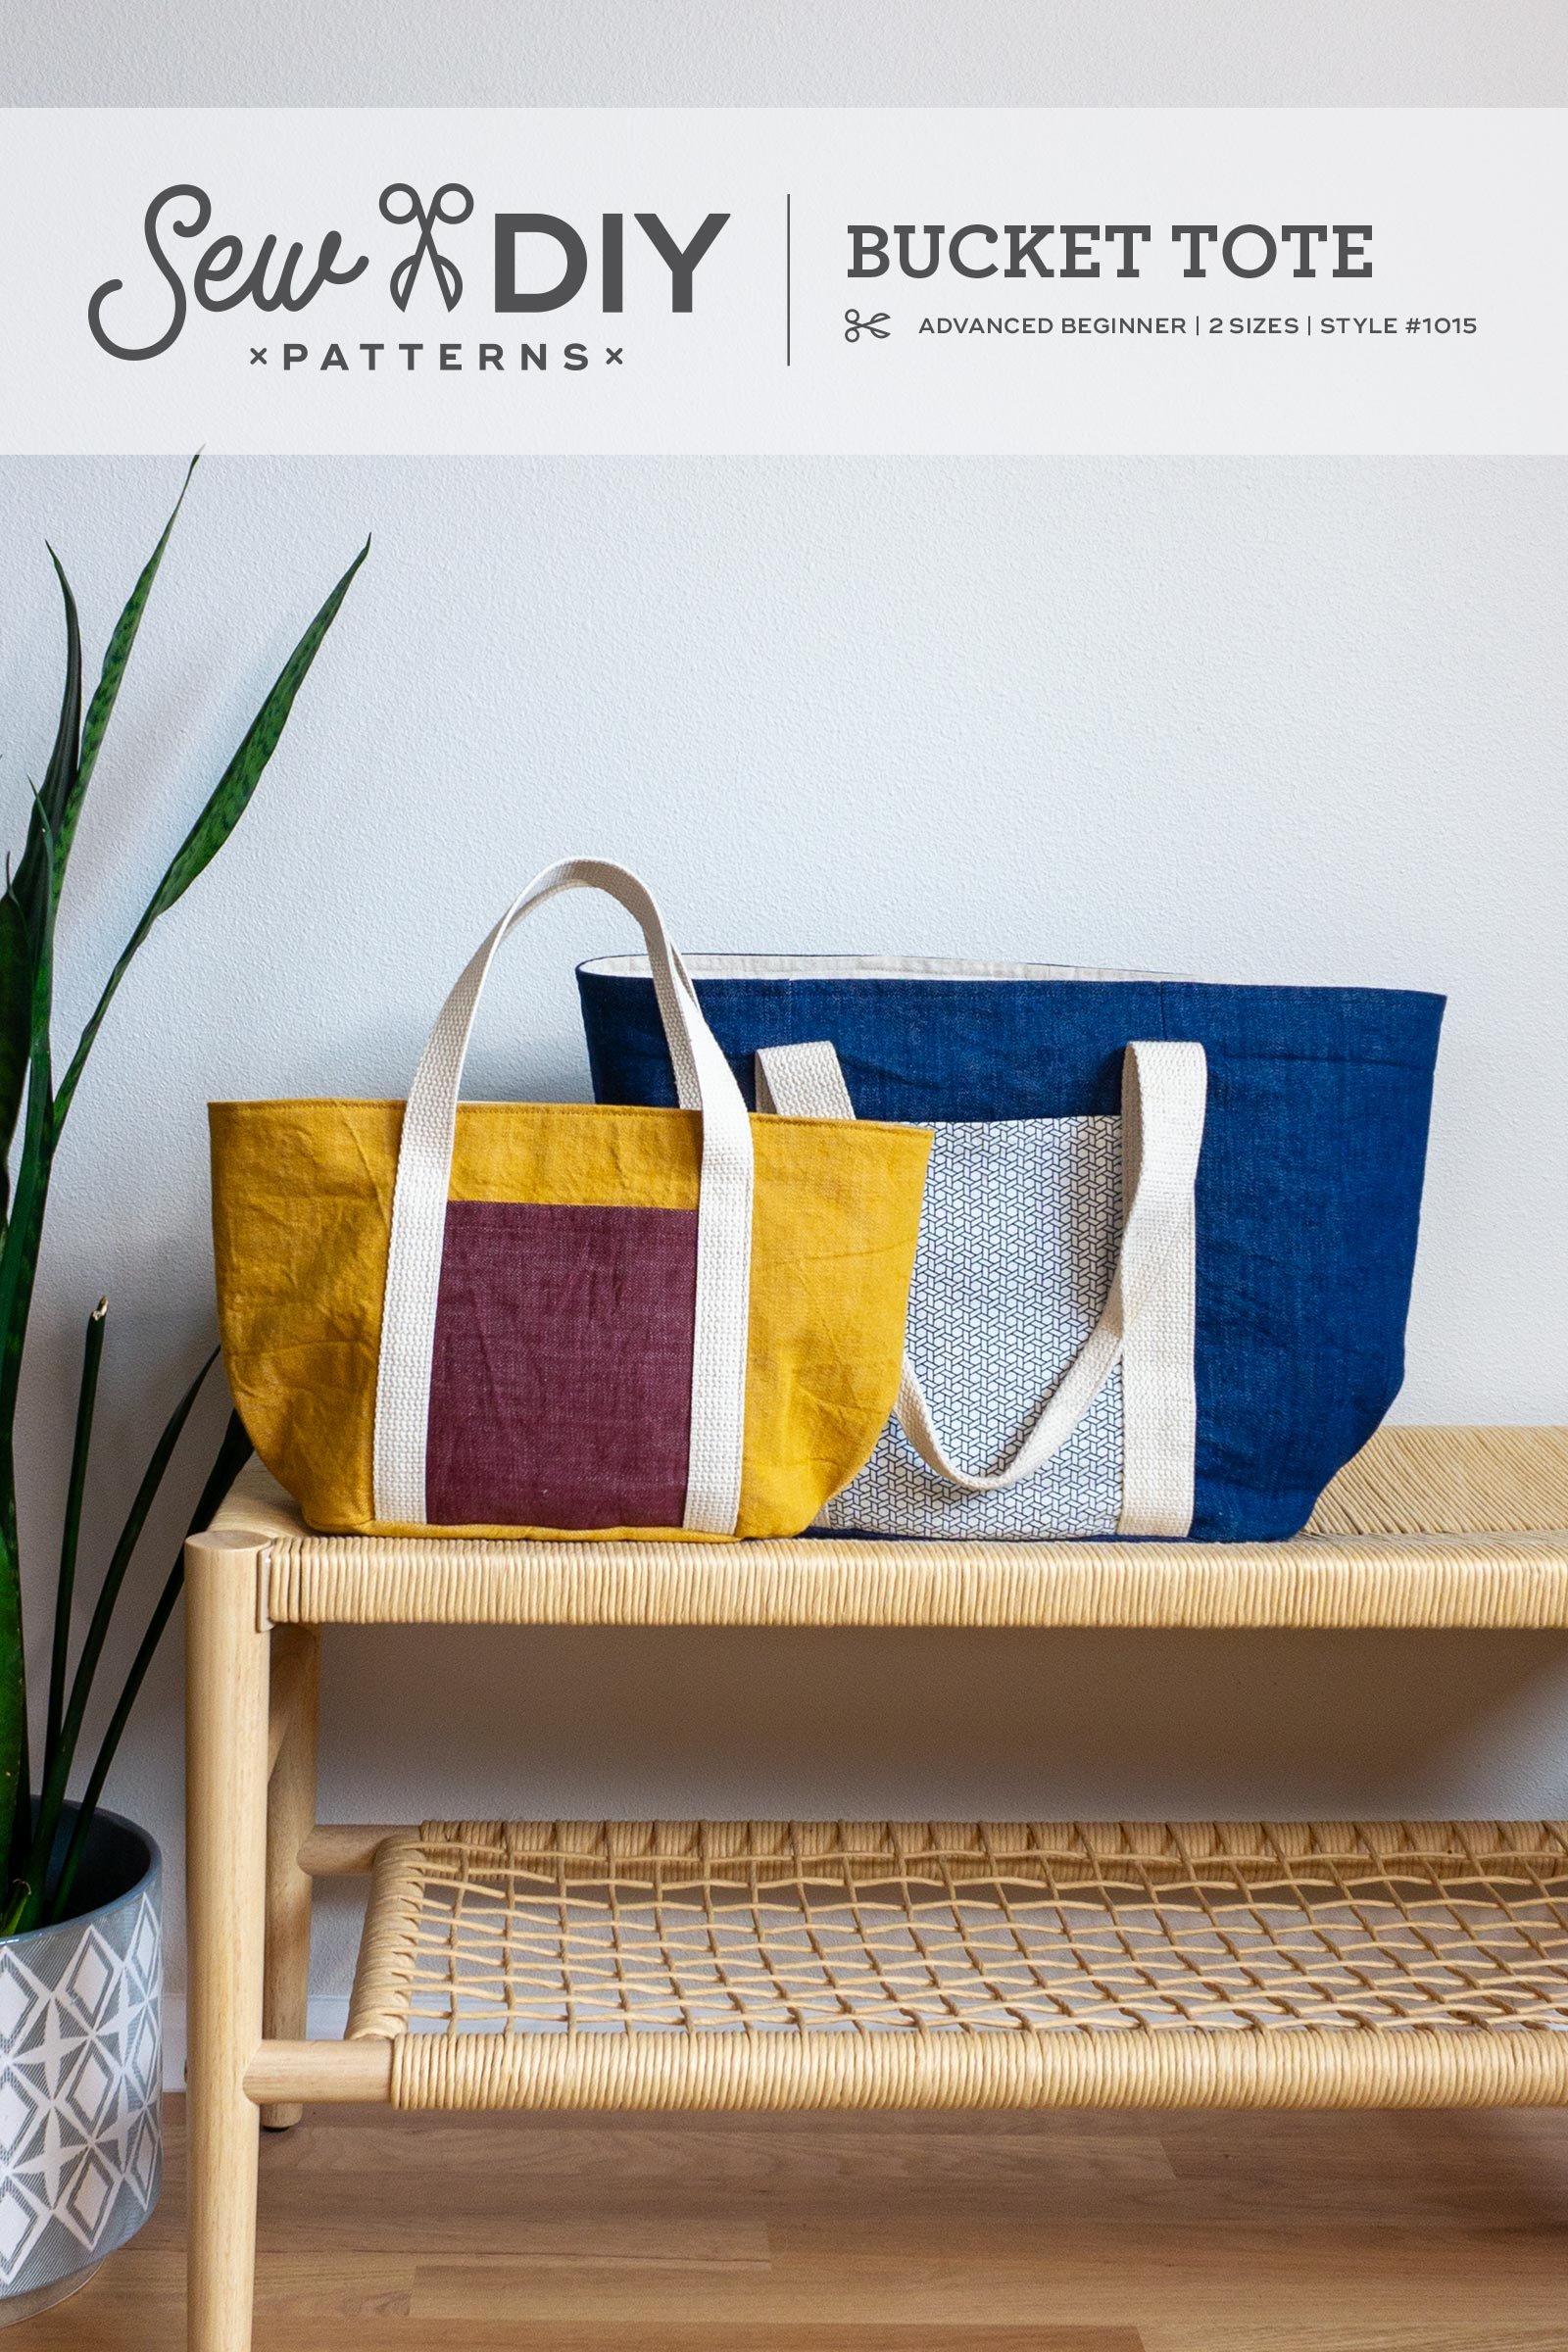
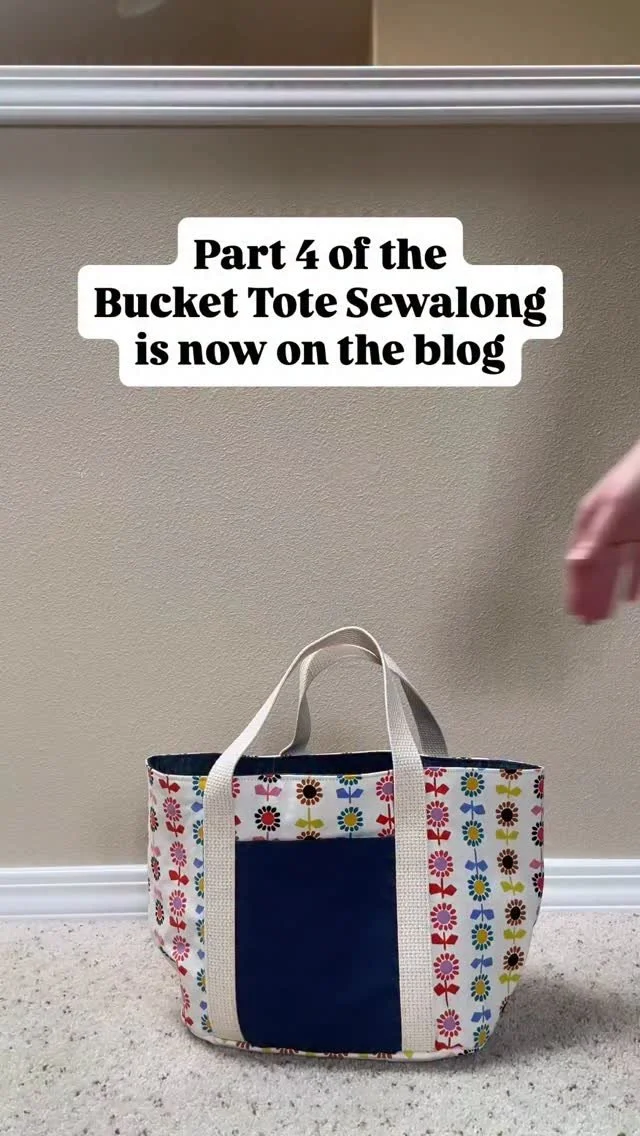
The Sew DIY Bucket Tote is the perfect "throw & go" bag with a wide top opening so you can easily see and access everything inside. This fully-lined tote is thoughtfully designed with an oval base, pleats at each end and exterior and interior pockets.
The pattern includes both regular and small sizes, giving you options for wherever life takes you. The regular size is perfect for a day at the pool or a short road trip while the small size can be used to carry your lunch or a small craft project.
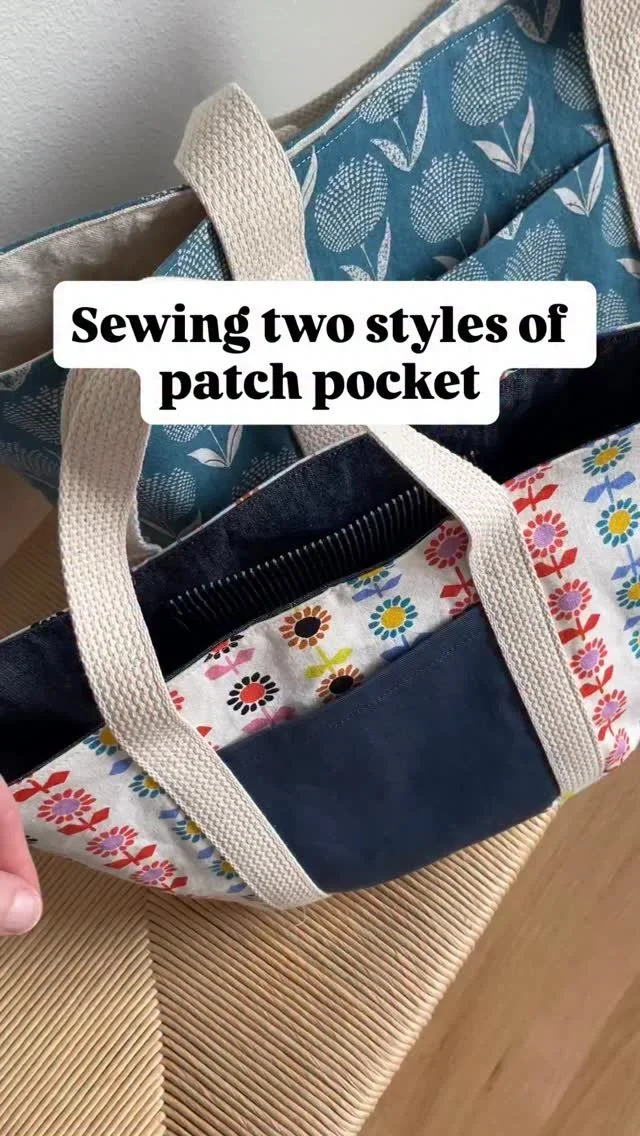
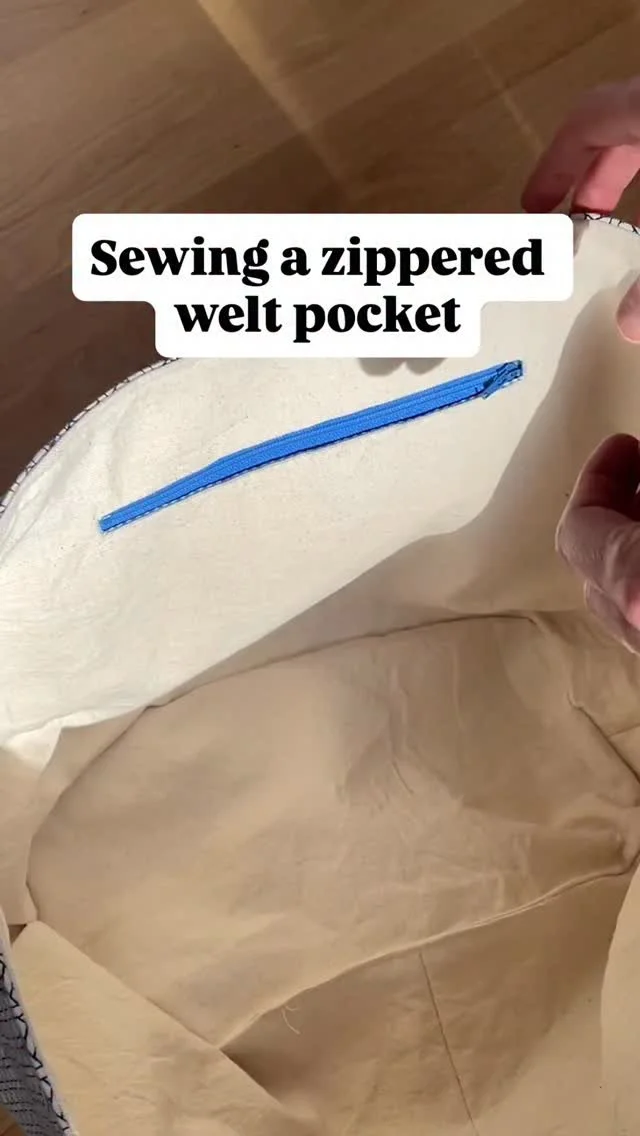
Both sizes have two exterior patch pockets and one interior pocket. The regular size has a welt zippered pocket inside and the small size has an interior patch pocket. The handles are made from cotton webbing that are topstitched to the sides of the bag and secured in the bottom seam.
This digital pattern includes:
• Illustrated instruction booklet
• Print-at-home layered pattern (Letter/A4)
• US copy shop and A0 patterns
• Projector pattern
Scroll down for more details.
THIS IS NOT A PHYSICAL PRODUCT. After checkout, you will receive a link to the pattern that will be active for 24 hours after you click it. Prices are in USD.
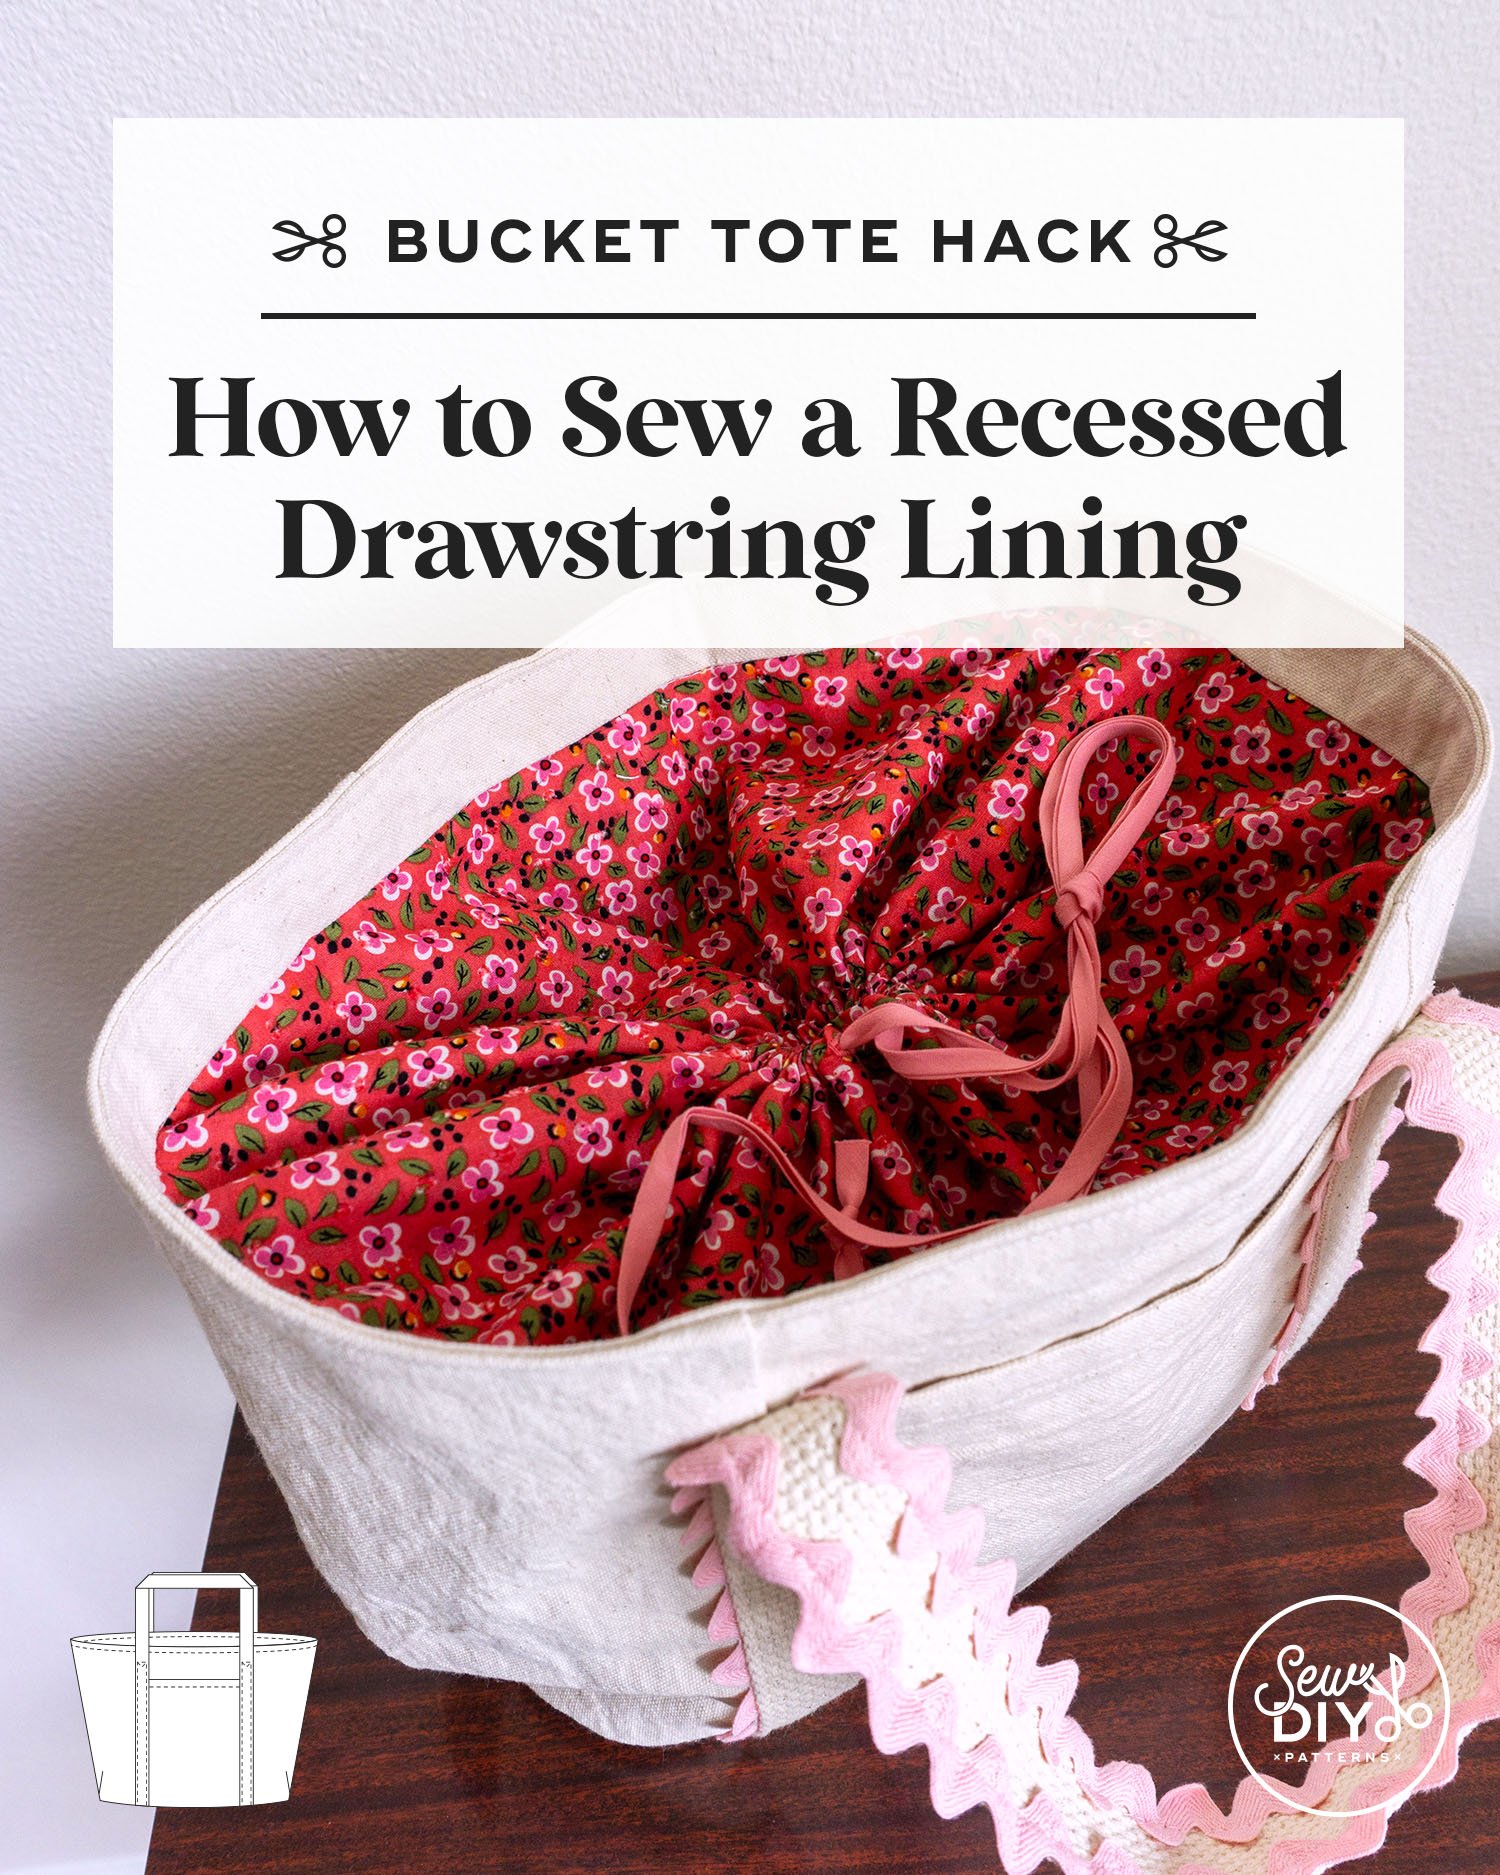
Hello sew-friends! Today, I have another two part hack for my Bucket Tote sewing pattern. For this version of the tote, I've taken the small size and added a recessed drawstring closure to the lining and decorative trim to the handles. You can use both hacks in one bag, or either one individually.
This drawstring hack is similar to the recessed zipper hack that I shared a few weeks ago. The construction is the same as usual for the exterior and the hack is only applied to the lining. Just like with the recessed zipper, the lining is divided to have a narrow facing at the top, a new closure layer and then the lining below. The drawstring casing is made from a separate piece of fabric that is the same circumference as the bag. When not in use, the casing can be pushed flat against the lining of the bag. When the drawstring is tightened, the casing covers the top of the bag.
For an extra dose of cute (and because I have a ton of jumbo rick rack in my stash), I've also topstitched rick rack to the handles. The construction of the bag is the same, just the trim is added. This is a quick hack that adds a lot of charm to the tote.
In this post, I’ll start by sharing how to add trim to the handles and then how to add a drawstring to the lining.
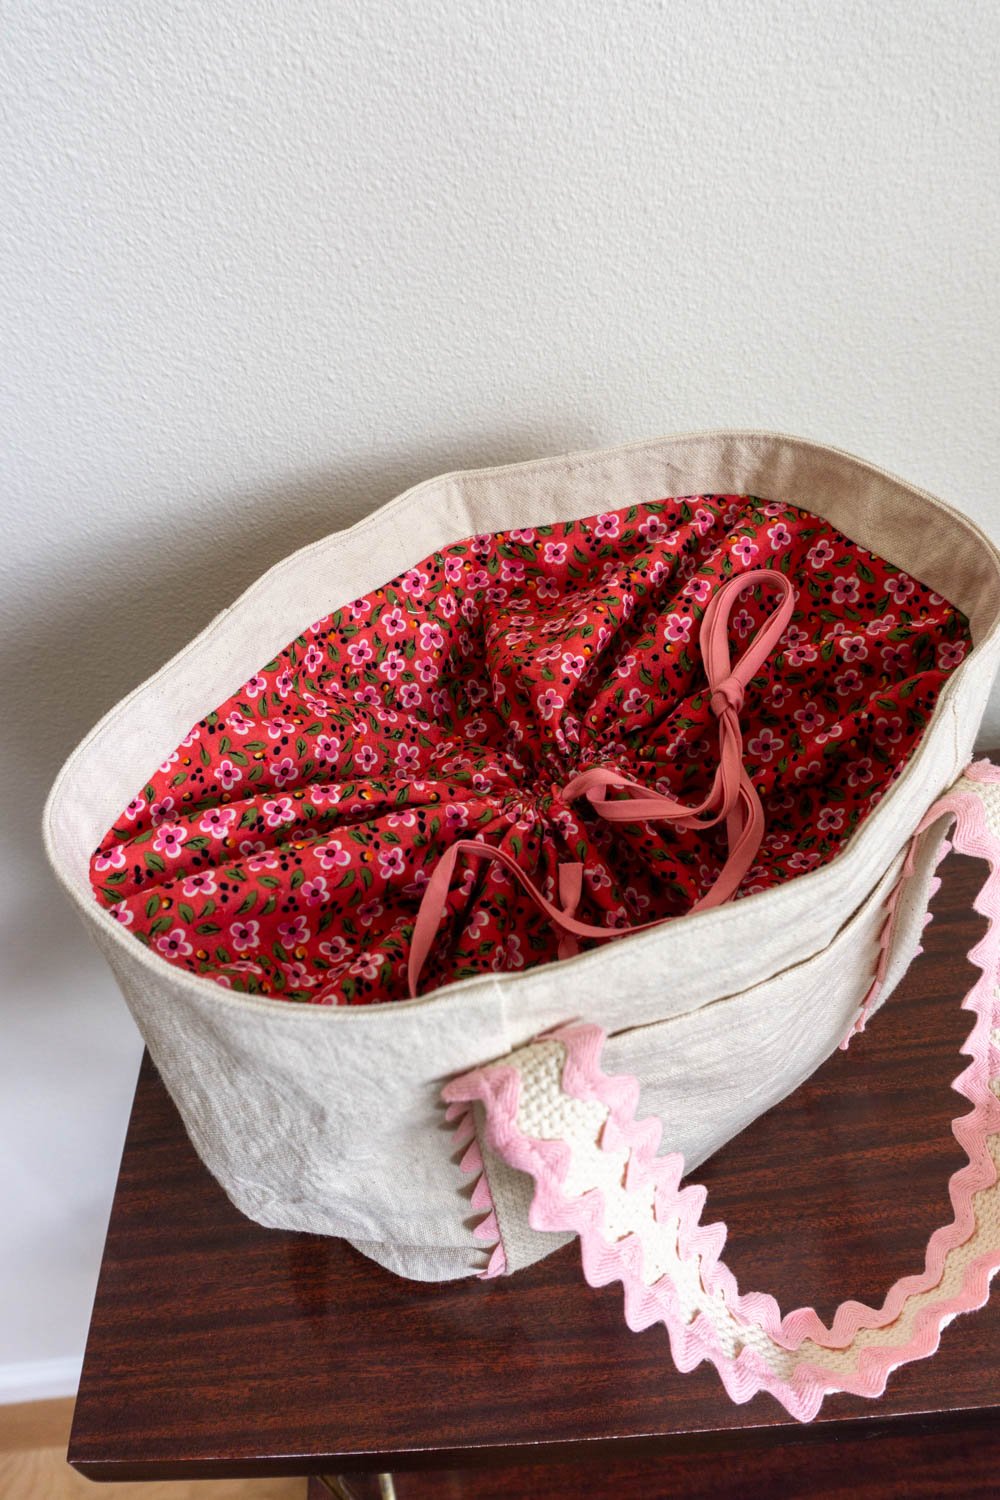
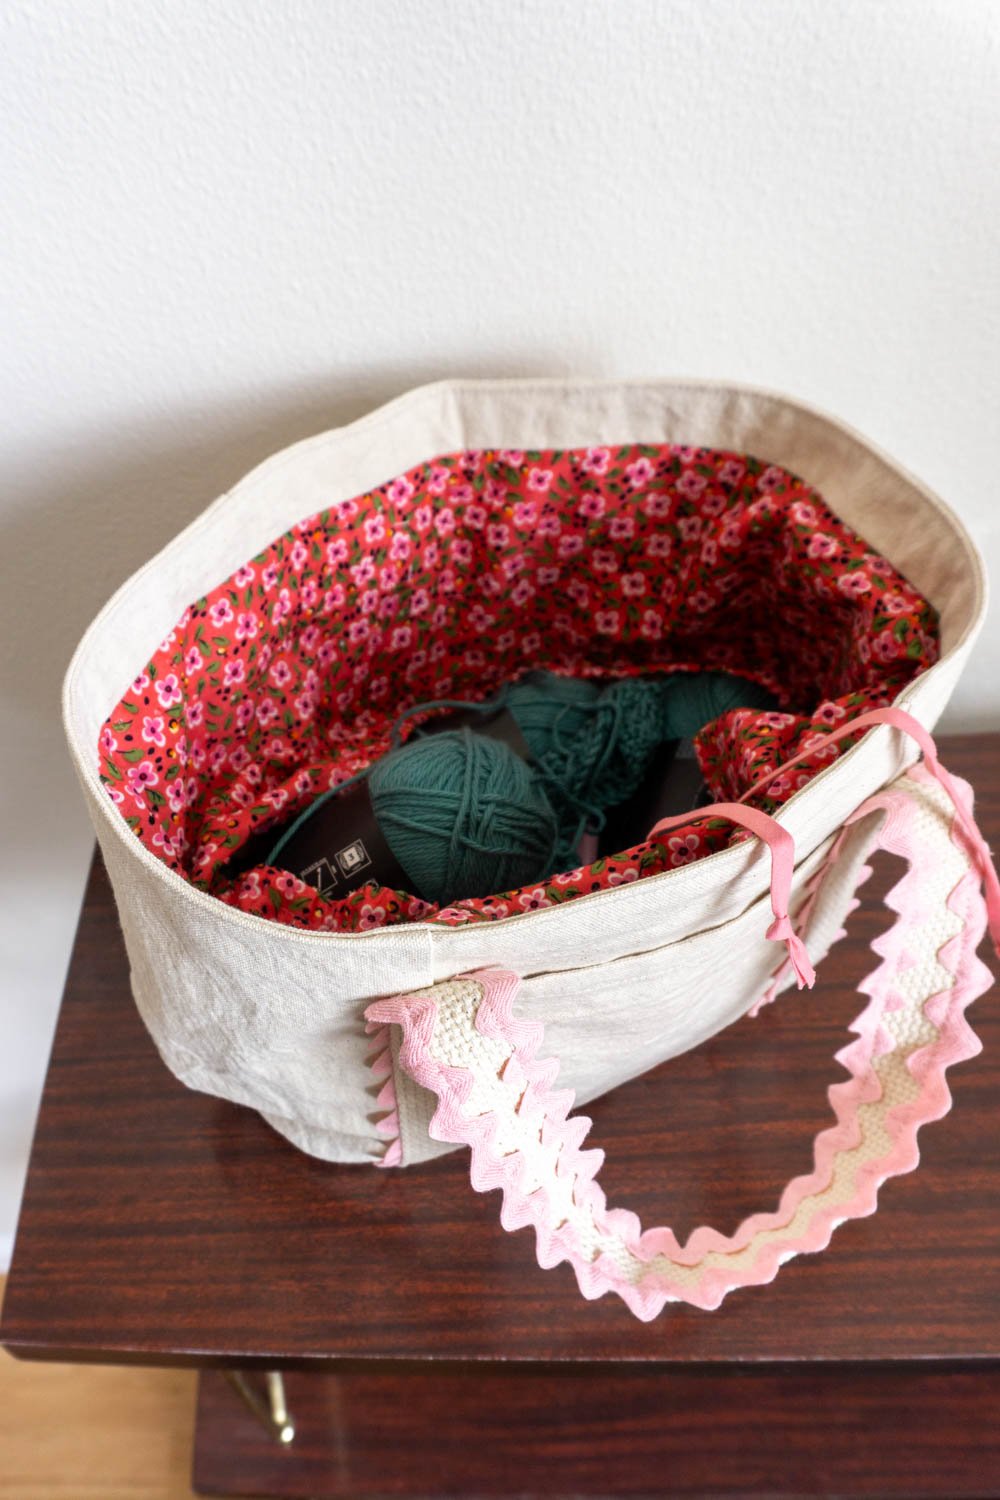
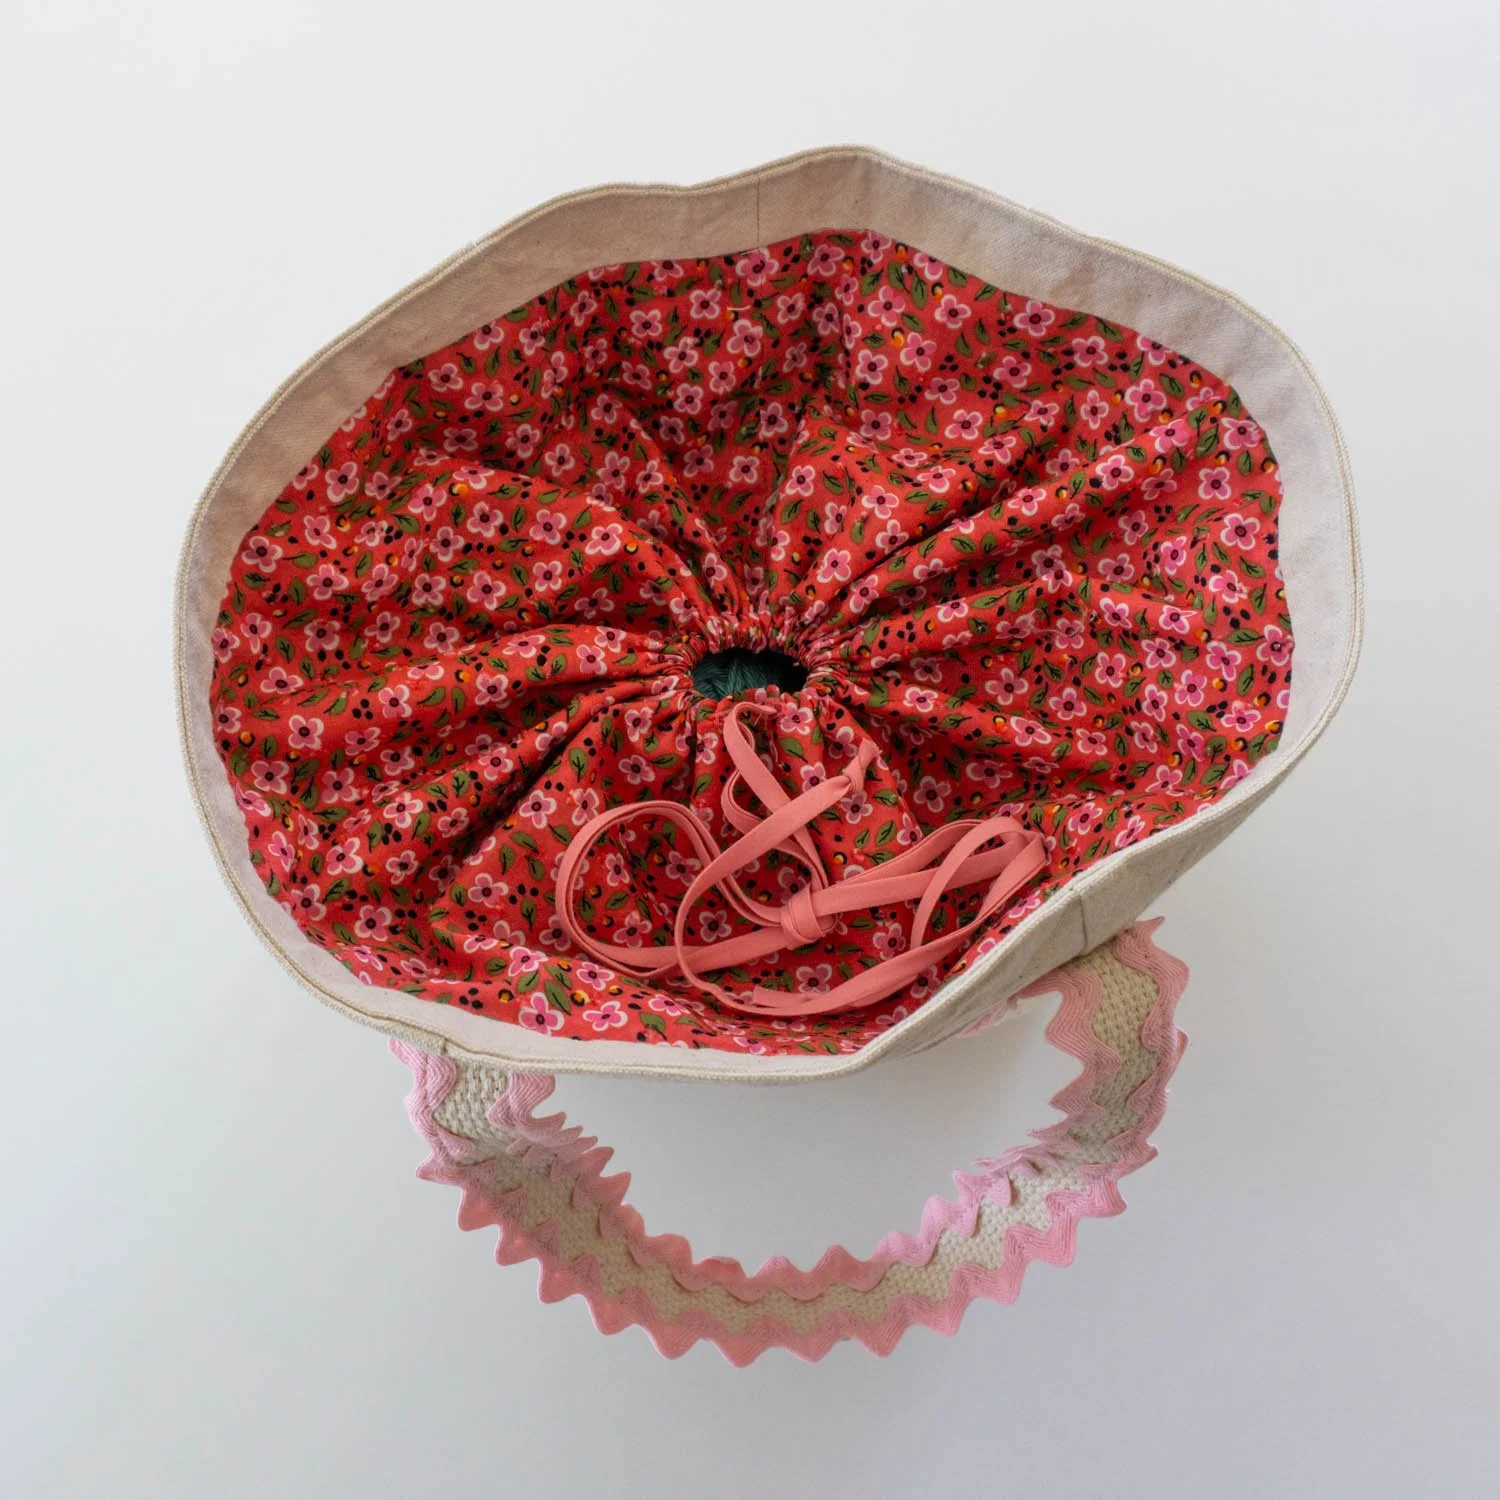
The drawstring part of the lining is made with an additional piece of fabric that is attached below the top edge of the tote. When the drawstring is pulled tight, the fabric covers the top of the tote. When loosened, the drawstring casting area can be pushed down against the lining or pulled up over the top edge for easy access to your belongings.
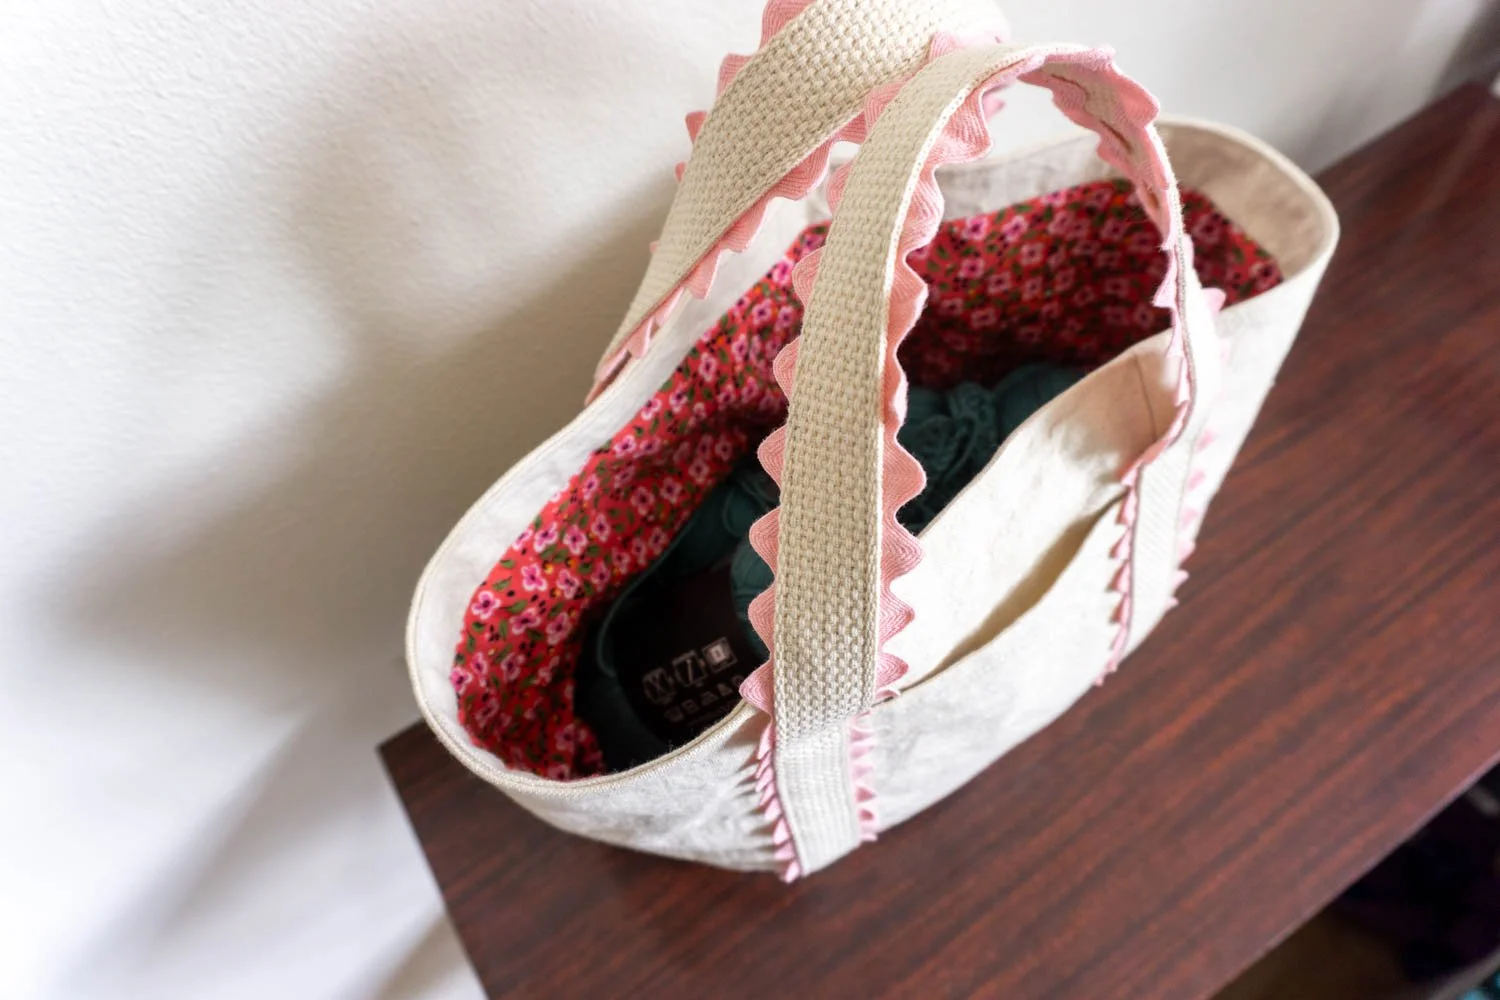
HOW TO SEW rick rack handles
To apply trim to each side of the webbing, you'll need twice the amount of trim as your webbing. In this example, I'm using extra wide (aka jumbo) rick rack. For the small tote, you'll need 120" rick rack. For the regular size tote, you'll need 160" of rick rack.
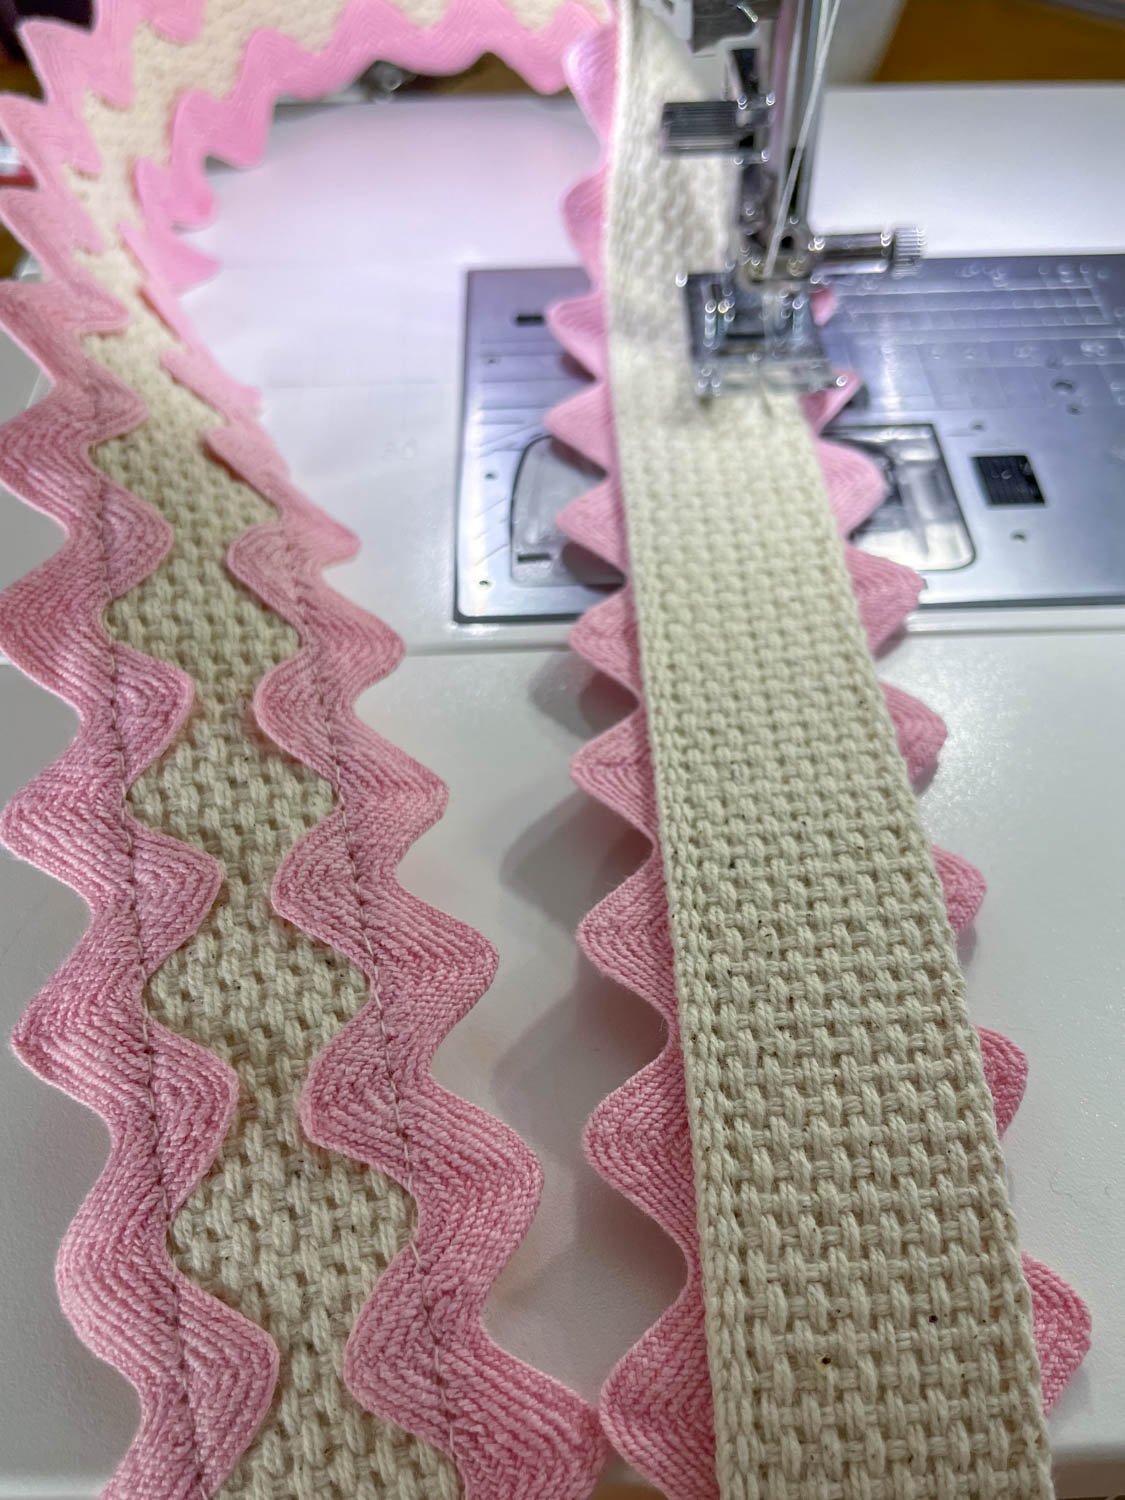
Use clips to hold the rick rack and webbing together. I stitched with the rick rack on bottom and only half visible from the right side. Using a medium length (about 3.0) straight stitch, topstitch the rick rack to each side of the cotton webbing, stitching close to the finished edge of the webbing. I used cream colored thread in both the needle and bobbin and it blends in nicely with these colors. Attach the handles to the bag as usual.
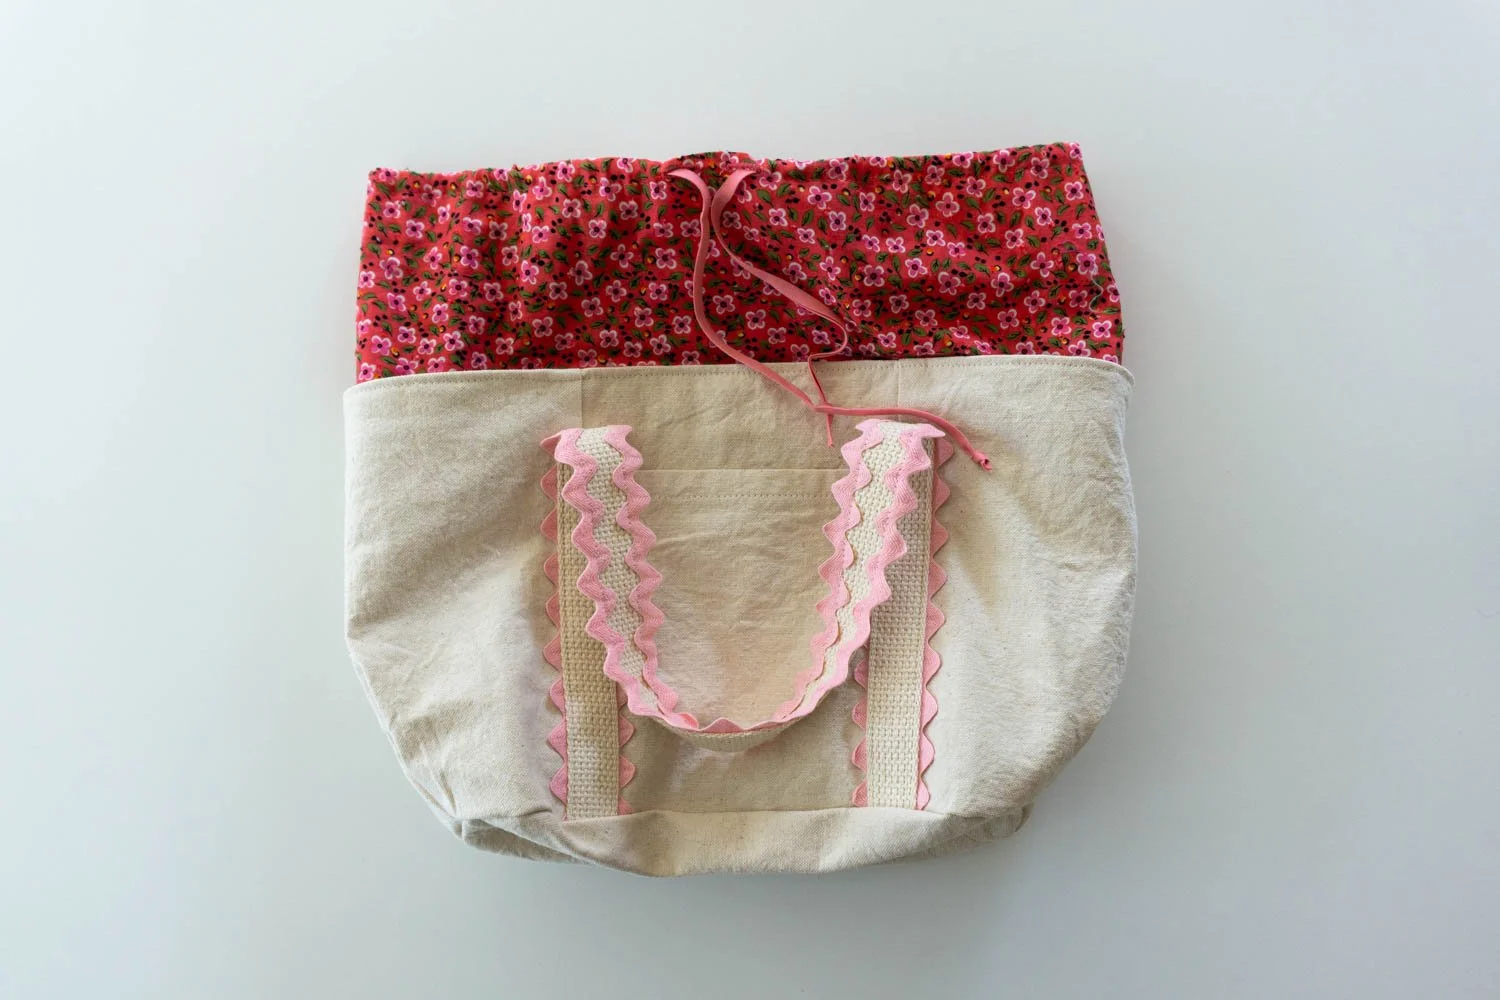
Here the drawstring casing is pulled up beyond the finished edge of the tote.
How to Add a Drawstring lining to the Bucket Tote
The drawstring casing is made with a contrasting fabric and can be pulled up above the finished edge of the tote (as seen above), or hidden inside. The fabric for the casing should be thin and pliable enough that the drawstring can be easily tightened. I recommend a light weight woven fabric, like quilting cotton.
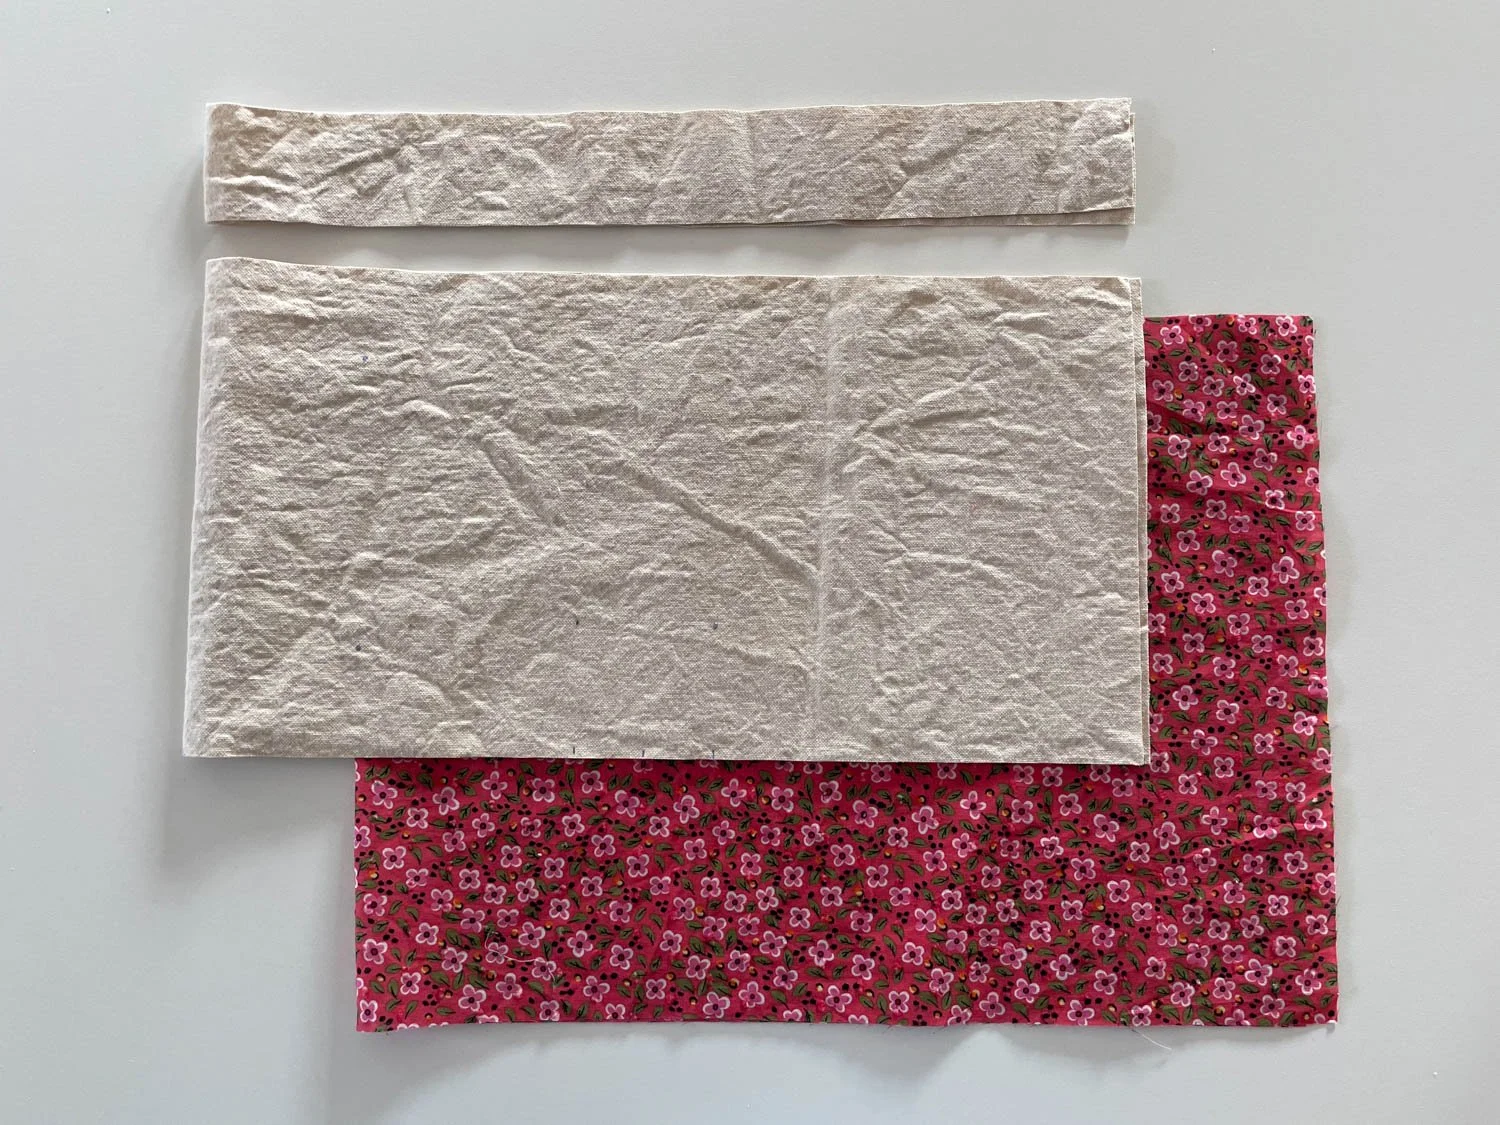
Facing, lining and casing fabric for the small size bucket tote
SUPPLIES:
Lightweight woven fabric (such as quilting cotton)
• Small size, cut one piece 32.5" x 12"
• Regular size, cut one piece 43" x 17"
Drawstring (I used double fold bias tape)
INSTRUCTIONS
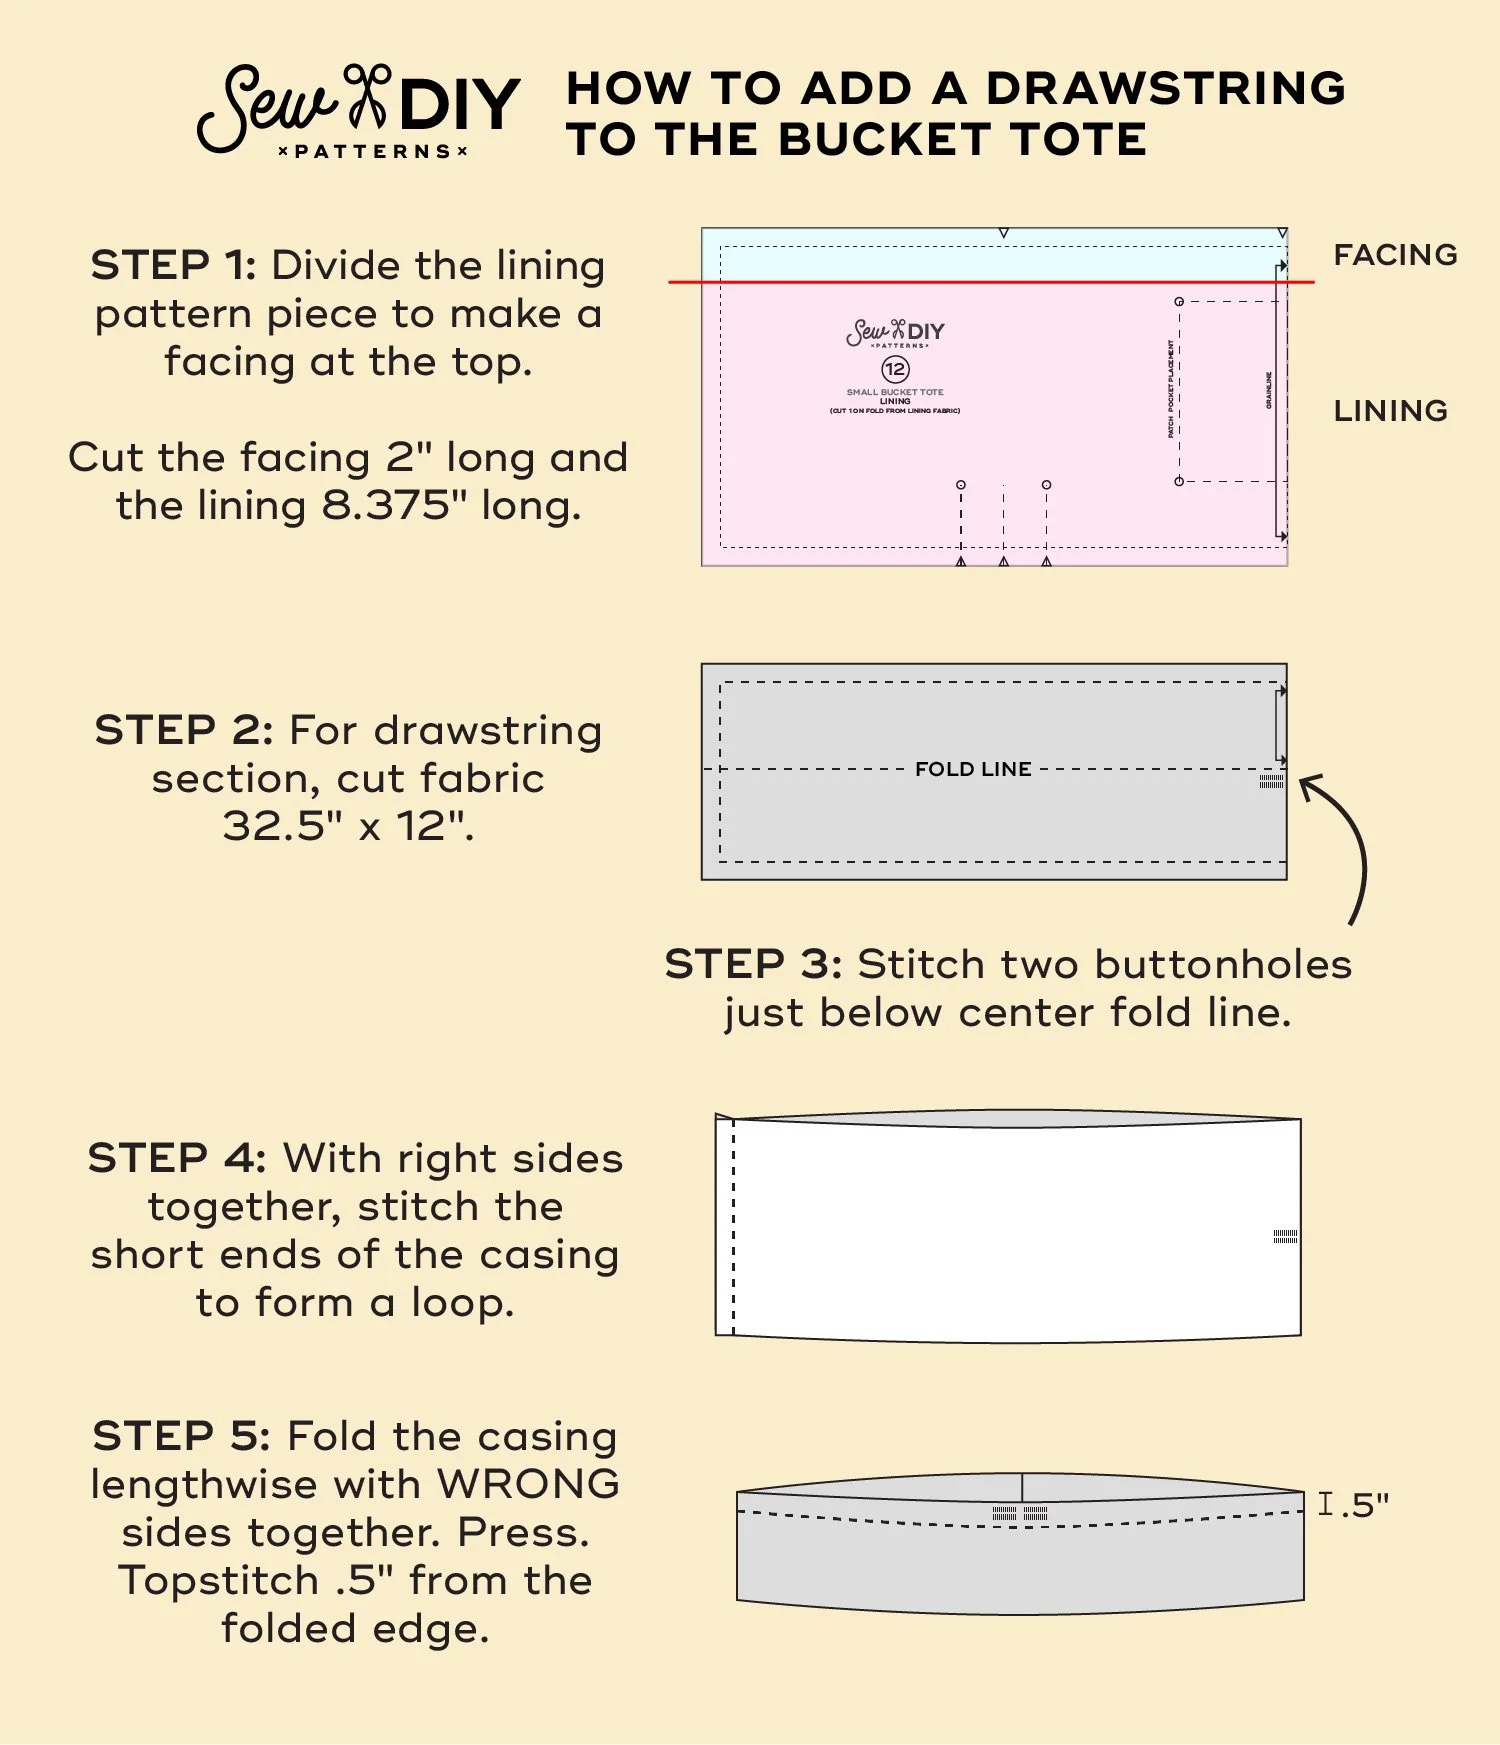
Note: The seam allowance is .5 inch. The dimensions in the graphic above are for the small size. See written instructions below for regular size tote dimensions.
Step 1: When cutting the lining fabric, cut one piece 2" high for the facing (above the drawstring). For the small size tote, cut a second piece 8.375" high for the lining (below the drawstring). For the regular size tote, cut a second piece 11.875” high for the lining. The width should match the pattern piece.
Step 2: Follow the instructions to stitch the patch pocket and the pleats in the lining. With right sides together, stitch the short ends of the lining together. Repeat for the facing.
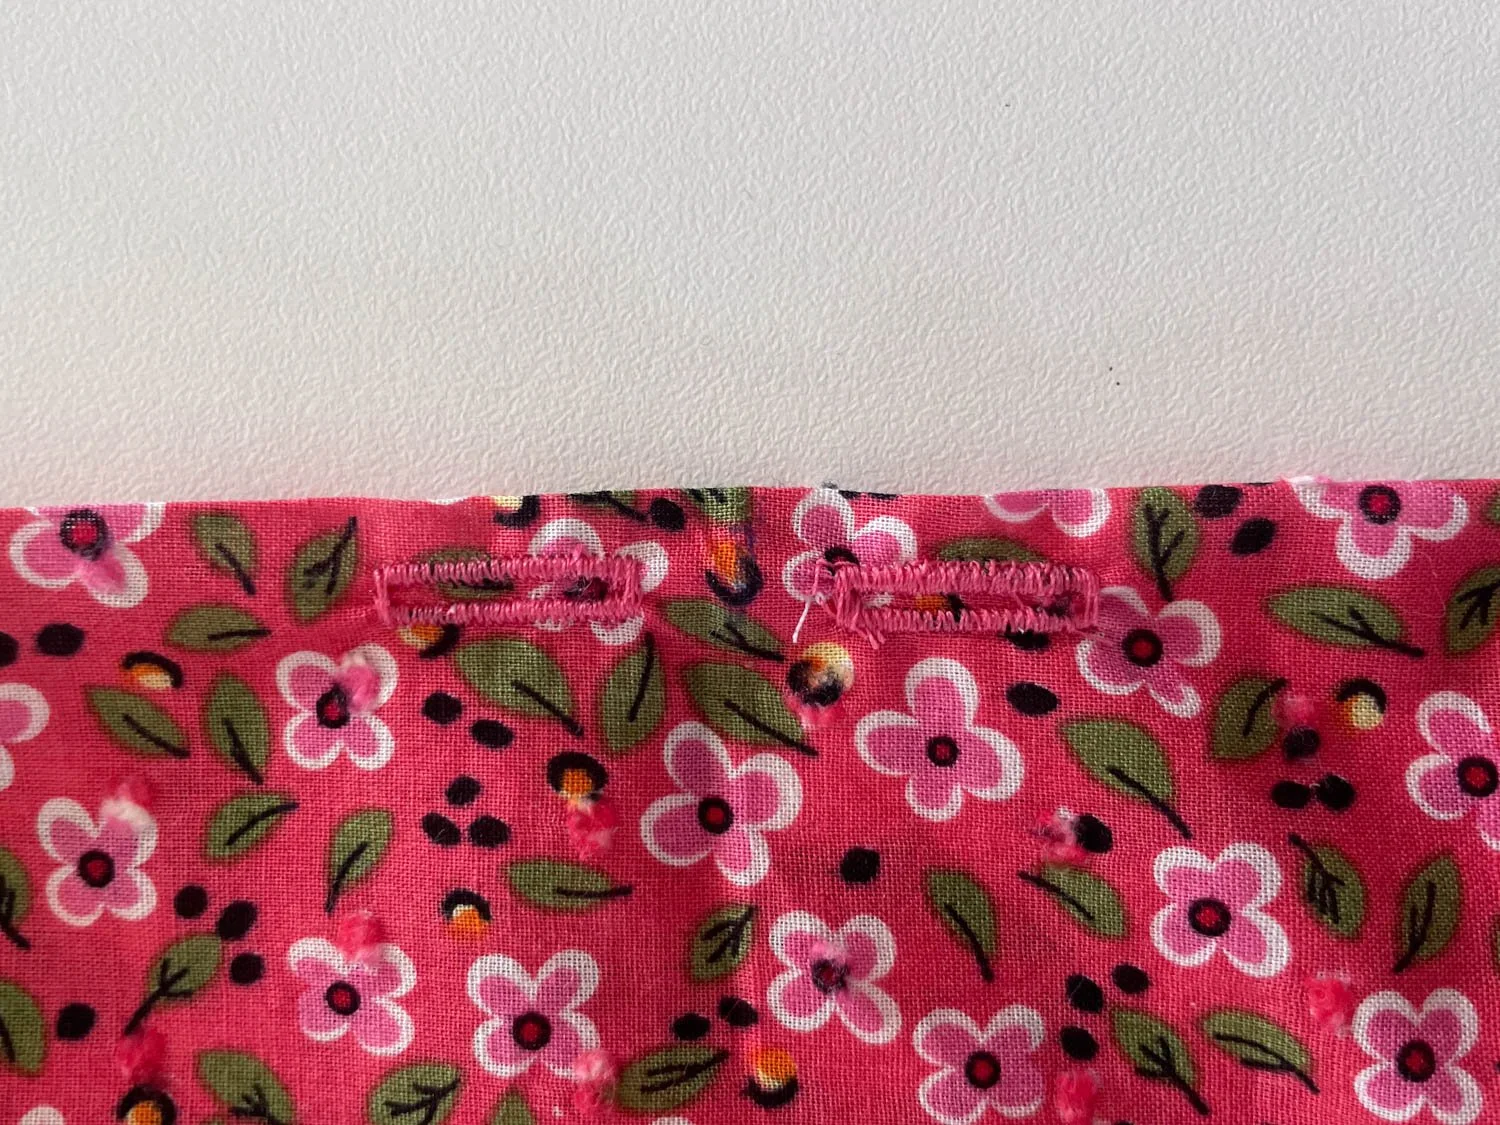
Step 3: Mark and sew buttonholes in the center of the casing. Carefully cut open the buttonholes. Before stitching, I recommend reinforcing the buttonholes with interfacing by adhering a scrap to the wrong side of the fabric.
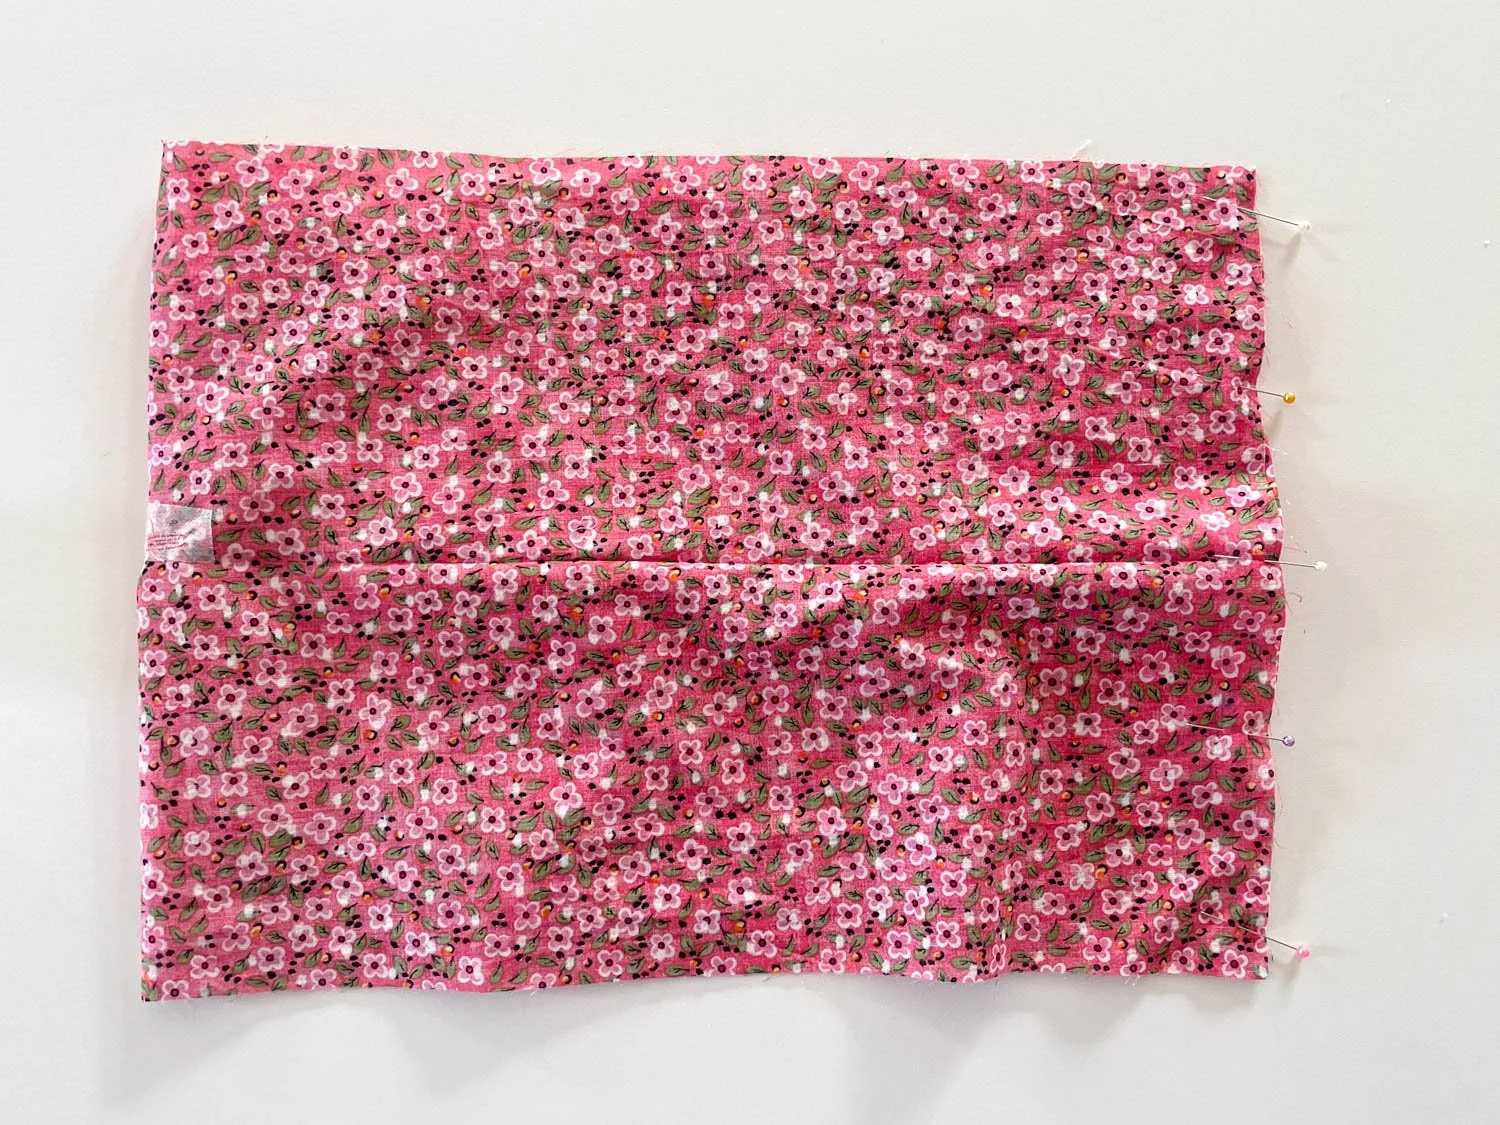
Note the buttonholes are on the left side and the seam is on the right side.
Step 4: With right sides together, stitch the short ends of the casing to form a loop.
Step 5: Fold the casing lengthwise with WRONG sides together and press. Topstitch .5" from the folded edge to create the casing for the drawstring.
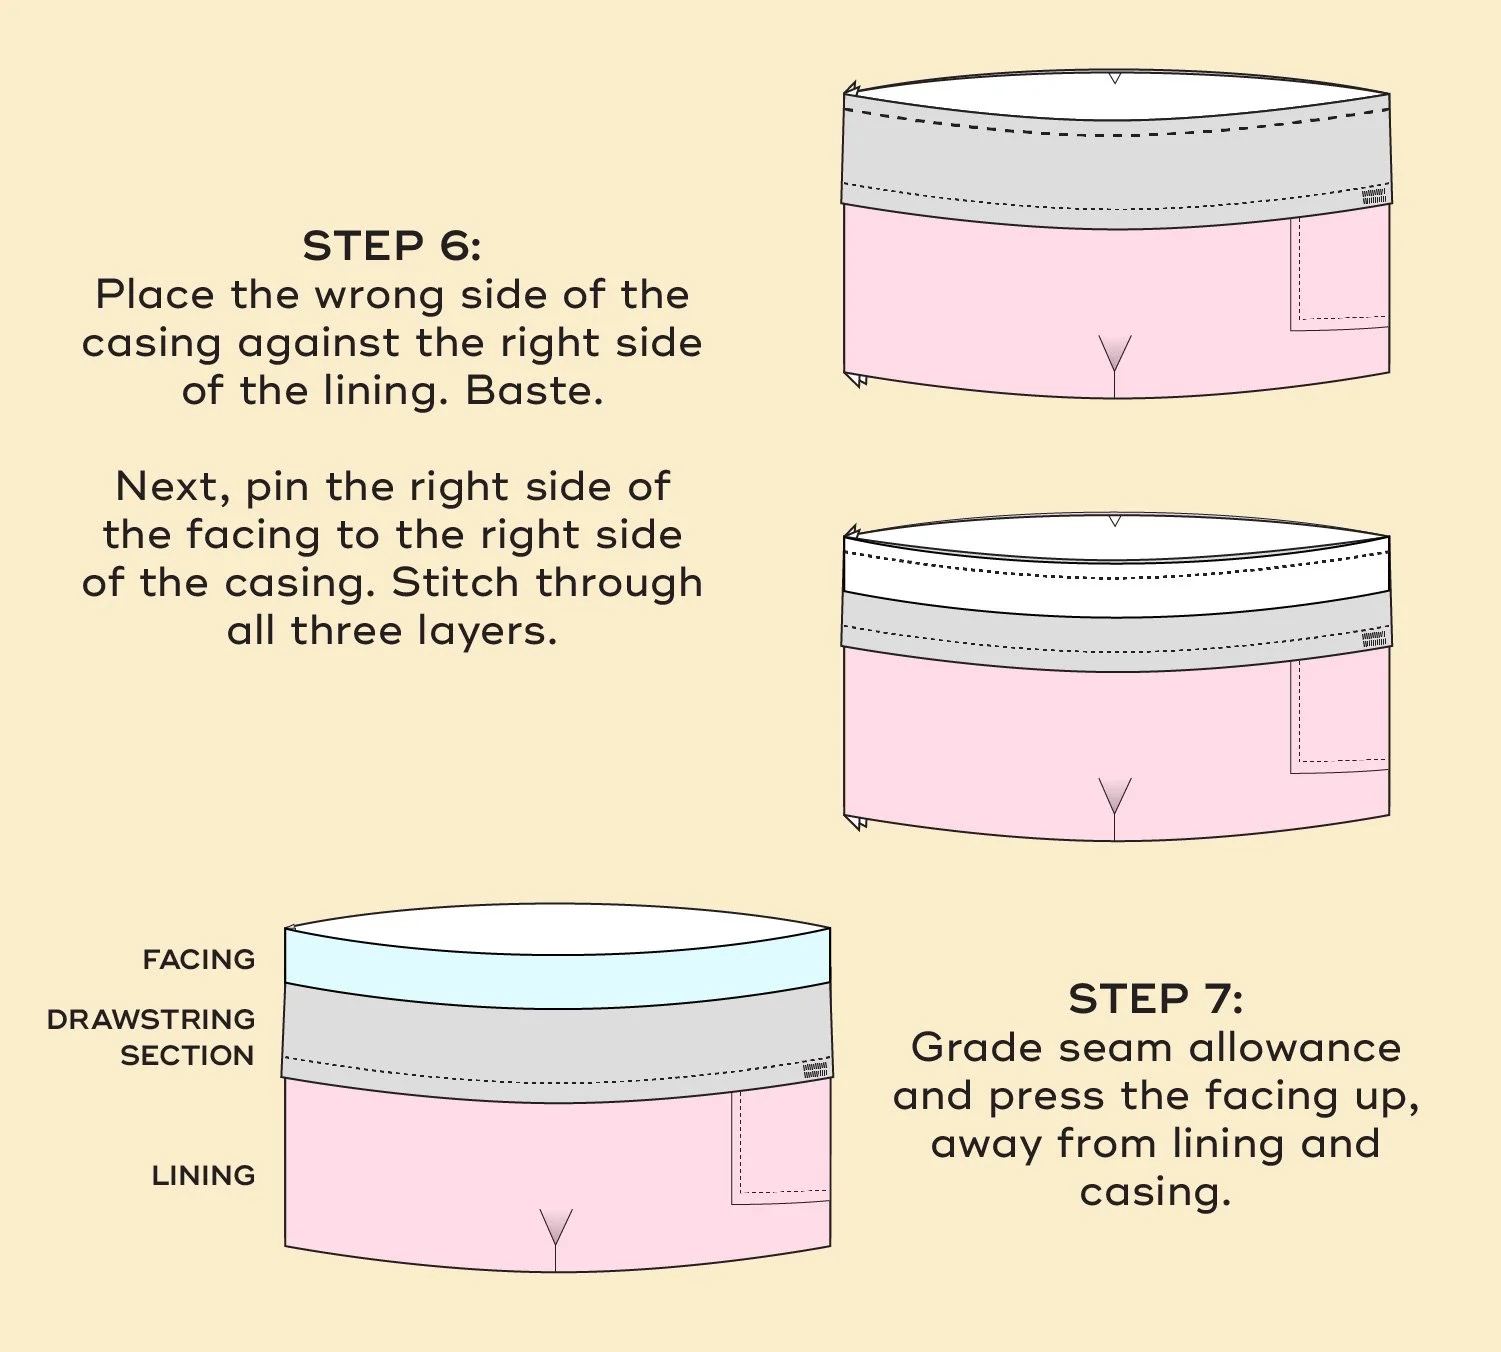
Step 6: Next, stitch the facing, casing and lining together.
Place the wrong side of the casing against the right side of the lining. (When the right side of the lining is facing up, the buttonholes should also be facing up.) Baste.
Step 7: Grade seam allowance and press the facing up, away from lining and casing.
Next, pin the right side of the facing to the right side of the casing. Stitch through all three layers.
Step 8: Proceed with the tote instructions as usual. Thread the drawstring through the buttonholes and casing.
I hope that you enjoy this tutorial. I think this is a great variation and I wish I’d thought of it sooner. It’s so useful! and the contrasting fabric gives a fun pop of color. I’m already using my own version as a project bag for my knitting.
Click here to see all of the posts in Bucket Tote Sewalong. Or, scroll through them below.

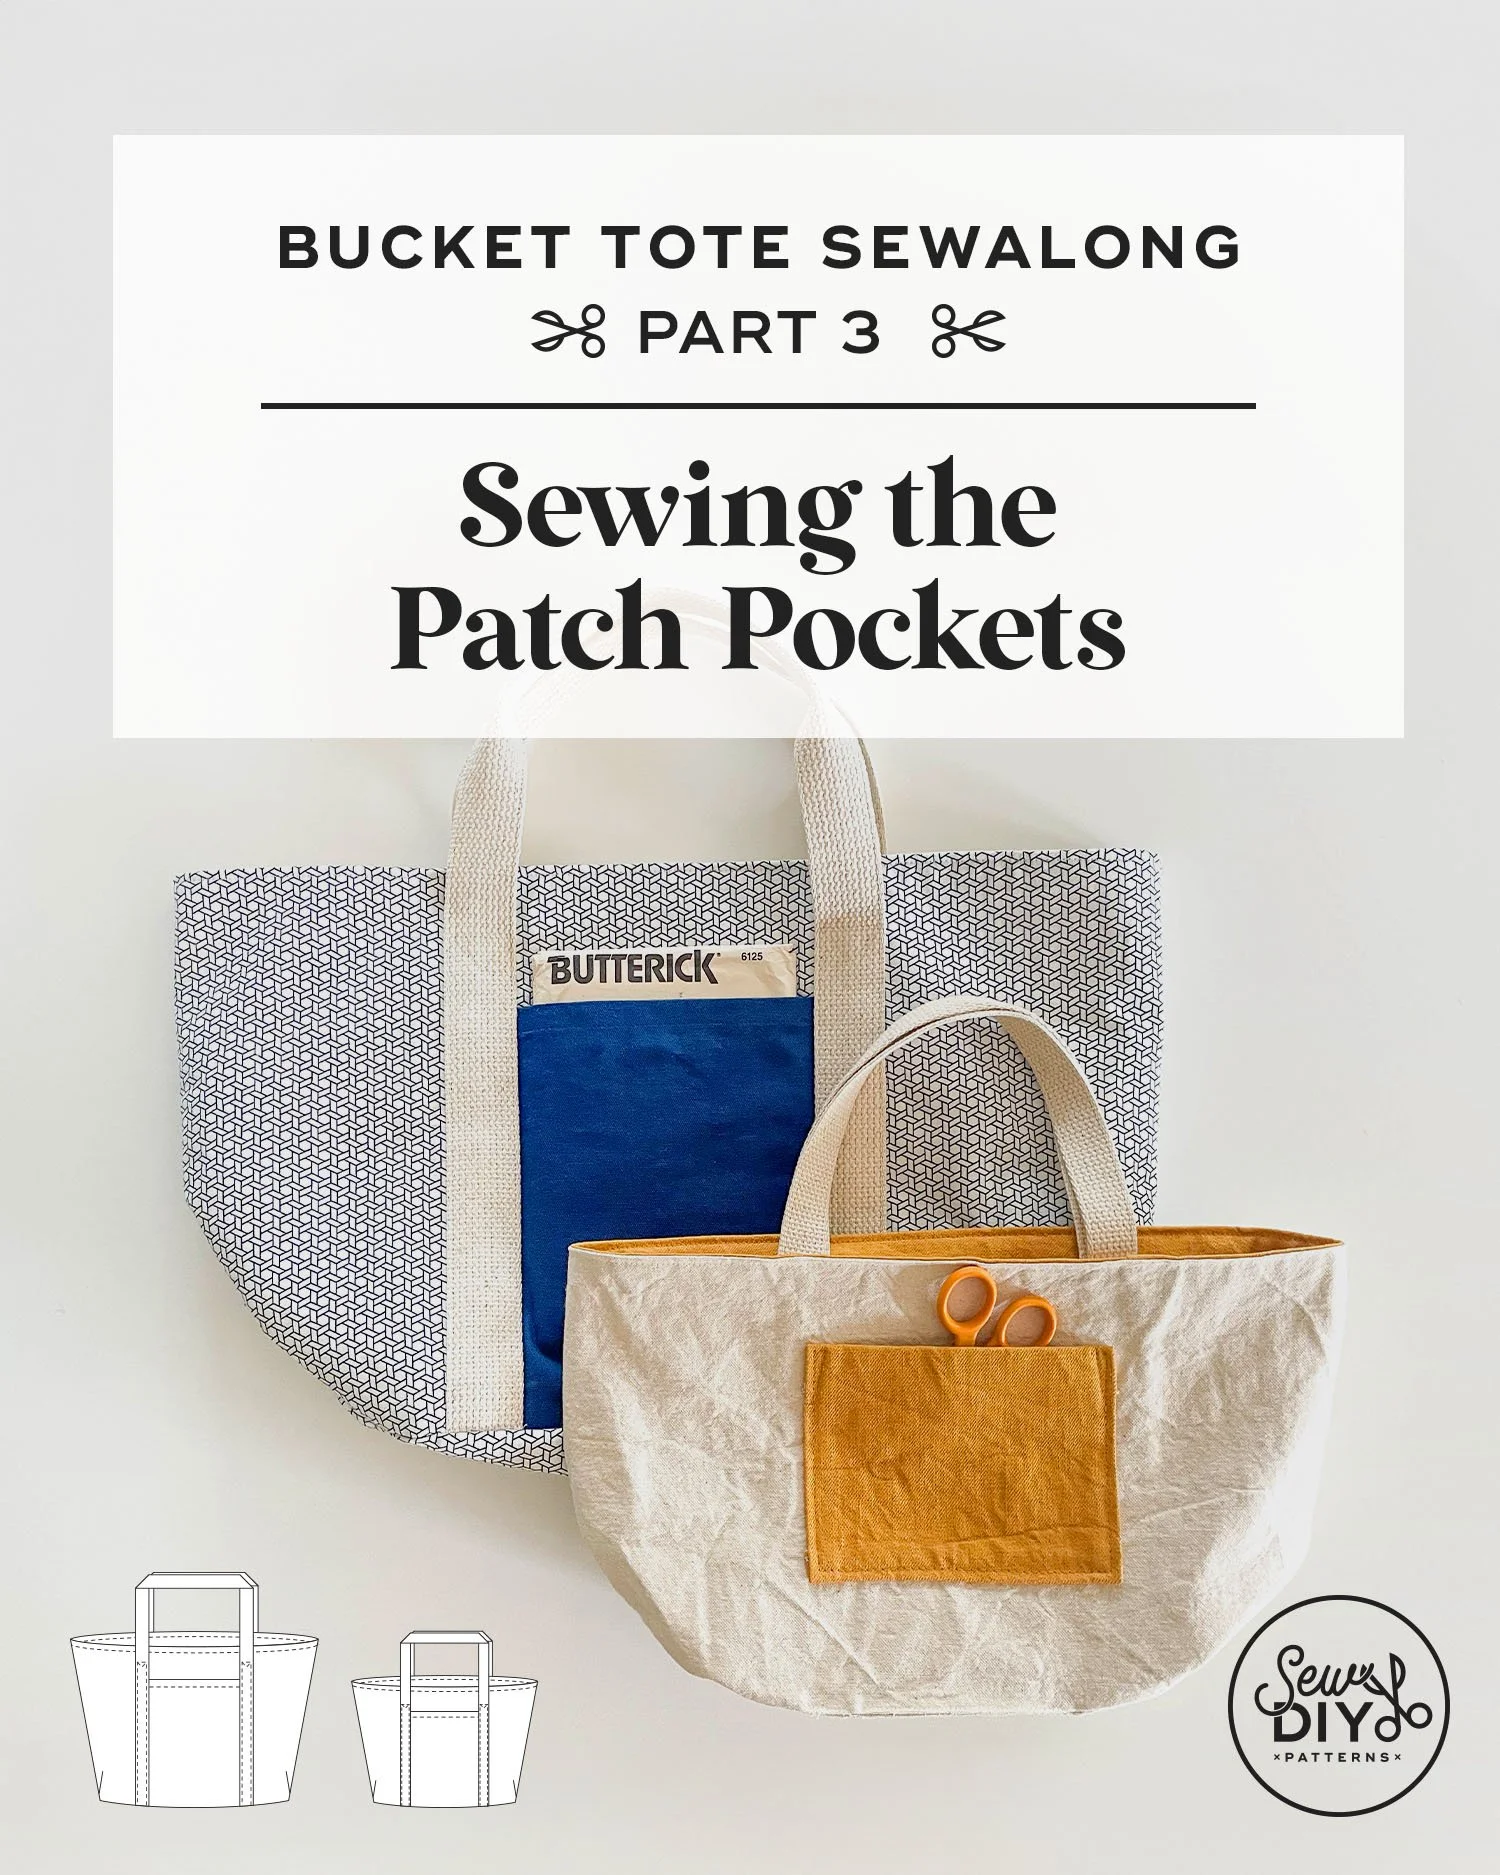
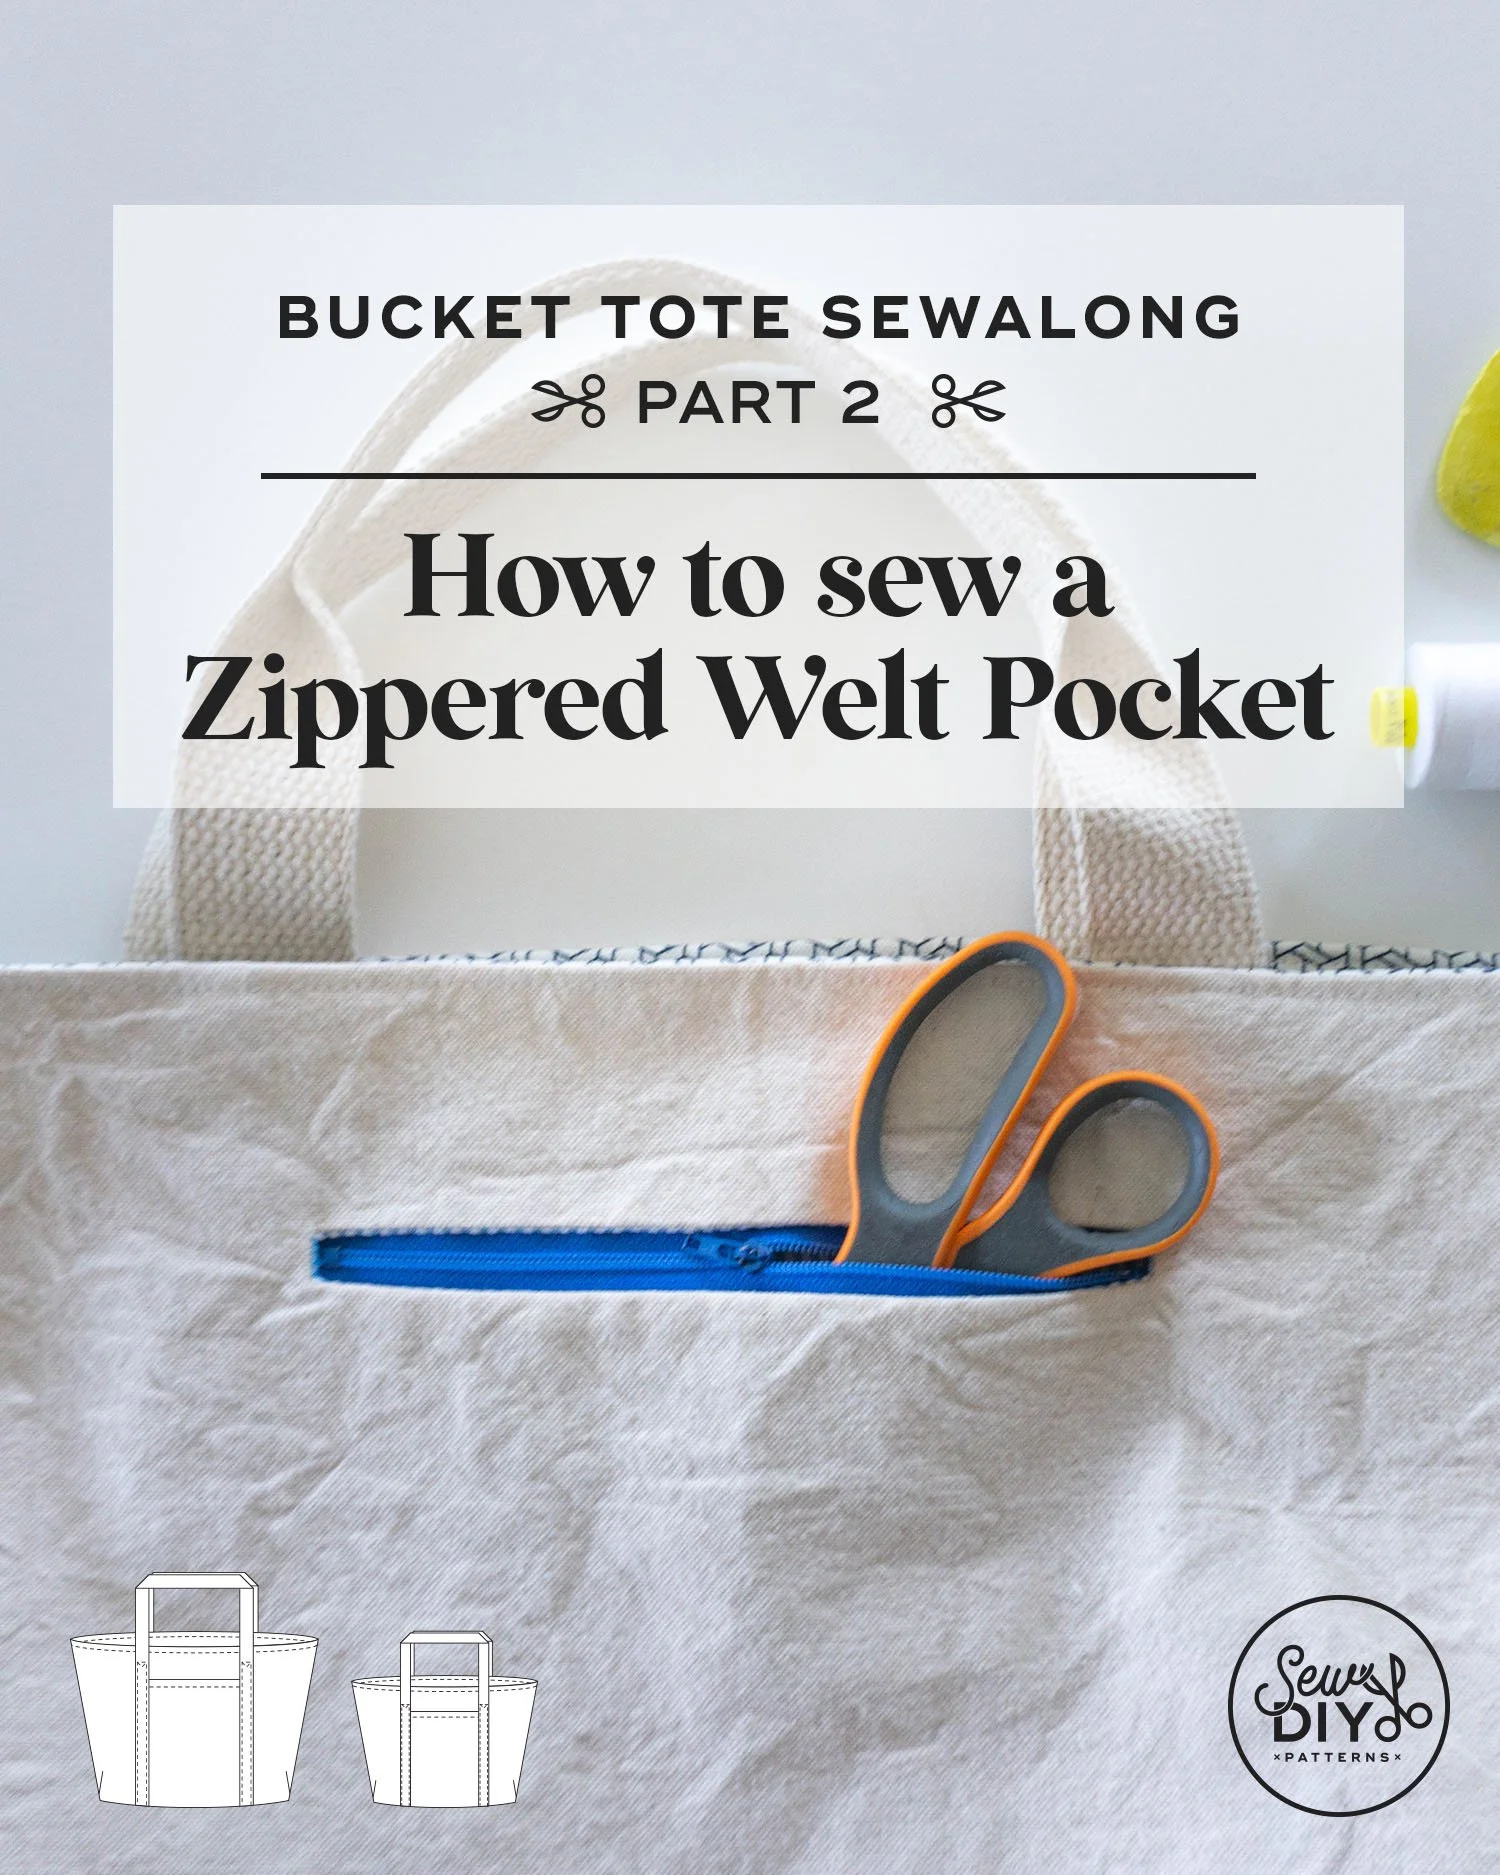
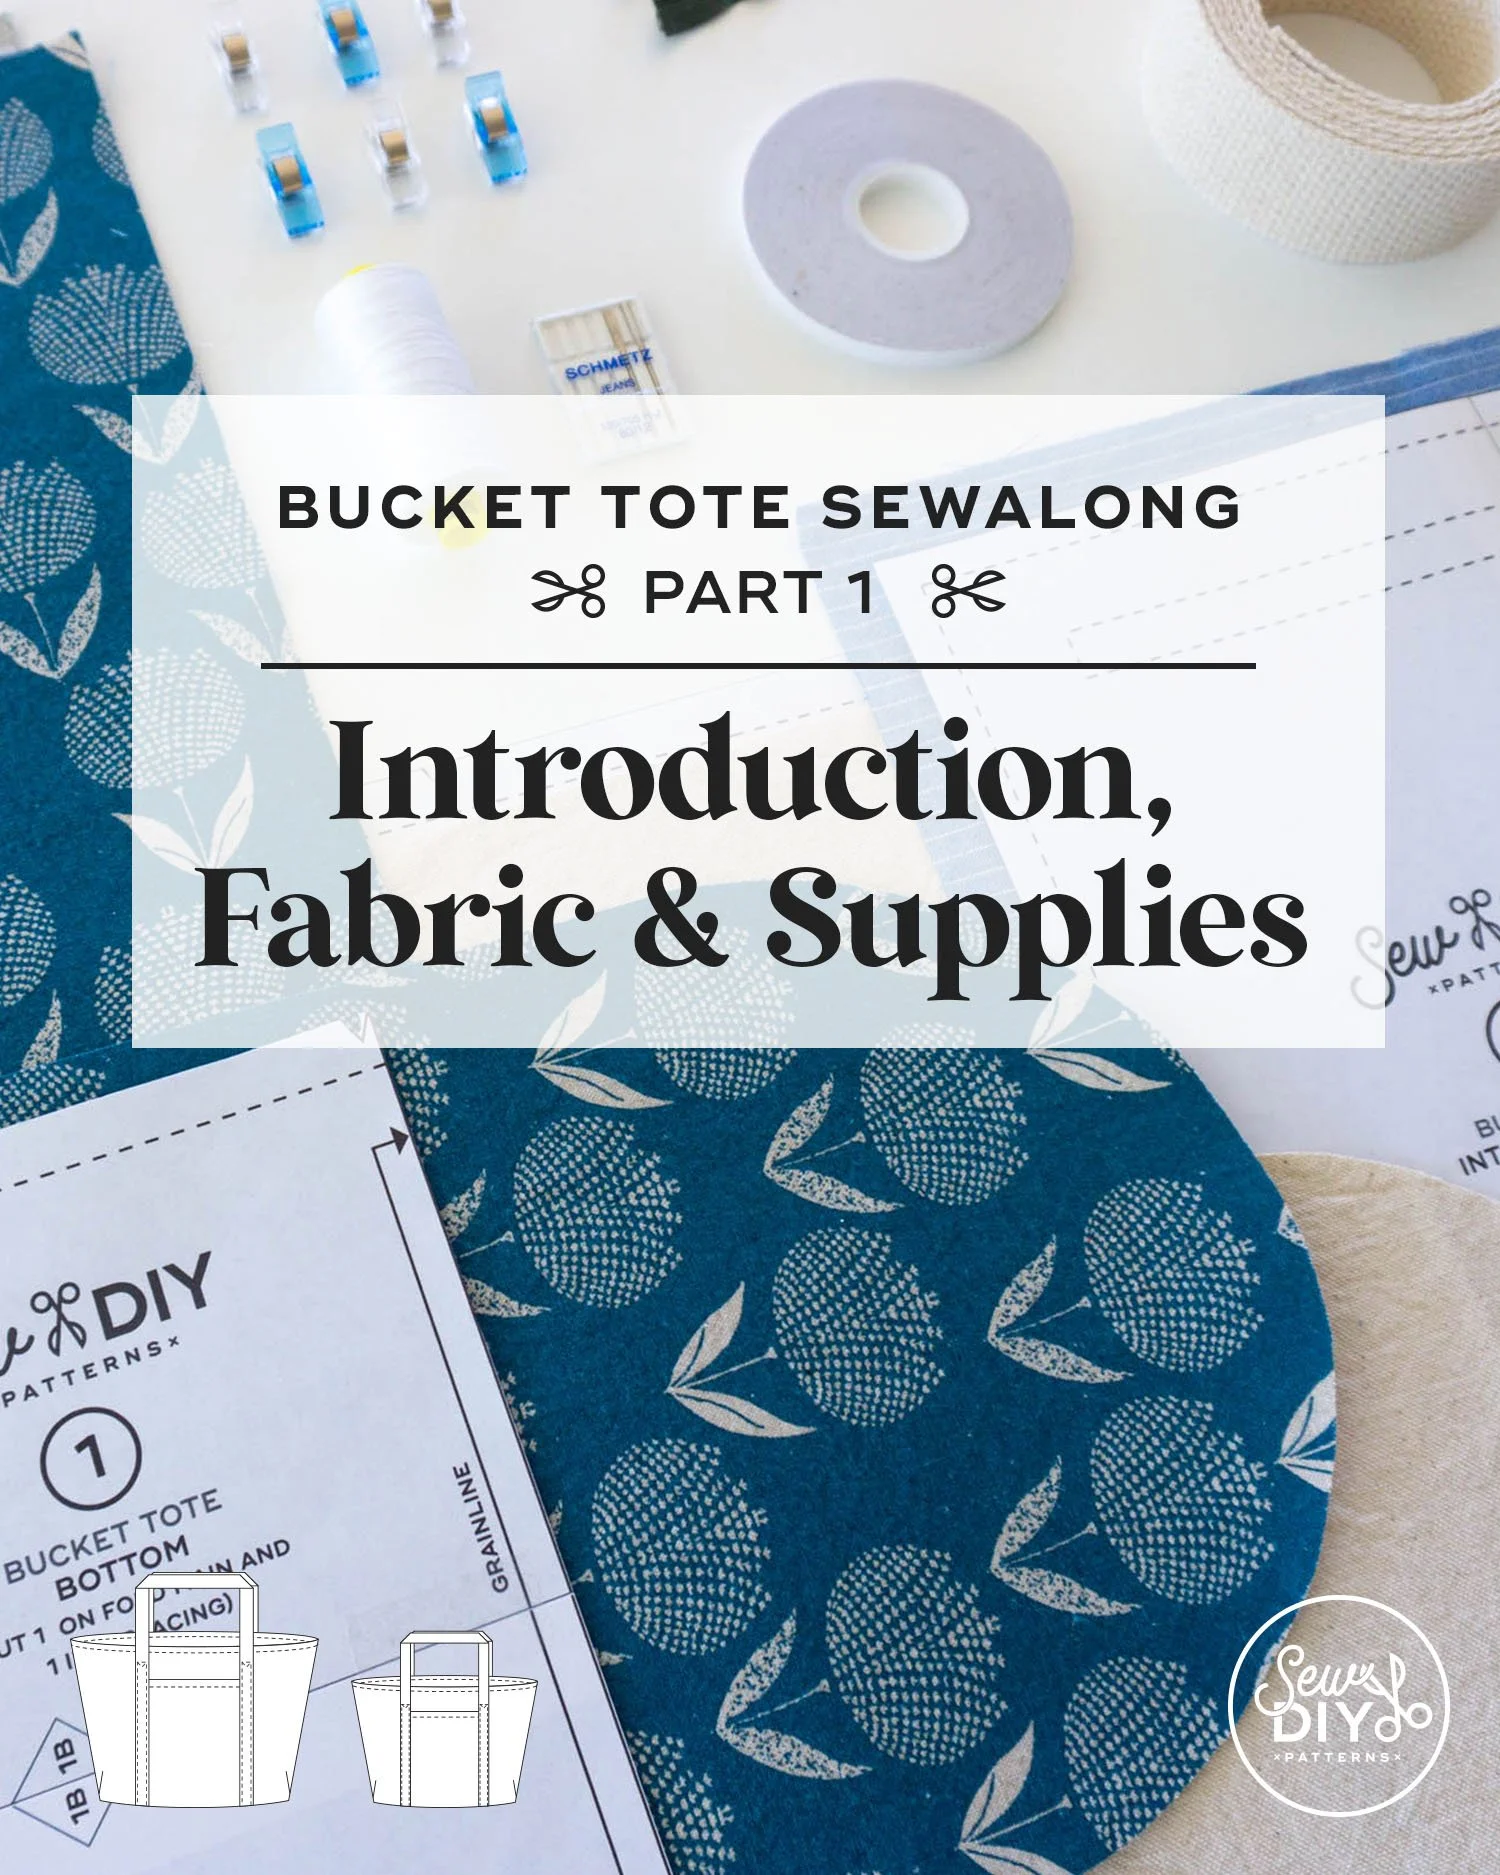



The Sew DIY Bucket Tote is the perfect "throw & go" bag with a wide top opening so you can easily see and access everything inside. This fully-lined tote is thoughtfully designed with an oval base, pleats at each end and exterior and interior pockets.
The pattern includes both regular and small sizes, giving you options for wherever life takes you. The regular size is perfect for a day at the pool or a short road trip while the small size can be used to carry your lunch or a small craft project.
Both sizes have two exterior patch pockets and one interior pocket. The regular size has a welt zippered pocket inside and the small size has an interior patch pocket. The handles are made from cotton webbing that are topstitched to the sides of the bag and secured in the bottom seam.
This digital pattern includes:
• Illustrated instruction booklet
• Print-at-home layered pattern (Letter/A4)
• US copy shop and A0 patterns
• Projector pattern
Scroll down for more details.
THIS IS NOT A PHYSICAL PRODUCT. After checkout, you will receive a link to the pattern that will be active for 24 hours after you click it. Prices are in USD.
About the Sew DIY Bucket Tote pattern:
This fully-lined tote is thoughtfully designed with an oval base, pleats at each end and exterior and interior pockets.
The pattern includes both regular and small sizes, giving you options for wherever life takes you. The regular size is perfect for a day at the pool or a short road trip while the small size can be used to carry your lunch or a small craft project.
Both sizes have two exterior patch pockets and one interior pocket. The regular size has a welt zippered pocket inside and the small size has an interior patch pocket. The handles are made from cotton webbing and are topstitched to the sides of the bag and secured in the bottom seam.
If you’d like to save this post for later, you can save the image below to Pinterest. Happy sewing!
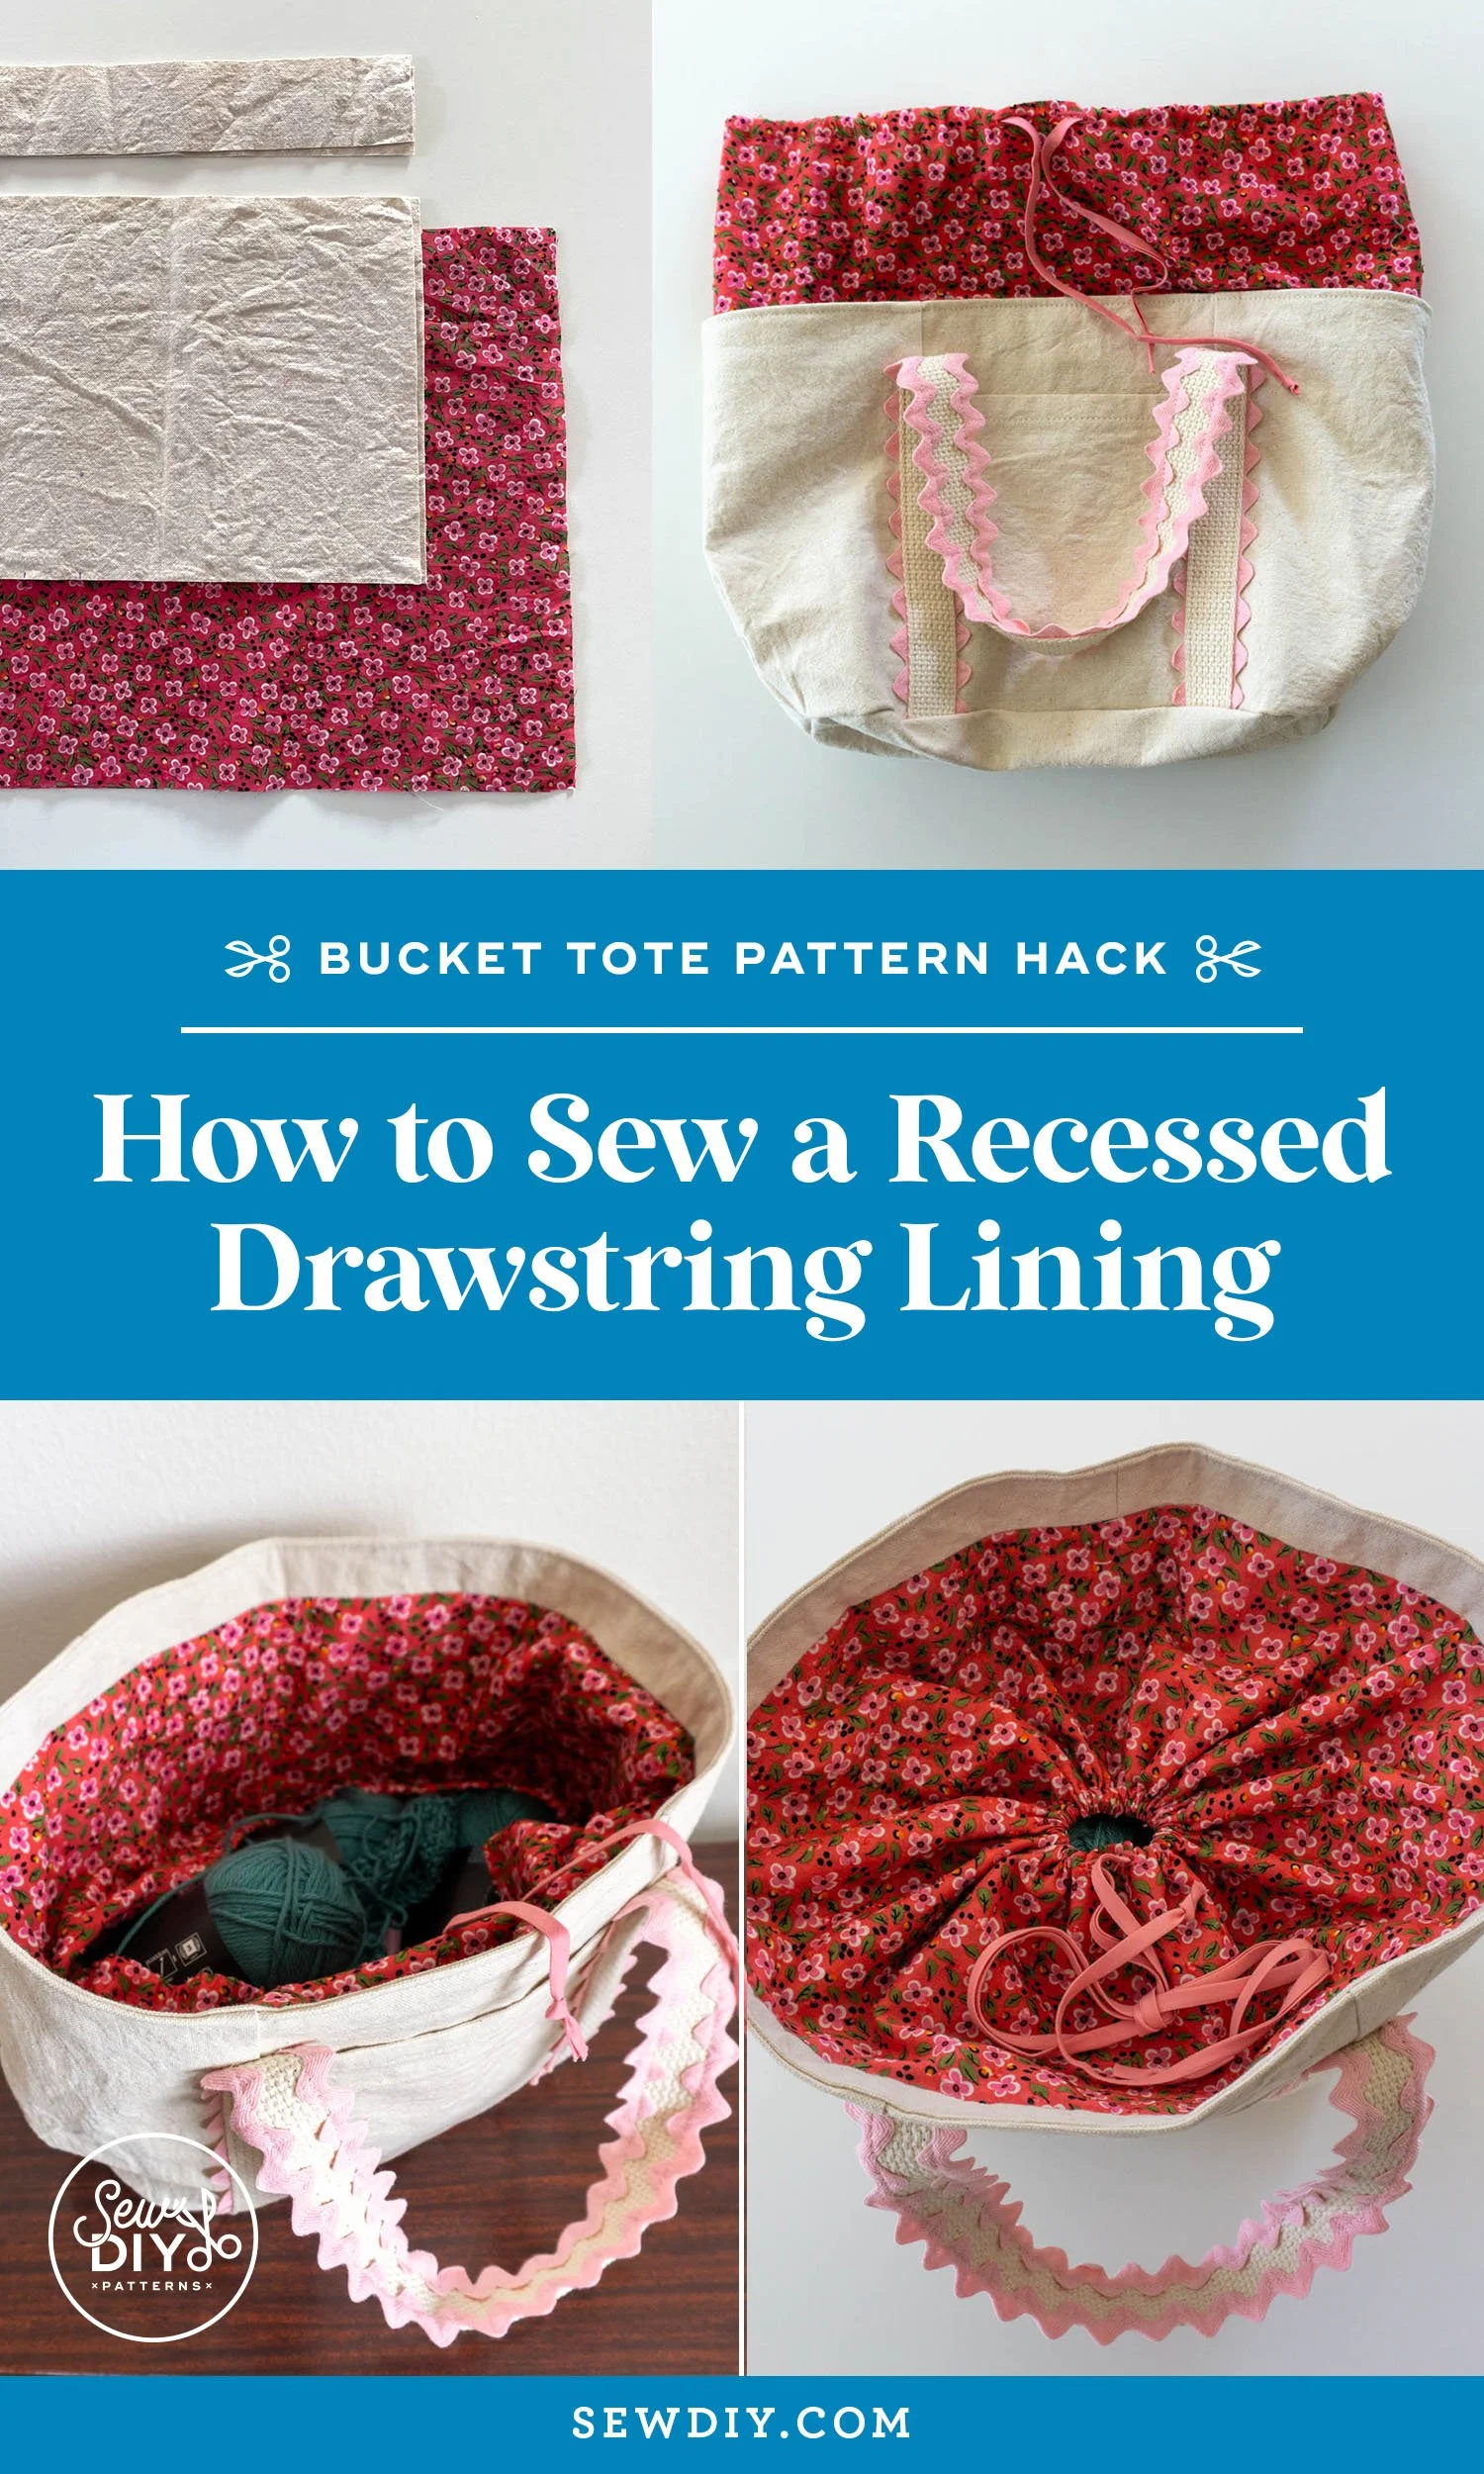


Hello sew-friends! Today, I have another two part hack for my Bucket Tote sewing pattern. For this version of the tote, I've taken the small size and added a recessed drawstring closure to the lining and decorative trim to the handles. You can use both hacks in one bag, or either one individually.
This drawstring hack is similar to the recessed zipper hack that I shared a few weeks ago. The construction is the same as usual for the exterior and the hack is only applied to the lining. Just like with the recessed zipper, the lining is divided to have a narrow facing at the top, a new closure layer and then the lining below. The drawstring casing is made from a separate piece of fabric that is the same circumference as the bag. When not in use, the casing can be pushed flat against the lining of the bag. When the drawstring is tightened, the casing covers the top of the bag.