

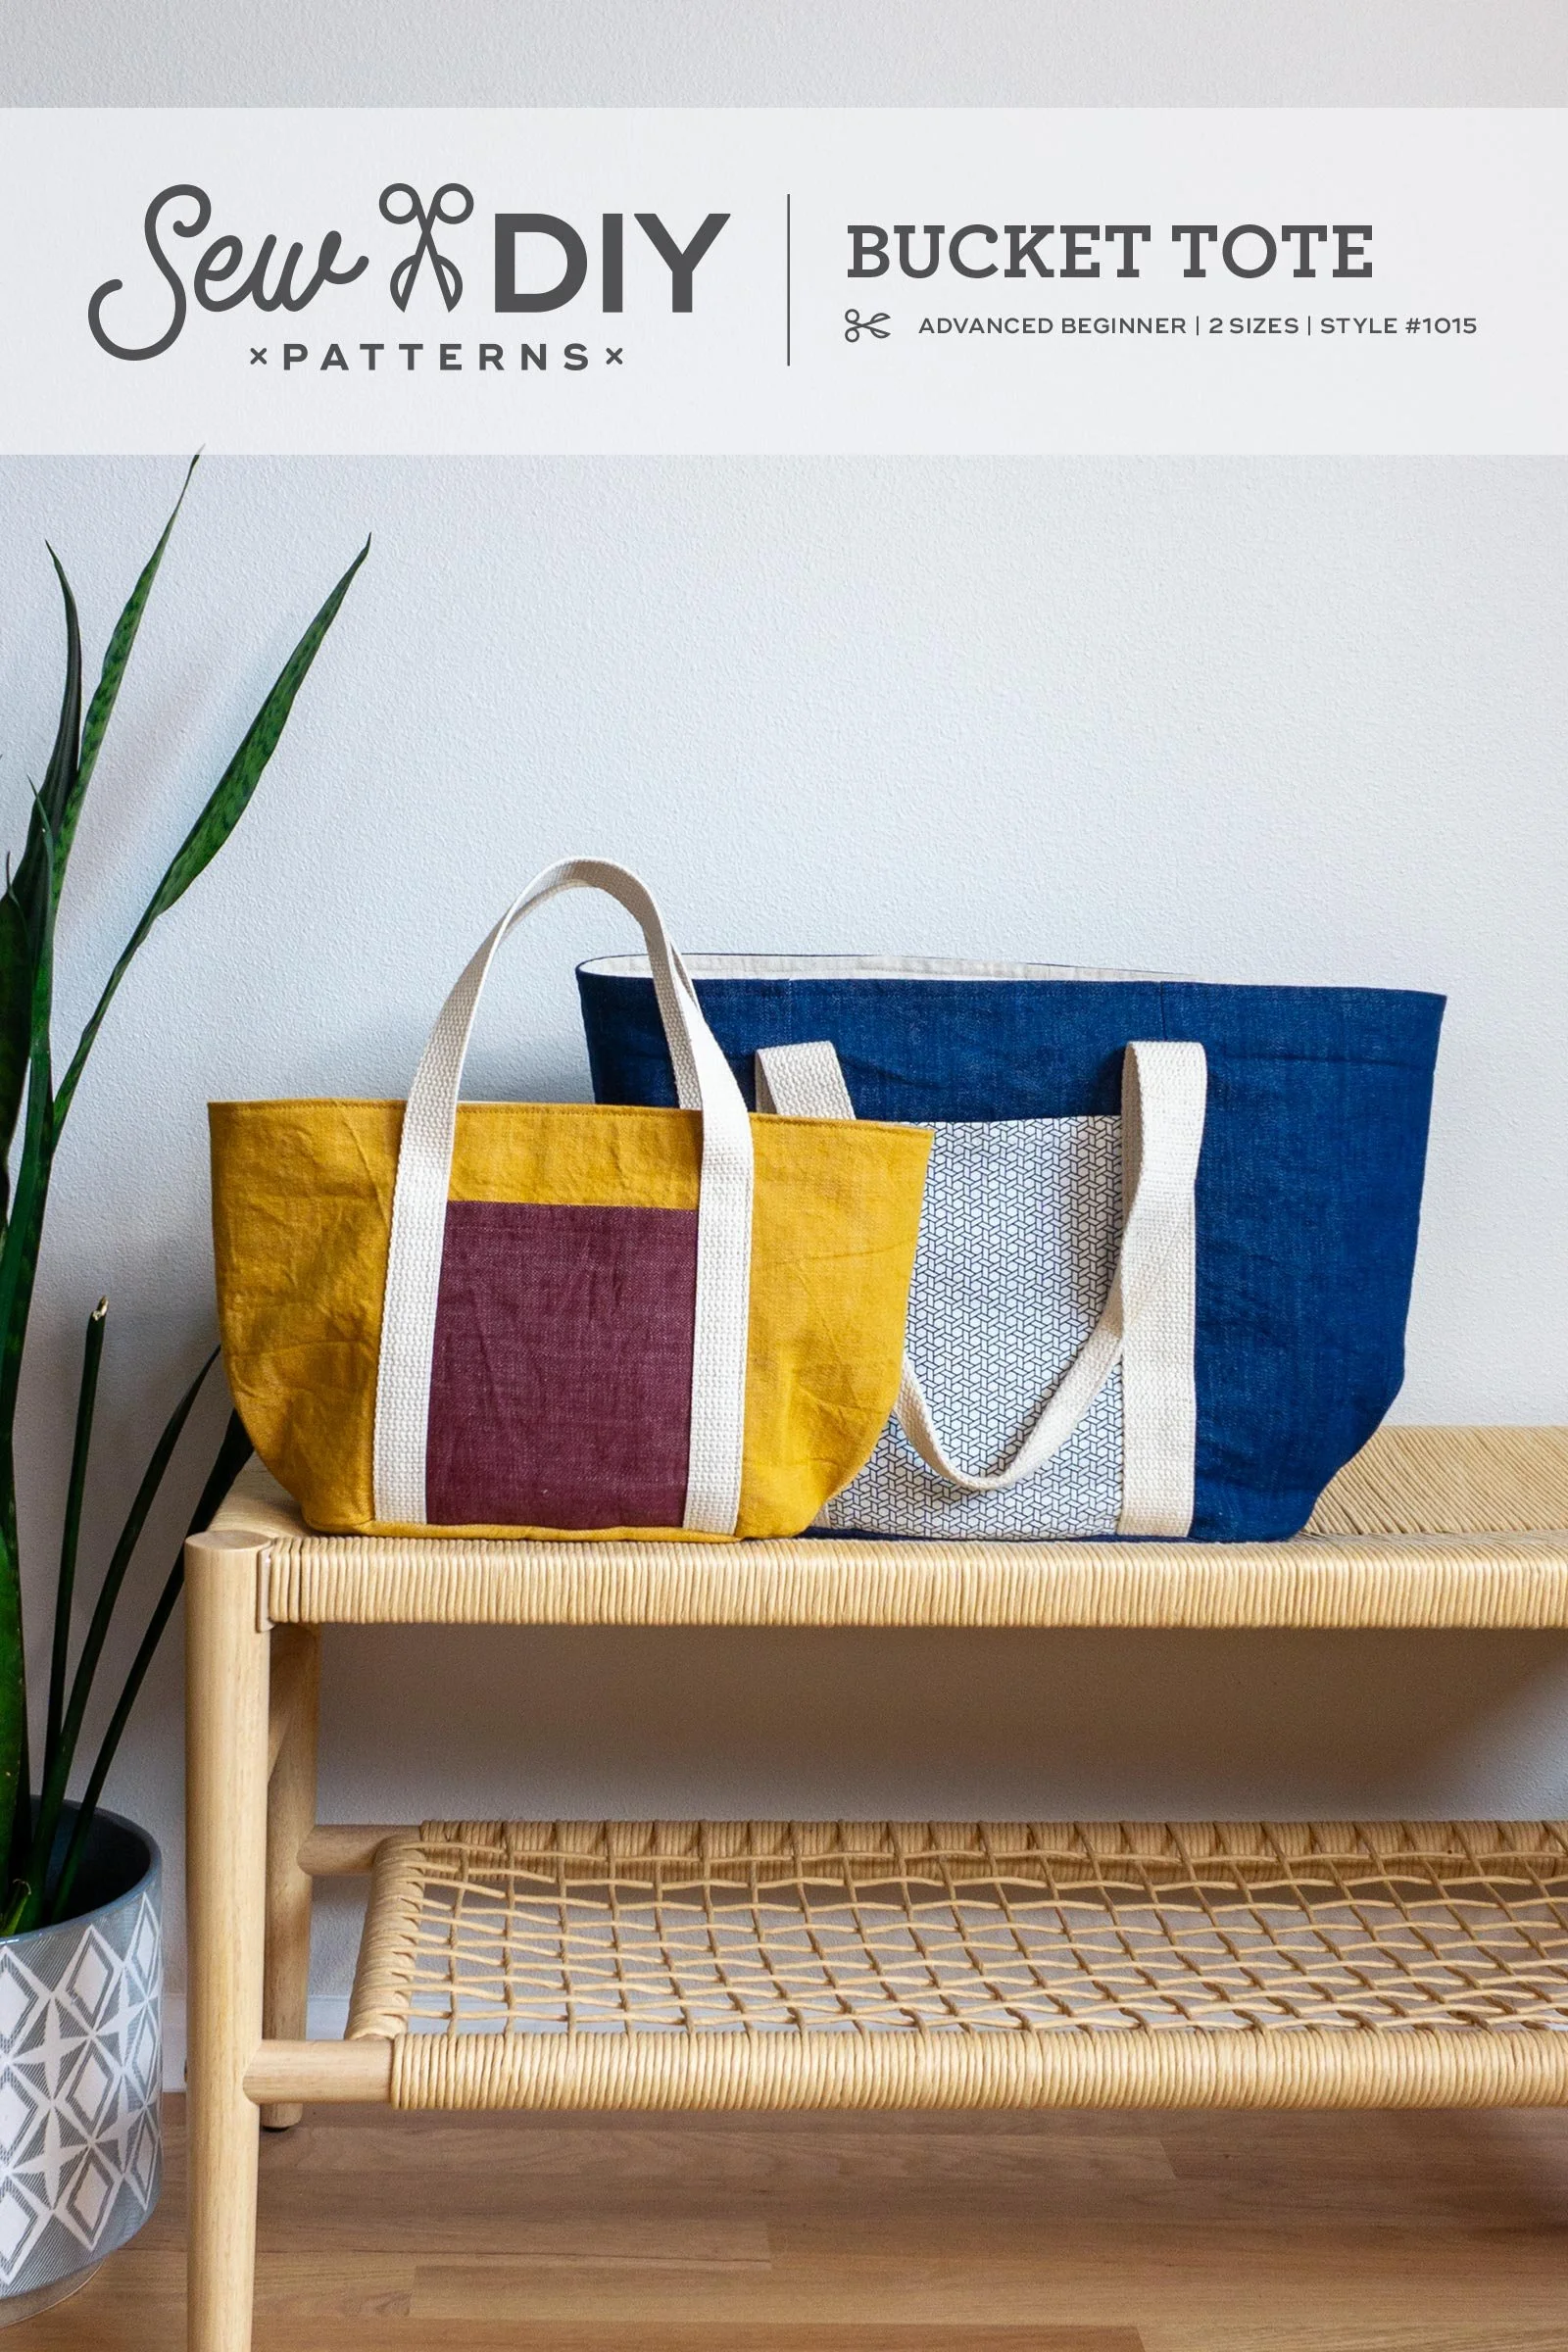
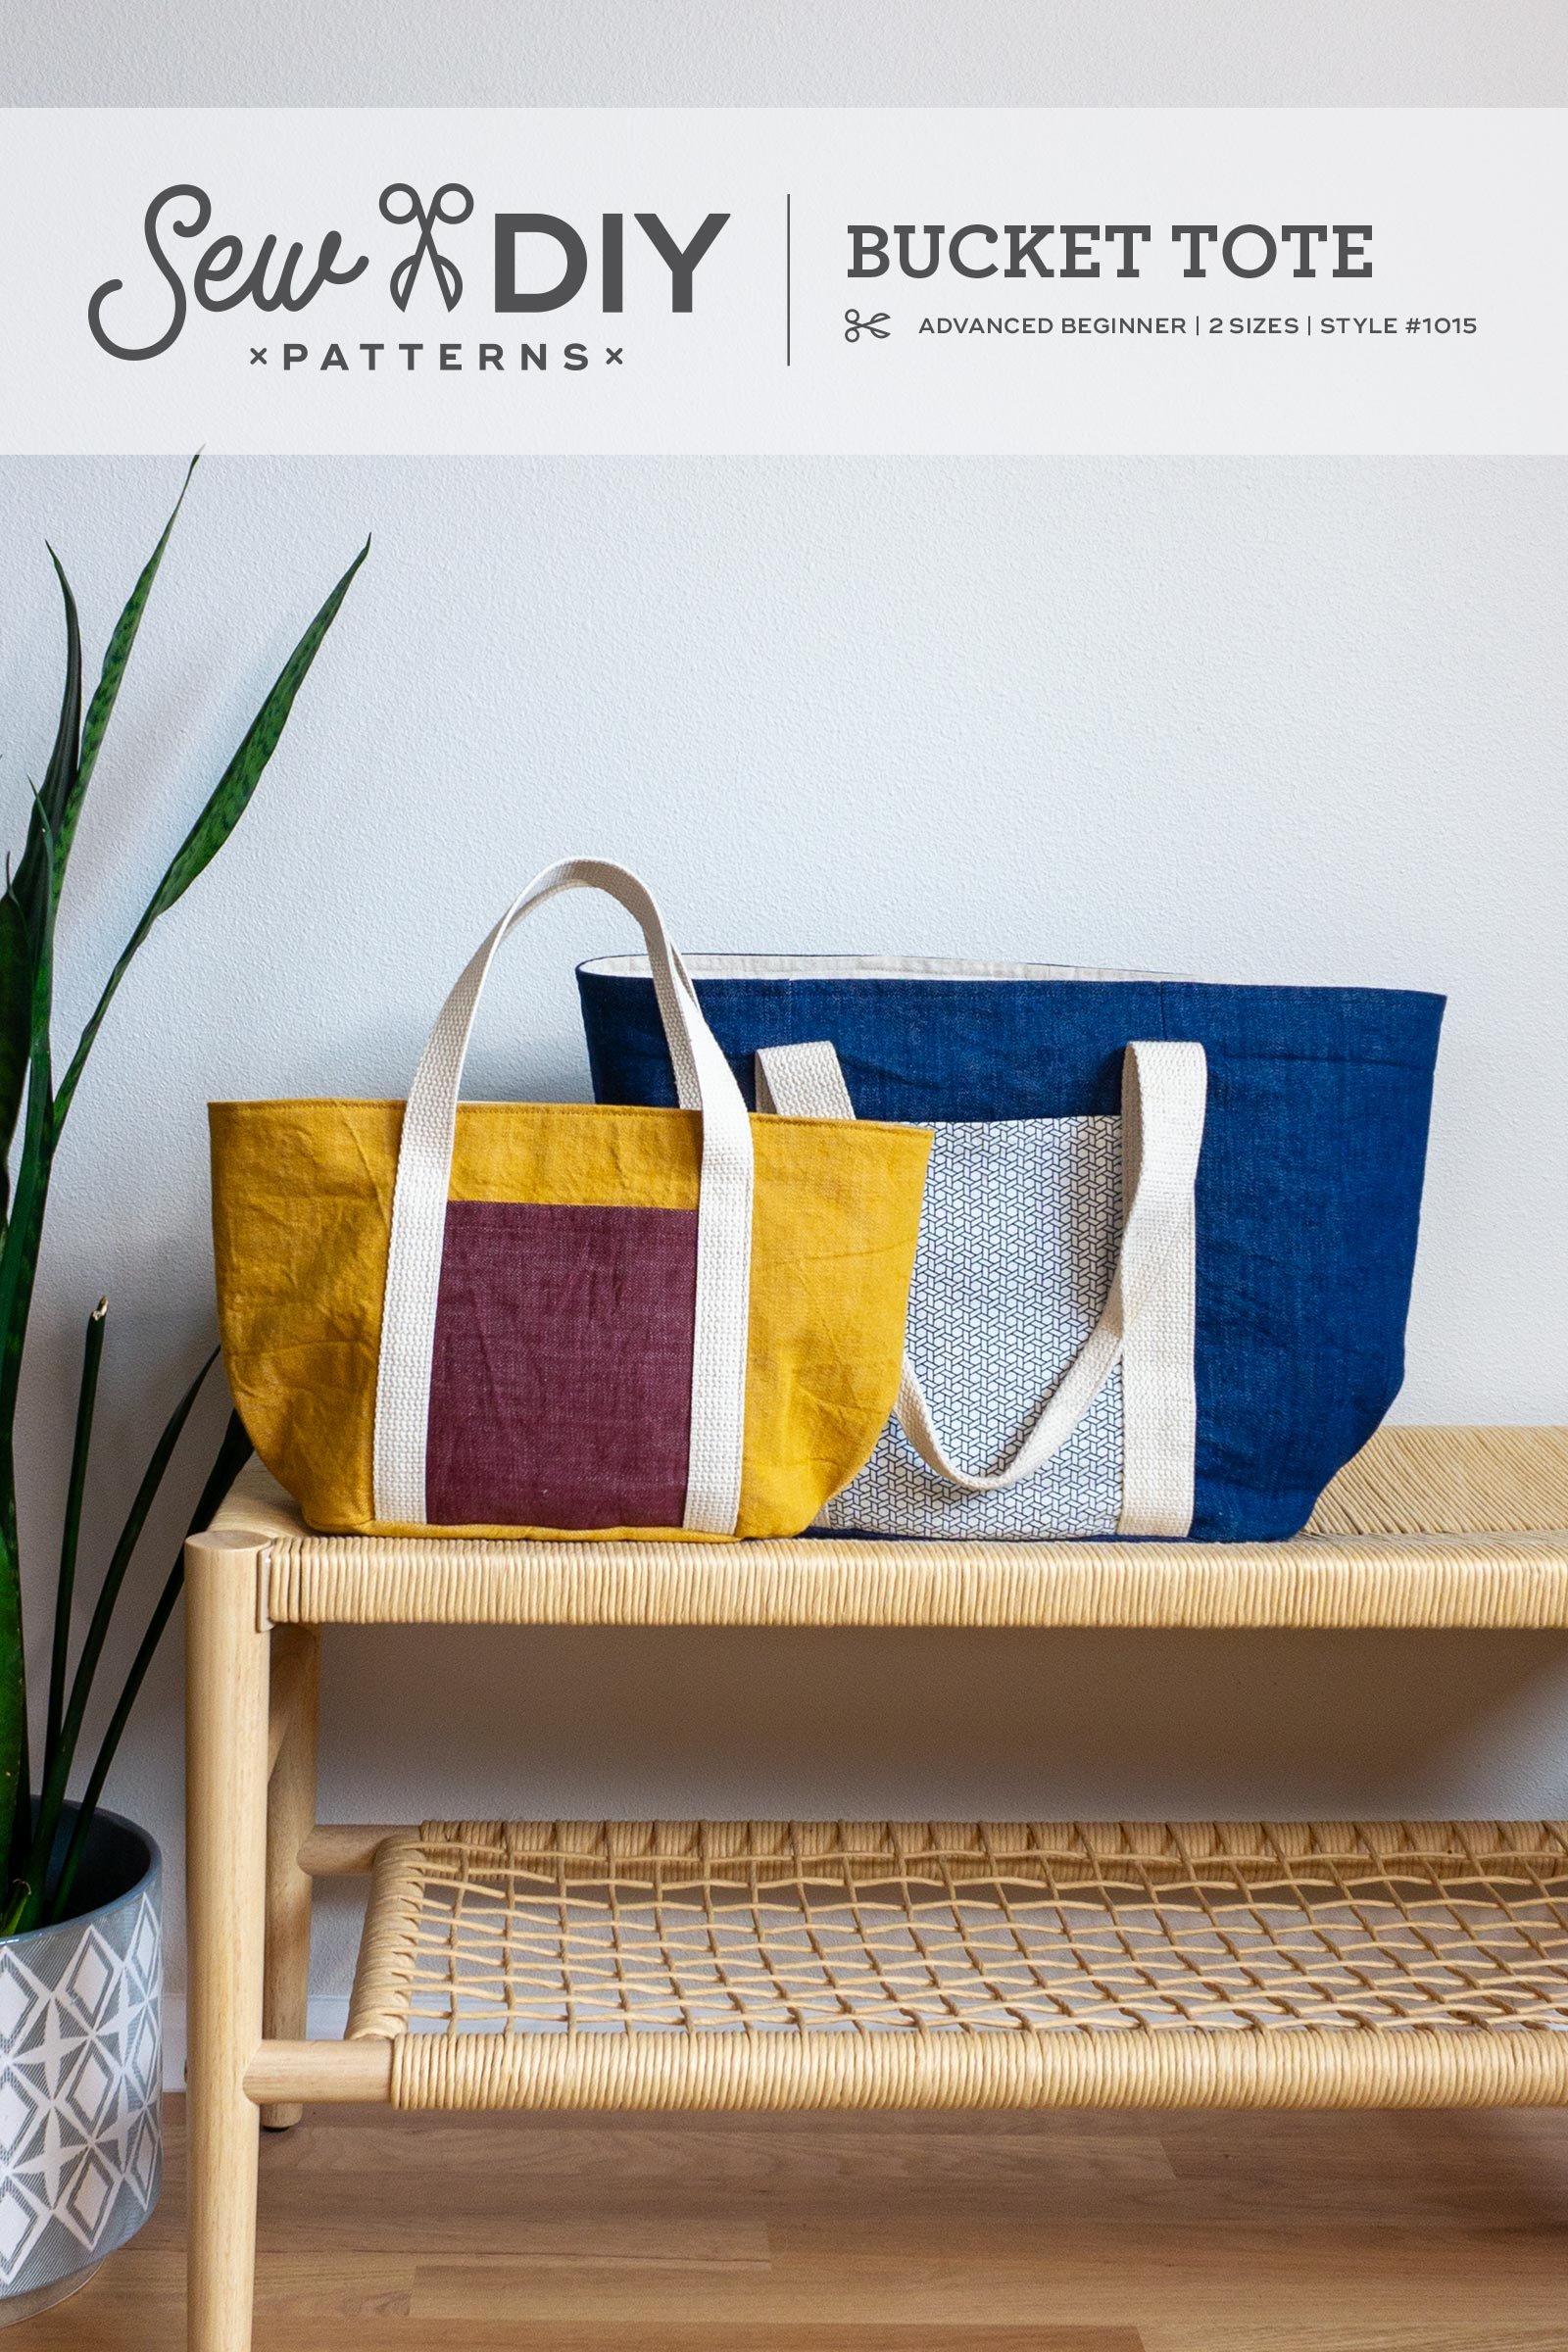
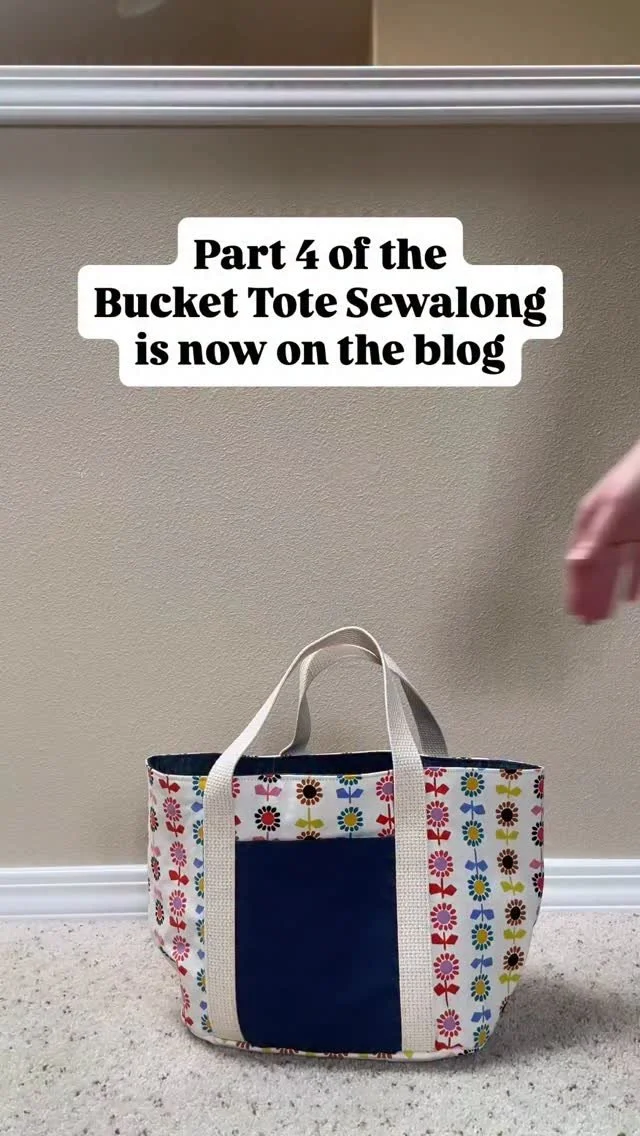
The Sew DIY Bucket Tote is the perfect "throw & go" bag with a wide top opening so you can easily see and access everything inside. This fully-lined tote is thoughtfully designed with an oval base, pleats at each end and exterior and interior pockets.
The pattern includes both regular and small sizes, giving you options for wherever life takes you. The regular size is perfect for a day at the pool or a short road trip while the small size can be used to carry your lunch or a small craft project.
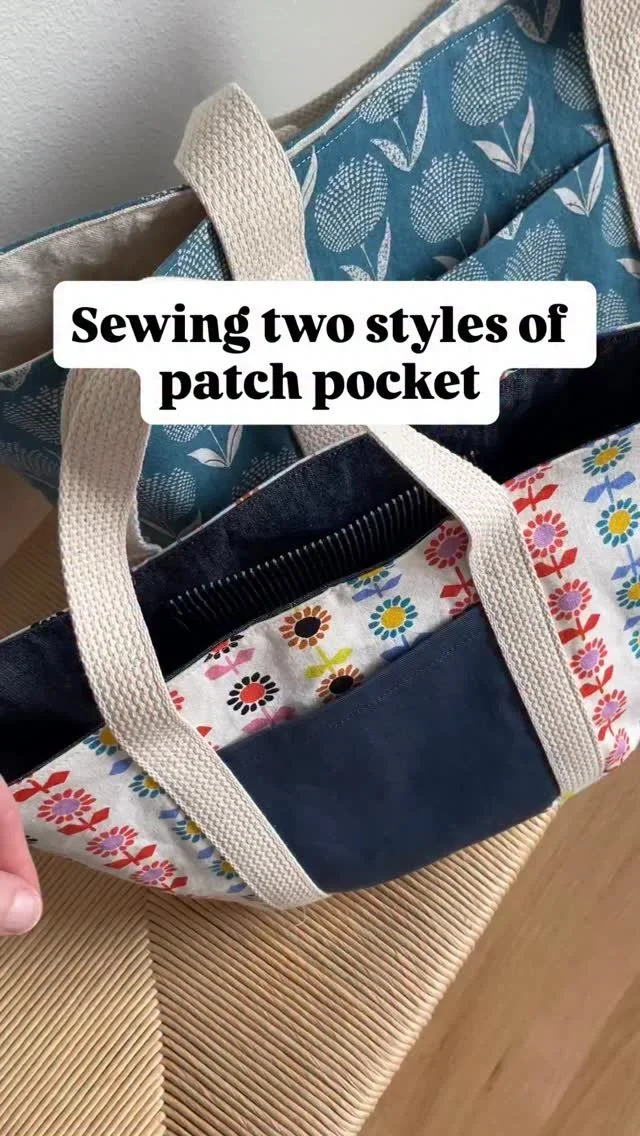
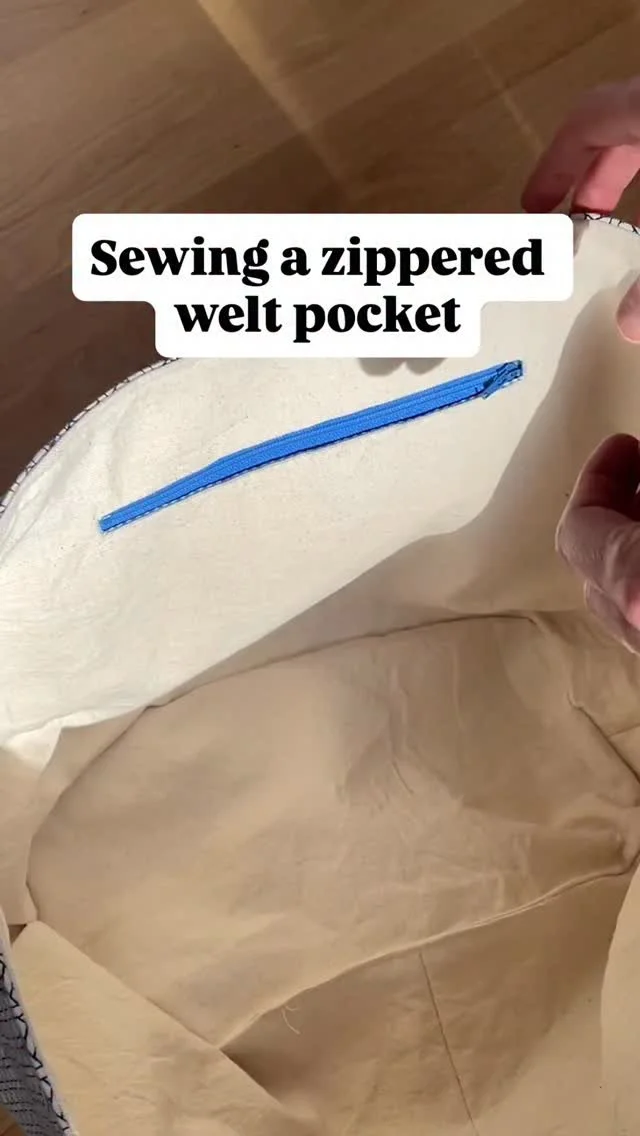
Both sizes have two exterior patch pockets and one interior pocket. The regular size has a welt zippered pocket inside and the small size has an interior patch pocket. The handles are made from cotton webbing that are topstitched to the sides of the bag and secured in the bottom seam.
This digital pattern includes:
• Illustrated instruction booklet
• Print-at-home layered pattern (Letter/A4)
• US copy shop and A0 patterns
• Projector pattern
Scroll down for more details.
THIS IS NOT A PHYSICAL PRODUCT. After checkout, you will receive a link to the pattern that will be active for 24 hours after you click it. Prices are in USD.
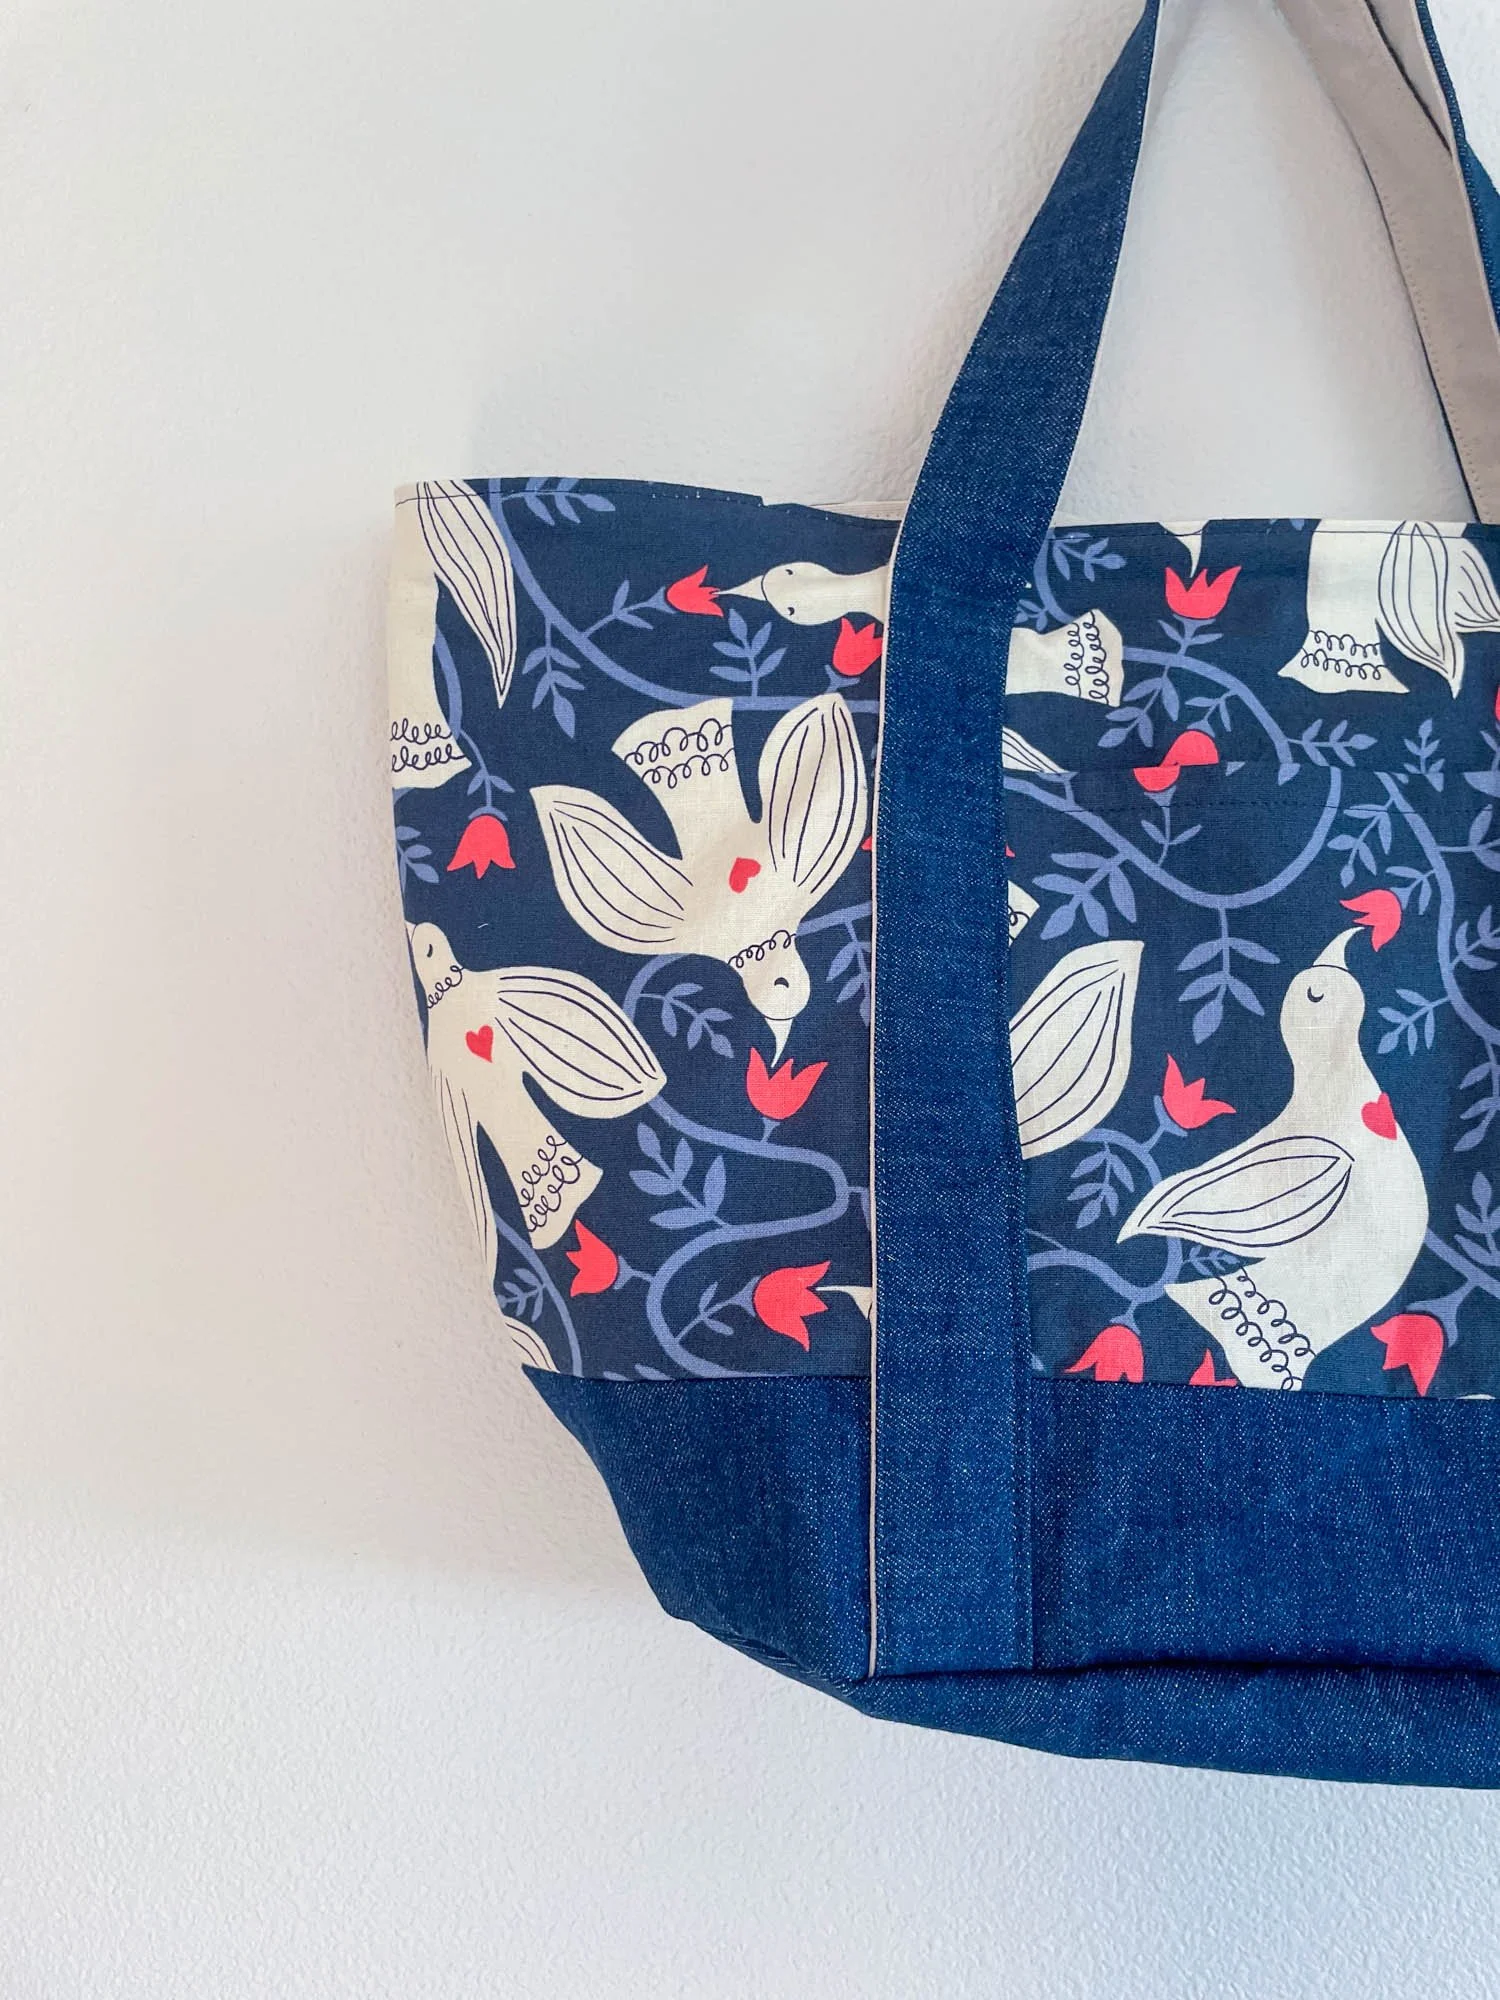
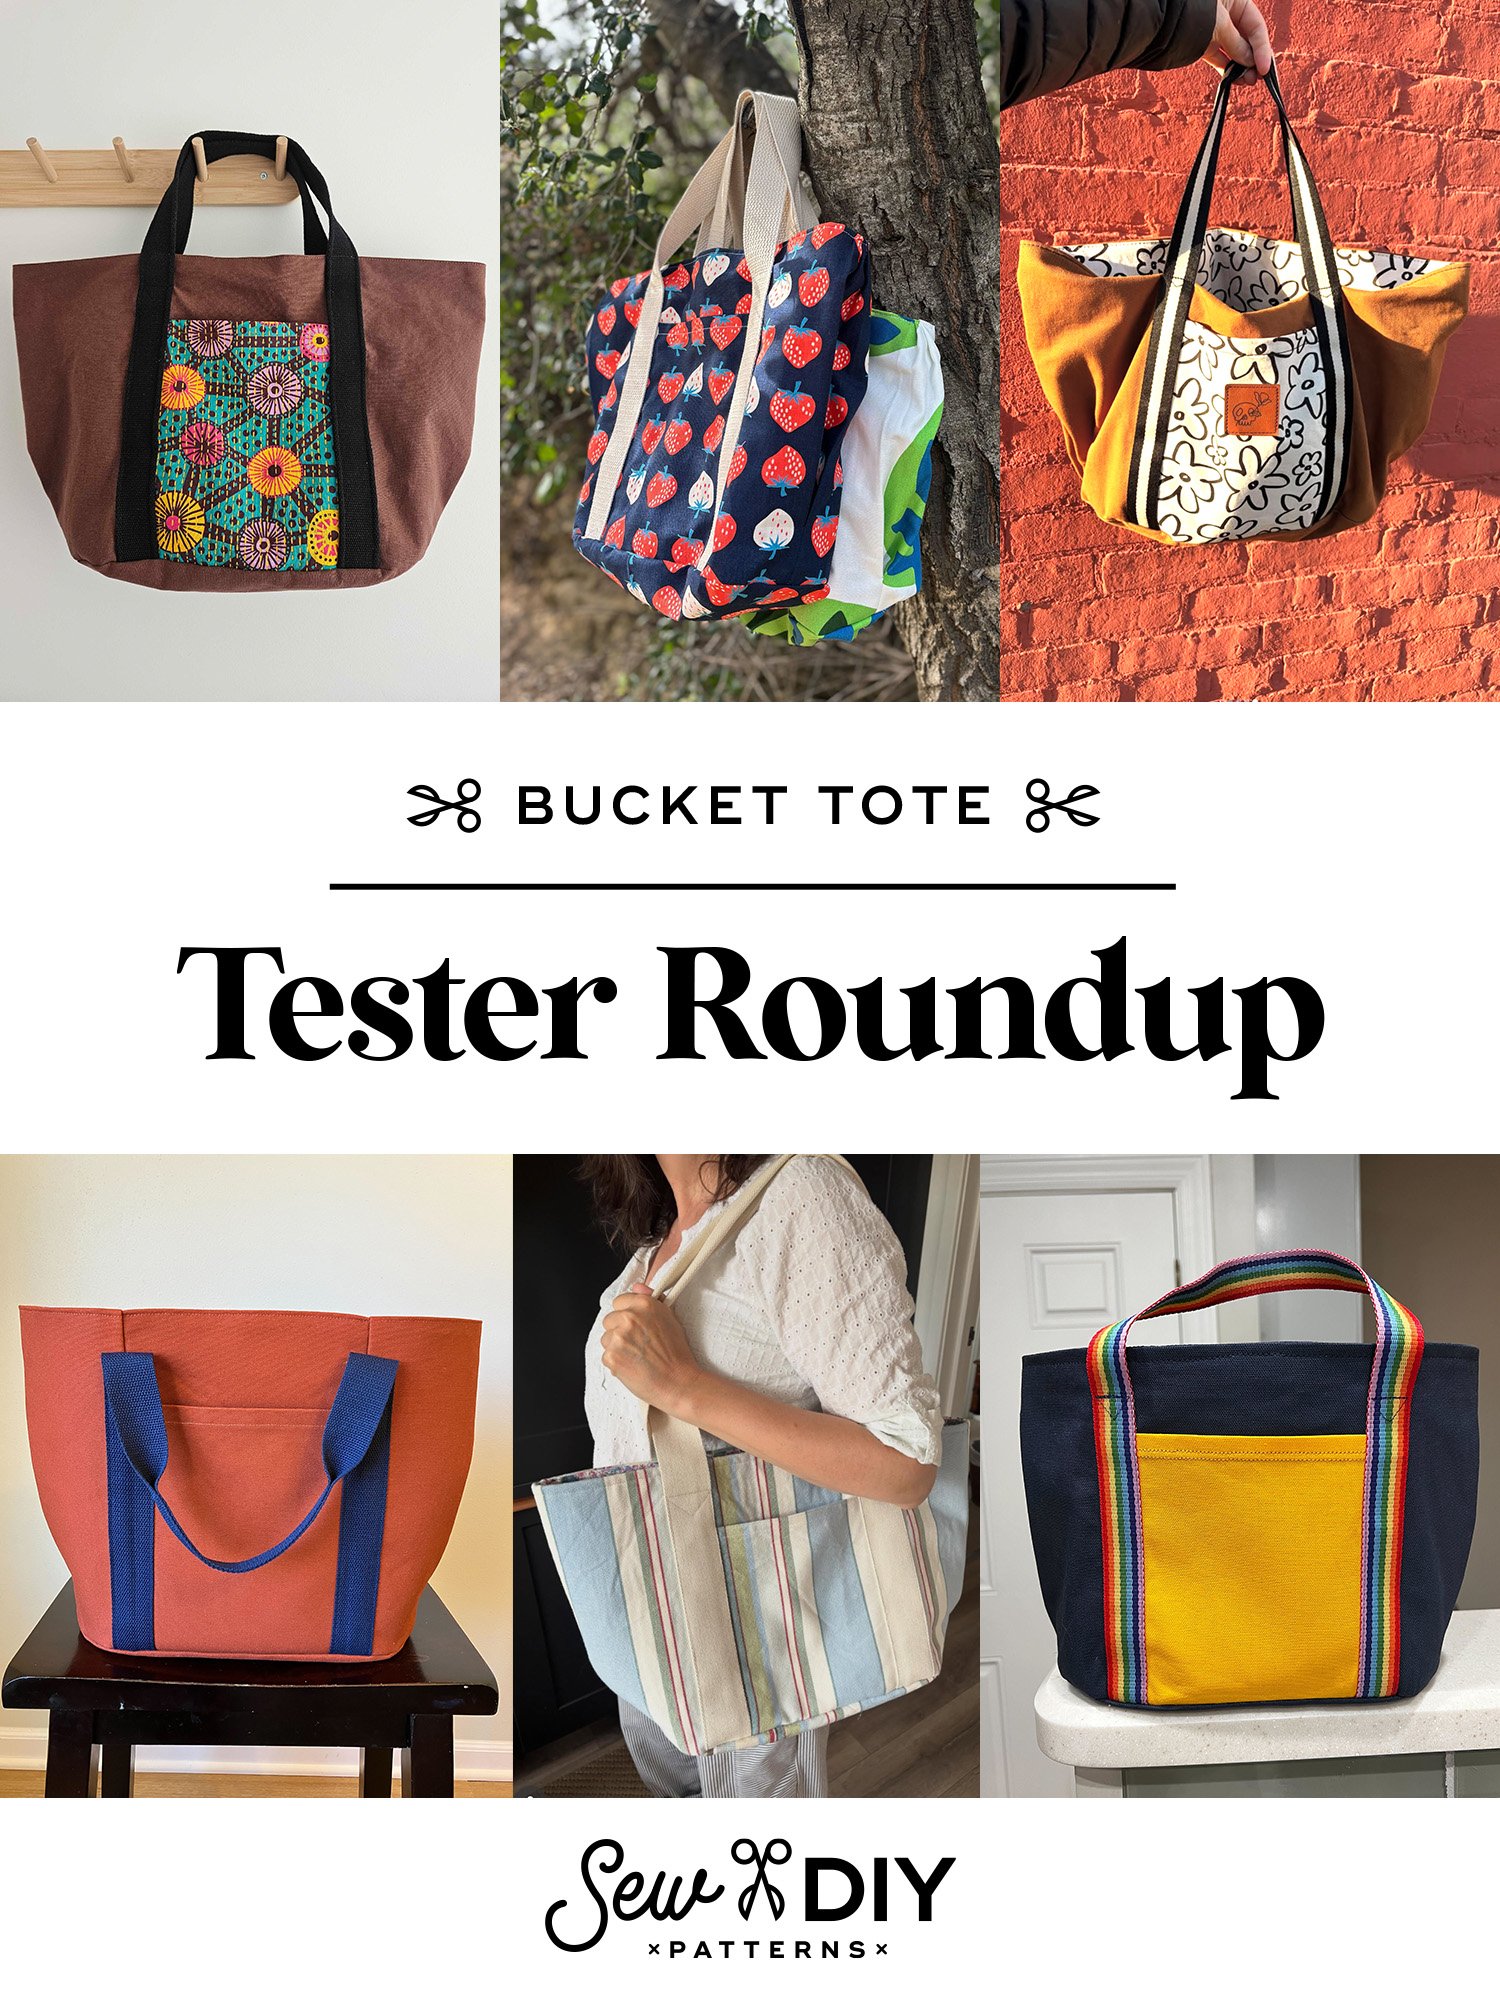
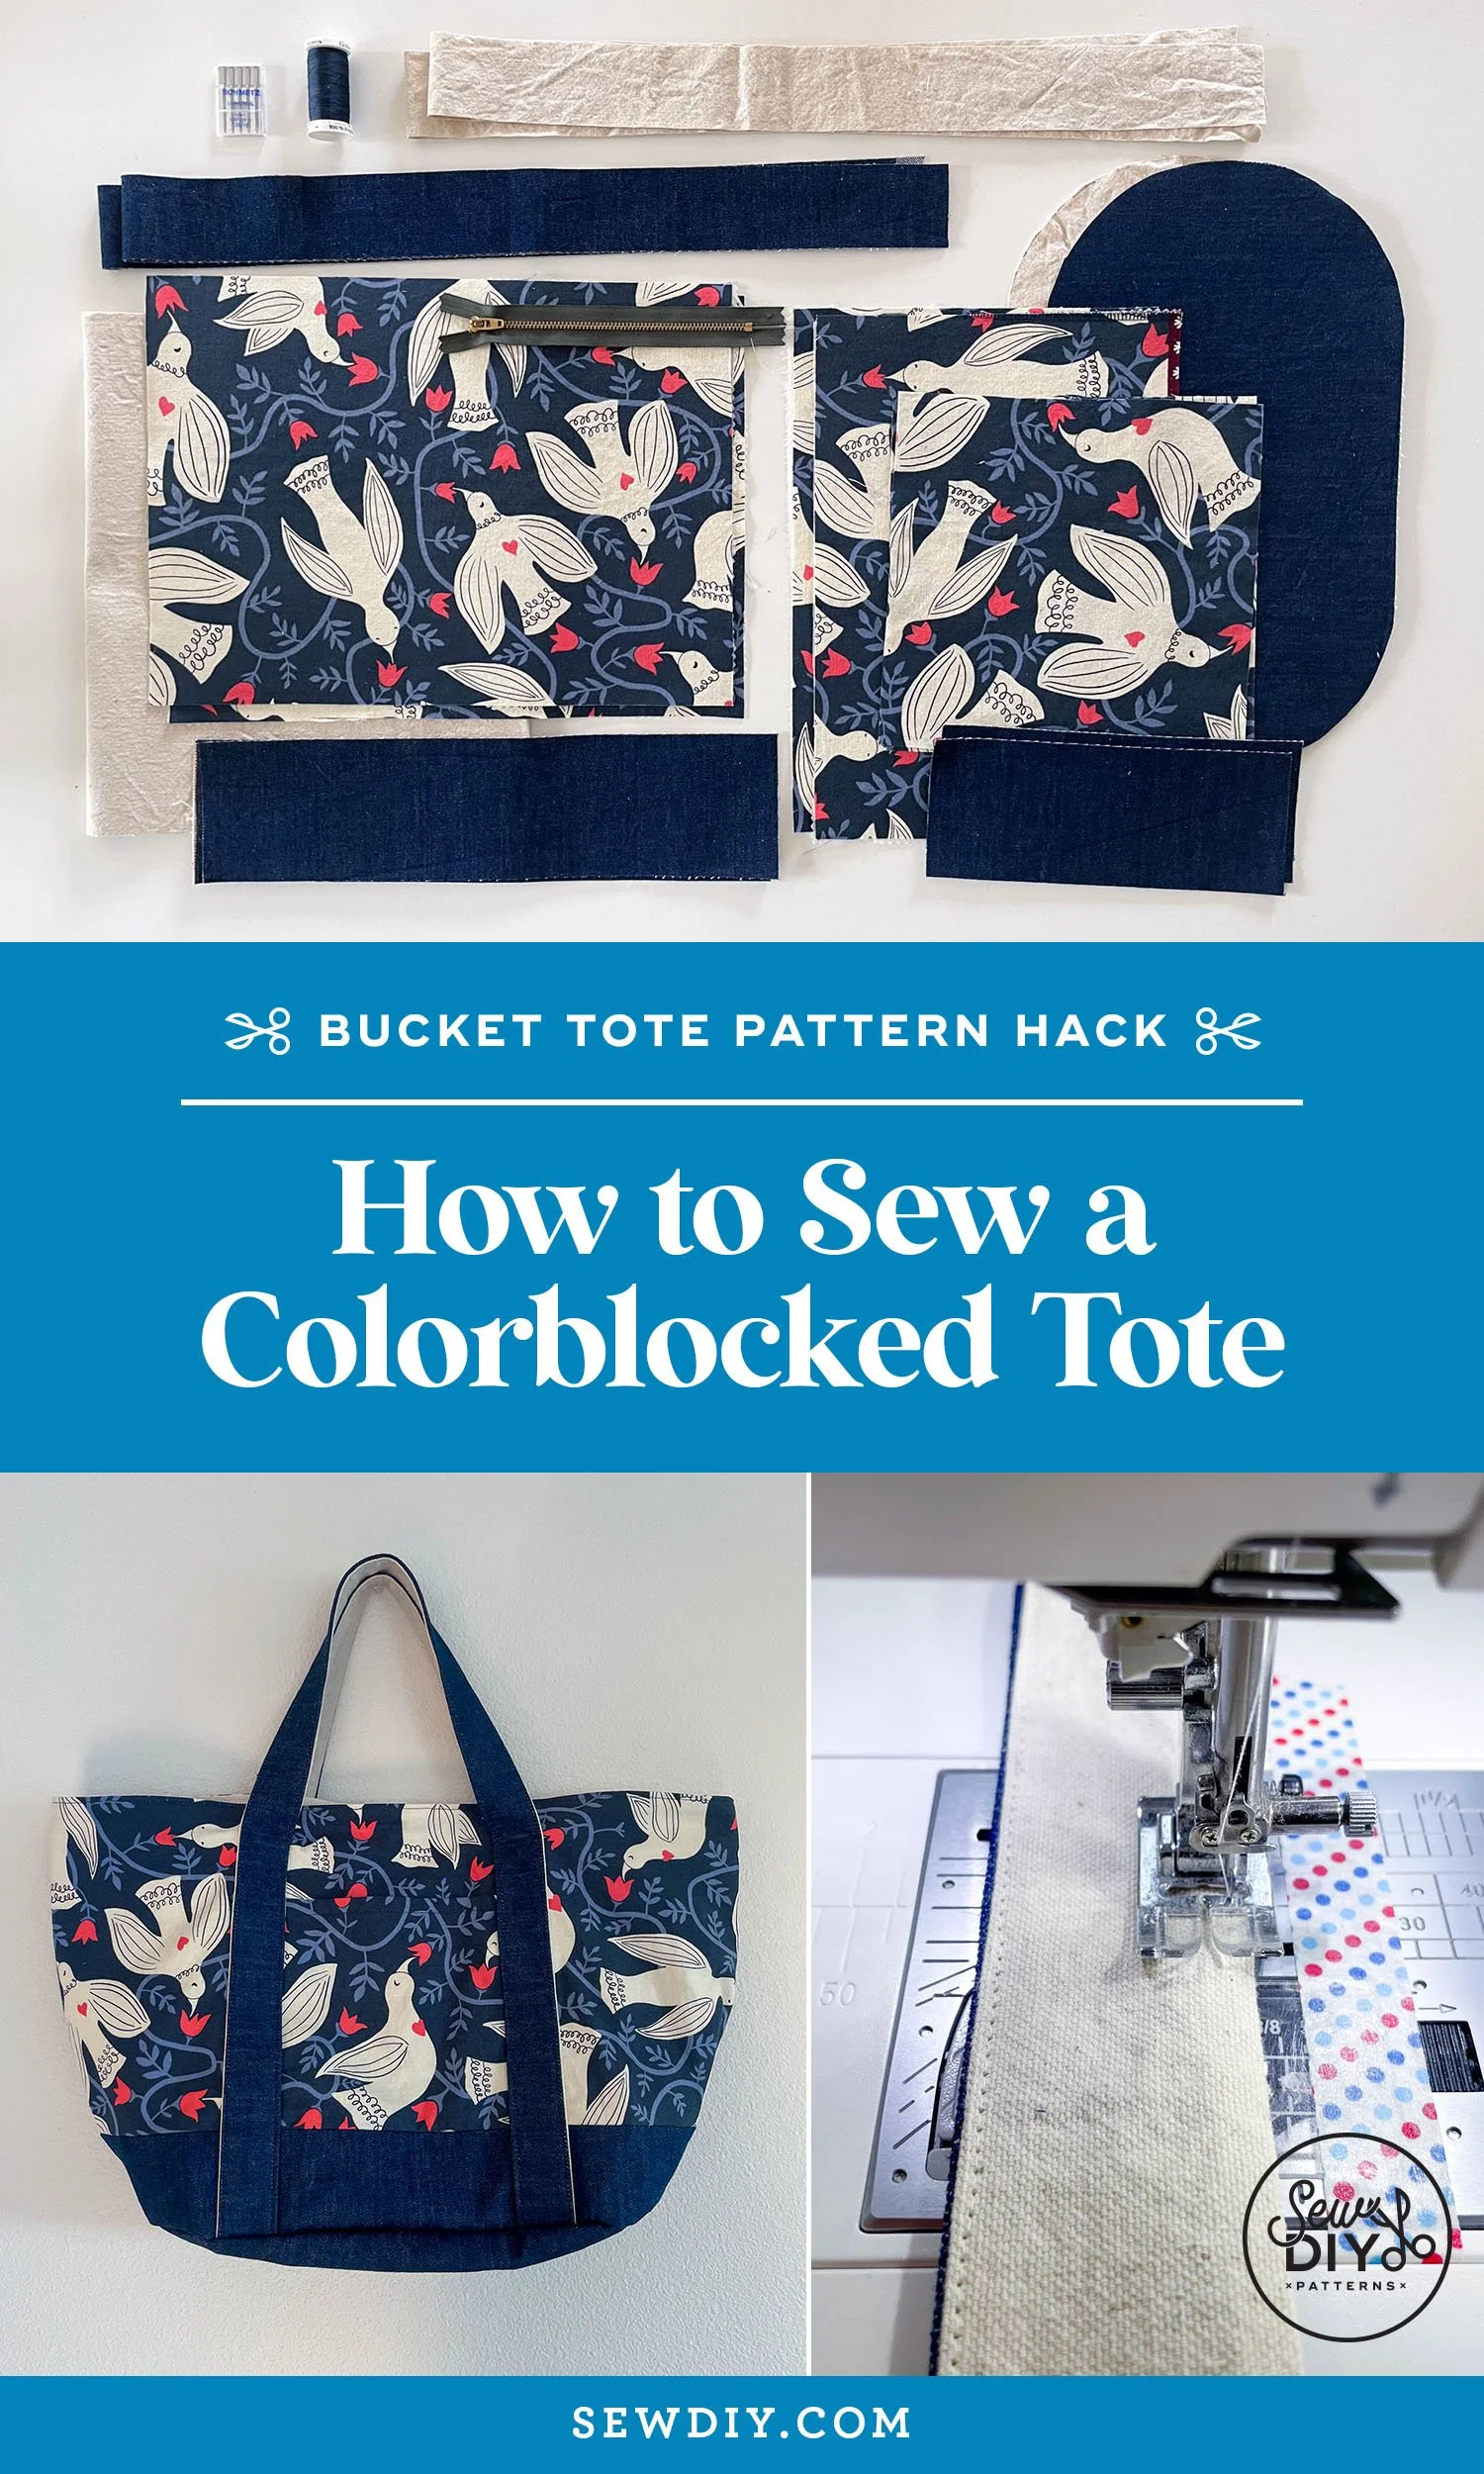
Today, I have a simple, stash busting variation of the bucket tote to share with you. This hack is inspired by one that one of my testers made that was inspired by the L.L. Bean Boat and Tote. This bag uses fabric for the handles and has a contrast band of fabric around the bottom.
This post has two parts. First, I share how to colorblock this pattern, including the fabrics and dimensions I used for this hack. Then in the second part, I show how to cut and sew fabric to make your own handles (instead of using pre-made webbing).
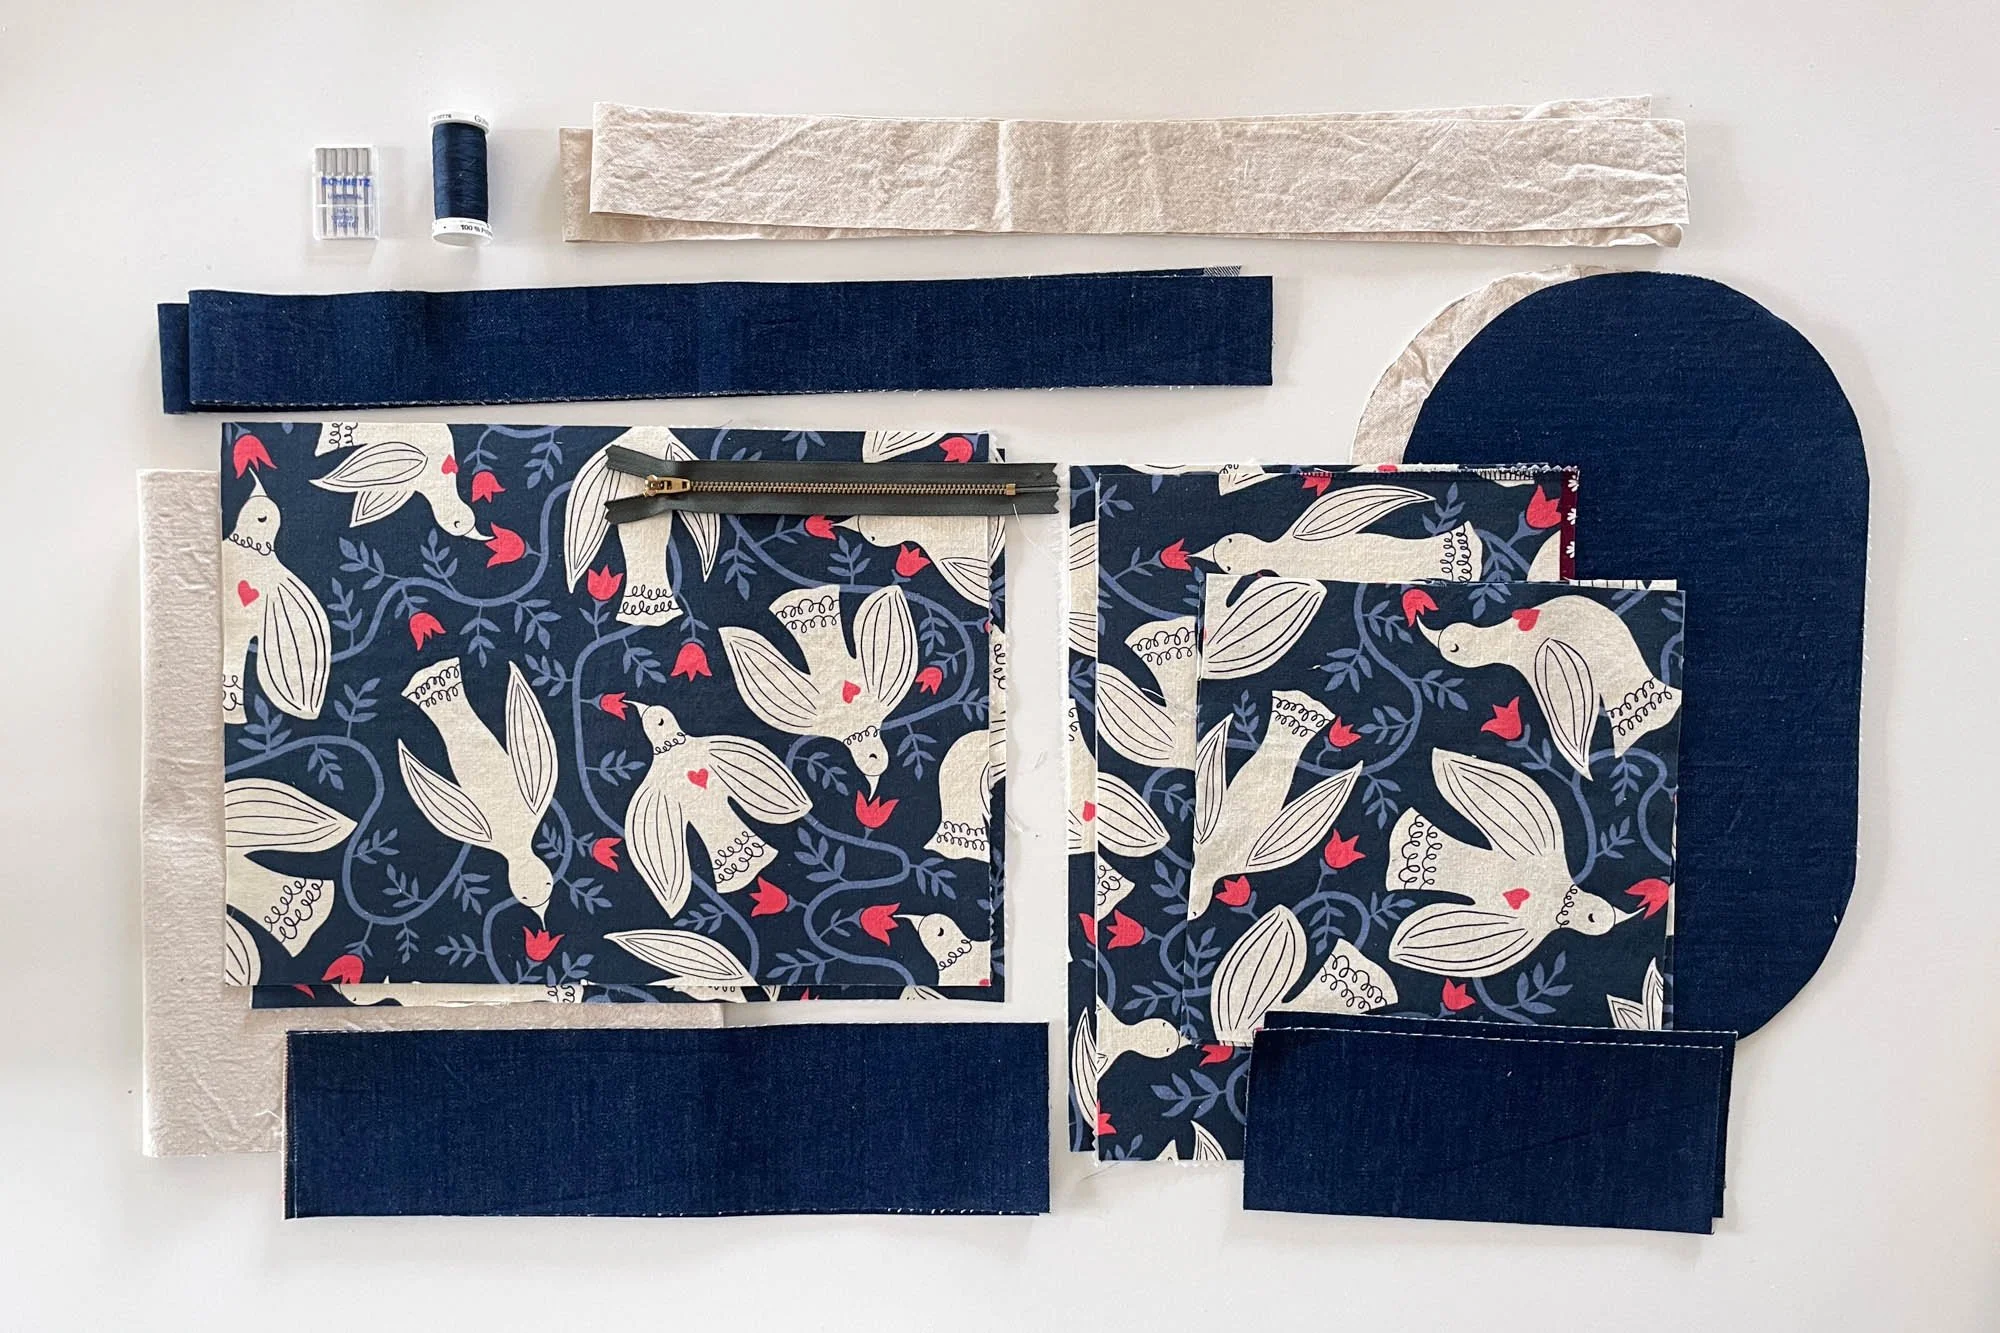
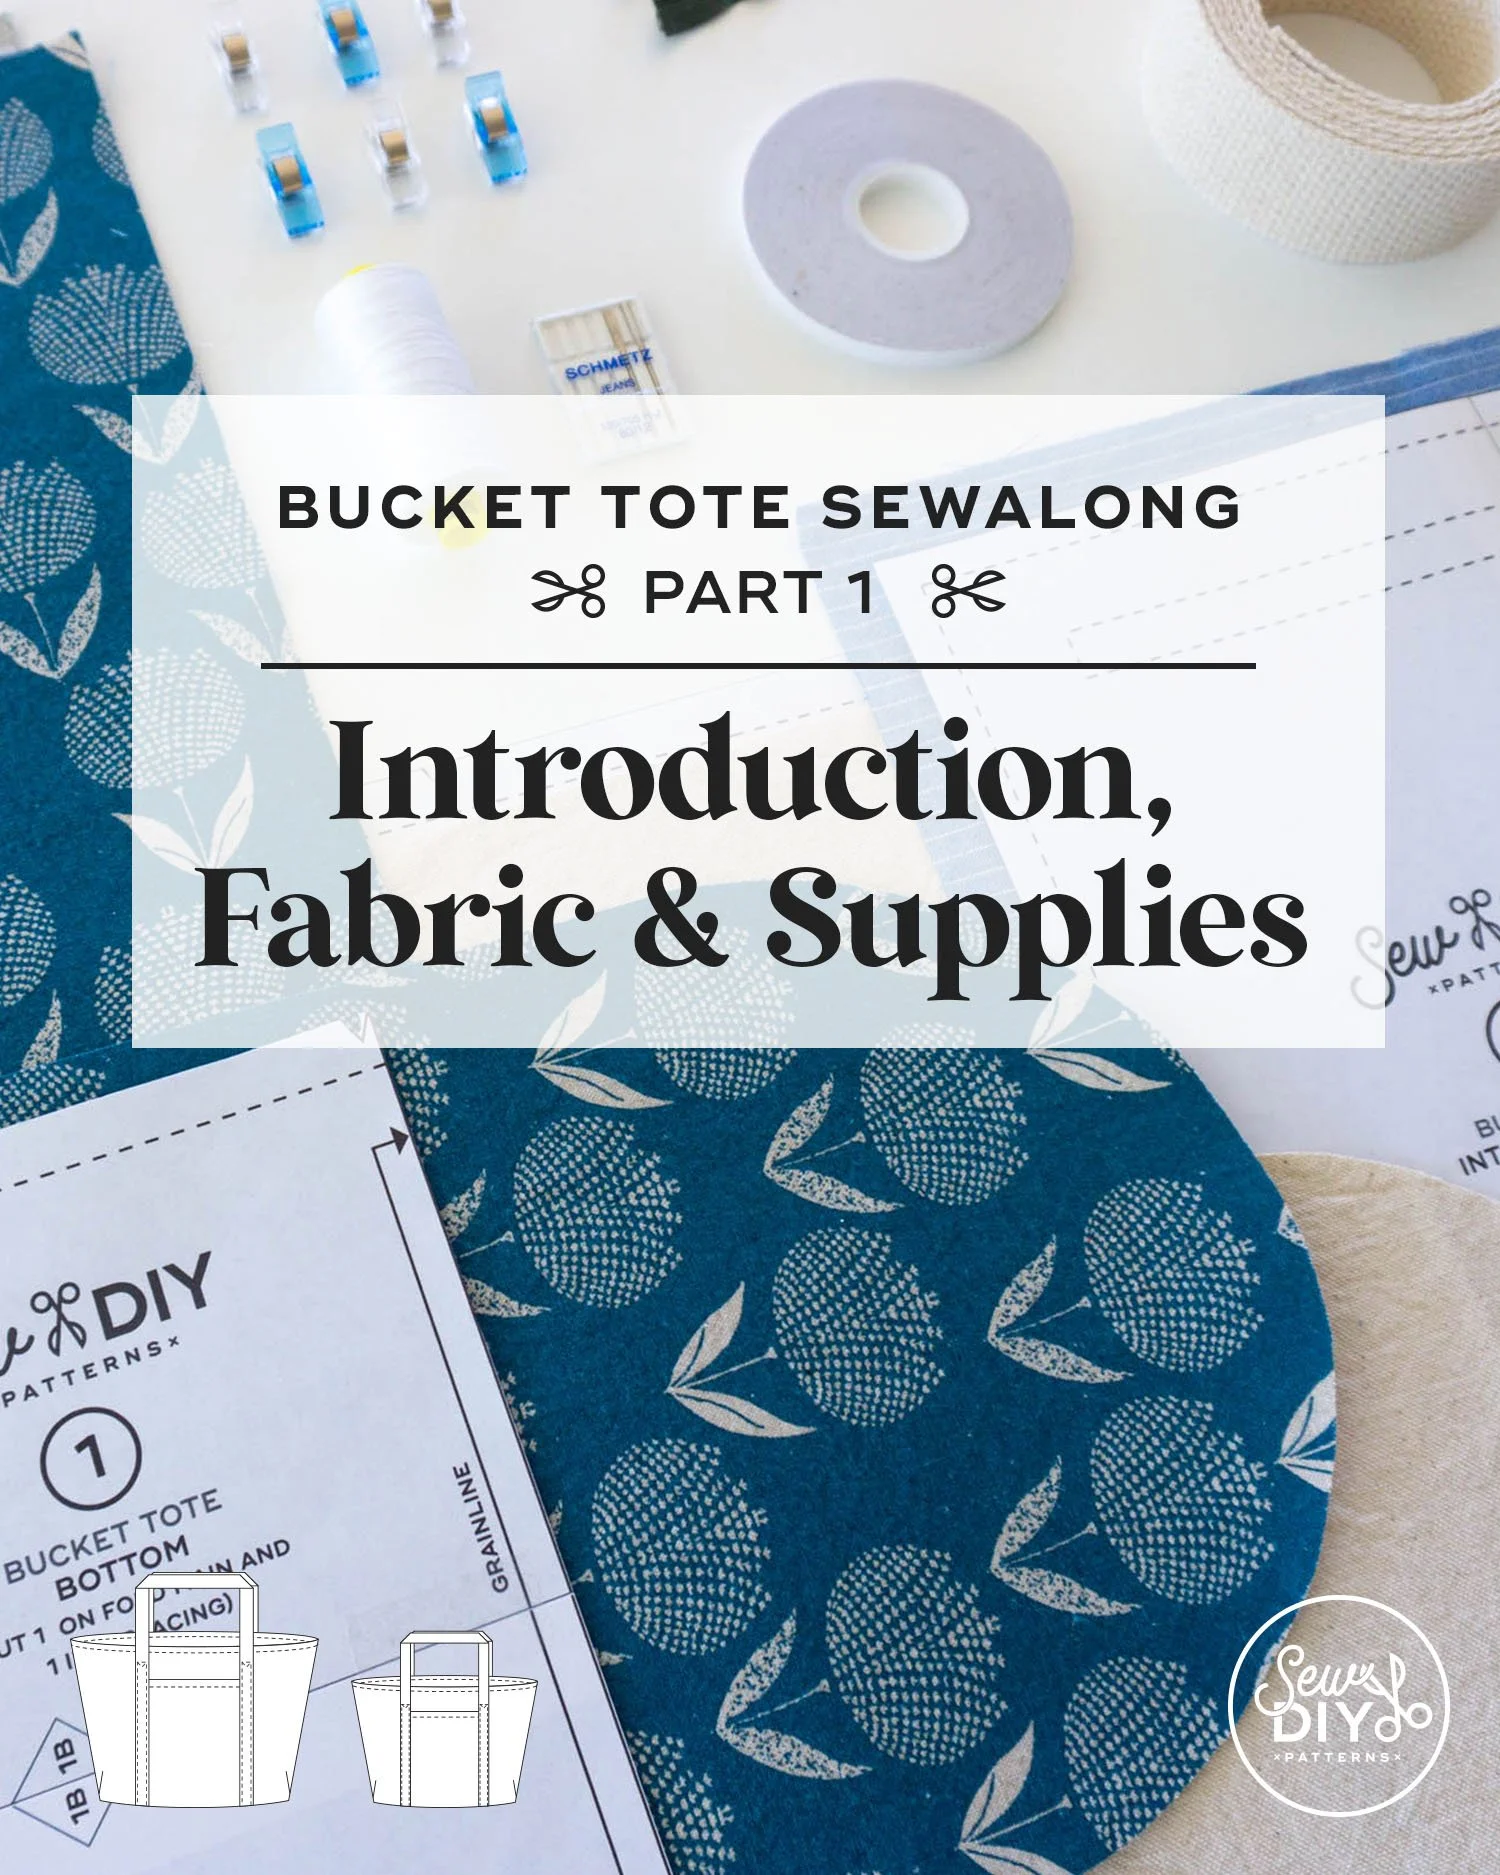
SUPPLIES
The fabric and interfacing recommendations are the same for this hack as the original. The only change is that you don’t need the webbing and the fabric quantities will differ depending on how you color block the bag.
My main fabric is the Endpaper Smoke Linen Cotton canvas designed by Jen Hewett for Ruby Star Society. I bought this from Hart's Fabrics and while the smoke color is out of stock, they still have it in strawberry. This canvas is on the lighter end at only 6.9 oz per square yard with a very soft touch. I applied a double sided interfacing and muslin to add thickness. I used this fabric for the top exterior part of the bag. I bought about two yards and still have a lot leftover.
For the bottom part of the exterior and one side of the handles, I used a heavy denim. I only interfaced the bottom exterior because the denim is so heavy. The denim is scraps left over from another project and I don't remember the origin.
For the lining, I used cotton canvas from JoAnns that I bought 4-5 years ago. I bought about five yards and after all of my Bucket Tote samples, I'm nearly out of it. The lining for this tote is constructed as usual with a 7" zippered welt pocket.
I cut the fabric handles from the denim and the lining canvas. Both fabrics are very heavy so I did NOT use interfacing on the handles.
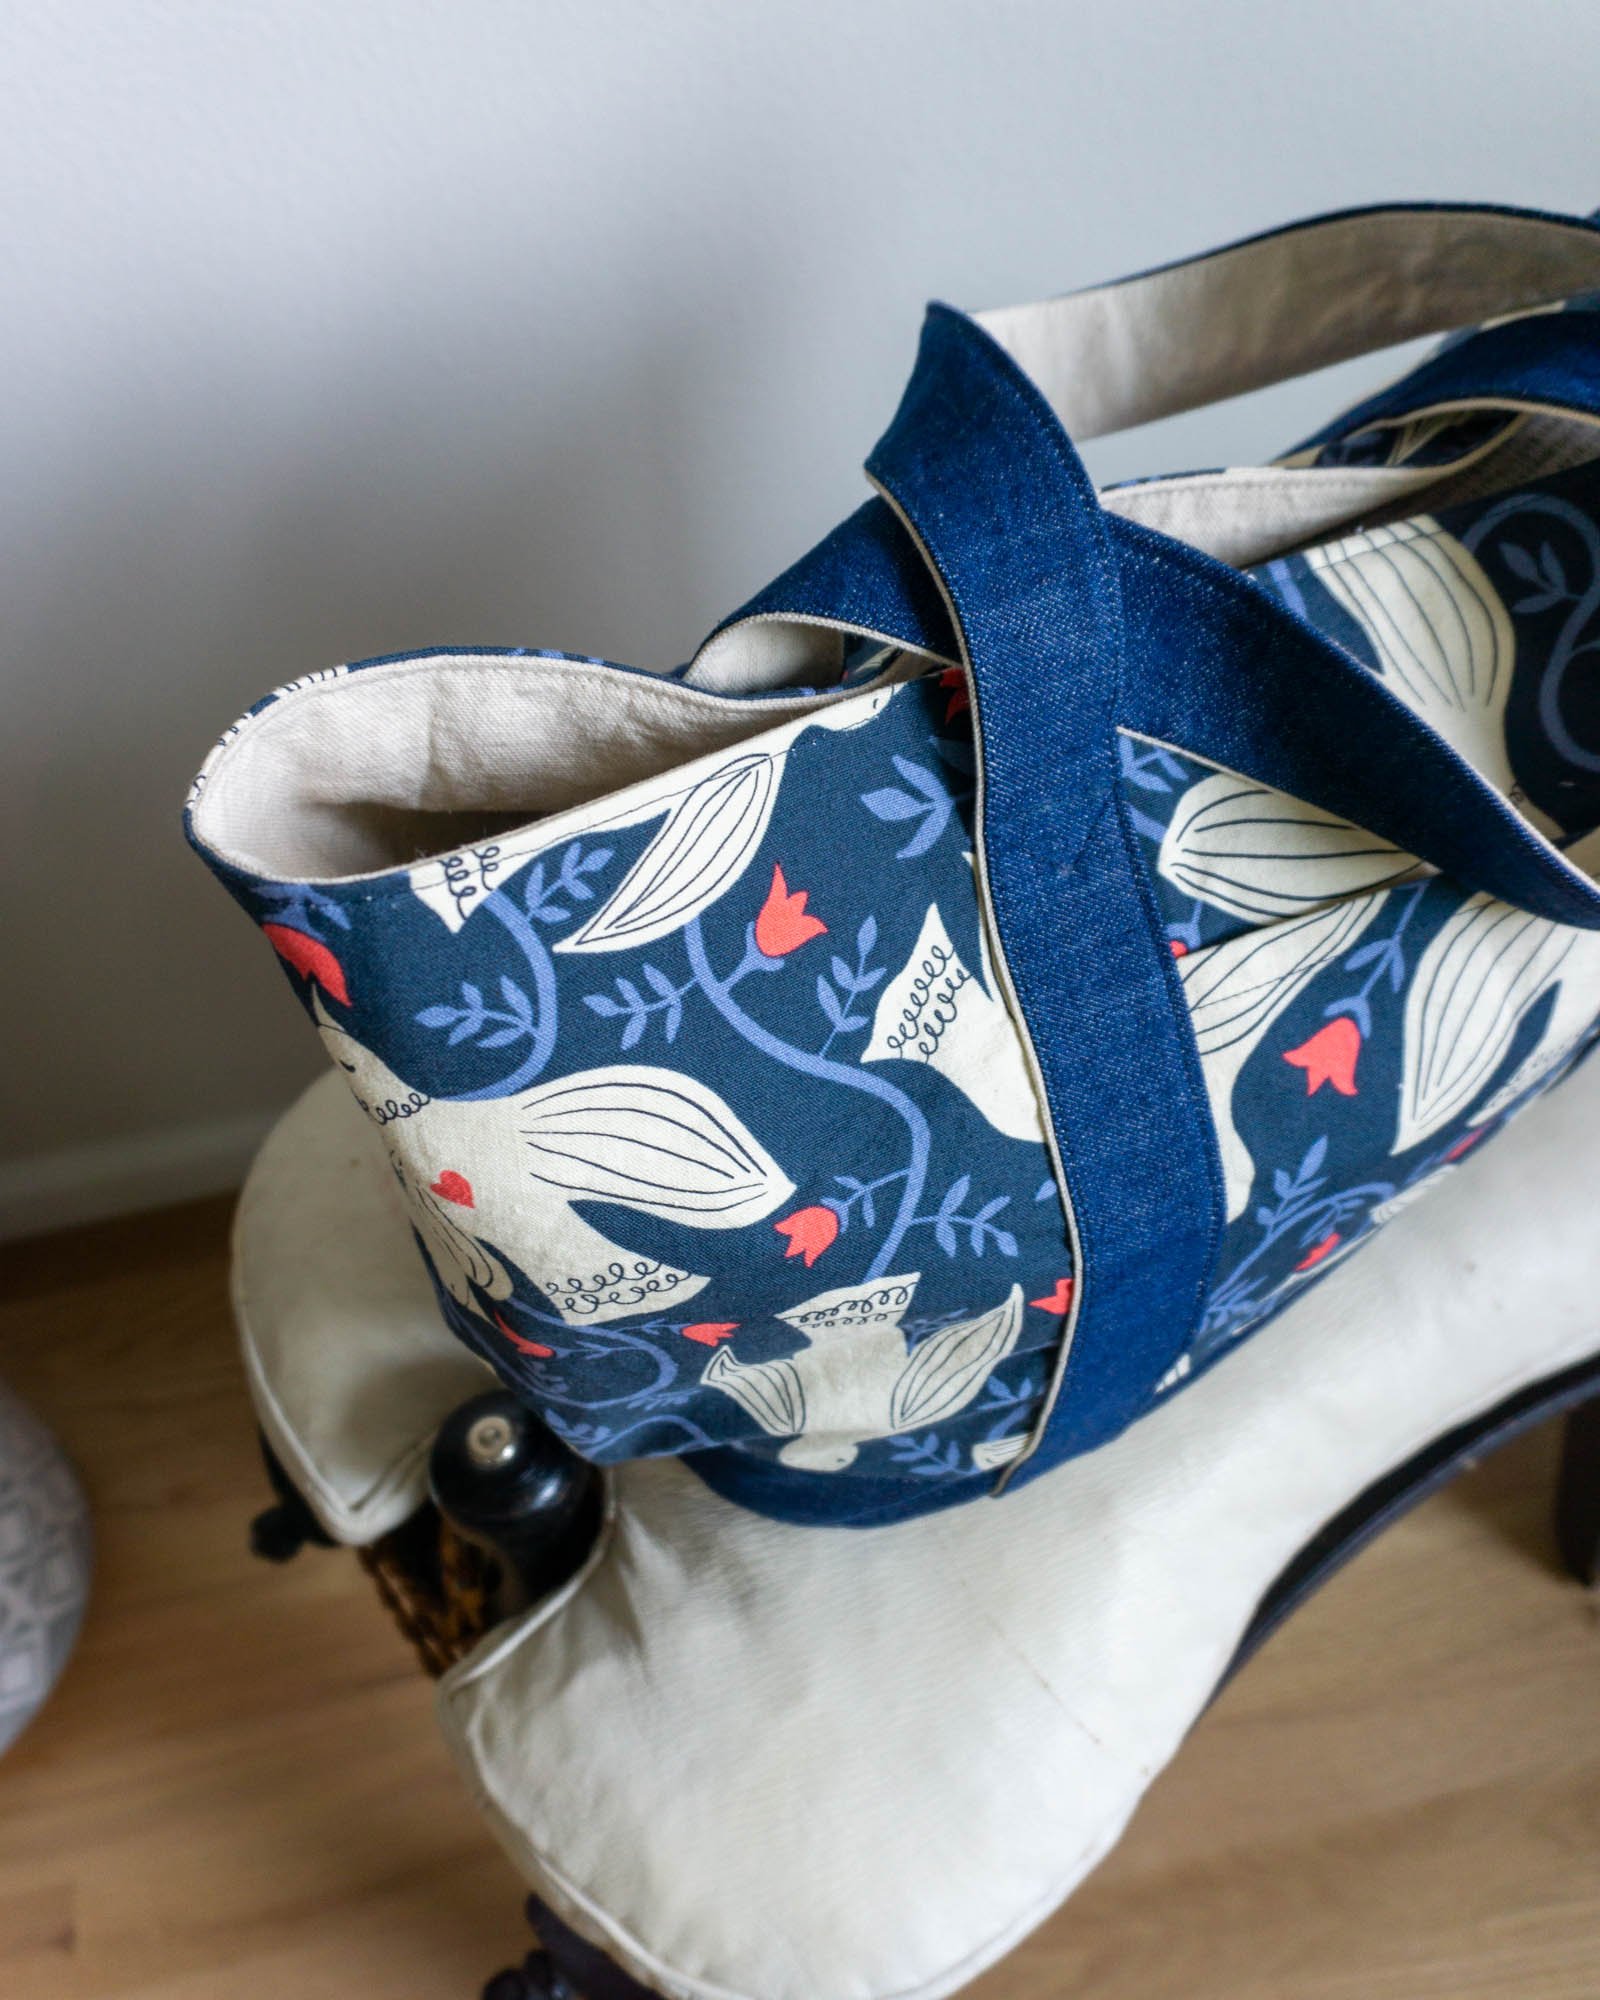
How to color block the Bucket Tote
Color blocking is not very challenging. First, you decide where you want the new seam line. Then cut the pattern along that line and add a seam allowance to each side of the cut line. Click here to watch my video tutorial about how to color block with examples on different patterns.
For this sample, I made the regular size tote, the same idea can be applied to the small tote. Below is an illustration of the pattern adjustment, drawn to scale.
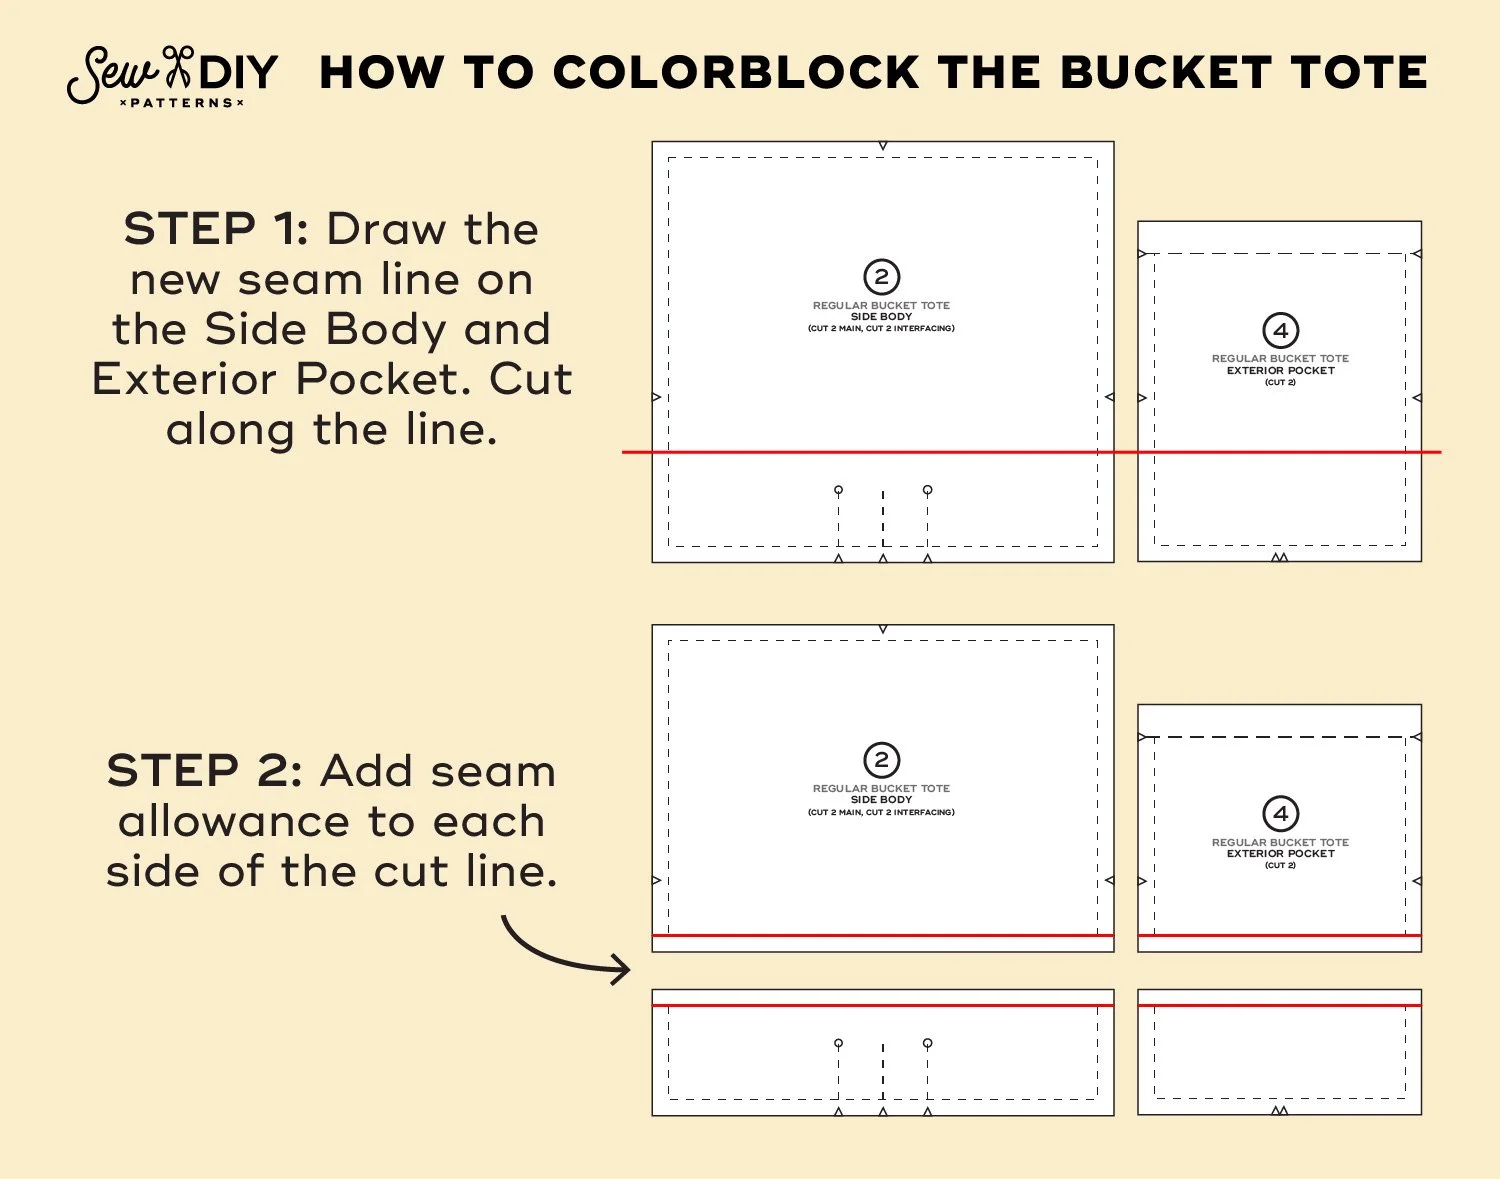
For this tote, I decided to make the bottom, denim panel a finished size of 2.5” tall. I wanted a narrow bottom but also didn’t want the new seam to go through the pleat. For this example, the width of the pattern piece is cut the same as the pattern, only the length is different.
For this bag, I cut the following:
Main Fabric (Bird Print):
Side Body 14.25” wide by 10.5” long
Exterior Pocket 8.75” wide by 8” long
Center Body, no change to the pattern
Contrast Fabric (Blue Denim):
Side Body 14.25” wide be 3.5” long
Exterior Pocket 8.75” wide by 3.5” long
Exterior Body, no change to the pattern
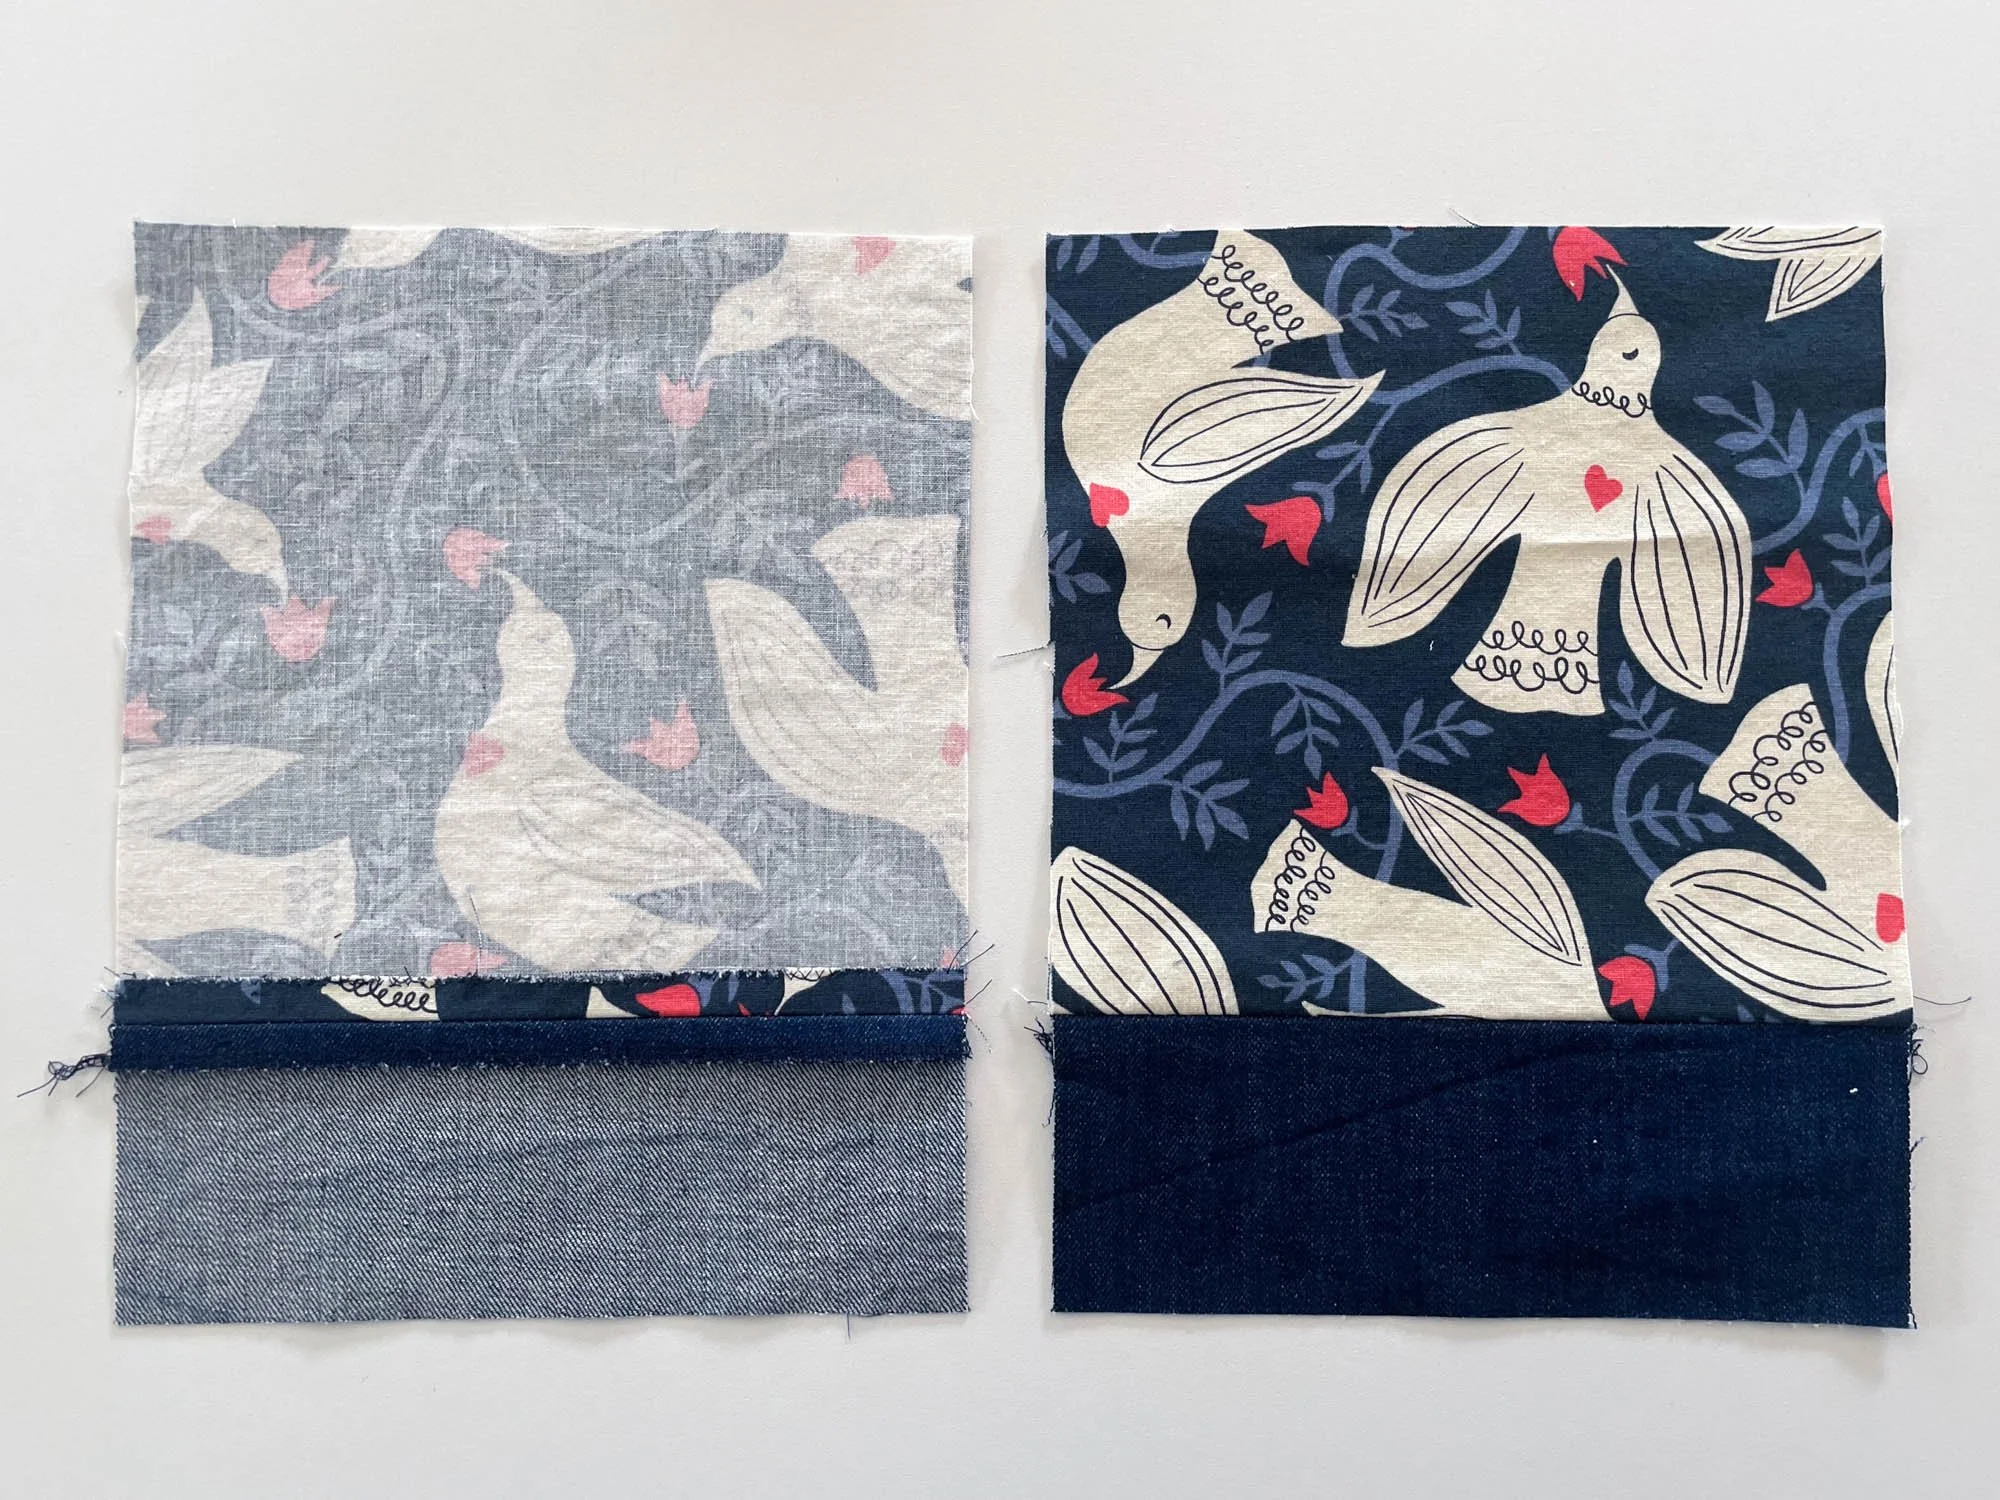
To sew the color blocked tote, start by sewing the new seam line of the Side Body and Exterior Pockets. For the Exterior Pockets, I recommend pressing the seam open and finishing the seam allowance. After stitching this seam, the fabric will match the original pattern piece size. In the photo above, you can see the wrong and right sides of the Exterior Pocket pieces after sewing the two fabrics together.
The rest of the assembly of the bag is the same as described in the pattern, except for the handles.
HOW TO SEW fabric handles
I had a few testers make their own handles using fabric and it was requested as an addition to the sewalong. I know it's not always easy to get sewing supplies and using fabric instead of webbing is a great alternative.
This is my first version of the tote with fabric handles and to be honest, I was a little worried that I wouldn't like how they looked. I love how webbing looks for the handles because the pre-made edges are naturally straight and perfect. When sewing your own, there's more room for mistakes. I had to set my perfectionism aside for these and ultimately, I really like how they look. I did two-color handles which shows imperfections even more but if you use one color of fabric, any wobbles in stitching and pressing will be less visible.
For this sample, I made the handles using two color of fabric stitched together, so there is a seam on each side of the handle. You could also use one piece of fabric for each handle and have fold on one side and a seam on the other.
Cutting Fabric for the handles
These fabric cutting recommendations are for a two-sided fabric handle that are finished to the same size of the webbing recommended in the pattern. Use a .5” seam allowance with these measurements.
For the regular size tote, cut four pieces of fabric 2.5” wide by 40” long.
For the small size tote, cut four pieces of fabric 2” wide by 30” long.
My fabric was very heavy so I did not use interfacing. If yours is lighter, you may want to add it.
sewing the handles
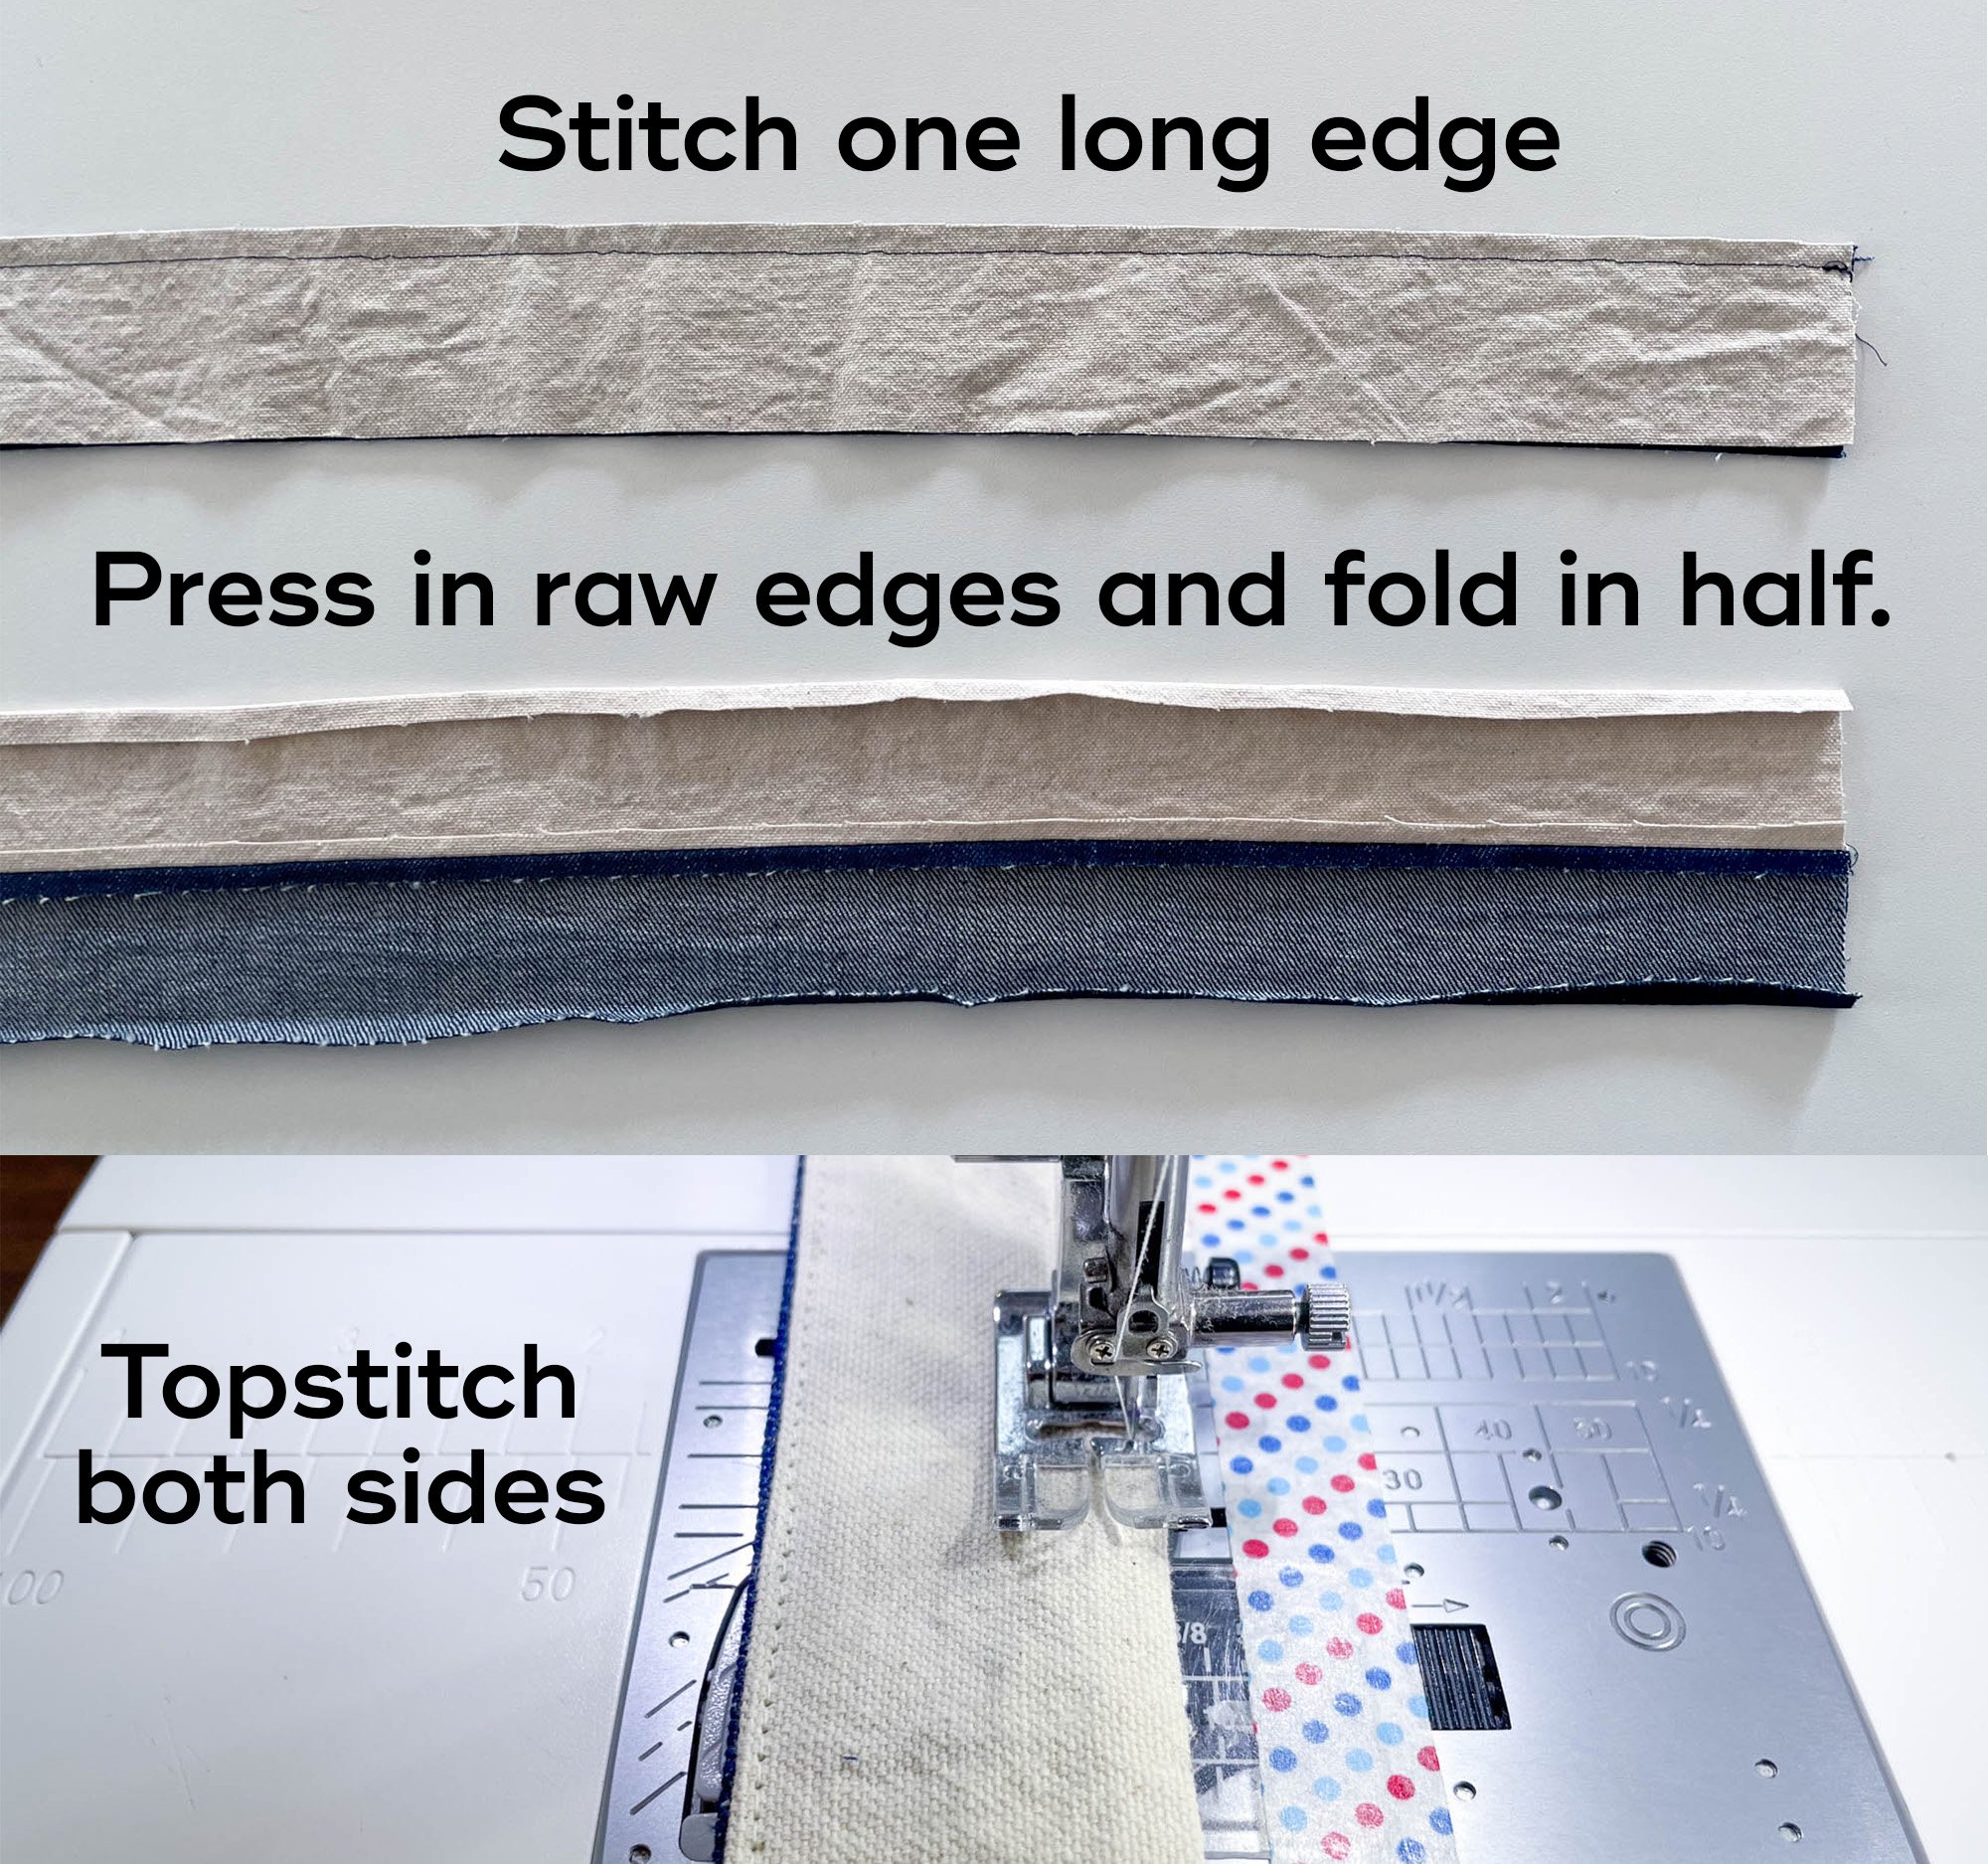
To sew the handles, I used a bit of a hybrid method. I stitched one side with a seam and folded in the other. Then topstitched both sides. You could also fold and press both long edges and then topstitch. Do what works for you.
This was my favored approach because I felt like I could get the best seam lines without turning a tube right side out. I did try stitching both sides and turning the fabric right side out but turning a 40” tube of heavy canvas was futile and bruising for my fingers. Folding and pressing an exact seam allowance is not easy but much more feasible than trying to turn a long denim tube.
Note, in the photos above, I used a .25” seam allowance because I was running low on fabric. I recommend using a larger seam allowance for easier pressing.
STEP 1: With the fabric right sides together, stitch one long edge together.
STEP 2: Fold the handle in half lengthwise with wrong sides together and press. Unfold and press the raw edges in .5”.
STEP 3: Topstitch both edges of the handle. Repeat for second set of fabric strips.
The handle is now finished and can be attached to the tote as described in the instructions.
I hope that you found this tutorial helpful. Click here to see all of the posts in Bucket Tote Sewalong. Or, scroll through them below.



The Sew DIY Bucket Tote is the perfect "throw & go" bag with a wide top opening so you can easily see and access everything inside. This fully-lined tote is thoughtfully designed with an oval base, pleats at each end and exterior and interior pockets.
The pattern includes both regular and small sizes, giving you options for wherever life takes you. The regular size is perfect for a day at the pool or a short road trip while the small size can be used to carry your lunch or a small craft project.
Both sizes have two exterior patch pockets and one interior pocket. The regular size has a welt zippered pocket inside and the small size has an interior patch pocket. The handles are made from cotton webbing that are topstitched to the sides of the bag and secured in the bottom seam.
This digital pattern includes:
• Illustrated instruction booklet
• Print-at-home layered pattern (Letter/A4)
• US copy shop and A0 patterns
• Projector pattern
Scroll down for more details.
THIS IS NOT A PHYSICAL PRODUCT. After checkout, you will receive a link to the pattern that will be active for 24 hours after you click it. Prices are in USD.
About the Sew DIY Bucket Tote pattern:
This fully-lined tote is thoughtfully designed with an oval base, pleats at each end and exterior and interior pockets.
The pattern includes both regular and small sizes, giving you options for wherever life takes you. The regular size is perfect for a day at the pool or a short road trip while the small size can be used to carry your lunch or a small craft project.
Both sizes have two exterior patch pockets and one interior pocket. The regular size has a welt zippered pocket inside and the small size has an interior patch pocket. The handles are made from cotton webbing and are topstitched to the sides of the bag and secured in the bottom seam.
If you’d like to save this post for later, you can save the image below to Pinterest. Happy sewing!

Hello sew-friends! Today, I have another two part hack for my Bucket Tote sewing pattern. For this version of the tote, I've taken the small size and added a recessed drawstring closure to the lining and decorative trim to the handles. You can use both hacks in one bag, or either one individually.
This drawstring hack is similar to the recessed zipper hack that I shared a few weeks ago. The construction is the same as usual for the exterior and the hack is only applied to the lining. Just like with the recessed zipper, the lining is divided to have a narrow facing at the top, a new closure layer and then the lining below. The drawstring casing is made from a separate piece of fabric that is the same circumference as the bag. When not in use, the casing can be pushed flat against the lining of the bag. When the drawstring is tightened, the casing covers the top of the bag.