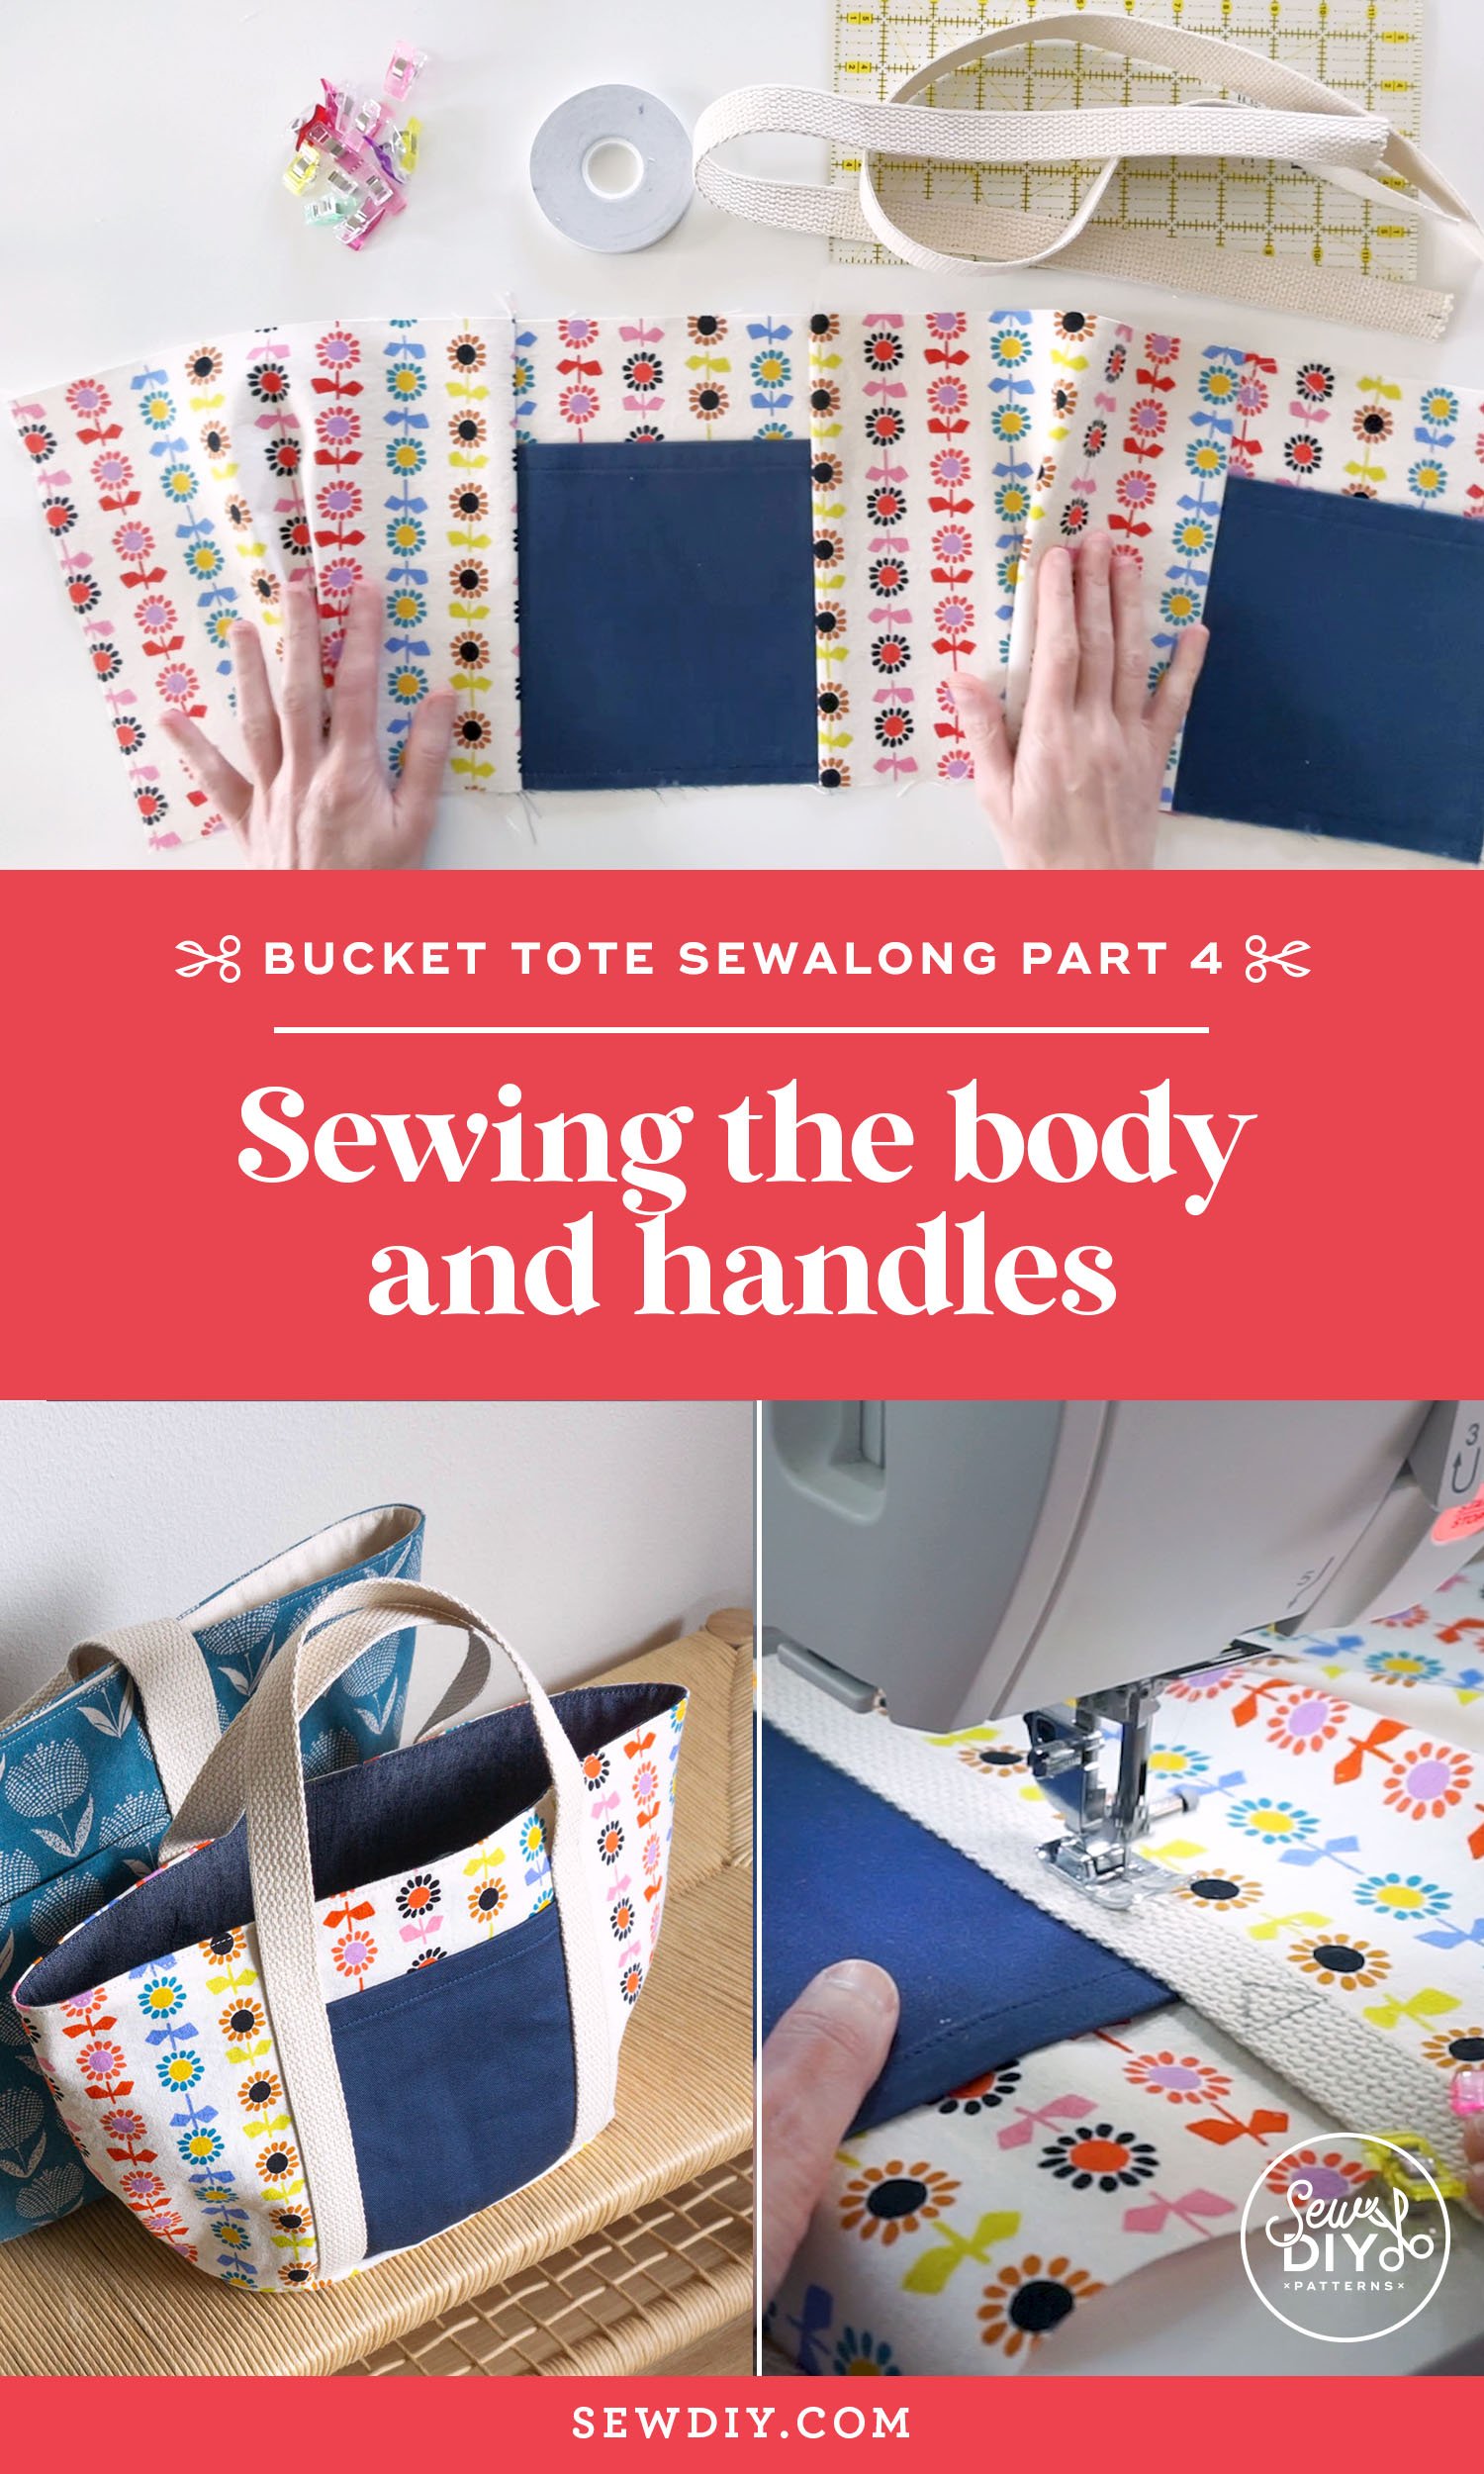
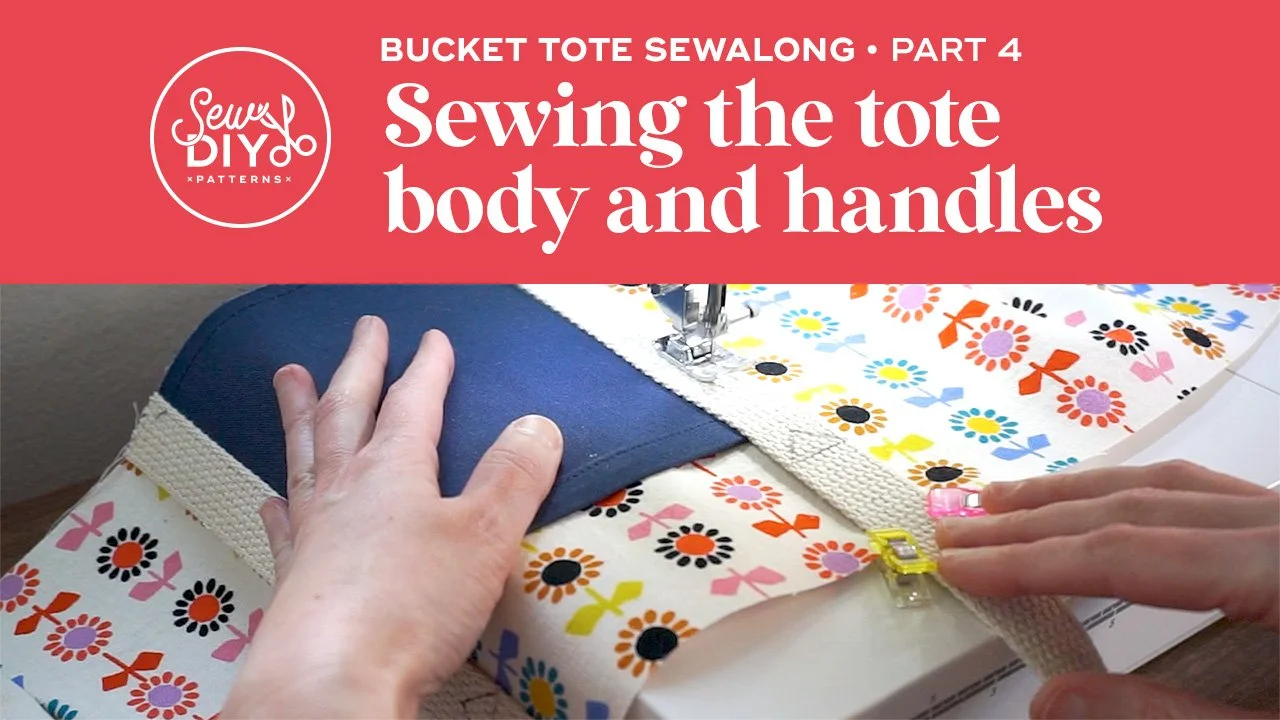
Today, is the fourth installment of the Bucket Tote Sewalong. In this video, I’ll show you how to stitch the pleats, assemble the body of the bag and topstitch the handles. The handles and pleats are key features of the design of the Bucket Tote, from both a functional and style perspective. The pleats create the shape of the bag—narrower at the bottom than the top. The handles are topstitched to the exterior of the bag and anchored into the bottom for security and to show off the center exterior pockets.
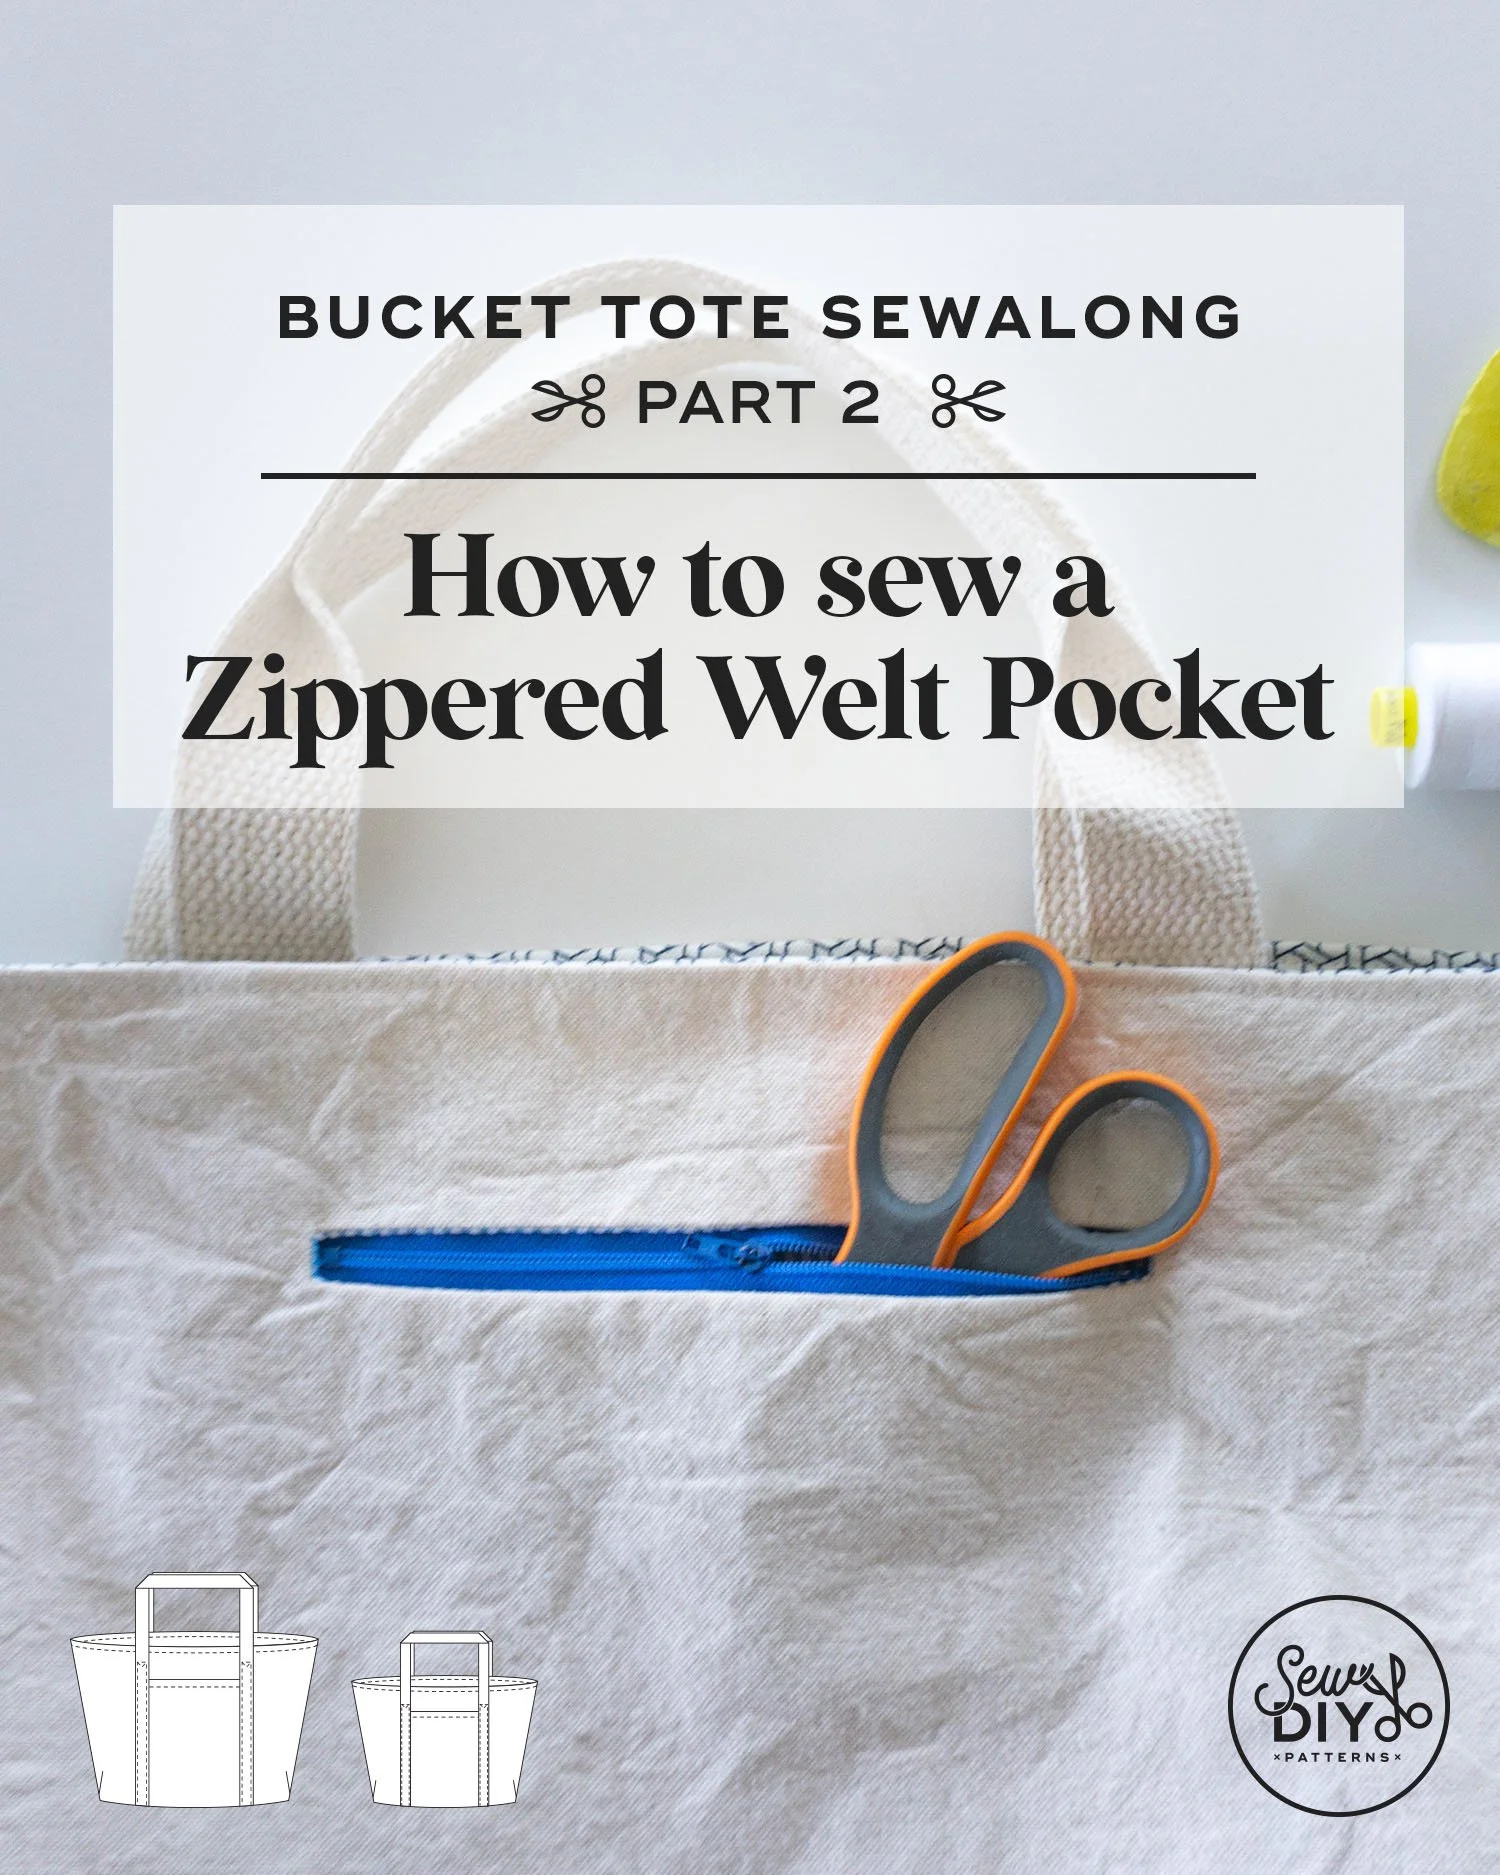
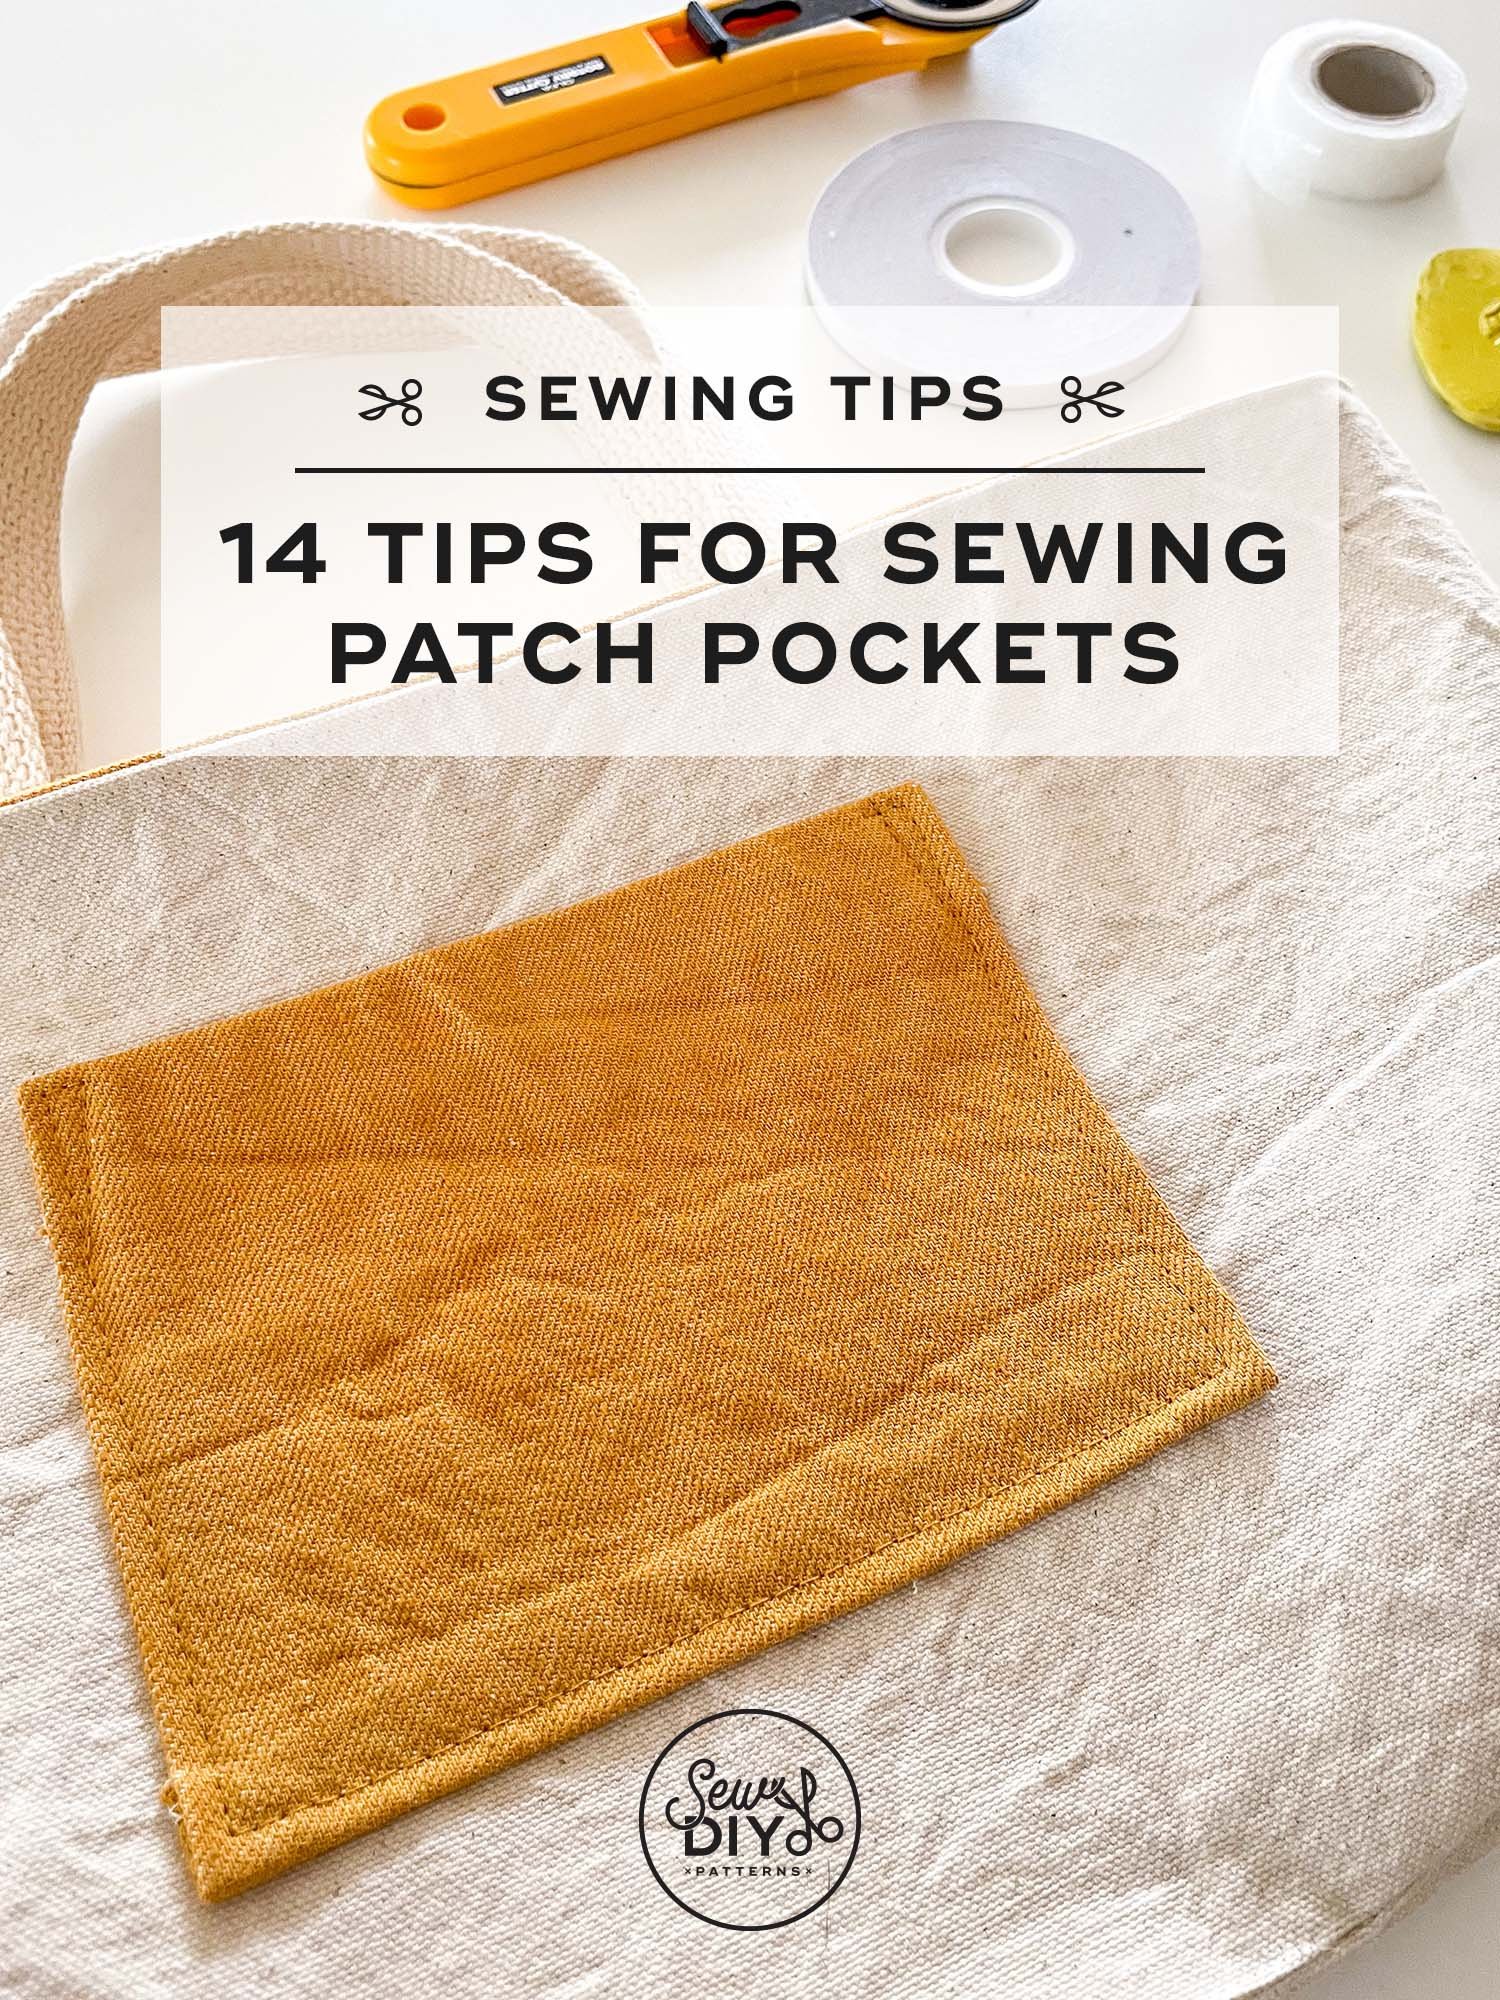
Last week, we sewed the interior and exterior patch pockets and this week we are assembling the body of the bag AND topstitching the handles in place. The construction is broken down so that sewing is as easy as possible. Remember to consult your pattern instruction booklet for specific dimensions.

For the handles, I prefer to use a cotton webbing material but you can use a webbing or fabric of your choosing. (Later in the sewalong, I will share how to make your own handles using fabric.) The thing that helps me the most when topstitching the handles is repositionable sewing tape, like this one from Wawak. I also recommend having a ruler and fabric marking pen.
Below is the step-by-step video for how to stitch the pleats, assemble the body and topstitch the handles. I share all of my tips and tricks along the way. Happy sewing!
Watch the video above or on YouTube by clicking here. Use the time stamps below to jump to different sections in the video.
TIME STAMPS
:05 Intro
1:45 Sewing the pleats
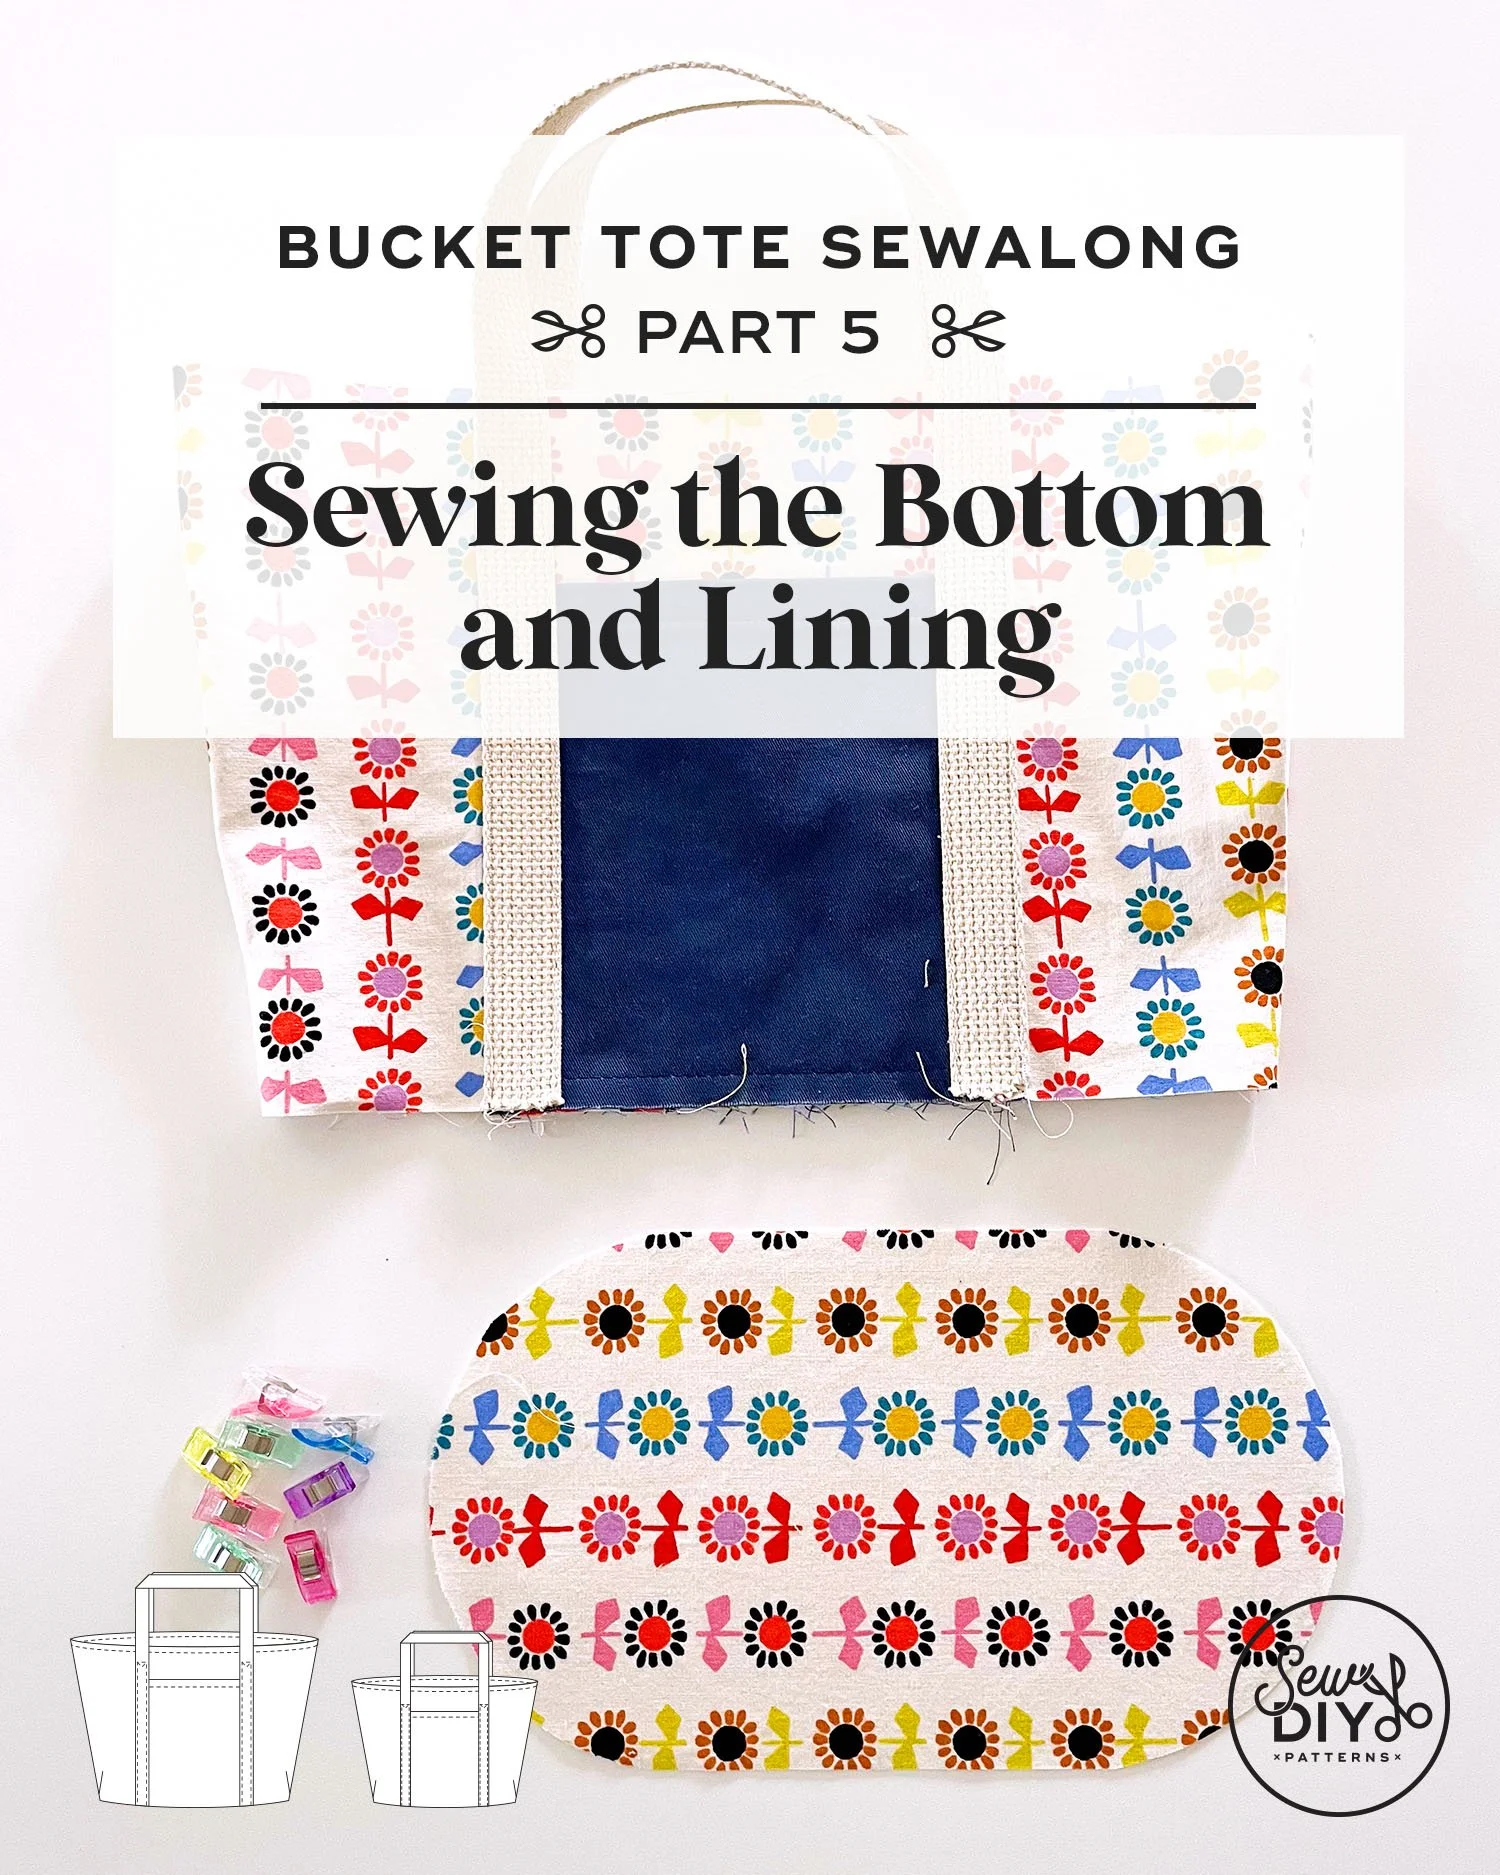
4:03 Stitch the side body to the center body
6:40 Stitch the lining seam
7:27 Prepare the handles (regular size only)
8:50 Topstitch 3 handles to the bag
14:45 Stitch the final handle to the bag
16:33 Thank you!
I hope that you found this tutorial helpful. If you are looking for advice on supplies, check out the first post in the sewalong with links to everything I used for these totes.
Click here to see all of the posts in Bucket Tote Sewalong. Or, scroll through them below.


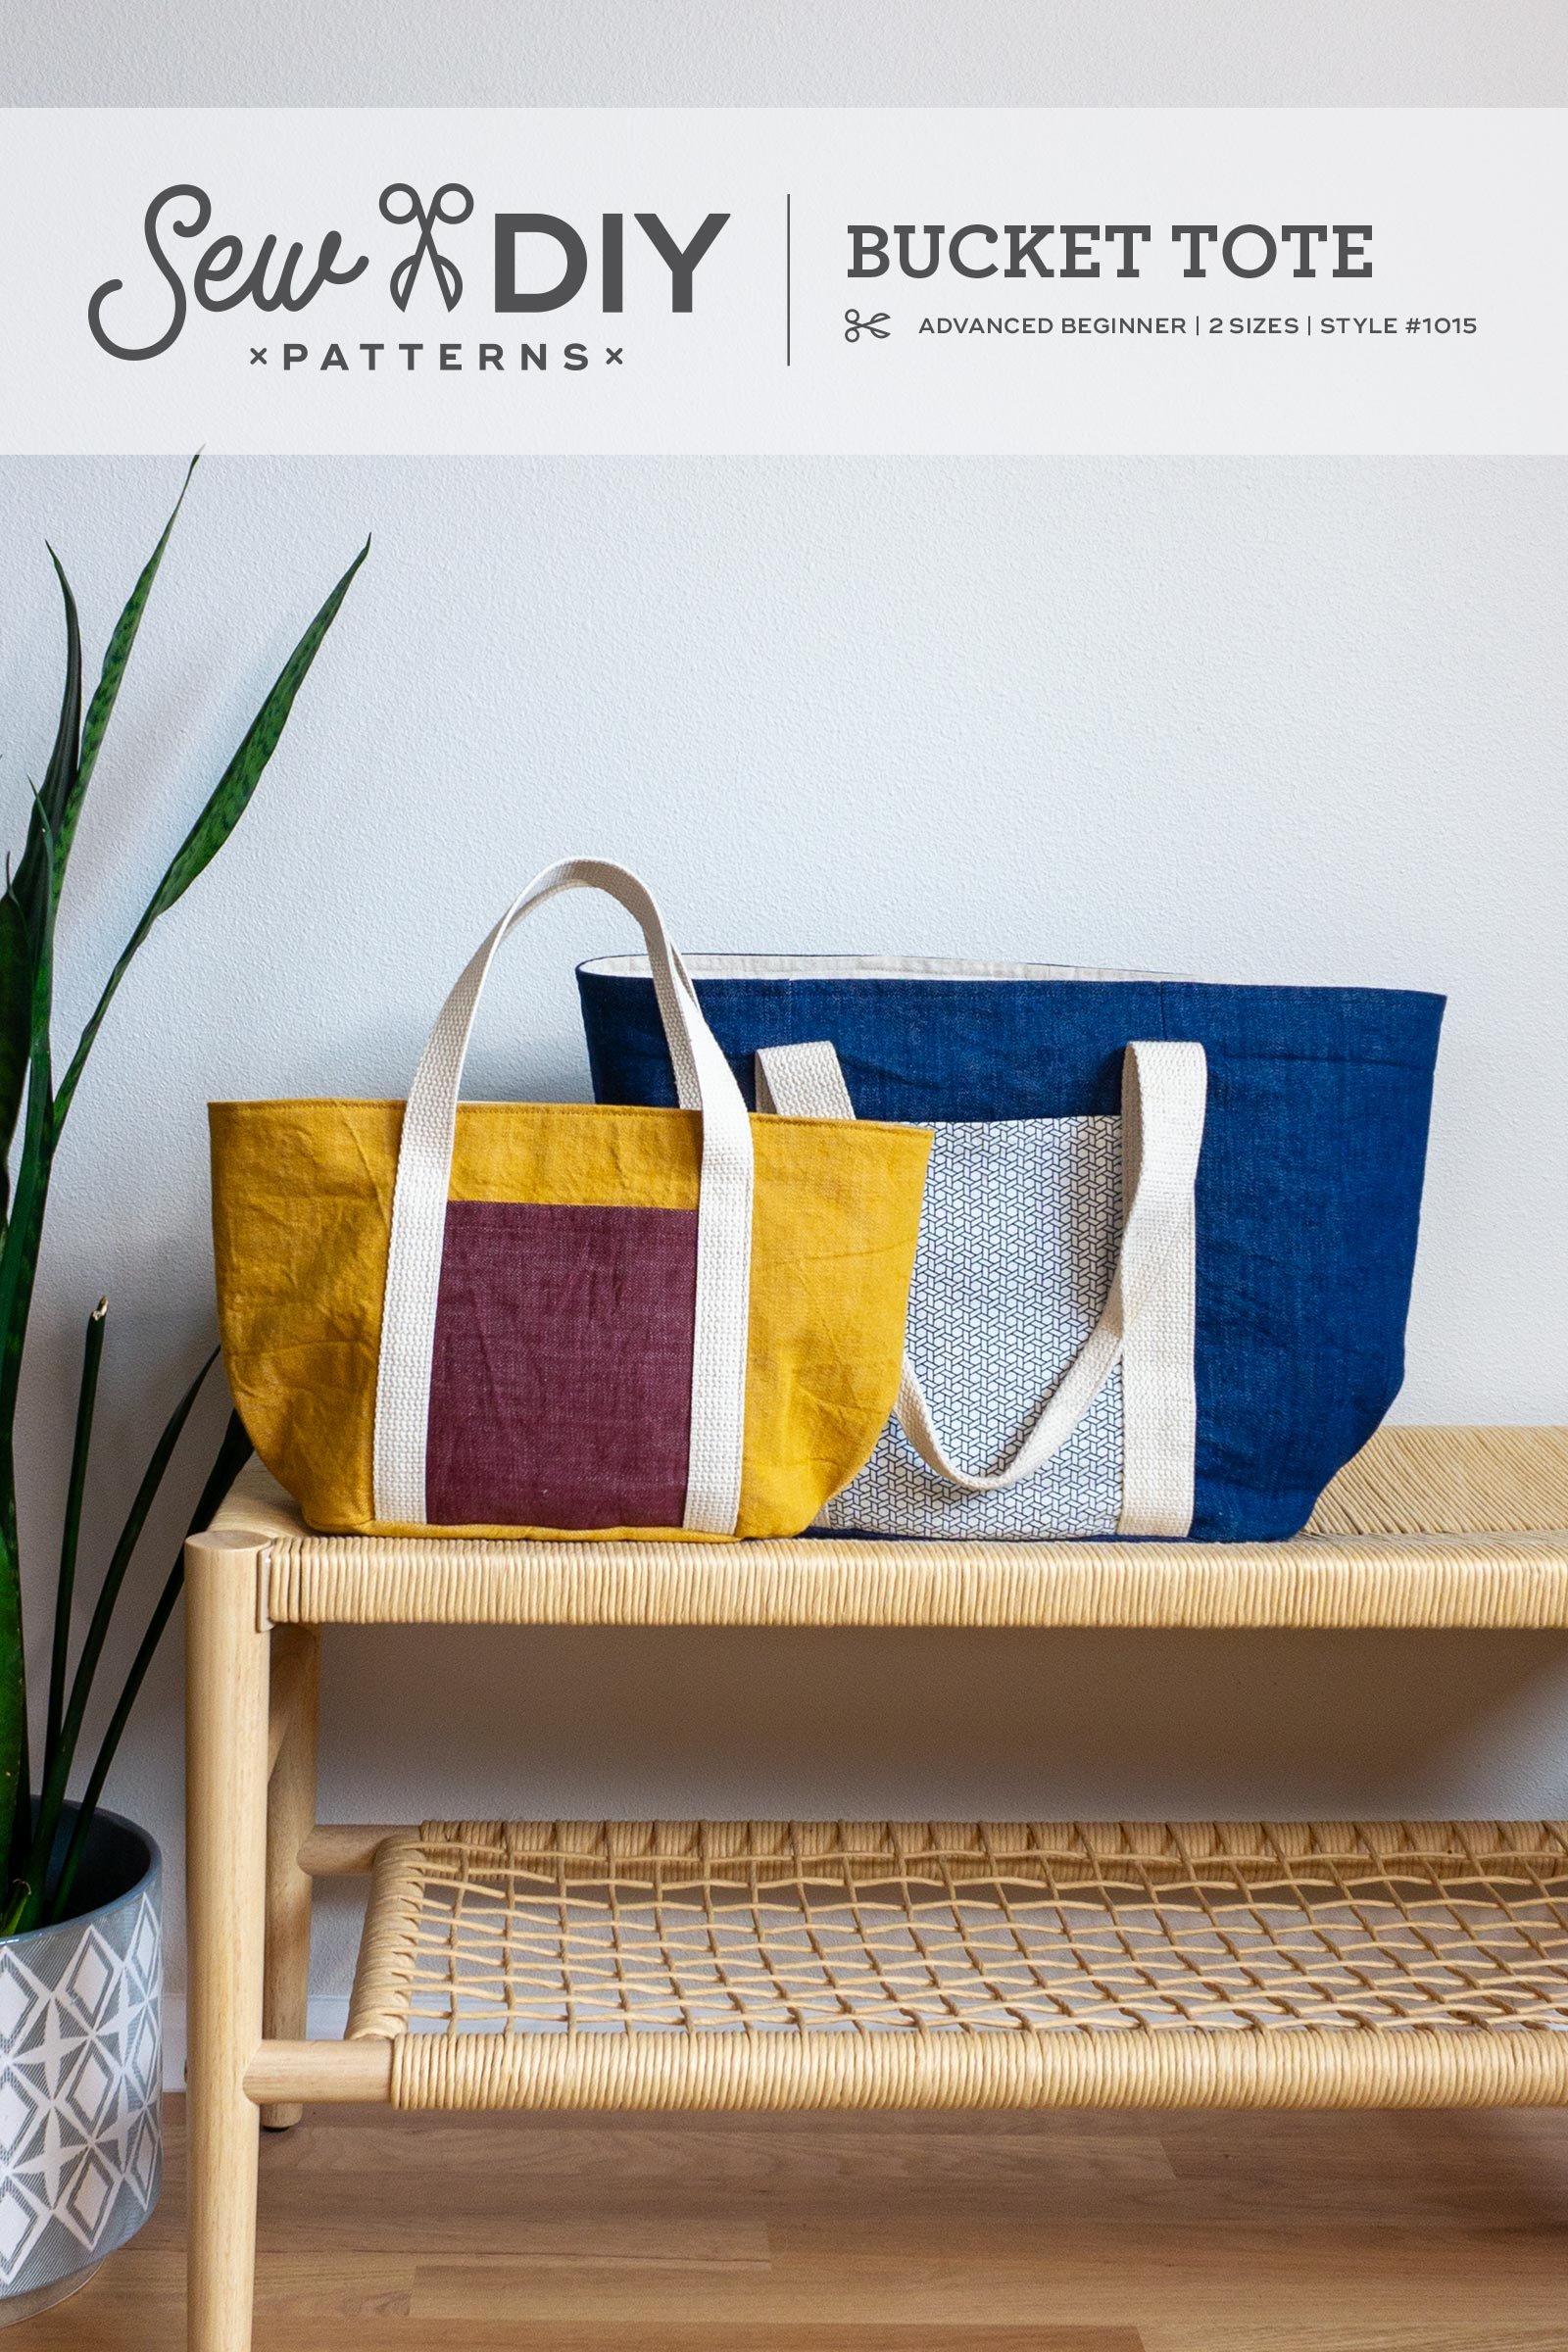


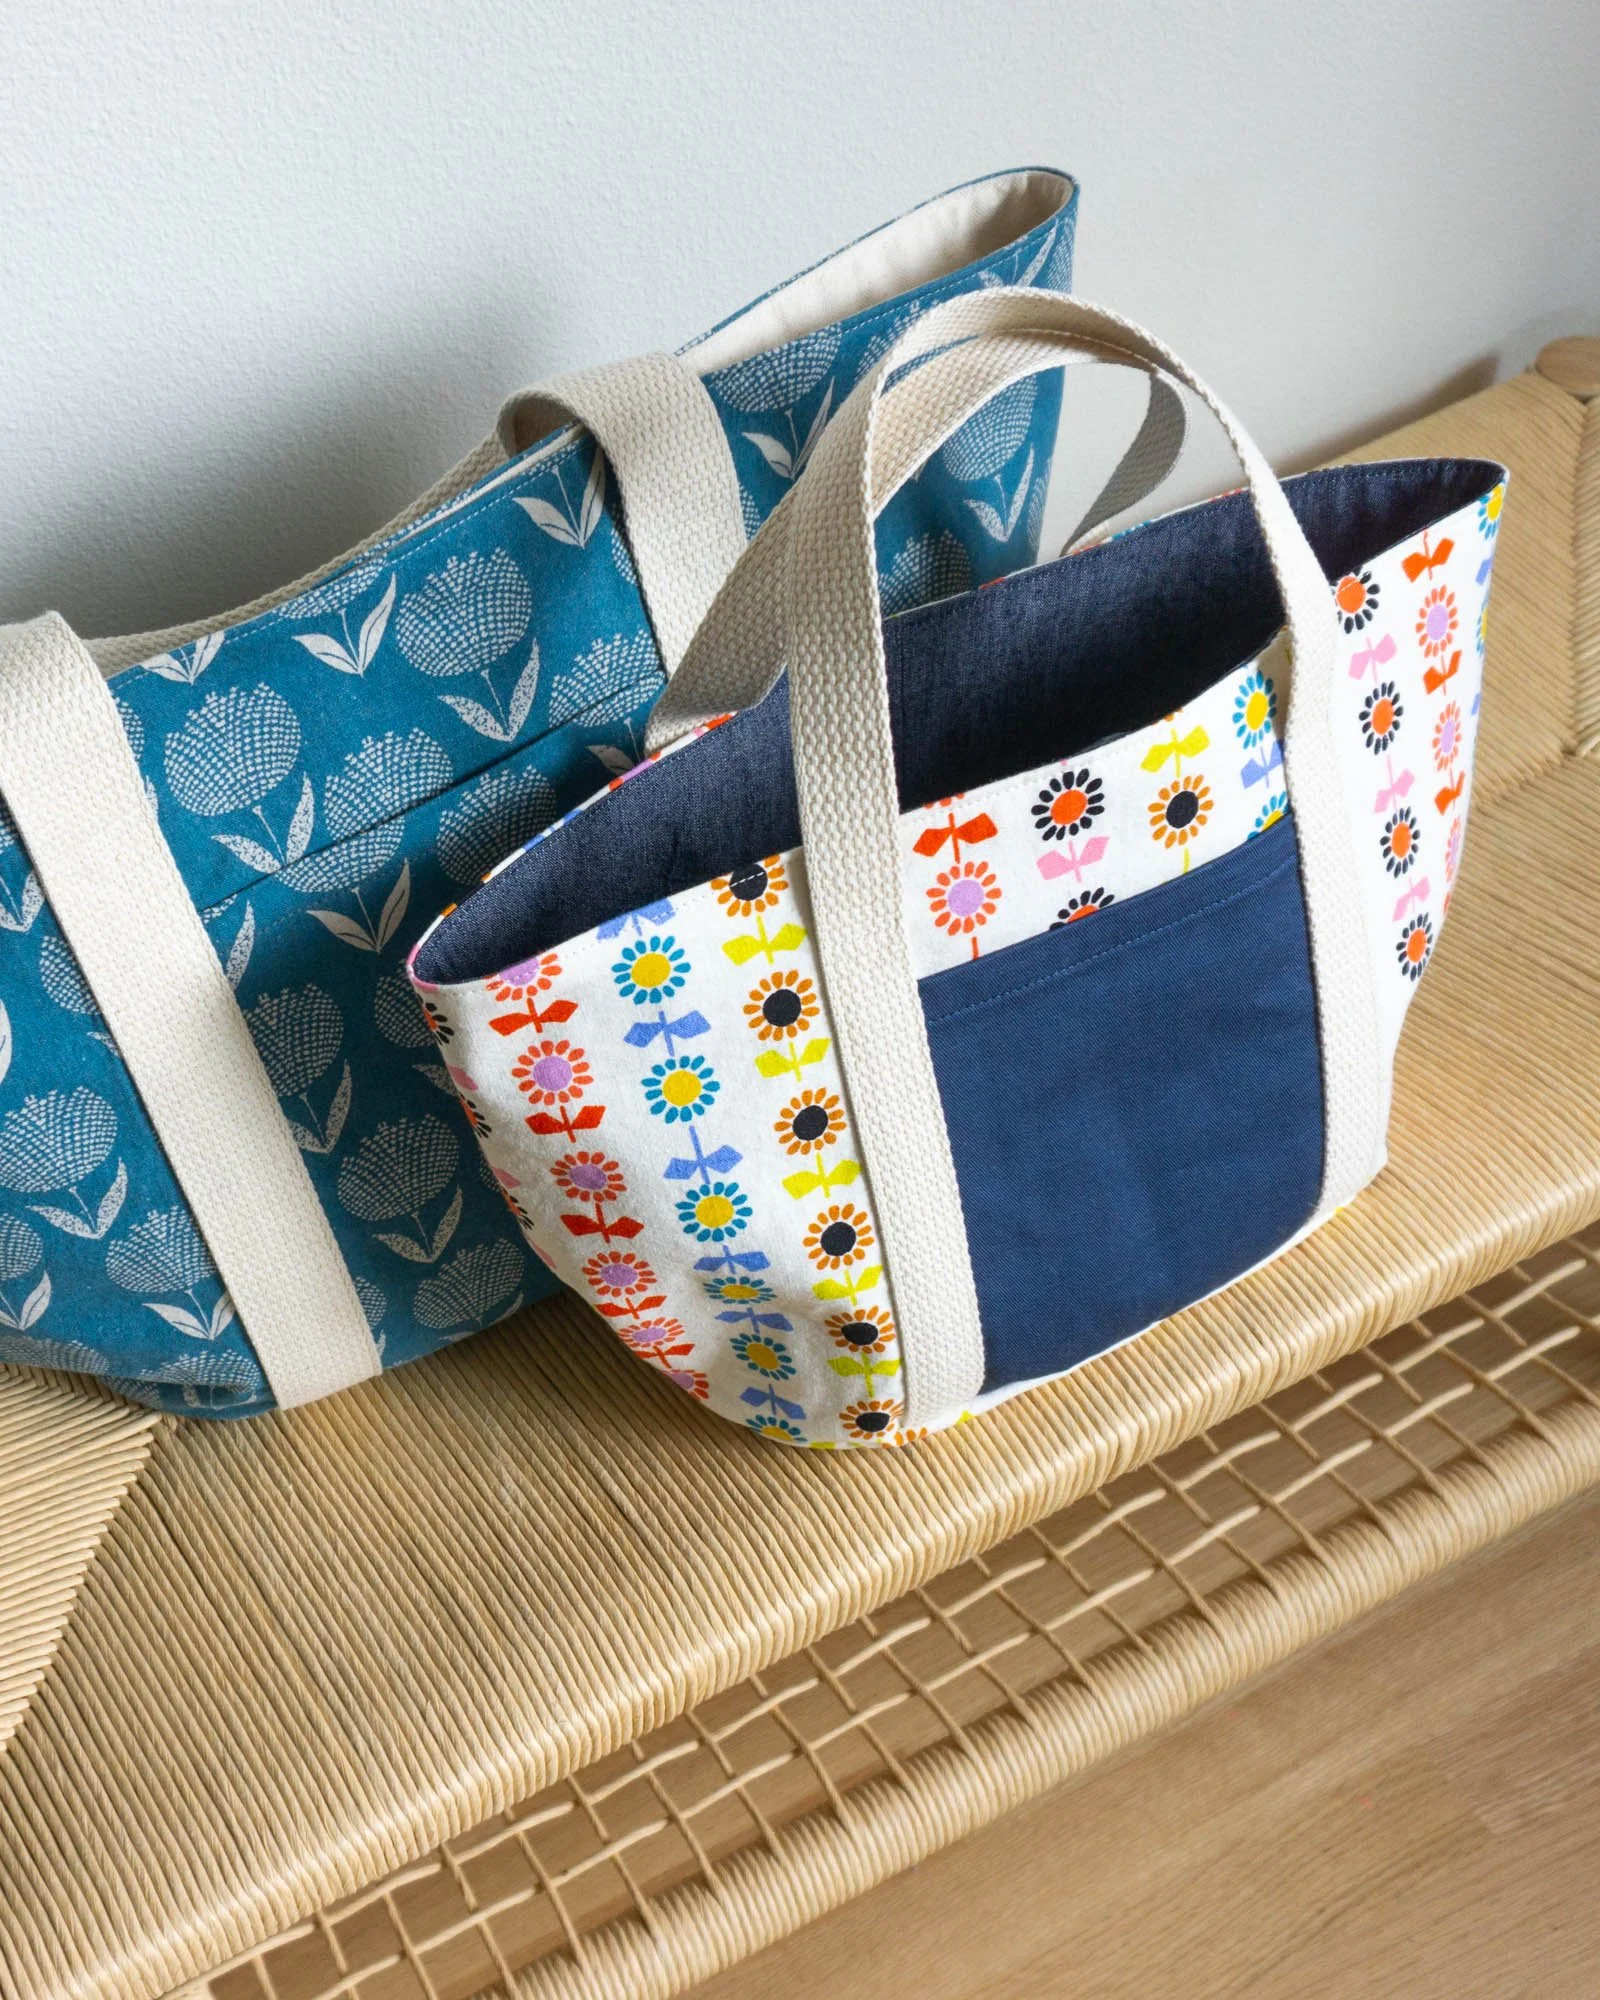
The Sew DIY Bucket Tote is the perfect "throw & go" bag with a wide top opening so you can easily see and access everything inside. This fully-lined tote is thoughtfully designed with an oval base, pleats at each end and exterior and interior pockets.
The pattern includes both regular and small sizes, giving you options for wherever life takes you. The regular size is perfect for a day at the pool or a short road trip while the small size can be used to carry your lunch or a small craft project.
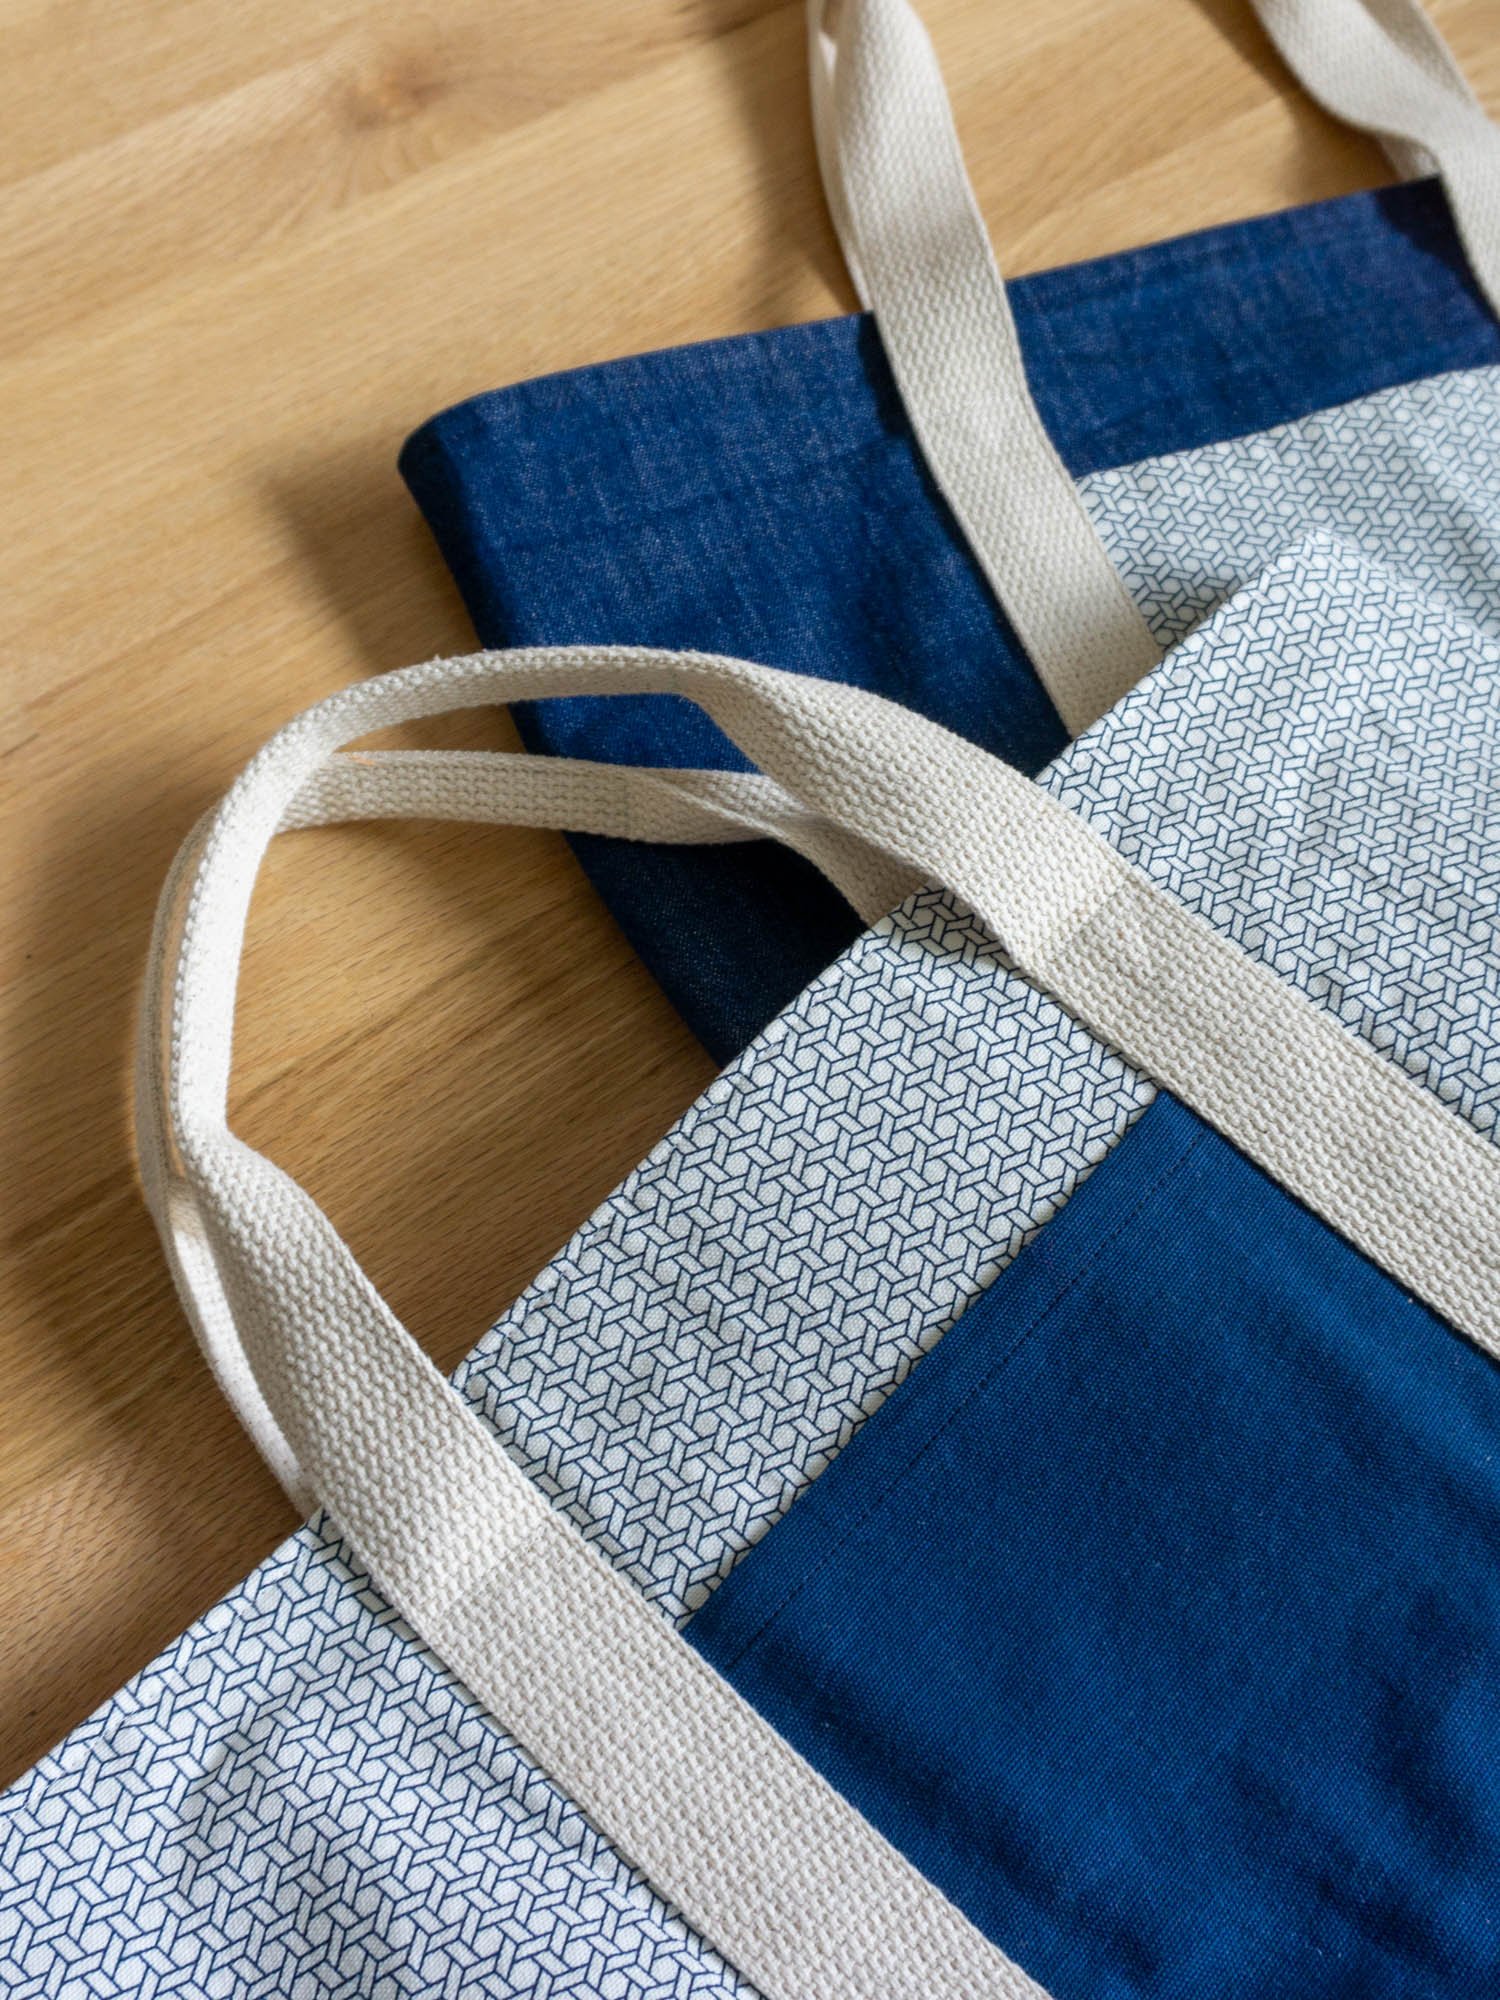
Both sizes have two exterior patch pockets and one interior pocket. The regular size has a welt zippered pocket inside and the small size has an interior patch pocket. The handles are made from cotton webbing that are topstitched to the sides of the bag and secured in the bottom seam.
This digital pattern includes:
• Illustrated instruction booklet
• Print-at-home layered pattern (Letter/A4)
• US copy shop and A0 patterns
• Projector pattern
Scroll down for more details.
THIS IS NOT A PHYSICAL PRODUCT. After checkout, you will receive a link to the pattern that will be active for 24 hours after you click it. Prices are in USD.
About the Sew DIY Bucket Tote pattern:
This fully-lined tote is thoughtfully designed with an oval base, pleats at each end and exterior and interior pockets.
The pattern includes both regular and small sizes, giving you options for wherever life takes you. The regular size is perfect for a day at the pool or a short road trip while the small size can be used to carry your lunch or a small craft project.
Both sizes have two exterior patch pockets and one interior pocket. The regular size has a welt zippered pocket inside and the small size has an interior patch pocket. The handles are made from cotton webbing and are topstitched to the sides of the bag and secured in the bottom seam.
If you’d like to save this post for later, you can save the image below to Pinterest. Happy sewing!